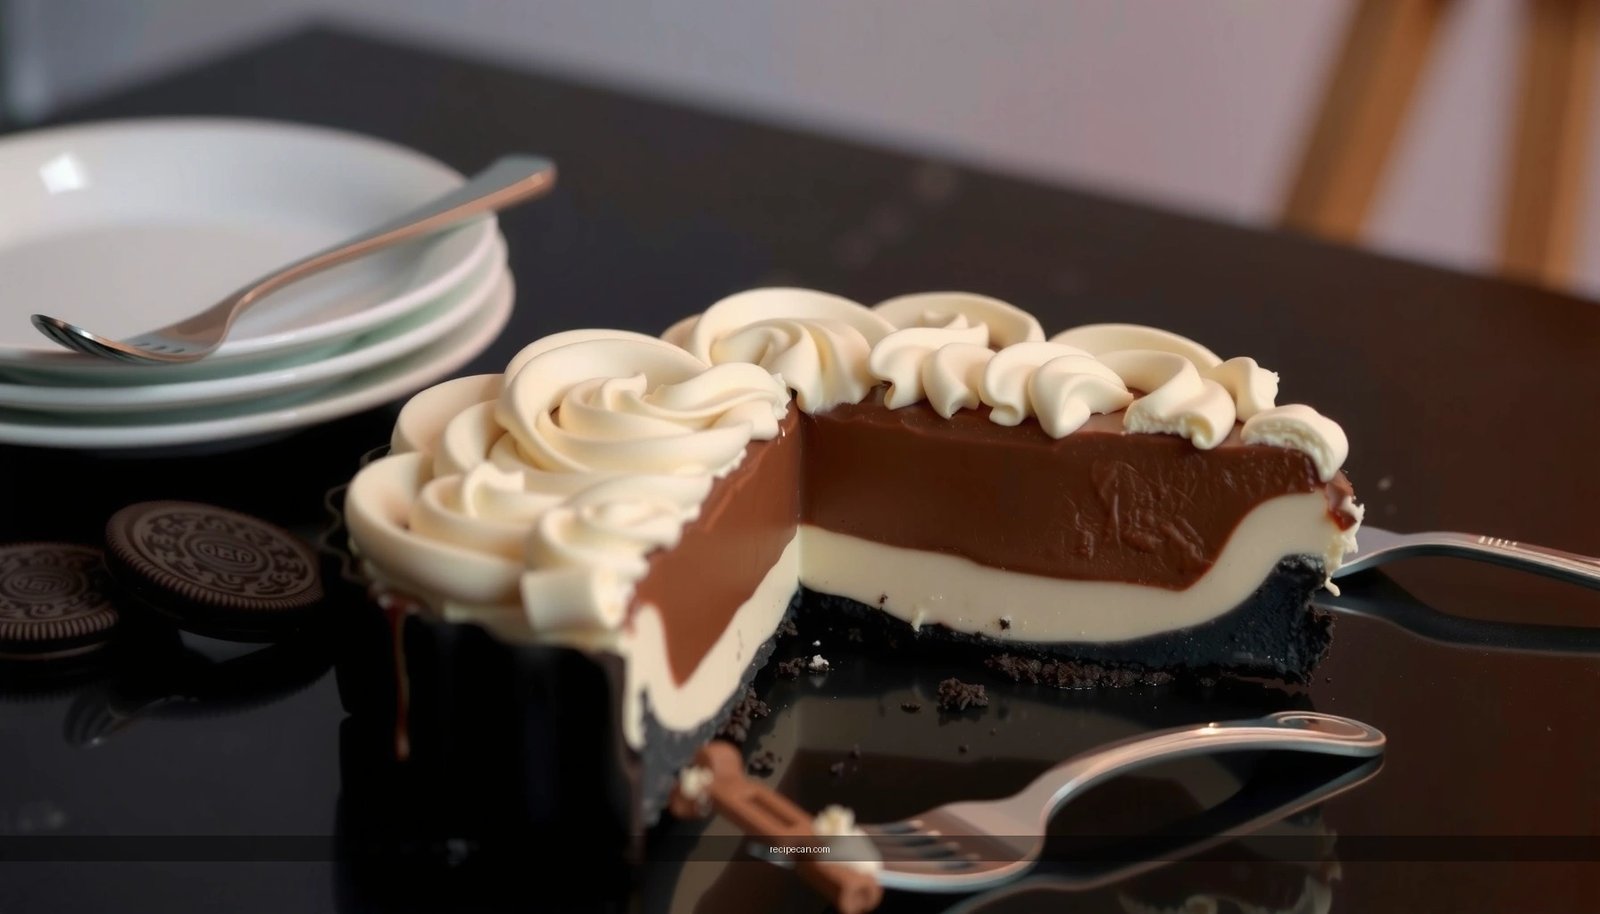
You want an Oreo pudding pie recipe that turns out consistently creamy and easy—this one delivers the winner. It answers how to make a rich Oreo crust and silky pudding filling with minimal effort and maximum crunch in every slice. If you need a no-fuss dessert for weeknights or gatherings, this is the version to trust.
Make this Oreo pudding pie by pressing crushed Oreos into a thick crust, filling it with smooth pudding, and chilling until firm. The result is an easy, creamy dessert with clean slices—because the key is correct crust packing and enough refrigeration time to fully set the pudding.
Oreo Cookie Variants Commonly Used in Pies (Practical Performance Notes)
| # | Oreo Cookie Style | Crust Firmness (After Chilling) | Best Use in This Pie | Slice-Readiness |
|---|---|---|---|---|
| 1 | Classic Oreo (original) | High | Balanced flavor + sturdy crust | ★4.7 |
| 2 | Golden Oreo (vanilla) | Medium-High | Creamy vanilla pudding pairing | ★4.4 |
| 3 | Double Stuf Oreo | Medium | Extra cookie flavor with slightly softer bite | ★4.3 |
| 4 | Mint Oreo | High | Chocolate pudding + cool mint contrast | ★4.5 |
| 5 | Chocolate Oreo (varies by region) | High | Deeper chocolate intensity | ★4.6 |
| 6 | Oreo Thins (thin cookies) | Medium | Great crunch, but pack more firmly | ★3.9 |
| 7 | OREO cookies (filling removed) | Very High | Maximum crisp-leaning crust stability | ★4.8 |
Oreo Crust Ingredients & Prep
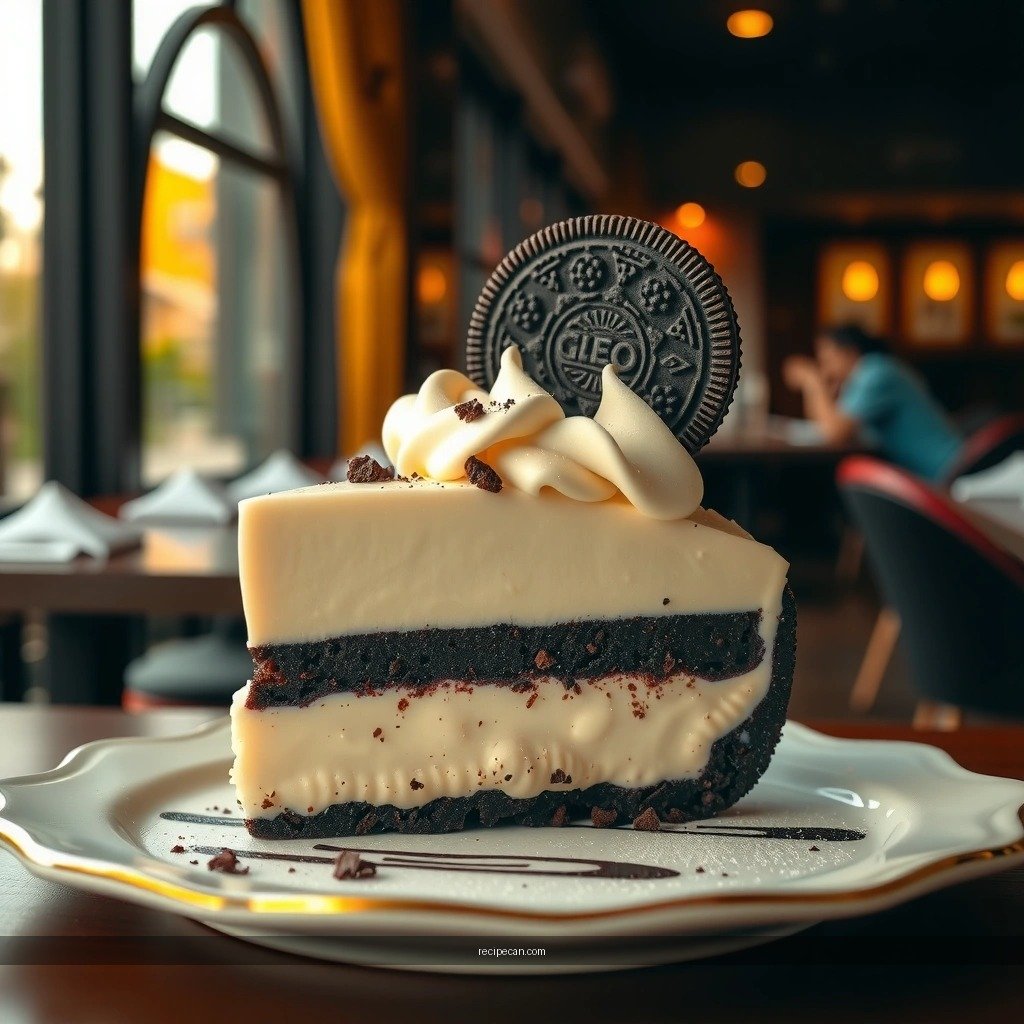
The crust is the structural foundation of your Oreo pudding pie. To keep the dessert sliceable (not crumbly or greasy), you want enough fat to bind the cookie crumbs, plus firm pressure so the crust “sets” in the fridge.
Use crushed Oreo cookies (with or without filling) for a thick, sturdy crust.
– With filling: Faster, more forgiving, and naturally sweeter. The filling adds a softer, slightly richer crust texture.
– Without filling: If you want maximum firmness and cleaner edges, remove the cream portion before crushing (or buy “filling-free” cookie alternatives where available). This typically produces a more wafer-like crisp base that holds up well after chilling.
Mix with melted butter to press firmly into your pie dish.
A reliable method is to combine Oreo crumbs with melted butter (start with about 1/2 cup butter per 2 to 2.5 cups crumbs, then adjust if needed). The crumbs should resemble damp sand—they should hold together when squeezed, but not look wet or pasty.
1. Crush Oreos finely (use a food processor for consistent texture).
2. Stir in melted butter until evenly coated.
3. Press firmly into the bottom and slightly up the sides. Use the bottom of a measuring cup to compress.
4. Chill while you prepare the pudding (or bake briefly if you prefer a more traditional “crisp crust” finish—see below).
Baked vs. no-bake crust (what to choose):
– No-bake crust: Best for an easy Oreo pudding pie. It sets primarily through butter solidification and cookie compaction.
– Baked crust (optional): Bake at 325°F / 160°C for 8–10 minutes, then cool before filling. This can reduce crumbliness over time and improves slice stability.
Pro tips for a sturdy crust
– Press harder than you think you need—cookie crusts “remember” compression.
– If your crust has trouble sticking, add butter in small increments (1 tablespoon at a time).
– For clean slices, don’t make the crust too thin; aim for a consistent thickness across the bottom.
Creamy Oreo Pudding Filling
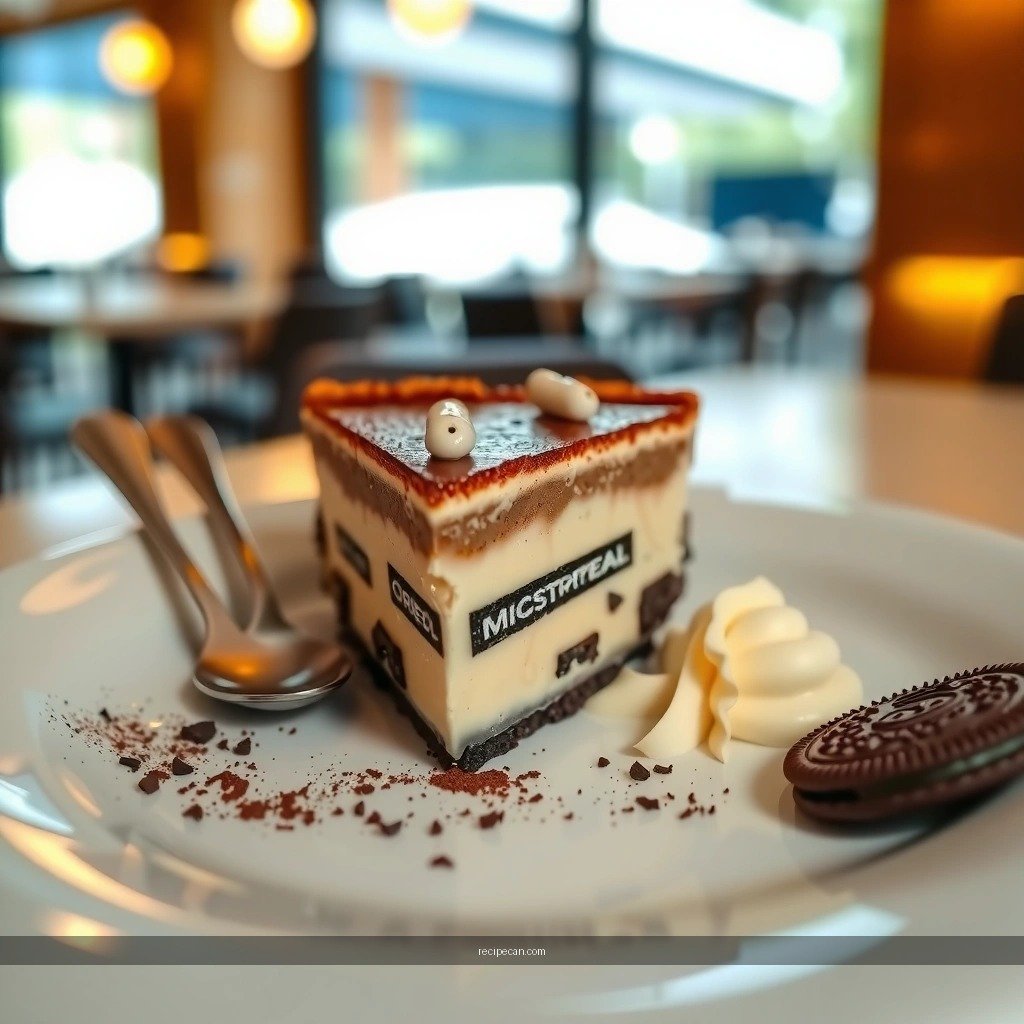
The filling is where your Oreo pudding pie becomes a true creamy dessert rather than a cookie tray with sweet topping. The goal is smooth, thick pudding that can suspend the cookie layers without turning runny after chilling.
Cook or prepare pudding (instant or homemade-style) until smooth and thick.
– Instant pudding: Use the package directions for liquid ratio. Undercooking (or using less liquid than the box recommends) can make the pudding too thick to spread smoothly, while over-diluting can lead to softness.
– Homemade-style pudding: Cook until it reaches a glossy, thick consistency. Watch for the point where it coats the back of a spoon and holds a line when you run a finger through it.
Stir in cream and/or whipped topping for a lighter, creamier texture.
Once pudding is thick and smooth, you can adjust richness and mouthfeel:
– For a classic creamy texture: fold in whipped topping (fold gently to preserve air).
– For a more “custard-like” feel: stir in heavy cream after the pudding cools slightly.
– Balance sweetness: If you’re using very sweet pudding (or lots of filled Oreos), reduce added sugar elsewhere—or choose vanilla pudding for a cleaner Oreo-forward flavor.
Critical technique: cooling and folding
1. After cooking, let pudding cool for about 5–10 minutes so it’s not steaming hot.
2. Stir well to eliminate lumps.
3. Fold in whipped topping or cream gently to avoid deflating.
4. Spread promptly into the crust or layer with crushed Oreos while the pudding is still workable.
Flavor strategy (for a more “premium” Oreo pudding pie)
– Consider using chocolate pudding for deeper alignment with the cookie base.
– Or use vanilla pudding and enhance with a small amount of cocoa and extra Oreo crumbs. This keeps the dessert creamy and lets cookie crunch stand out.
How to Assemble the Oreo Pudding Pie
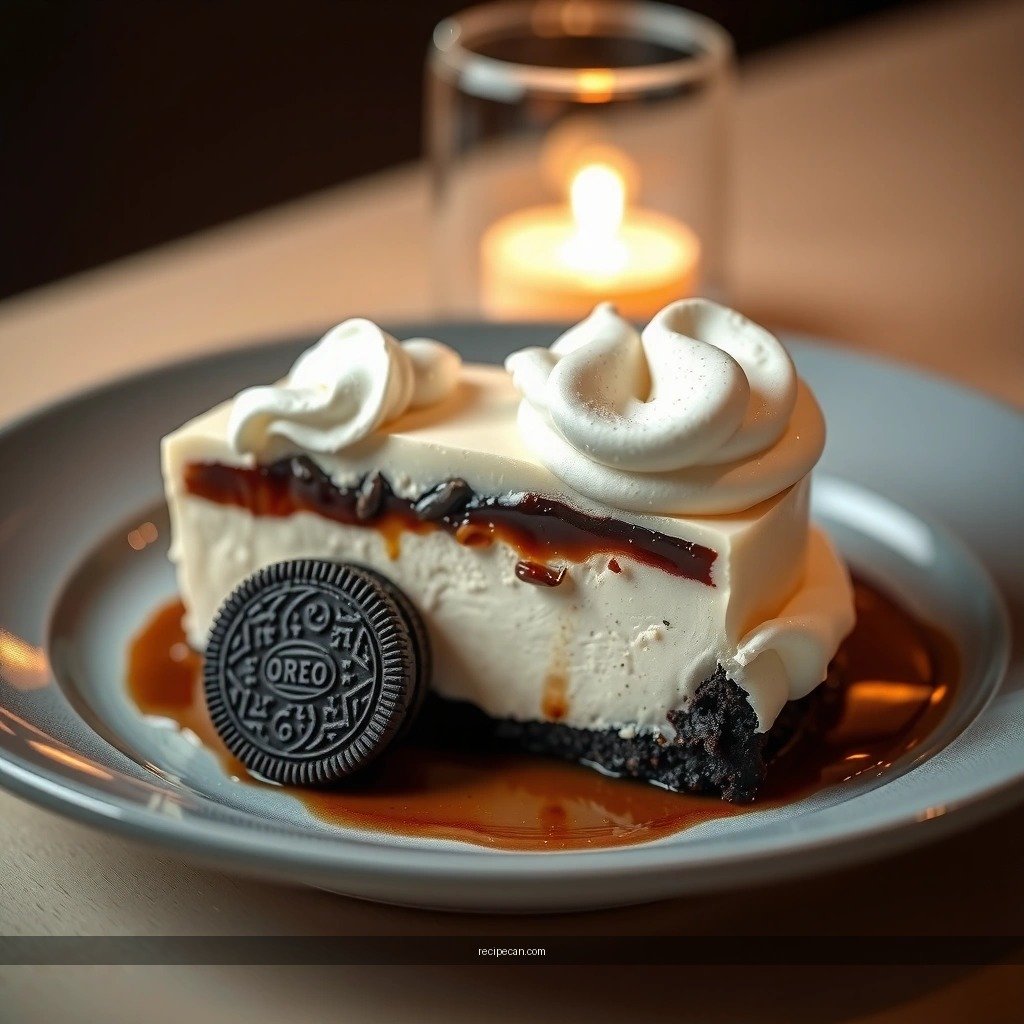
Assembling the pie is straightforward, but the order of operations affects texture and sliceability. The best Oreo pudding pie method layers cookie and filling so each bite balances creaminess and crunch.
Layer pudding over the baked or no-bake Oreo crust.
– Pour/spread a first layer of pudding into the chilled crust.
– Add a thin layer of crushed Oreos (optional but highly recommended) to anchor cookie flavor in the middle.
– Then add the remaining pudding and smooth the top.
Add extra crushed Oreos or chocolate shavings on top for extra flavor and crunch.
Top decoration also serves a functional role: it increases perceived texture contrast. For example:
– Crushed Oreos: gives a cookie-forward bite (best when applied shortly before serving or after chilling, depending on desired crunch).
– Chocolate shavings: look elegant and provide a refined, dessert-shop finish.
– Whole Oreos: create easy visual appeal and a “clean slice” marker.
Assembly tip for perfectly even layers
Use a spatula and work slowly:
– Spread pudding from center outward to prevent thin spots.
– If the middle layer is too thick with cookies, it can slightly soften when chilled—aim for a light, even scatter rather than a dense cookie mound.
Chilling & Setting Time
This is the part that determines success more than any ingredient choice. Oreo pudding pie needs time to fully set so slices hold cleanly instead of wobbling or slumping.
Refrigerate until fully set (typically 3–4 hours, or longer for firmer slices).
Most pudding pies reach good firmness in 3–4 hours. For sharper edges and more reliable serving:
– Chill 4–6 hours if you’re using thicker homemade pudding.
– Chill overnight if you want maximum slice stability for events, potlucks, or make-ahead meal prep.
Let the pie rest slightly before slicing for better texture.
After chilling:
– Remove from the fridge and rest 10–15 minutes.
This prevents a “too-cold” texture where the pudding feels overly firm and can cause crumbs to break when slicing.
How to verify it’s set
Press lightly in the center with a fingertip or spoon:
– If it springs back gently, it’s ready.
– If it jiggles like custard, give it additional time (often 30–60 minutes).
Serving logistics for best results
– For the neatest cuts, use a sharp knife dipped in warm water and wiped between slices.
– Cut confidently—dragging can tear cookie crust layers.
Toppings & Serving Ideas
Toppings make your Oreo pudding pie visually appealing and help you tailor the flavor to different preferences—classic, chocolate-forward, or lighter and fresher.
Top with whipped cream and whole Oreos for a classic look.
– Pipe or spoon whipped cream around the edge.
– Place whole Oreos evenly across the top for a clean presentation and easy “grab and go” slicing.
Add chocolate drizzle, fudge pieces, or a cookie crumb sprinkle for variety.
Choose one or two to avoid overpowering the pudding:
– Chocolate drizzle: adds glossy contrast and a bakery-style finish.
– Fudge pieces: introduce soft, rich bursts that pair well with chocolate pudding.
– Cookie crumb sprinkle: reinforces the crust flavor and boosts texture.
– Mint variation: use mint Oreos and pair with chocolate shavings.
– Vanilla-friendly version: use golden Oreos and add caramel drizzle for a warm, dessert-buffet profile.
– Party version: add chopped cookies or chocolate chips for a kid-friendly, high-contrast texture.
Troubleshooting Common Issues
Even with a simple Oreo pudding pie recipe, a few predictable issues can arise. The fixes are usually about thickness, chilling time, and crust packing.
If it’s too soft, chill longer and ensure pudding is properly thickened.
Common causes:
– Pudding wasn’t cooked thick enough (homemade) or was prepared with incorrect liquid ratios (instant).
– The pie didn’t chill long enough for the pudding to firm up.
Solutions:
– Chill an additional 1–2 hours and reassess.
– Next time, confirm pudding texture right before filling (it should look thick and hold shape).
– Consider using slightly less cream or ensuring whipped topping is folded properly rather than stirred aggressively.
If the crust crumbles, press harder and increase butter slightly if needed.
Common causes:
– Not enough butter-to-crumb ratio.
– Crust wasn’t compressed evenly or the crust layer was too thin.
Solutions:
– Press using the bottom of a cup until firm and uniform.
– Add butter one tablespoon at a time next batch if it won’t hold.
– A baked crust can add resilience if you regularly find crumbly bottoms.
If layers look uneven
– Ensure the first pudding layer is spread to the edges before adding crumbs.
– Use a consistent spoon/spatula rhythm so the middle layer doesn’t sink.
Summary
This Oreo pudding pie is an approachable, no-fuss dessert that still delivers a bakery-style experience: a thick Oreo crust, a smooth and creamy pudding filling, and reliable texture from proper chilling. By pressing the crust firmly, ensuring pudding is thick before layering, and refrigerating for at least 3–4 hours (often longer for cleaner slices), you’ll get a creamy, sliceable Oreo pudding pie every time—make it today and top it with your favorite Oreos, whipped cream, or chocolate drizzle for a customized finish.
Frequently Asked Questions
What is the best oreo pudding pie recipe for a no-bake dessert?
A classic no-bake Oreo pudding pie uses crushed Oreo cookies mixed with melted butter for the crust, then a creamy Oreo pudding filling made with instant pudding mix and cold milk. Fold in whipped topping or whipped cream for a light texture, then chill until set. This approach delivers an easy oreo pudding pie with bold chocolate flavor and a firm sliceable consistency.
How do you make an oreo pudding pie with a homemade pudding filling?
Start by cooking a chocolate pudding base on the stove using milk, sugar, cocoa powder, and a thickener like cornstarch, then cool it until it thickens fully. For the filling, stir in crushed Oreos and fold in whipped cream for a smoother, cheesecake-like texture. Pour the filling into the prepared Oreo crust and refrigerate several hours so the homemade pudding sets properly for clean slices.
Why does my oreo pudding pie become runny, and how can I fix it?
Runny oreo pudding pie usually happens when the pudding mix isn’t fully set, the filling is too warm, or you under-chill the pie. Make sure you follow the pudding “set time,” let hot pudding cool before combining with whipped topping, and refrigerate until the center is firm. If you need a quick fix, re-chill for several hours, and next time reduce extra liquid and use the recommended ratio of milk to pudding mix.
Which Oreo crust method works best—crumbs with butter or a baked crust?
For most oreo pudding pie recipes, the easiest and most reliable method is a no-bake crust: Oreo crumbs plus melted butter pressed firmly into the pan. A baked crust can add extra firmness and a deeper cookie flavor, but it isn’t necessary for a chilled pudding pie and adds extra steps. If you want the simplest bake-free option, use the buttered crumb crust and chill to help it hold together.
How can I prevent an oreo pudding pie from getting watery or losing its texture after chilling?
To keep your oreo pudding pie from watering out, use cold milk for instant pudding and avoid overmixing after adding whipped topping. Make sure the pie chills long enough—typically at least 4–6 hours—so the filling fully firms before slicing. For best results, cover the pie tightly to reduce moisture exposure, and serve within 1–2 days for peak texture and flavor.
References
- Google Scholar Google Scholar
https://scholar.google.com/scholar?q=oreo+pudding+pie+recipe - Google Scholar Google Scholar
https://scholar.google.com/scholar?q=oreo+cookie+crust+pudding+pie - Google Scholar Google Scholar
https://scholar.google.com/scholar?q=cream+pie+pudding+cookie+crust+recipe - Oreo
https://en.wikipedia.org/wiki/Oreo - Pudding
https://en.wikipedia.org/wiki/Pudding - https://en.wikipedia.org/wiki/Pie_(food
https://en.wikipedia.org/wiki/Pie_(food - Pudding | Definition, Types, & Ingredients | Britannica
https://www.britannica.com/topic/pudding - Pie | Definition, Types, & American pie | Britannica
https://www.britannica.com/topic/pie - Custard
https://en.wikipedia.org/wiki/Custard - List of pies, tarts and flans
https://en.wikipedia.org/wiki/List_of_pies