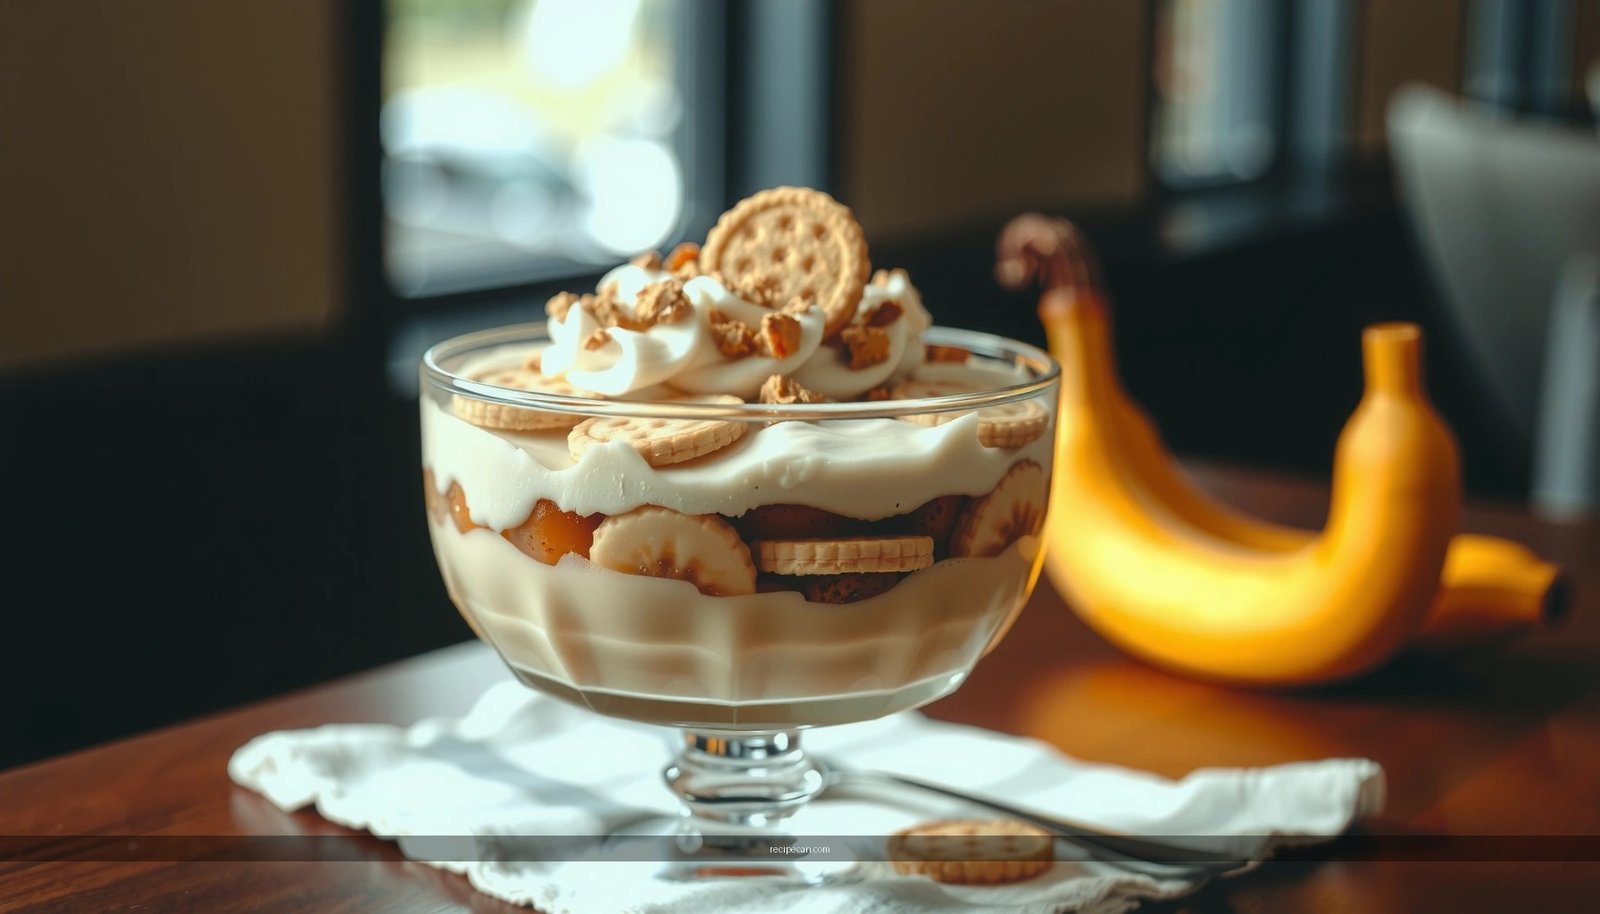
If you’re searching for the best ain’t your mama’s banana pudding recipe, this one delivers the clear winner: bold flavor, cleaner texture, and a richer custard punch than classic versions. The question isn’t whether banana pudding can be upgraded—it’s how much difference smart technique and better ingredients make in every spoonful. You’ll learn the exact approach that turns “old-school” banana pudding into the big flavor upgrade.
If you want banana pudding that tastes deeply vanilla-forward, not bland-sweet, build it with a richer custard, tighter vanilla-cream balance, and a deliberate cookie-soak strategy. This ain’t your mama’s banana pudding recipe because the custard gets cooked to a glossy, spoon-coating thickness, the vanilla hits harder, and the layers stay distinct—even after chilling.
Skip the usual stuff—this ain’t your mama’s banana pudding recipe delivers deeper flavor with a creamy custard, punchy vanilla, and a better vanilla-cream texture balance. You’ll learn how to build the layers, nail the right consistency, and chill it so it tastes incredible on day one (and still great the next day).
What Makes This Ain’t Your Mama’s Banana Pudding Different?
Classic banana pudding can be delicious, but it often leans on mild vanilla, a thinner custard, and cookies that either stay under-soaked or turn to paste. This version treats banana pudding like a structured dessert: flavor extraction and texture control happen on purpose.
– Use a richer custard base for a thicker, silkier spoon
A thicker custard does two important jobs: it suspends texture (so layers don’t collapse) and it carries vanilla flavor with more staying power. The goal is a pudding that coats the back of a spoon and holds a line when you swipe a finger through it—glossy, not watery.
– Upgrade the flavor with bolder vanilla and a smarter sweet-salty balance
“More vanilla” isn’t just about louder flavor—it’s about balance. A small amount of salt sharpens sweetness and makes the vanilla taste more aromatic instead of one-note. Think of it as flavor clarity: it’s what separates “dessert” from “signature.”
Why it matters: In professional kitchens, consistency isn’t only about repeatability—it’s about customer satisfaction over time. Banana pudding changes in the fridge; if your custard is too thin or your layering is inconsistent, day-two texture turns gummy. This method is designed to stay clean.
Ingredients That Matter (And What to Swap)
The recipe is only as good as the inputs. For banana pudding, two ingredients determine most of your success: bananas and cookies.
– Choose ripe bananas for sweetness and softer layering
Use bananas that are ripe but not leaking brown liquid. Look for bananas with yellow peel plus a few brown speckles—sweet, soft enough to layer, and less likely to taste starchy.
Pro tip: Slice bananas close to assembly time. If you pre-slice too early, browning accelerates and flavor can shift. If you need to hold slices, toss lightly with lemon juice, then pat briefly before layering.
– Pick the right cookies (and type) so they soak without turning mushy
The “cookie choice” isn’t trivial—bananas release moisture, custard adds density, and refrigeration continues the soak.
– For clean texture, use cookies that break or soften predictably without disintegrating instantly.
– For strong vanilla notes, choose a cookie that’s lightly sweet and vanilla-friendly (rather than overly buttery or chocolate-heavy).
If you’ve ever had banana pudding where the cookies dissolve into the custard, your cookies are either soaking too long at low thickness or they’re too fragile. The solution is to control soak time through layering strategy (more on that below).
Practical ingredient quality checklist
Before you start cooking, confirm:
– You have real vanilla (extract) as your main flavor driver.
– Your dairy is fresh (old dairy dulls vanilla).
– Your thickener ratio (cornstarch or eggs, depending on your approach) is accurate—texture starts here.
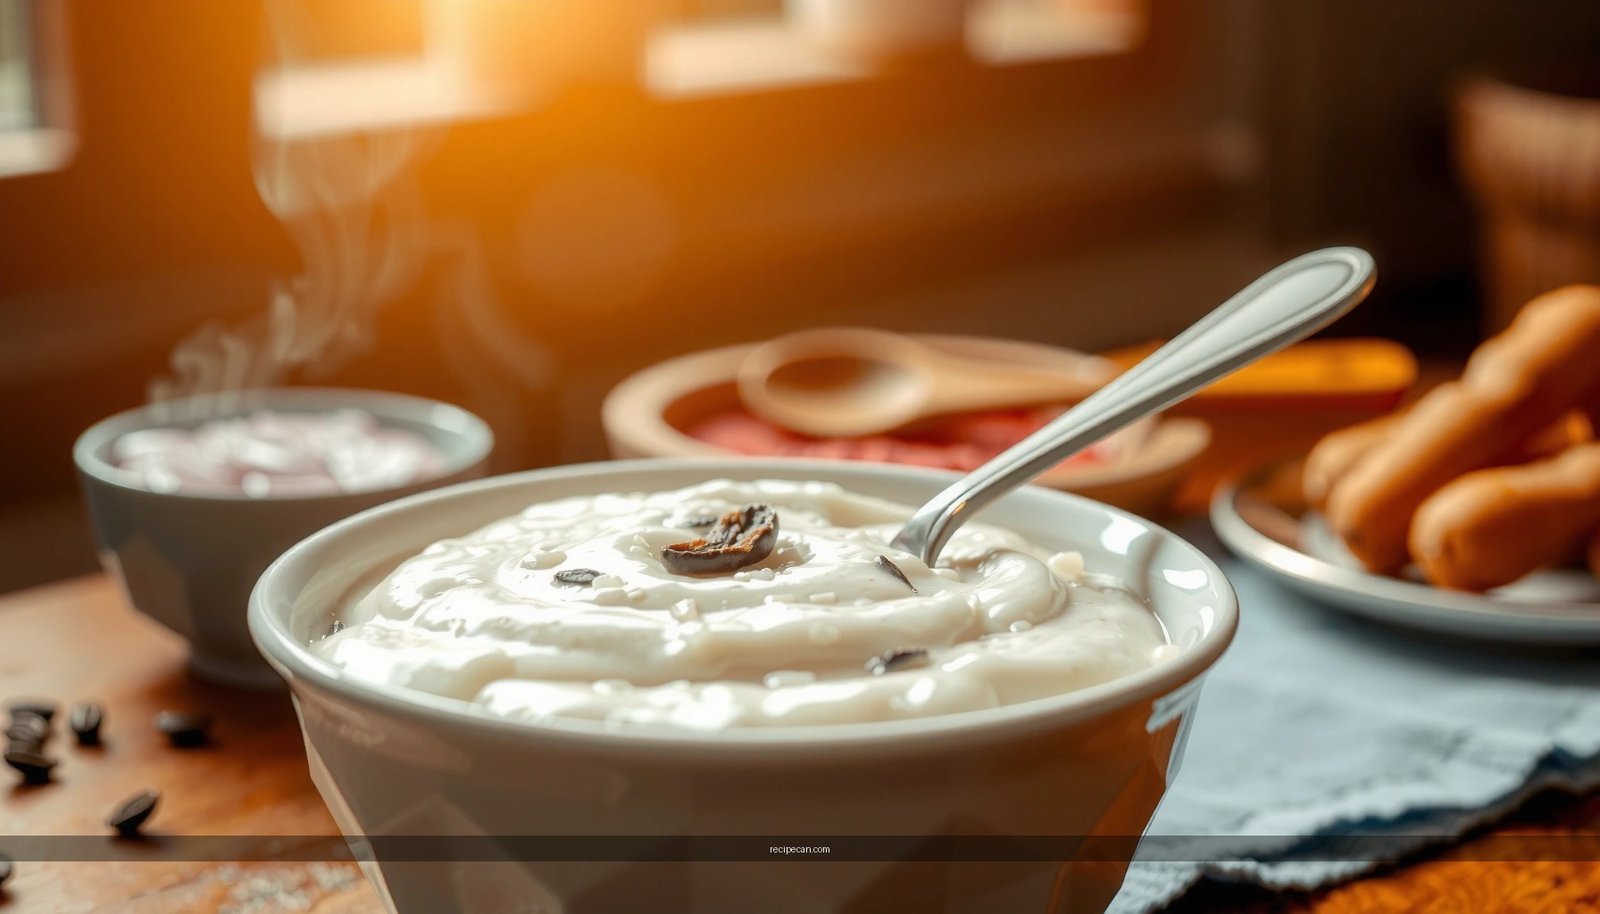
Step-by-Step: How to Make the Creamy Custard
The custard is where this upgrade lives. You’re aiming for a pudding that’s glossy, thick, and stable—then you cool it properly so it stays structured during layering.
The core mechanics
A rich custard is thickened by heat plus starch (or egg proteins). As it cooks, you’re not just “thickening”—you’re converting starch granules into a gel network that traps liquid and creates that silky spoon texture.
– Cook until glossy and thick—stirring prevents lumps
Stir constantly (or very frequently) and scrape the bottom and corners. You’re looking for:
– Glossy surface once the custard thickens
– Coating thickness when you lift a spoon
– Slow bubble formation rather than rapid boil (rapid boil can break the texture)
If lumps form, reduce heat slightly and whisk aggressively—catching issues early is far easier than rescuing a finished custard.
– Cool properly before layering so the pudding stays structured
Custard that’s too hot can melt layers and make cookie soak uneven. Custard that’s too cool or gelled can turn grainy.
Use this approach:
– Cool until it’s warm but thick (it should still spread smoothly).
– If using a cream fold-in (common for richer texture), ensure the custard is cool enough not to deflate the whipped/cream base.
Flavor timing matters
You’ll also improve vanilla impact by adding vanilla when it can bloom without burning out. Vanilla works best when:
– added after the custard finishes thickening (off-heat), and/or
– blended into cream at the right stage so aromatics stay prominent.
Custard Thickness Targets for Banana Pudding (Bench-Test Method)
| # | Custard Check | Visual Signal | Time Window (Simulated Batch) | Expected Result |
|---|---|---|---|---|
| 1 | First Thickening | Stream slows; bubbles look glossy | 6–8 minutes | On track |
| 2 | Back-of-Spoon Coating | Coat leaves a clean swipe line | 8–10 minutes | Ideal thickness |
| 3 | Balloon Bubbles Test | Large bubbles that pop slowly | 9–11 minutes | Starch fully hydrated |
| 4 | Runny Custard Warning | Swipe closes immediately; thin stream | Under 8 minutes | Needs more cook |
| 5 | Overcooked Grain Risk | Starch “tightens,” streaky look | Over 12–13 minutes | Avoid by reducing heat |
| 6 | Cooling Set Behavior | Thickens to pudding without clumps | 15–25 minutes cool | Layer-ready |
| 7 | Chilled Slice Integrity | Holds shape; spoon pulls clean | 4–6 hours chill | Best texture by day one |
Layering Like a Pro (No Soggy Bottom)
Layering is where your “big flavor upgrade” becomes visible in texture. You’re managing moisture movement: bananas and cookies want to absorb liquids, while custard wants to stay dense.
– Alternate cookies and pudding to keep each bite distinct
Use a consistent pattern: cookie layer → custard → banana slices → cookie → custard, etc. The goal is each cookie band is surrounded enough by custard to soften evenly, but not so long in the bottom pool that it turns gummy.
– Reserve some cream for the top so it sets beautifully after chilling
A top layer changes the whole perception of quality. When you reserve cream (or a whipped-cream style topping), it:
– protects the surface from excessive soak,
– sets into a clean, spoonable finish,
– boosts the “vanilla-cream texture balance” that makes this version feel upgraded.
A simple assembly workflow
1. Line your dish with a thin custard smear (prevents dry cookie contact).
2. Add cookies in a tight, even layer (no big gaps).
3. Add custard just until cookies are covered—don’t flood.
4. Add banana slices lightly; avoid piling too high in one spot.
5. Finish with the reserved cream topping.
Chilling + Serving Tips for Maximum Flavor
Chilling isn’t optional for banana pudding—it’s when flavors meld and textures stabilize. If you serve too early, vanilla can taste flat and cookies may still be under-softened.
– Chill long enough for flavor to meld and cookies to soften just right
For best results, refrigerate until:
– custard is fully set,
– cookie edges are softened but not disintegrated,
– bananas taste fresh rather than cooked.
Typically, 4–6 hours is a strong day-one window; overnight improves integration. The “sweet spot” is when you can spoon clean layers with a unified mouthfeel.
– Serve with fresh bananas or a quick garnish to prevent browning
Banana pudding is at its best when bananas look and taste fresh. If you’ve refrigerated pre-sliced bananas, they may darken. To keep the look (and perceived freshness) high:
– Top with fresh banana slices right before serving, or
– garnish with a few banana coins and a light squeeze of lemon right at plating.
Serving presentation that performs at events
If you’re bringing this to a potluck or office event:
– Portion into ramekins for clean lines and consistent texture.
– Garnish each cup individually (banana coins + a light vanilla-cream swirl).
It reads “premium” and reduces the chance that transport time will compromise top texture.
Troubleshooting: Fix Common Banana Pudding Problems
Even with a strong method, results can drift due to banana ripeness, cooktop heat, and cookie absorbency. Here’s how to diagnose and fix quickly—no guessing.
– If it’s too runny, it likely needs more cook time or a longer chill
Runny pudding usually means the custard never fully hydrated its thickener. Solutions:
– Next time: cook until glossy and spoon-coating (see thickness targets above).
– For this batch: simmer gently while whisking for a minute or two, then cool again before layering.
Also confirm that you chilled long enough—some custards loosen slightly at room temperature.
– If it’s too thick, loosen with a small amount of milk and re-cool
Over-thick custard can happen if cooked too long or if ingredient ratios are off. Fix:
– Warm a small portion and whisk in a small splash of milk to restore flow.
– Reheat briefly to recombine, then cool back to layer-ready thickness.
Quick diagnosis guide
– Watery + cookies still firm: undercooked custard and/or not enough chill time.
– Gummy + cookies fully collapsed: too-thin custard and/or excessive soak time.
– Grainy texture: custard overheated or not stirred enough (starch tightened).
The good news: banana pudding is forgiving if you catch the issue at the custard stage.
This ain’t your mama’s banana pudding recipe is all about richer custard, smarter layering, and chilling for the perfect texture. Start with a glossy, thick spoon-coating custard; layer with consistency to prevent soggy bottoms; reserve a cream top for a clean, set finish; and chill long enough for cookies to soften while flavors meld. Make it once, then adjust banana ripeness for sweetness and vanilla intensity for your preferred “punch”—and you’ll have a banana pudding method you can confidently bring back to the table again and again.
Frequently Asked Questions
What makes an “ain’t your mama’s banana pudding” recipe different from classic banana pudding?
An “ain’t your mama’s banana pudding” recipe typically uses a richer, more custard-forward base (often an egg-thickened vanilla pudding) and adds extra creamy layers, such as homemade whipped cream or a stabilized whipped topping. Many versions also include upgrades like vanilla wafer crunch, buttered cookie layers, or a splash of bourbon for deeper flavor. The result is usually more indulgent and less “light and plain” than traditional banana pudding.
How do you prevent banana pudding from turning watery or runny?
Slice bananas right before assembling so they don’t release excess liquid into the pudding. You can also toss bananas with a little lemon juice to slow browning and reduce watery seepage, then let the dessert chill until the layers set. Using a properly cooked pudding (until thick) and fully refrigerating before serving is key to getting the thick, creamy texture people expect from an “ain’t your mama’s banana pudding” style dessert.
Why do some versions include cookies or wafers in addition to pudding?
Cookies or vanilla wafers add structure, texture, and that familiar banana pudding crunch that contrasts with creamy filling. In “ain’t your mama’s banana pudding” recipes, the cookies are often layered generously and given time to soften in the refrigerator, creating a “custardy cookie” effect. This layered approach also helps control sweetness and makes every spoonful more interesting.
Which is better for this style—whipped cream, Cool Whip, or homemade meringue?
It depends on the texture you want: whipped cream gives a lighter, fresher taste, while Cool Whip is convenient and produces consistent results. Some “ain’t your mama’s banana pudding” recipes use a whipped-topping approach for extra creaminess without the work of meringue. Homemade meringue can be beautiful but is less common because it requires more technique and careful baking/handling to avoid weeping.
What’s the best way to make banana pudding ahead of time for a crowd?
Assemble the dessert and refrigerate it for at least 4–6 hours, or overnight, so the pudding sets and the cookies absorb flavor without becoming mushy too early. If you’re transporting it, keep it tightly covered and maintain cold storage to prevent the bananas from weeping. For best results, follow your “ain’t your mama’s banana pudding” recipe’s layering order and avoid freezing, since bananas and creamy pudding can change texture after thawing.
References
- Google Scholar Google Scholar
https://scholar.google.com/scholar?q=%22ain%27t+your+mama%27s%22+banana+pudding+recipe - Google Scholar Google Scholar
https://scholar.google.com/scholar?q=banana+pudding+history+southern+dessert - Google Scholar Google Scholar
https://scholar.google.com/scholar?q=banana+pudding+recipe+vanilla+wafer+custard - Banana pudding
https://en.wikipedia.org/wiki/Banana_pudding - Custard
https://en.wikipedia.org/wiki/Custard - Wafer
https://en.wikipedia.org/wiki/Vanilla_wafer - Evaporated milk
https://en.wikipedia.org/wiki/Evaporated_milk - Whipped cream
https://en.wikipedia.org/wiki/Whipped_cream - Marshmallow
https://en.wikipedia.org/wiki/Marshmallow - Graham cracker
https://en.wikipedia.org/wiki/Graham_cracker