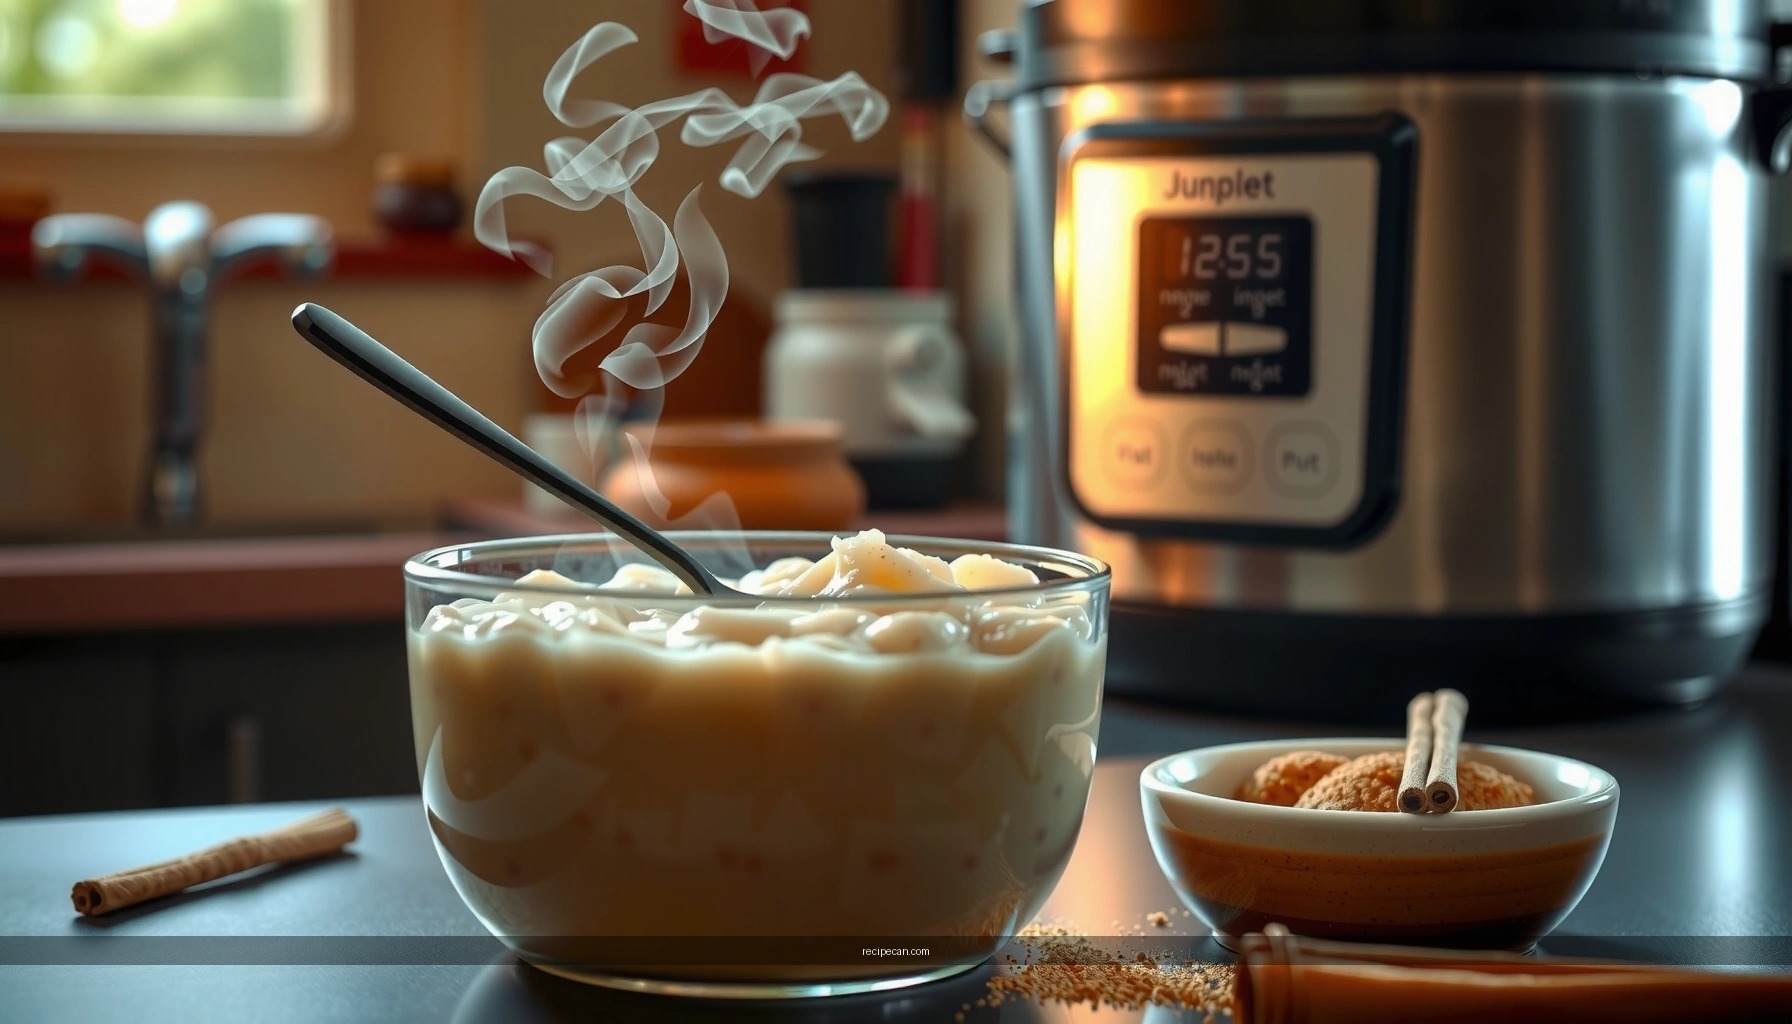
Want rice pudding in rice cooker recipe results that are truly creamy, not watery or overcooked? This recipe is engineered for the rice cooker—easy, hands-off, and consistent, so you get spoon-tender rice with a smooth, custardy finish. If you want the fastest path to classic comfort with reliable texture, this is the winner method.
Make rice pudding in your rice cooker by using the correct rice-to-liquid ratio and then gently thickening on the warm/simmer side—so you get a creamy, spoonable texture with minimal monitoring. With the steps below, you’ll dial in consistent results, prevent scorching, and customize the flavor (vanilla, cinnamon, nutmeg, raisins) without the guesswork.
In a rice cooker, rice pudding is less about “following a dessert recipe” and more about managing two processes: starch release and moisture control. The rice contributes thickening through released starch, while milk and optional water contribute body and prevent dryness. If you overshoot liquid, the pudding stays loose; if you undershoot liquid (or leave it too hot), the pudding turns gluey or develops a caramelized film on the sides. The goal is to create a gentle, stable simmer long enough to soften the rice, then finish with a mild thickening phase.
Choose the Right Rice and Liquid Ratio

– Use short-grain or medium-grain rice for the creamier pudding texture
– Measure liquid carefully (typically milk + water) to avoid over-thickening
Start with rice choice because it determines how much starch your cooker will release. Short-grain (and many medium-grain varieties) tend to absorb liquid more evenly and produce a thicker, creamier spoon texture than long-grain, which can stay firmer and separate.
Practical ratio approach (works across most rice cookers)
For a standard creamy rice pudding, use a ratio that accounts for evaporation and the fact that milk browns faster than water. A reliable baseline is:
– Rice: 1 cup (uncooked)
– Liquid: 4 to 4¾ cups total (milk + water)
A common and dependable configuration:
– 3 cups milk + 1 cup water (for a rich, creamy pudding)
– Adjust within the 4 to 4¾ cup total range:
– Use toward 4 cups total if you like it thicker.
– Use toward 4.5–4¾ cups if you prefer it looser or if your rice cooker runs hot.
What to watch during cooking
Rice pudding thickens quickly once starches concentrate and once the mixture enters the warmer phase. If you’ve ever experienced a “perfect start, dessert fail” scenario—where it becomes too thick in the final minutes—that’s usually one of two things:
1. The liquid ratio was too low, or
2. The unit stayed on heat longer than intended after the main cook finished.
Rice vs. texture mapping
To make the selection analytical (and easy to operationalize), consider the texture outcomes below. This also helps teams or households standardize expectations across different rice brands.
Liquid Ratio Guidance for Creamy Rice Pudding (Per 1 Cup Rice)
| # | Rice Type | Recommended Total Liquid (cups) | Expected Spoon Texture | Result Consistency |
|---|---|---|---|---|
| 1 | Short-grain (japonica-style) | 4.25 | Thick, creamy spoon | High |
| 2 | Medium-grain | 4.25 | Creamy with slight body | High |
| 3 | Long-grain (not ideal) | 4.5 | Softer, less cohesive | Medium |
| 4 | Arborio (risotto-style) | 4.0 | Very creamy, risk of thickening | High |
| 5 | Basmati (not ideal) | 4.75 | Looser, rice-forward | Low |
| 6 | Glutinous/sweet rice (for mochi-like texture) | 5.0 | Silky, dense cream | Medium |
| 7 | Brown rice (requires more liquid) | 6.0 | Thick, nutty, longer cook | Low |
Gather Ingredients for Creamy Rice Pudding

– Combine milk, cooked rice, sugar (or honey), and a flavor booster like vanilla
– Add cinnamon or nutmeg for classic warm spice flavor
A rice cooker simplifies the mechanics, but ingredient selection still determines mouthfeel and taste. For consistent creamy results, focus on milk fat balance, sweetness timing, and aromatic distribution.
Core ingredients (standard creamy base)
– Short- or medium-grain rice: 1 cup (uncooked)
– Milk: 3 cups (whole milk is easiest for a classic, rich texture)
– Water: 1 cup (reduces scorching risk and stabilizes thickening)
– Sugar or honey: 1/3 to 1/2 cup (adjust sweetness)
– Salt: 1/4 teaspoon (boosts flavor and rounds sweetness)
– Vanilla extract: 1–2 teaspoons (added near the end for best aroma)
Spice and mix-in strategy
Spices should be present early enough to infuse but not so long that the flavor becomes flat. A professional approach:
– Cinnamon: add a cinnamon stick or 1–2 teaspoons ground cinnamon at the start.
– Nutmeg: use 1/4 teaspoon ground nutmeg; it’s potent and can dominate if added heavily.
– Raisins: add after the main cook cycle, so they rehydrate without becoming leathery.
Important note about milk browning
Milk contains proteins that can scorch if the mixture gets too hot. Using a water portion plus the correct rice cooker process (next section) prevents that burnt “milk film” taste.
Rice Cooker Settings and Step-by-Step Process

– Rinse the rice, add everything to the pot, and stir to distribute evenly
– Cook on the “Cook” cycle, then use a warmer/simmer approach to thicken gently
Because rice cookers vary widely, the best method is to treat the process as two phases: softening and gently concentrating.
Step-by-step recipe (reliable baseline)
1. Rinse the rice (optional but helpful): Rinse 1 cup short/medium-grain rice until water runs mostly clear. This reduces surface starch that can make pudding overly gummy.
2. Add to the inner pot: Combine
– rinsed rice
– 3 cups milk
– 1 cup water
– sugar (or honey), salt
– cinnamon (stick or measured ground cinnamon)
3. Stir well once: This is key for preventing uneven thickening and for dissolving sugar.
4. Set to Cook: Use your rice cooker’s Cook program (or the lowest heat “White rice” setting if that’s all you have). Start the cycle.
5. Finish on Warm (with control): When the cooker switches to Warm or the cook cycle ends:
– Let it sit 10–20 minutes, stirring once if possible.
– If your cooker’s Warm mode is very aggressive, start stirring sooner (or shorten the warm time).
Time expectations
Typical total active cook time is about 35–60 minutes, depending on rice type and machine power. The critical variable isn’t just time—it’s the texture you observe during the warm phase. Your pudding should be thick but still spoonable, not stiff.
How professional kitchens would troubleshoot texture
– Too thin after 20 minutes on Warm: Continue warming 5–10 minutes, stirring regularly.
– Too thick too fast: Add milk a tablespoon at a time and stir until it loosens and regains gloss.
Prevent Overcooking and Get the Best Texture
– Stir halfway (if your model allows) to reduce sticking on the sides
– Add more milk if it thickens too fast during the final setting
Overcooking is usually not a “mistake” so much as a timing mismatch between starch release and residual heat. The goal is to avoid both:
– sticking/browning on the inner pot rim, and
– excessive starch concentration that makes pudding pasty.
Why stirring matters (and when it’s safe)
Many rice cookers have a lid seal that reduces evaporation; however, milk can still cling and brown at the edges. Stir once during the cook cycle if your model allows without causing error resets, and definitely stir during the warm phase. A gentle fold is enough—no need for vigorous whisking.
Quick recovery tactics
If you notice thickening earlier than expected:
– Add milk gradually (start with 2–3 tablespoons).
– Stir to reincorporate before adding more.
– If you added cinnamon stick and it’s too strong, remove it—spices keep extracting with time.
Consistency targets (what “good” looks like)
For spoonable rice pudding:
– It should mound slightly on a spoon, then slowly level out.
– When you run a spoon through it, the line should stay visible briefly but not hold like set custard.
A common failure mode is confusing rice pudding with baked pudding. Rice cooker pudding is a starch-thickened dessert; it should remain fluid enough to feel creamy, not gelatinous.
Flavor and Serving Ideas
– Finish with extra cinnamon, raisins, or toasted nuts if desired
– Serve warm or chilled for different pudding textures
Rice pudding is flexible: the base is consistent, but you can tailor texture and aroma through finishing choices. From a business-style service perspective, offering two textures (warm and chilled) increases perceived value without extra prep complexity.
Flavor finish options
– Vanilla-forward: Stir in vanilla after the cooker turns warm (or at the end) for maximum aroma.
– Classic cinnamon: Add a pinch of ground cinnamon right before serving.
– Raisin variation: Fold in rehydrated raisins during the last warm minutes, then let them rest so they distribute evenly.
– Toasted crunch: Add chopped toasted almonds or walnuts just before serving to prevent softening.
Serving temperatures change texture
– Warm (fresh): smoother, looser, more aromatic.
– Chilled (after refrigeration): denser and almost custard-like; stir well after cooling to restore creaminess.
If you’re planning a meal prep workflow, cool promptly in containers (don’t leave it on heat too long), then refrigerate. Rice pudding firms up in the fridge, so you’ll almost always need a small re-stir (and optional milk splash) later.
Storing and Reheating Instructions
– Refrigerate in an airtight container and stir before serving again
– Reheat with a splash of milk to restore creaminess
Proper storage preserves both safety and texture. Since rice pudding is dairy-based, temperature control matters.Storage guidelines
– Cool rice pudding to room temperature before refrigerating.
– Store in an airtight container.
– Refrigerate for up to 3–4 days for best quality.
Reheating method (best texture return)
Rice pudding reheats by reversing some thickening concentration and loosening the starch network:
1. Add to a saucepan or microwave-safe bowl.
2. Add a splash of milk (start with 1–2 tablespoons per cup of pudding).
3. Heat gently until steaming; stir frequently to prevent scorching.
Avoid boiling hard—milk proteins can break and the texture may turn grainy. If using a microwave, heat in shorter intervals (e.g., 30–45 seconds), stirring between bursts.
Freezing (optional)
Rice pudding can be frozen, though texture may become slightly thicker upon thawing. If freezing:
– Freeze in portions,
– thaw in the fridge,
– reheat with milk and stir thoroughly to restore smoothness.
Make It Consistent Every Time (quick operational checklist)
Before you serve, run a fast quality check:
– Rice is fully softened (no hard grains).
– Texture is spoonable, not runny or stiff.
– No burnt milk smell or rim film.
– Flavor is balanced (salt and vanilla are present).
If you miss the target, don’t restart—adjust:
– Too thick: milk splash + stirring.
– Too thin: keep on warm briefly + stir.
You now have a repeatable rice cooker rice pudding method that emphasizes ratio accuracy, controlled final thickening, and flavor finishing—so results stay creamy and dependable.
Rice pudding in a rice cooker is a practical, low-effort way to create a dessert with rich flavor and a satisfying spoonable texture. By choosing short- or medium-grain rice, using a measured milk-to-water ratio, and managing the cook cycle followed by a gentle warm/simmer thickening phase, you can avoid burning and over-thickening. Customize with cinnamon and vanilla, add raisins or toasted nuts for variety, and store/reheat with a milk splash to keep it creamy—warm one day, chilled the next, with consistently good results.
Frequently Asked Questions
What is the best rice pudding in a rice cooker recipe ratio of rice to milk?
A common starting point is 1 cup short-grain rice (or Arborio) to 4 cups milk, which helps the rice pudding turn creamy rather than dry. For extra richness, you can replace 1 cup of the milk with cream or use evaporated milk. If you prefer a thicker rice cooker rice pudding, reduce to about 3.5 cups total liquid and stir once halfway through to prevent uneven thickening.
How do you make rice pudding in a rice cooker without burning the bottom?
Rinse your rice first and use short-grain varieties because they release starch more reliably. Lightly oil or coat the inner pot (or use a nonstick liner) and choose the “Warm”/“Keep Warm” method to finish gently if your cooker runs hot on “Cook.” Stir briefly at least once during cooking, and if you notice the mixture thickening too fast, add a splash of milk and stir to smooth it out.
Why does rice pudding get grainy in the rice cooker, and how can you fix it?
Graininess usually happens when the rice is too long-grain, the liquid is too low, or the pudding wasn’t cooked long enough for starch to fully break down. Use short-grain rice and ensure there’s enough milk for the rice cooker to simmer and soften the grains. After cooking, let the rice pudding rest on “Warm” for 10–20 minutes, then stir well—this step often improves the texture significantly.
Which setting should you use on a rice cooker for rice pudding—white rice, porridge, or slow cook?
If your rice cooker has a “Porridge,” “Congee,” or “Slow Cook” setting, that’s typically best for creamy rice pudding because it cooks more gently. If you only have “White Rice” and “Keep Warm,” run the cook cycle and then extend on “Keep Warm” for 10–20 minutes while stirring once. Avoid high-heat rapid cycles when possible, since they can cause uneven thickening or occasional sticking.
What ingredients should you add for flavor in a rice cooker rice pudding recipe (cinnamon, vanilla, raisins)?
Stir in vanilla extract, cinnamon, and a pinch of salt during the cooking or right after the cook cycle for even flavor. Add raisins or dried fruit after cooking (or in the last 10–15 minutes) so they don’t dry out or harden. For a classic finish, fold in butter and consider a little brown sugar or honey after cooking to keep the sweetness balanced and creamy.
References
- Google Scholar Google Scholar
https://scholar.google.com/scholar?q=rice+cooker+rice+pudding+recipe - Google Scholar Google Scholar
https://scholar.google.com/scholar?q=rice+pudding+recipe - Google Scholar Google Scholar
https://scholar.google.com/scholar?q=rice+cooker+dessert+rice+recipe+kheer - Rice pudding
https://en.wikipedia.org/wiki/Rice_pudding - Rice cooker
https://en.wikipedia.org/wiki/Rice_cooker - https://www.britannica.com/topic/rice-pudding
https://www.britannica.com/topic/rice-pudding - https://pubmed.ncbi.nlm.nih.gov/?term=rice+pudding
https://pubmed.ncbi.nlm.nih.gov/?term=rice+pudding - Custard
https://en.wikipedia.org/wiki/Custard - Rice
https://en.wikipedia.org/wiki/Rice - Kheer
https://en.wikipedia.org/wiki/Kheer