Get the old fashioned cornstarch pudding recipe that delivers the real, creamy classic you expect—silky, spoonable, and set without turning gummy. This winner method answers how to cook cornstarch so it thickens smoothly every time, with the right simmer time and consistency. If you want “just like Grandma’s” results, follow this approach for a dependable dessert that holds its shape but still melts in your mouth.
Make old-fashioned cornstarch pudding on the stovetop by whisking cornstarch into milk until smooth, then cooking just until glossy and thick before adding vanilla. This simple method prevents lumps, delivers that classic silky set, and lets you chill a dessert that slices cleanly and tastes like a traditional homemade favorite.
Classic Ingredients for Old Fashioned Cornstarch Pudding

– Use cornstarch, milk, sugar, and a pinch of salt for the traditional base
– Add vanilla at the end for best flavor and aroma
Old fashioned cornstarch pudding is built on one core principle: cornstarch thickens milk through heat and time, creating a tender “custard-like” texture without eggs. To keep that classic flavor profile, start with a straightforward ingredient lineup:
Cornstarch (thickening power): Use regular cornstarch for reliable setting. Since cornstarch thickens at a specific temperature range, it’s the ingredient that determines whether your pudding turns out spoonable, sliceable, or overly loose.
Milk (silky body): Whole milk is the most traditional choice because its fat content rounds out the mouthfeel. You can use 2% milk in a pinch, but expect a slightly thinner result unless you cook a touch longer. For the richest “old-time” texture, whole milk is the safest bet.
Sugar (balance and smoothness): Sugar doesn’t just sweeten—it also helps the dessert taste creamy rather than starchy. Dissolve it fully when cooking, and you’ll avoid any grainy perception.
Salt (flavor clarity): A pinch of salt makes cornstarch pudding taste more “buttery” and less bland. It also helps vanilla come through with greater contrast.
Vanilla (aroma, added at the end): Adding vanilla after the mixture thickens preserves its delicate flavor. If you boil vanilla too aggressively, the aroma can fade.
For readers who like to execute with precision, here’s a practical guide to how ingredient choices impact consistency and set.
Cornstarch Pudding Setup: Common Outcomes by Cook & Milk Choice
| # | Cooking/Ingredient Variable | Best Result | Typical Texture After Chilling (1–2 hrs) | Chef Score |
|---|---|---|---|---|
| 1 | Whole milk (about 3.25% fat) | Stir until glossy thickness | Sliceable, spoon-stable custard | ★★★★★ |
| 2 | 2% milk (about 2% fat) | Cook ~30–45 sec longer | Creamy, slightly softer spoon set | ★★★★☆ |
| 3 | Low-fat milk (about 1% fat) | Cook to deeper gloss | More wobbly; best in parfait cups | ★★★☆☆ |
| 4 | Cornstarch fully hydrated before heat | Whisk with cold milk base | No lumps; smooth final pudding | ★★★★★ |
| 5 | Cornstarch added directly to hot milk | Often causes starch clumps | Lumpy set unless strained | ★☆☆☆☆ |
| 6 | Under-cooked (stops before thickening) | Texture still watery | Thin, pourable, poor slice | ★★☆☆☆ |
| 7 | Correct cook to glossy thickness | Looks like thick gravy | Classic creamy set, clean spooning | ★★★★★ |
Step-by-Step Method (Stovetop Classic)

– Whisk cornstarch with a portion of the milk first to prevent lumps
– Cook mixture while stirring until it becomes glossy and thick
A true stovetop cornstarch pudding recipe is less about fancy technique and more about controlled heat and consistent stirring. Here’s a classic approach that produces smooth, creamy cornstarch pudding every time.
Step 1: Create a smooth cornstarch slurry
1. In a bowl, whisk cornstarch with a small amount of cold milk (taken from your total recipe).
2. Whisk thoroughly until no dry cornstarch remains and the mixture looks uniform.
Why this matters: Cornstarch needs to hydrate before heat activates thickening. Starting with a slurry is the single best defense against lumps.
Step 2: Cook the pudding base
1. In a saucepan, add the remaining milk and sugar, plus a pinch of salt.
2. Warm over medium heat, stirring, until the mixture begins to steam.
3. Slowly whisk in the cornstarch slurry.
4. Continue cooking, stirring constantly, until the mixture thickens.
What “done” looks like: The pudding should turn glossy and coat the back of a spoon. If you drag a spatula through it, the line should briefly hold before slowly smoothing.
Step 3: Finish with vanilla
Once thickened:
– Remove from heat
– Stir in vanilla extract (or vanilla bean paste for a deeper aroma)
Vanilla is best added after cooking so its flavor stays bright and aromatic—especially in a dessert where the milk-and-vanilla combination is the centerpiece.
How to Get the Perfect Texture

– Stir continuously during thickening for a smooth, pudding-like finish
– Adjust thickness by cooking a bit longer or adding a splash more milk
The “perfect” texture in old fashioned cornstarch pudding is a balance between proper thickening and gentle handling. Too little cooking yields a loose set; too much cooking can make the pudding feel heavy.
Target texture cues
– Glossiness: A smooth pudding base becomes shiny and slightly elastic as the cornstarch fully gelatinizes.
– Spoon test: It should mound lightly on a spoon and not run like milk.
– Coating consistency: When you stir, the mixture should leave trails that close in gradually.
Stirring strategy
– Stir with a whisk or silicone spatula, scraping the bottom and corners.
– Once it thickens, slow down slightly to maintain smoothness—still stir continuously, but avoid aggressive whipping that can incorporate extra air.
Thickness adjustments (fast, predictable fixes)
– Too thick: Stir in 1–2 tablespoons of warm milk at a time until it loosens. Warm milk blends more readily.
– Too thin: Return to medium heat and simmer 30–90 seconds, stirring continuously, until glossy again.
This controlled adjustment approach is also helpful if you’re making the recipe in different pan sizes or at slightly different heat levels.
Flavor Variations (Without Losing the Classic Feel)
– Try adding lemon zest or nutmeg for subtle old-time flavor
– Fold in whipped cream after cooling for extra creaminess
Cornstarch pudding is famously flexible. The trick is to enhance the flavor without overpowering the classic milk-and-vanilla foundation.
Subtle old-time additions
– Lemon zest: Add a small amount (about 1 teaspoon) of lemon zest right when you add vanilla. The result is bright and gently perfumed, reminiscent of vintage lemon custard desserts.
– Nutmeg: A pinch of freshly grated nutmeg brings a warm, nostalgic spice note. Start small—nutmeg can dominate if you overdo it.
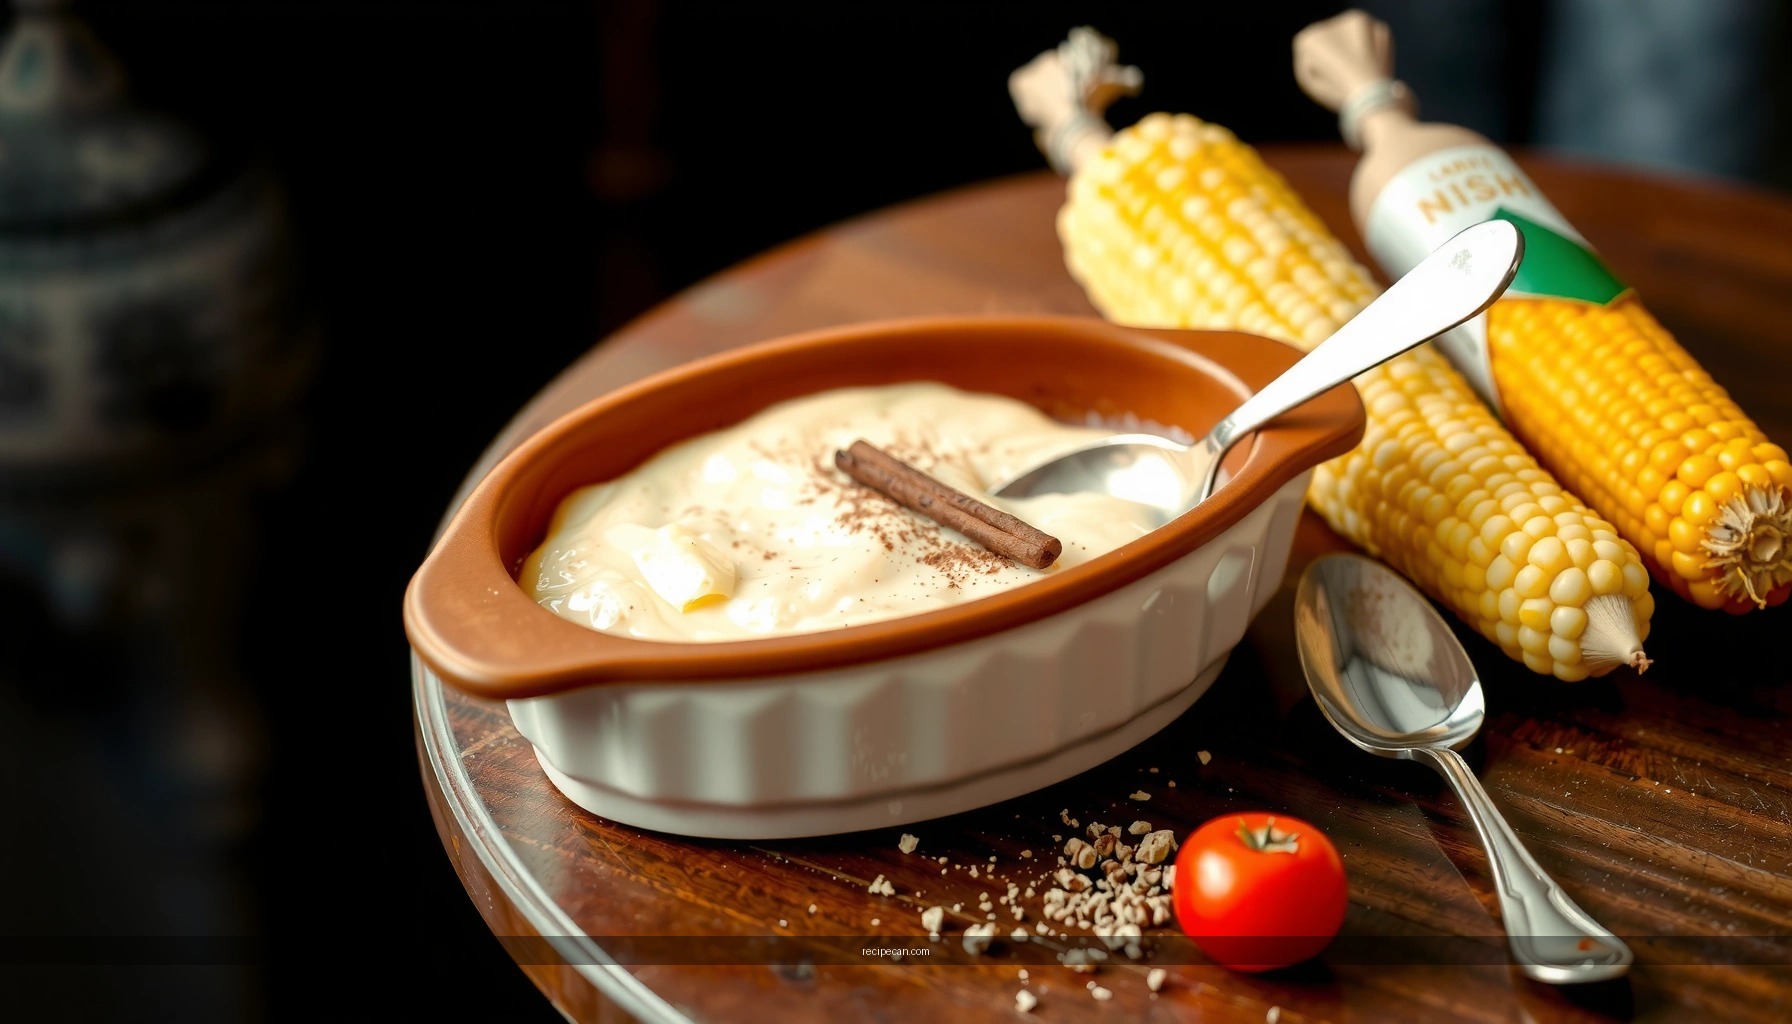
– Cinnamon (optional): A light dusting works best for serving rather than cooking, so the aroma stays fresh.
Creamier finish with whipped cream
For a more indulgent “parlor dessert” experience:
1. Let pudding cool to room temperature.
2. Fold in lightly whipped cream (not stiff peaks), using gentle strokes.
Why folding matters: Whipped cream adds volume and silkiness, but it can deflate if mixed too aggressively or if the pudding is too warm.
Cooling, Chilling, and Serving Tips
– Cool briefly, then chill until fully set for clean spoonable slices
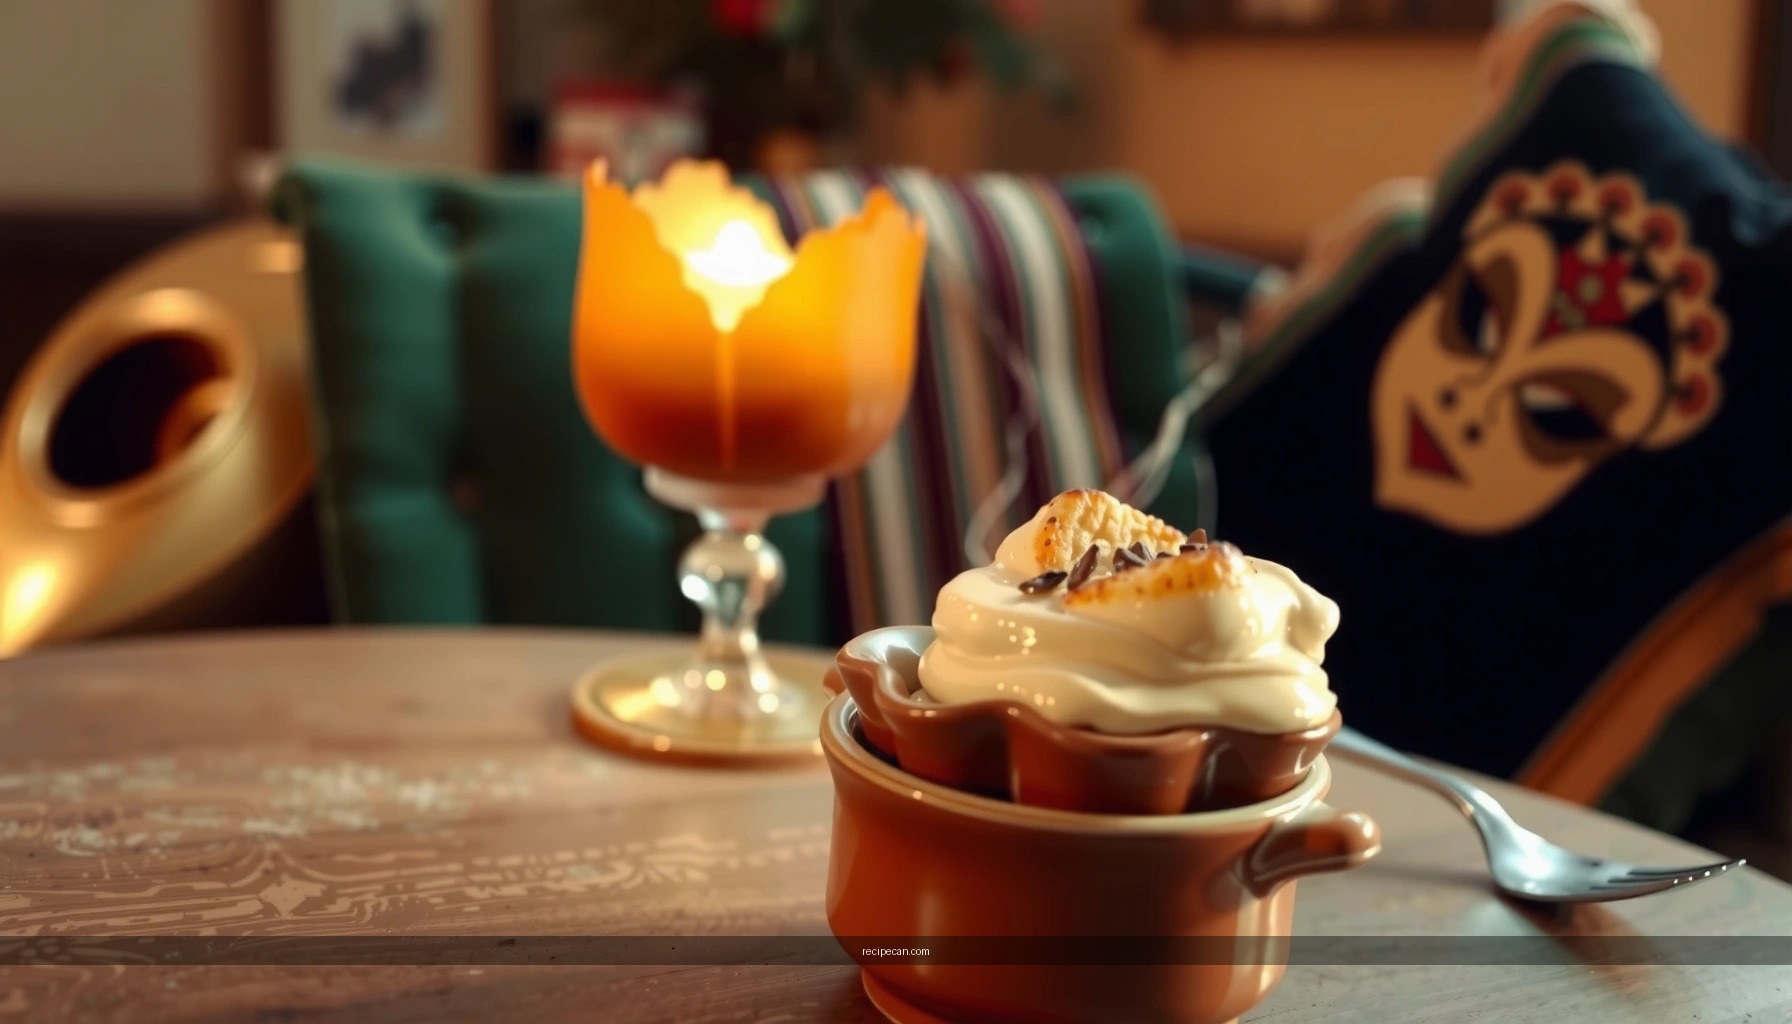
– Serve with fresh fruit, whipped cream, or a light dusting of cinnamon
Cooling is not a minor step—it’s where cornstarch pudding transforms from “hot thick milk” into classic spoonable slices.
Cooling method for the best set
1. After cooking, let pudding cool in the saucepan for about 5–10 minutes, stirring once to release trapped heat.
2. Transfer to serving cups or a shallow dish.
3. Press plastic wrap directly onto the surface (prevents a skin).
4. Chill until fully set.
Chilling time expectations
– Small cups: typically 1–2 hours
– Shallow dish: often 2–3 hours
– Overnight: best for the most stable sliceable texture
Serving ideas that still feel traditional
– Fresh berries or sliced peaches for brightness against creamy sweetness
– Whipped cream for a classic “diner dessert” feel
– A light dusting of cinnamon or grated nutmeg to reinforce warmth
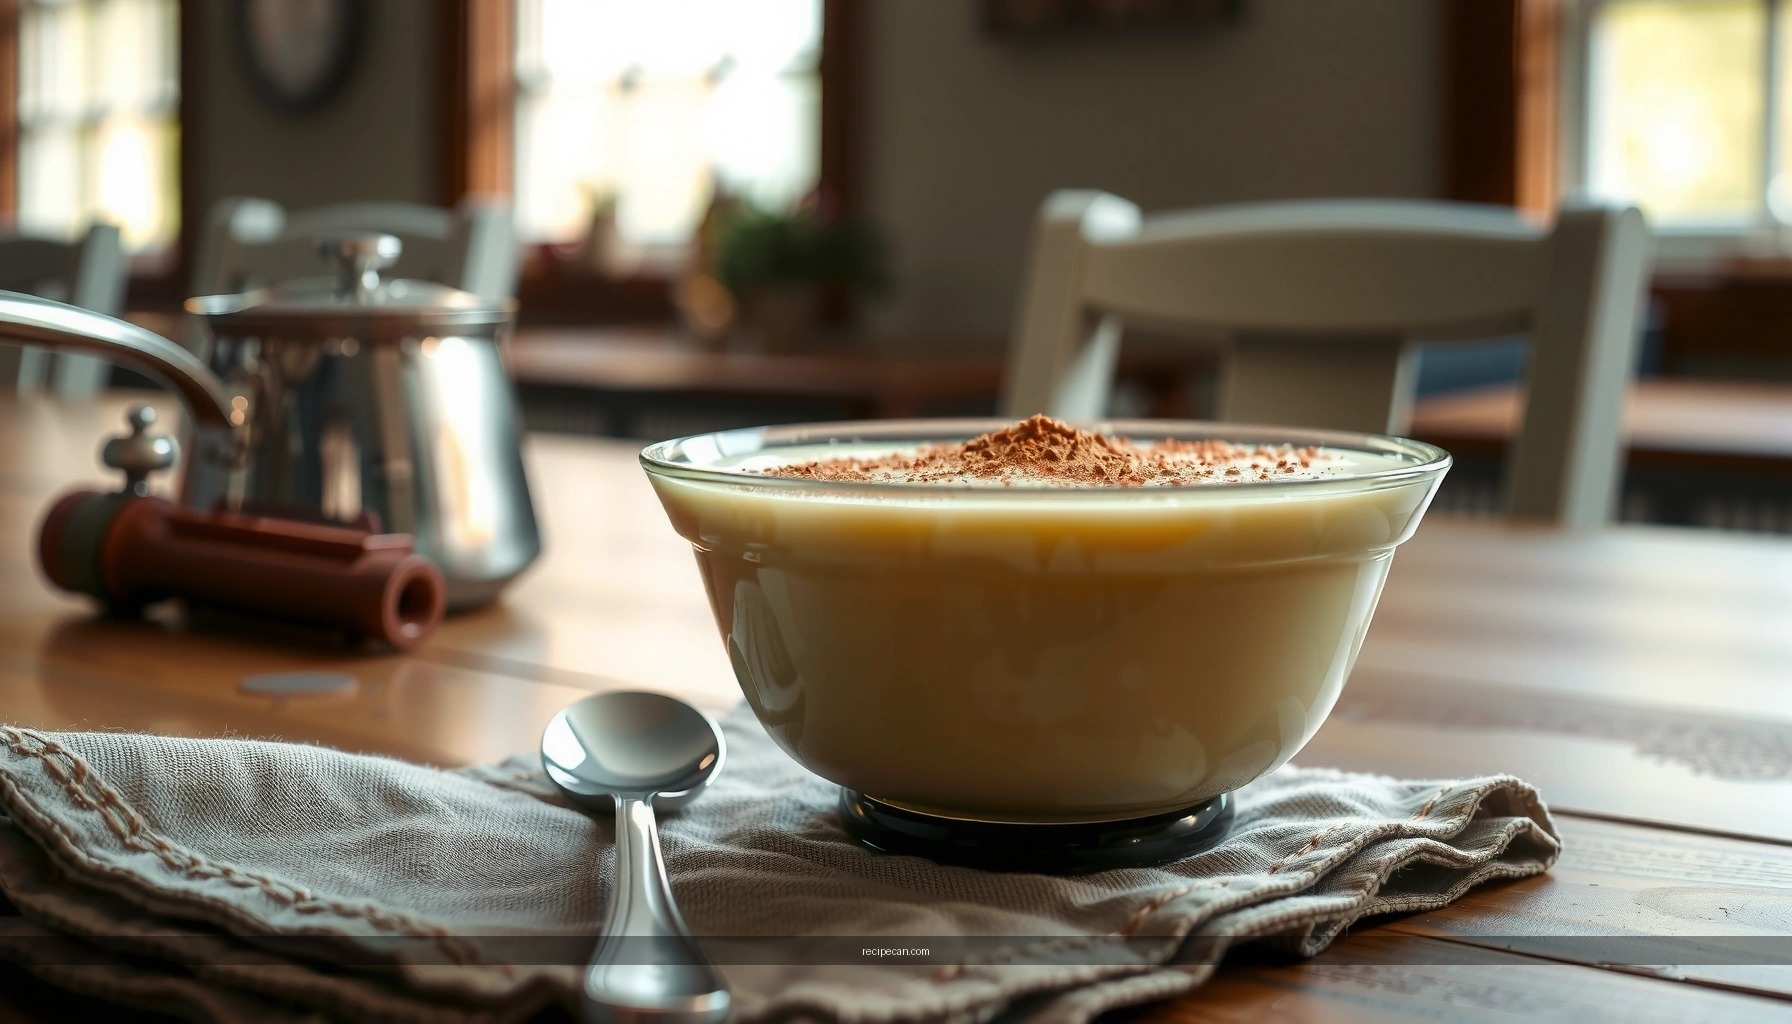
For an appealing presentation, serve in clear glasses so the custard texture is visible—customers and coworkers both respond well to “see-through” dessert structure.
Troubleshooting Common Problems
– If lumpy, strain and whisk while warm, then chill again
– If too thick, stir in a little warm milk; if too thin, simmer 1–2 minutes longer
Even the best cornstarch pudding recipes can face predictable issues. The good news: most problems are fixable without starting over.
Problem: Lumpy pudding
Cause: Cornstarch not hydrated before heat, or insufficient whisking during early cooking.
Fix:
1. Strain through a fine mesh sieve while the pudding is still warm.
2. Whisk the strained pudding gently to smooth it.
3. Chill again with plastic wrap on the surface.
This approach preserves flavor and texture while removing starch clumps.
Problem: Too thick or rubbery
Cause: Overcooked beyond the glossy thickening stage.
Fix:
– Stir in a small amount of warm milk (1–2 tablespoons) until smooth and spoonable.
Problem: Too thin or won’t set
Cause: Under-cooked thickener or not enough gelatinization time.
Fix:
– Simmer 1–2 minutes longer on medium heat, stirring continuously, then chill again.
Problem: Skin on top
Cause: Cooling uncovered.
Fix:
– Press plastic wrap directly onto the surface before chilling, then remove just before serving.
Old fashioned cornstarch pudding is easy once you whisk to prevent lumps and cook until glossy and thick. Follow the classic stovetop method, chill for the right set, and top it your favorite way—then make a batch and enjoy the creamy, comforting results.
In closing: if you want authentic old fashioned cornstarch pudding with creamy, classic results, focus on three execution points—a cornstarch slurry to prevent lumps, cooking until the mixture is glossy and coats a spoon, and chilling until fully set. Get those right, and you’ll consistently produce a silky dessert that tastes like tradition and serves beautifully, slice by slice.
Frequently Asked Questions
What is an old fashioned cornstarch pudding recipe and how do you make it?
An old fashioned cornstarch pudding recipe is a classic creamy dessert thickened with cornstarch instead of eggs, made by warming milk with sugar and slowly whisking in a cornstarch slurry. Cook the mixture until it turns glossy and thick, then stir in vanilla (and sometimes butter) for a rich, traditional flavor. It’s typically served warm or chilled until set, giving that nostalgic pudding texture.
How do you prevent cornstarch pudding from becoming lumpy?
To avoid lumps, whisk cornstarch with cold milk (or a small portion of the milk) until fully smooth before adding it to the hot mixture. Add the slurry gradually while whisking the milk mixture, and keep whisking until the pudding reaches a gentle boil and thickens. If lumps still form, strain the pudding through a fine-mesh sieve while it’s hot.
Why does my cornstarch pudding turn watery after chilling?
Watery old fashioned cornstarch pudding usually happens when the pudding wasn’t cooked long enough for the cornstarch to fully activate and thicken. Make sure you bring the mixture to a simmer and cook it for about 1–2 minutes, whisking constantly, until it’s clearly thick. Also cool it properly—if it’s under-thickened, chilling can only reveal the problem rather than fix it.
Which flavors and add-ins work best with old fashioned cornstarch pudding?
Classic old fashioned cornstarch pudding pairs well with vanilla, cinnamon, nutmeg, lemon zest, or chocolate for a traditional twist. Common add-ins include butter for extra richness, a splash of vanilla for aroma, and toppings like caramel, berry compote, or crushed cookies. If you’re making chocolate cornstarch pudding, whisk cocoa powder with sugar before combining to keep the texture smooth.
What’s the best way to store old fashioned cornstarch pudding and prevent a skin?
Store cornstarch pudding in an airtight container in the refrigerator and press a piece of plastic wrap directly onto the surface to prevent skin. Properly stored, it typically keeps for 3–4 days, though texture may thicken slightly over time. When reheating, whisk in a splash of milk to loosen the pudding and warm gently until smooth.
References
- Google Scholar Google Scholar
https://scholar.google.com/scholar?q=old-fashioned+cornstarch+pudding+recipe - Google Scholar Google Scholar
https://scholar.google.com/scholar?q=cornstarch+thickening+mechanism+gelatinization+food - Google Scholar Google Scholar
https://scholar.google.com/scholar?q=starch+gelatinization+dessert+pudding+texture - Pudding
https://en.wikipedia.org/wiki/Pudding - Corn starch
https://en.wikipedia.org/wiki/Cornstarch - Custard
https://en.wikipedia.org/wiki/Custard - Pudding | Definition, Types, & Ingredients | Britannica
https://www.britannica.com/topic/pudding - Custard | Definition, Ingredients, & Preparation | Britannica
https://www.britannica.com/topic/custard - https://pubmed.ncbi.nlm.nih.gov/?term=cornstarch+gelatinization
https://pubmed.ncbi.nlm.nih.gov/?term=cornstarch+gelatinization - https://pubmed.ncbi.nlm.nih.gov/?term=starch+gelatinization+dessert+texture
https://pubmed.ncbi.nlm.nih.gov/?term=starch+gelatinization+dessert+texture