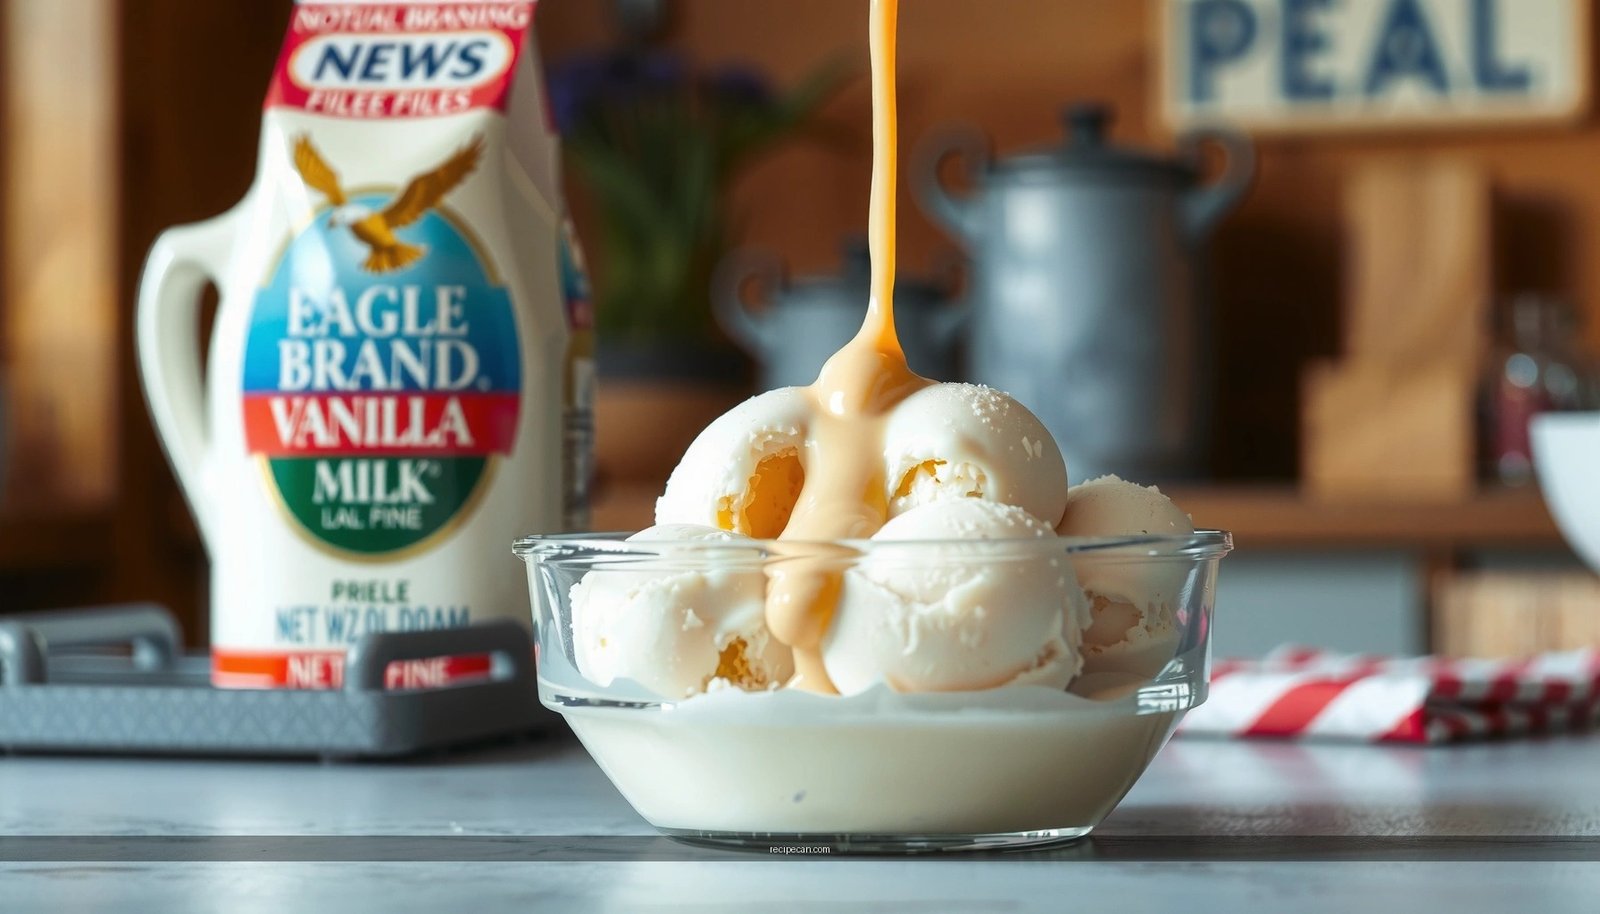
Looking for a homemade ice cream recipe with evaporated milk that actually delivers a rich, scoopable result? This recipe is the clear winner when you want creamy texture without complicated custard steps, using evaporated milk as the key base for smooth flavor and easy churn. In just a few straightforward steps, you’ll learn how to make it reliably at home—no ice-cream maker required.
Homemade ice cream with evaporated milk is one of the easiest ways to get a rich, creamy, scoopable result at home—often without complicated egg-custard tempering. In this guide, you’ll build a smooth base using evaporated milk, chill it for the right texture, and then churn (or adapt if you don’t have an ice cream maker) so your final batch stays soft and indulgent instead of icy.
Ingredients for Homemade Ice Cream with Evaporated Milk

– Use evaporated milk as the main creamy base for a smooth, dairy-rich flavor
– Gather sweeteners, eggs (if using), and vanilla (or your favorite flavoring)
To make a dependable evaporated-milk ice cream, think in terms of four functional ingredient roles: creaminess, sweetness, stability, and flavor. Evaporated milk provides a concentrated dairy base (lower water content), which helps the mixture freeze with a softer, more scoop-friendly texture than many “lighter” milk-based recipes.
Here are a solid, practical ingredient set for about 1 quart (4 cups):
– 1 can (12 oz / 354 ml) evaporated milk (main creamy base)
– 1 cup (240 ml) heavy cream (adds fat for creaminess and smoother freezing)
– 3/4 cup (150 g) granulated sugar (sweetness and ice-crystal control)
– 4 large egg yolks (optional but recommended for a richer, custardy texture)
– 1 teaspoon vanilla extract (or 1–2 teaspoons of your flavoring)
– Pinch of salt (balances sweetness and improves perceived flavor)
Optional add-ins (choose 1–2)
– Fruit puree: strawberry, mango, or raspberry (cook briefly to reduce excess moisture)
– Coffee: 1–2 tablespoons espresso powder or strong brewed coffee concentrate
– Chocolate: cocoa powder (start with 1/4 cup) or melted chocolate
– Salted caramel: store-bought sauce folded in near the end
Step-by-Step Instructions (Make the Base)
– Heat and mix the evaporated milk ingredients until sugar dissolves and the base thickens slightly
– Cool the mixture completely before churning for the best texture
The “base” is where evaporated milk earns its keep. Proper heating dissolves sugar and activates thickening (especially if using yolks), while complete cooling prevents the biggest enemy of homemade ice cream—large ice crystals.
Method A (Recommended): Custard-style base with yolks (extra creamy)
1. Whisk yolks + sugar: In a bowl, whisk 4 yolks with 3/4 cup sugar until smooth and slightly lighter.
2. Warm evaporated milk + cream: In a saucepan, heat evaporated milk and heavy cream with a pinch of salt over medium until steaming but not boiling.
3. Temper the yolks: Slowly pour a small amount of hot dairy into the yolks while whisking constantly (this prevents scrambling).
4. Cook to thicken: Pour everything back into the saucepan and cook on medium-low, stirring continuously, until it coats the back of a spoon (about 170–175°F / 77–79°C).
– If you don’t have a thermometer: the mixture should look slightly thicker and cling to a spoon instead of running like milk.
5. Add vanilla: Remove from heat and whisk in vanilla.
6. Chill completely: Transfer to a container, press plastic wrap or parchment onto the surface to reduce skin, then refrigerate until thoroughly cold—at least 4 hours, preferably overnight.
Method B: No-egg “stir-and-chill” for simplicity (still good)
If you want a simpler route, you can skip eggs. The key is to ensure the sugar fully dissolves and the mixture chills thoroughly:
1. Heat evaporated milk + cream + sugar + salt until sugar dissolves (steaming, not boiling).
2. Whisk in vanilla.
3. Chill completely in the refrigerator before churning.
> Pro tip: Custard-style base generally yields a more “ice-cream-shop” texture, while the no-egg version can be slightly softer and less custardy.
Practical quality checkpoints
– Sugar dissolves fully = smoother mouthfeel.
– Base thickens slightly (with yolks) = improved stability.
– Mixture is cold all the way through before churning = fewer ice crystals.
Churning Tips for a Creamy Texture
– Churn according to your ice cream maker’s timing for light, airy results
– Keep the mixture cold to prevent iciness and improve scoopability
Churning is not just about freezing—it’s also about incorporating air and controlling ice crystal growth. When your base is properly chilled, an ice cream maker can turn that into a texture that slices cleanly and scoops easily.
If you use an ice cream maker
1. Start with a fully cold base: If it’s even slightly warm, the mix starts freezing too slowly and can produce a grainy texture.
2. Follow your machine’s timing: Most churn cycles fall around 20–30 minutes, but the real signal is when the mixture looks like soft-serve: thick, pale, and capable of holding shape.
3. Avoid over-churning: Once it reaches a soft-serve consistency, stop. Over-churning can make the ice cream too stiff and lead to dryness after freezing.
If you don’t have an ice cream maker (stir-freeze method)
You can still make creamy evaporated-milk ice cream with periodic agitation:
1. Pour base into a shallow container.
2. Freeze until edges begin to firm (about 45–60 minutes).
3. Stir vigorously (or blend) to break up ice crystals.
4. Repeat every 30–45 minutes for about 3–4 cycles.
5. Freeze until firm.
This approach works best when you use yolks or a slightly thicker base (evaporated milk plus cream helps).
Why temperature matters (quick analytical view)
– Cold base = fast freezing on the surface, which leads to smaller ice crystals.
– Stable base = less water separation, reducing iciness during storage.
– Gentle handling = less fat separation, supporting a silky texture.
Data snapshot: What ingredient choices do to texture
Texture-Impact Index for Evaporated-Milk Ice Cream Ingredients
| # | Ingredient role | Primary function | Texture impact (1–10) | Recommendation |
|---|---|---|---|---|
| 1 | Evaporated milk | Main dairy base | 8 | Use full-fat |
| 2 | Heavy cream | Fat + body | 9 | Keep within 1:4 cream-to-base |
| 3 | Egg yolks | Emulsion + stability | 8 | Use yolks for custardy texture |
| 4 | Sugar | Melting point control | 7 | Dissolve fully before chilling |
| 5 | Vanilla/flavoring | Aroma + perception | 4 | Add after heat phase |
| 6 | Salt | Flavor balance | 3 | Use a pinch—don’t overdo |
| 7 | Fruit/solids mix-ins | Flavor variety | 6 | Reduce moisture; fold late |
Flavor Ideas and Mix-Ins
– Add vanilla, chocolate, fruit puree, or coffee to customize your batch
– Fold in mix-ins like chocolate chips, cookie crumbles, or toasted nuts near the end
Evaporated milk ice cream is naturally adaptable because its base is both creamy and stable. Use this flexibility to create flavors that feel “premium” without turning the process into a science experiment.
Easy flavor formulas (start here)
– Classic vanilla: Use 1–2 teaspoons vanilla extract; for extra depth, add 1/4 teaspoon vanilla bean paste.
– Chocolate: Whisk 1/4 cup cocoa powder into the warm dairy base (before chilling). If using melted chocolate, let it cool slightly and then stir in.
– Coffee: Add 1–2 tablespoons espresso powder to the warm base, or use strong coffee concentrate to avoid thinning.
– Fruit swirl: Cook fruit puree briefly to thicken (5–8 minutes), cool, then swirl into the churned ice cream.
Mix-in timing: what to fold in and when
– Fold in sturdy add-ins near the end of churning or after churning: chocolate chips, cookie pieces, toffee bits, toasted nuts.
– For soft or wet ingredients (berries, jam): cool them fully and fold sparingly to avoid iciness from added water.
– For chunks (brownies, cake pieces): pat dry first, then fold late so they don’t dissolve.
Storage and Freezing for Best Results
– Transfer to a container and press parchment or plastic wrap directly onto the surface
– Freeze until firm, then let it soften briefly before serving
Homemade ice cream quality depends heavily on surface exposure and time in the freezer.
1. Use an airtight container. Ideally choose one that’s just slightly larger than the ice cream volume to reduce air space.
2. Press a barrier to the surface: Lay parchment or plastic wrap directly on top of the ice cream before sealing the lid. This reduces freezer burn and ice crystal formation.
3. Freeze to firm: Typically 4–6 hours.
4. Soften before serving: Let it sit at room temperature for 5–10 minutes for a smooth, scoopable texture.
If you notice the texture becomes too firm after long storage, it’s usually due to freezer temperature and air exposure—not a failure of your base.
Troubleshooting Common Issues
– If it’s icy, ensure the base was fully cooled and the churned mixture didn’t warm up
– If it’s too soft, churn longer or freeze longer in an airtight container
Even with a great evaporated milk ice cream recipe, small process variables can affect final texture. Here’s how to diagnose issues quickly.
1) Ice cream is icy or grainy
Most common causes:
– Base wasn’t fully chilled (even 1–2 hours short can matter)
– Churning mixture warmed up during transfer
– Too much watery fruit or mix-ins were added
Fix next time:
– Chill base overnight if possible.
– Keep the canister cold; minimize time between removing from fridge and churning.
– Cook fruit puree longer to reduce moisture; fold fruit swirls less aggressively.
2) Ice cream is too soft or melts quickly
Most common causes:
– Undercooking / under-thickening (if using yolks)
– Under-churning or finishing too early
– Not long enough in the freezer
Fix next time:
– Churn until soft-serve stage, not before.
– Freeze at least 4–6 hours in an airtight container.
– If you like a firmer texture, slightly reduce sugar by a few tablespoons or extend churn time by 2–5 minutes (watch closely to avoid dryness).
3) Ice cream has a “scrambled egg” texture (if using yolks)
This indicates yolks were heated too aggressively.
– Tempered correctly? If not, reduce heat and temper slowly next time.
– Use a thermometer if possible; stop at 170–175°F / 77–79°C.
4) Ice cream tastes too sweet or flat
– Too sweet: reduce sugar in the next batch by 1–2 tablespoons.
– Flat: add a pinch more salt or use higher-quality vanilla. Salt and vanilla increase flavor clarity.
Homemade ice cream made with evaporated milk gives you a creamy, reliable result with straightforward steps. Follow the base, chill fully, churn (or adapt to your method), and choose your favorite flavors—then make your next batch and enjoy fresh scoops at home.
Frequently Asked Questions
What is the best homemade ice cream recipe with evaporated milk for a creamy texture?
A classic approach uses evaporated milk for rich body, plus heavy cream or whole milk to balance fat and smoothness. Many recipes combine evaporated milk, sugar (or condensed sweetness), egg yolks if you want a custard-style base, and vanilla for flavor. Chill the mixture thoroughly before churning to help the homemade ice cream freeze evenly and stay creamy rather than icy.
How do you make homemade ice cream with evaporated milk without eggs?
You can make a no-egg version by whisking evaporated milk with sugar until dissolved, then adding vanilla and any stabilizer you like (such as a small amount of cornstarch cooked briefly, or cream-based richness). For extra smoothness, some people add a little heavy cream or sweetened condensed milk to improve freeze texture. Chill the base for several hours, churn, and freeze until firm to achieve a scoopable homemade ice cream.
Why does homemade ice cream with evaporated milk sometimes turn icy, and how can you prevent it?
Icy homemade ice cream usually comes from too much water crystallizing, under-chilling the base, or insufficient sugar/fat. Evaporated milk is concentrated, but the recipe may still need the right balance of sweetness and fat to reduce ice crystals. Make sure you dissolve sugar fully, chill the mixture before churning, and freeze in an airtight container to limit temperature swings.
Which flavors pair best with evaporated milk ice cream?
Evaporated milk works well with warm, classic flavors like vanilla, chocolate, coffee, caramel, and fruit purées because its creamy base supports both subtle and bold tastes. For chocolate, use cocoa powder or melted chocolate and adjust sweetness to avoid bitterness. For fruit, strain out seeds/pulp and consider slightly reducing the fruit amount so the homemade ice cream doesn’t become too soft or icy.
How long should you churn and freeze homemade ice cream made with evaporated milk?
Churning time varies by machine, but many evaporated milk ice cream bases reach a soft-serve consistency in about 20–30 minutes. After churning, transfer to a container and freeze for at least 3–4 hours to firm up for scooping. For best results, freeze quickly and keep it tightly covered to maintain texture and prevent freezer burn.
References
- Ice cream
https://en.wikipedia.org/wiki/Ice_cream - Evaporated milk
https://en.wikipedia.org/wiki/Evaporated_milk - Projects – National Center for Home Food Preservation
https://nchfp.uga.edu/how/freeze/ice_cream.html - Ice cream | Definition, History, & Production | Britannica
https://www.britannica.com/topic/ice-cream - Evaporated milk | Britannica
https://www.britannica.com/topic/evaporated-milk - https://pubmed.ncbi.nlm.nih.gov/?term=evaporated+milk+ice+cream
https://pubmed.ncbi.nlm.nih.gov/?term=evaporated+milk+ice+cream - https://www.sciencedirect.com/search?qs=evaporated%20milk%20ice%20cream
https://www.sciencedirect.com/search?qs=evaporated%20milk%20ice%20cream - Google Scholar Google Scholar
https://scholar.google.com/scholar?q=evaporated+milk+ice+cream+recipe - Google Scholar Google Scholar
https://scholar.google.com/scholar?q=evaporated+milk+ice+cream+formulation+stabilizer+milkfat - Google Scholar Google Scholar
https://scholar.google.com/scholar?q=homemade+ice+cream+custard+base+evaporated+milk