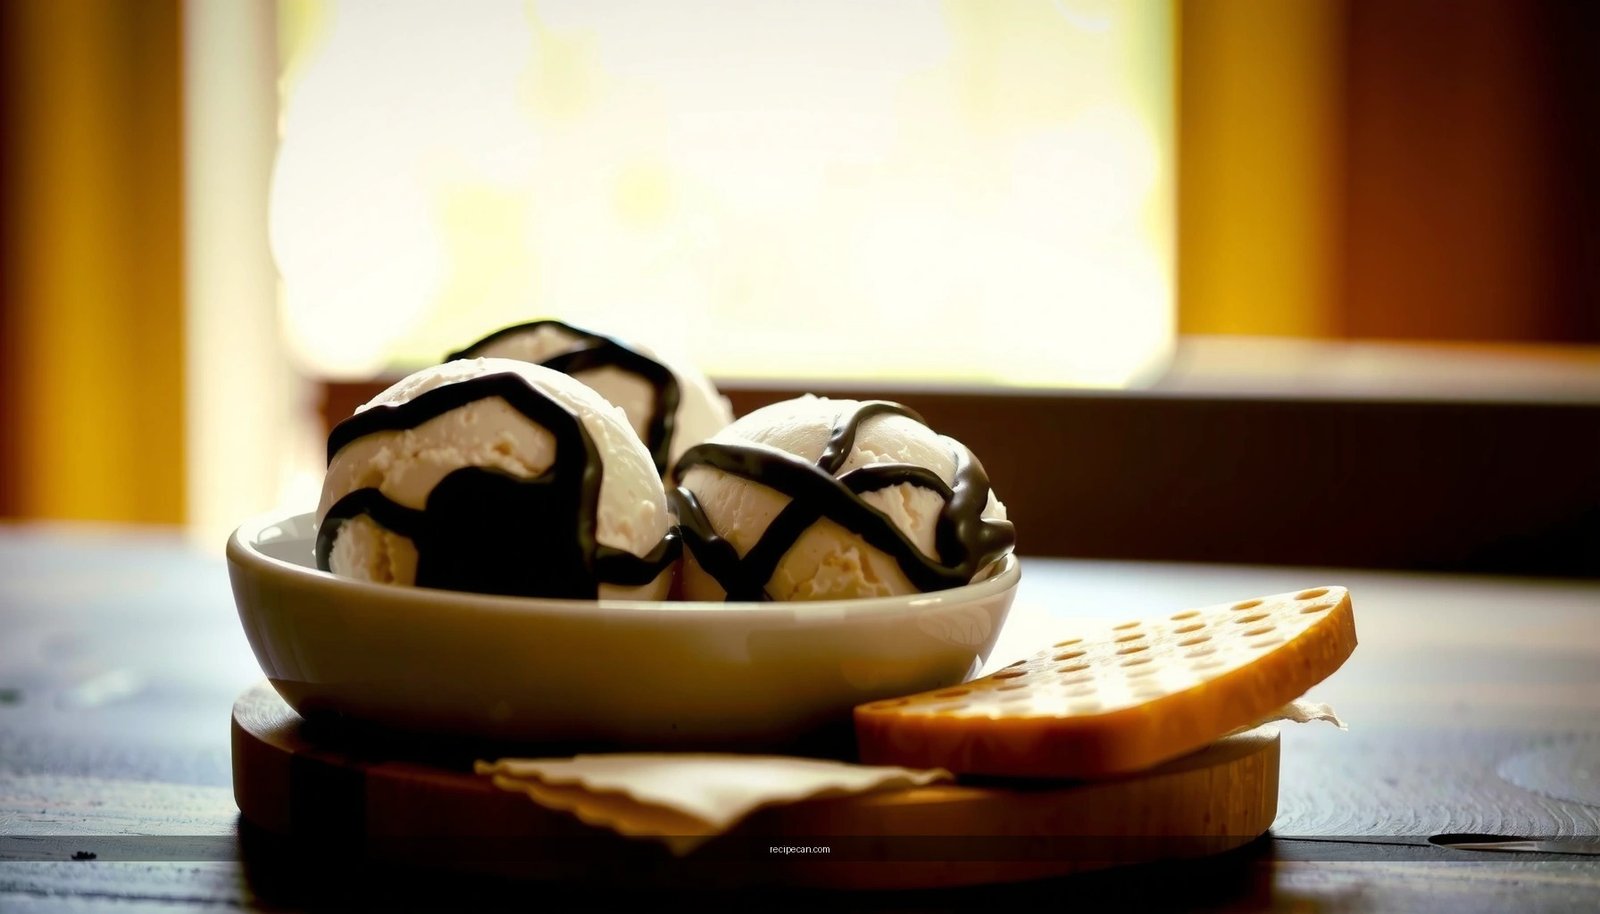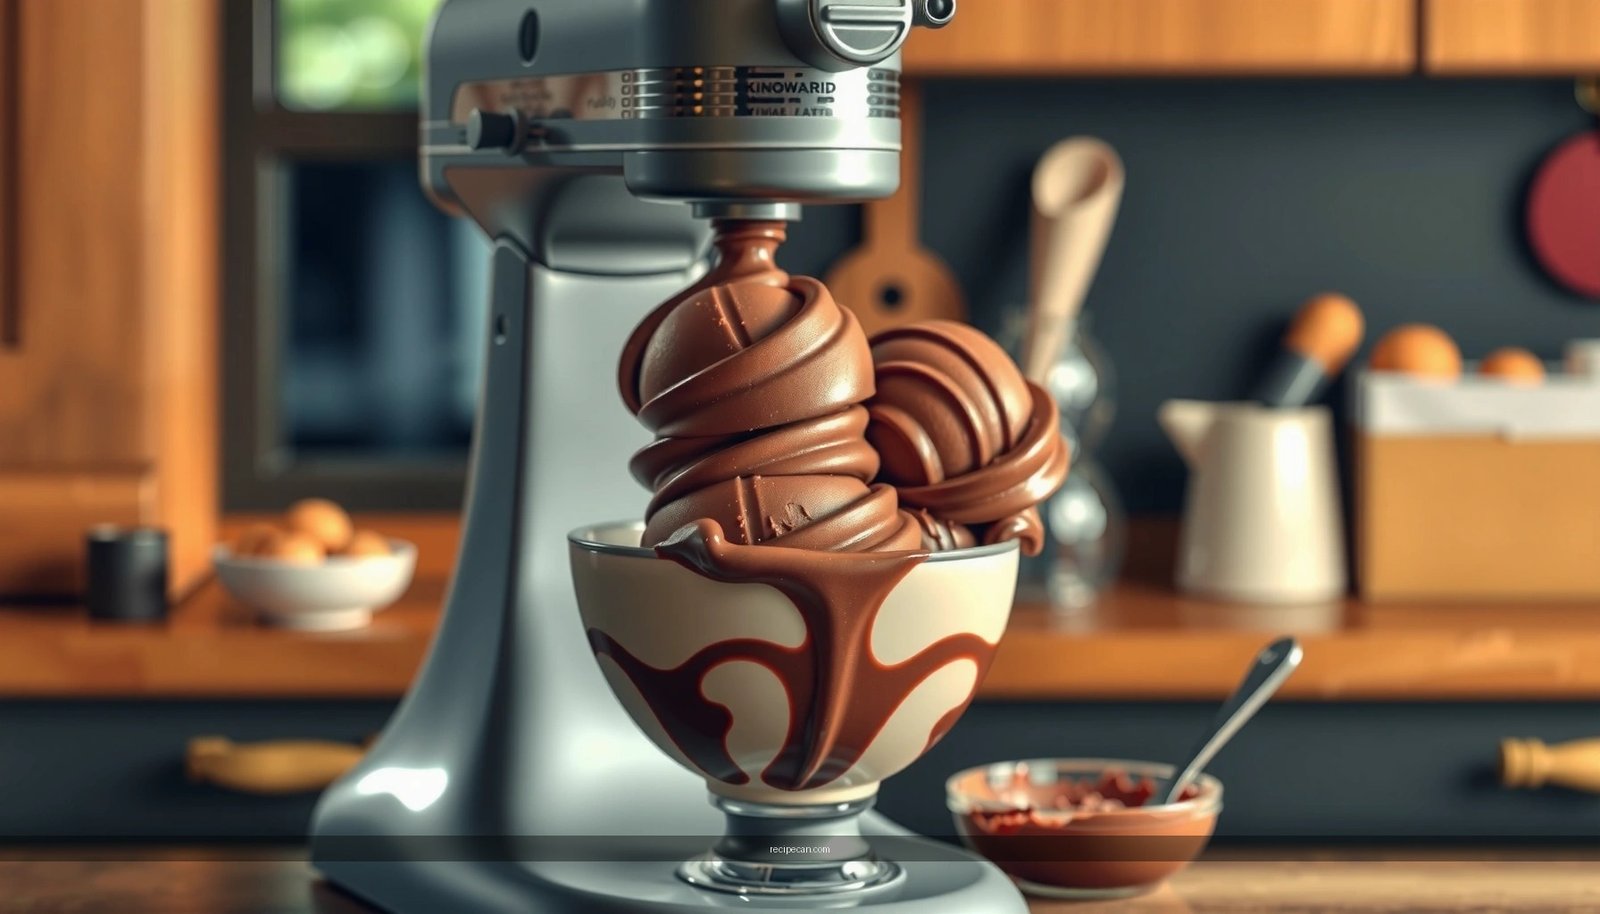
This Chocolate Ice Cream Recipe for KitchenAid gives you the clear, repeatable method to churn rich chocolate ice cream with a smooth, scoopable texture—without guesswork. You’ll get the exact ingredient ratios, speed, and timing so your KitchenAid delivers consistent results from churn to freeze. If your question is whether your machine can produce true “real ice cream” texture, this is the answer.
Make rich, scoopable chocolate ice cream in your KitchenAid by churning a thoroughly chilled custard base until it reaches soft-serve thickness, then freezing it to set. The key is disciplined custard cooking (to stabilize texture), proper chilling (to prevent iciness), and the right churn/hold timing (to keep air bubbles small and creamy).
Creating homemade ice cream sounds complex, but a KitchenAid ice-cream attachment simplifies the process by doing most of the physical work. You still control the quality—through cocoa choice, custard thickness, tempering, and follow-through in the freezer. Below is a classic chocolate custard recipe tailored to churn reliably, plus guidance on settings, mix-ins, texture, variations, and troubleshooting.
KitchenAid Churning Targets for Smooth Chocolate Custard (Guidance)
| # | Stage | Custard Temp (°F) | Visual Cue | Outcome Risk |
|---|---|---|---|---|
| 1 | Custard Chilled (before churn) | 35–40 | Pourable, cold, not sloshy | Low |
| 2 | Churn start (attachment running) | 36–41 | Liquid begins to thicken quickly | Low |
| 3 | Mid-churn thickness | — | Softening pull, swirl holds 1–2 seconds | Managed |
| 4 | End churn (soft-serve level) | — | Thick like soft serve; spatula leaves a track | Best |
| 5 | Transfer to freezer | — | Filled quickly; minimal air loss | Low |
| 6 | Initial set (first 2 hours) | Freezer only | Surface slightly firm; no dry crust | Low |
| 7 | Serve-ready texture (after 4–6 hours) | ≤0 | Scoop forms ribbons; minimal ice crystals | If under-chilled: High |
Ingredients for Chocolate Ice Cream (KitchenAid)
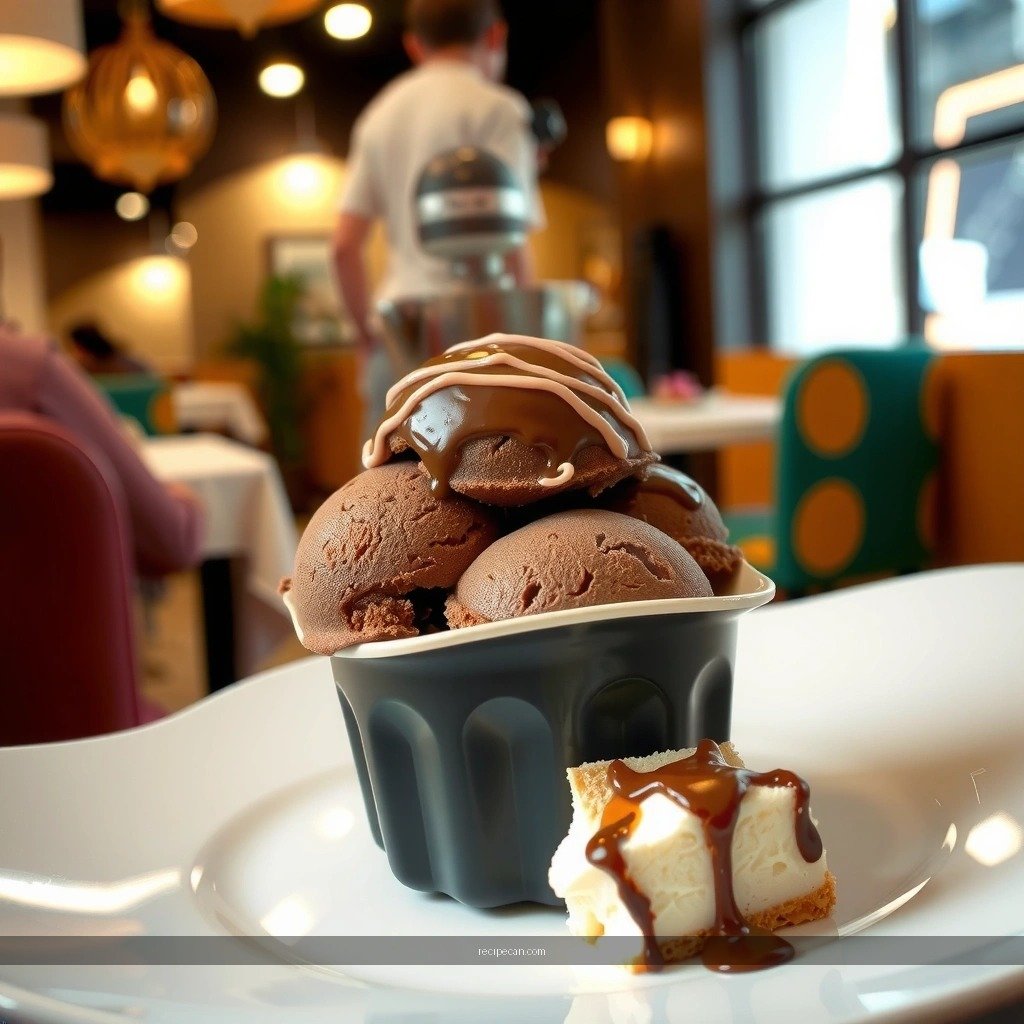
A classic chocolate ice cream base is a custard: cocoa for flavor, dairy for body, sugar for sweetness and freezing-point control, and egg yolks for emulsification. For a KitchenAid ice-cream attachment, this matters because custard stability helps you churn smoothly and freeze without graininess.
Key components (classic custard base):
– Heavy cream: provides fat for a softer, silkier mouthfeel.
– Whole milk: balances richness and improves custard consistency.
– Granulated sugar: sweetens and reduces ice crystal formation.
– Unsweetened cocoa powder: delivers deep chocolate flavor; choose a high-quality Dutch-process cocoa if you want a darker, smoother taste.
– Egg yolks: thicken the custard and create an emulsion that supports a creamy texture.
Optional add-ins (for deeper flavor and variety):
– Vanilla extract (1–2 tsp): rounds out cocoa notes.
– Chocolate chips or chopped chocolate: fold in during the final minutes of churning so pieces stay suspended evenly.
– Espresso powder (¼–1 tsp): intensifies chocolate perception for a mocha effect.
– Pinch of salt: boosts cocoa flavor and prevents “flat” sweetness.
Ingredient temperatures for smooth mixing:
– Egg yolks: bring to room temperature (about 68–72°F / 20–22°C) to reduce the risk of curdling during tempering.
– Dairy: warm gently for tempering—hot enough to dissolve sugar/cocoa and help thicken, but not boiling aggressively.
– Chilled custard: cool to 35–40°F (2–4°C) before churning. This is one of the biggest determinants of whether your chocolate ice cream is creamy or icy.
> Practical sizing note: if your KitchenAid bowl capacity is smaller than a typical quart batch, scale down the recipe proportionally. Overfilling can prevent consistent freezing and leave uneven texture.
Make the Chocolate Custard Base
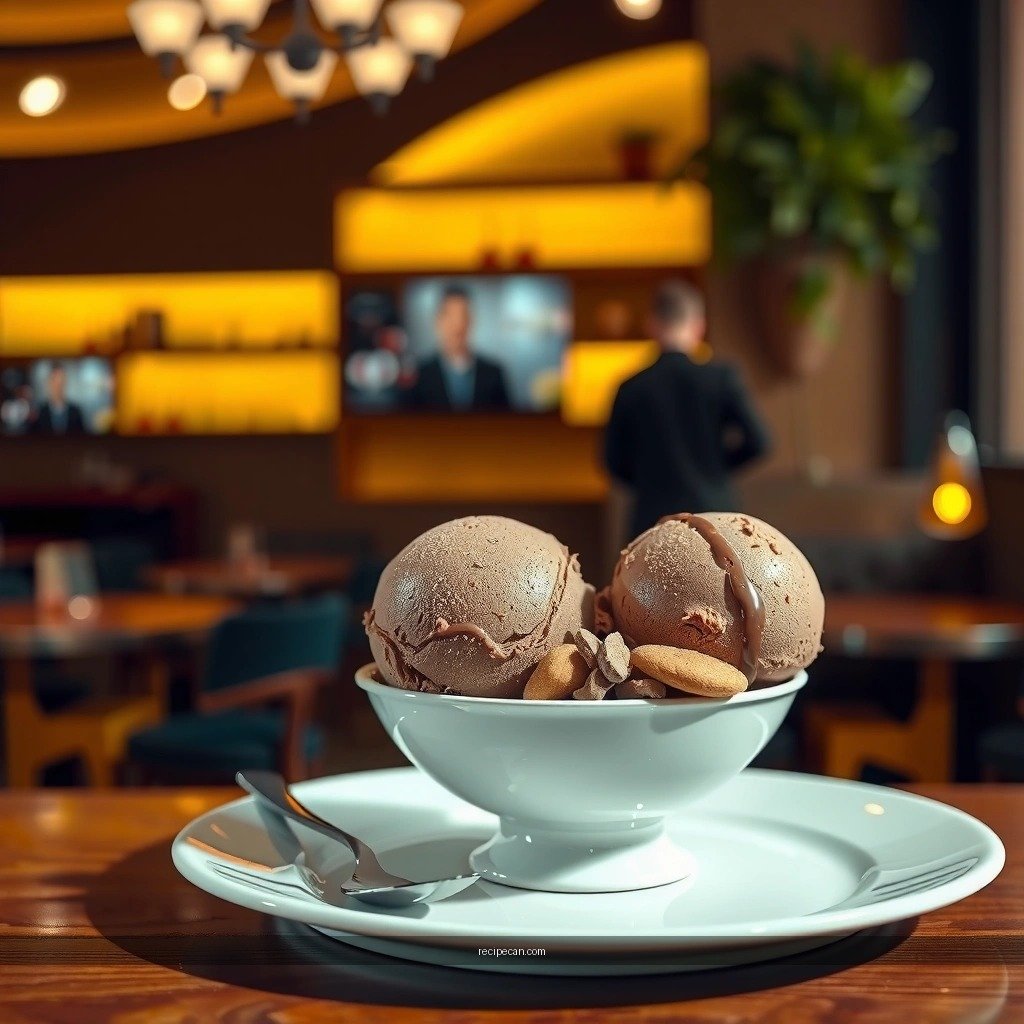
The custard is where professional-style texture begins. You’re building a stable matrix: cocoa and sugar provide flavor and solubility, while yolks thicken into a smooth custard that churns into a fine, scoopable ice cream.
1. Whisk dry cocoa and sugar with yolks
– In a bowl, whisk together egg yolks, cocoa powder, and sugar until glossy and smooth.
– This step dissolves cocoa and prevents lumps later. Aim for a uniform, deep-brown paste.
2. Temper with warm dairy
– Warm the milk and cream until steaming (not a hard boil).
– Slowly drizzle a small amount into the yolk mixture while whisking constantly.
– Tempering raises yolk temperature gradually so the custard thickens without curdling.
3. Cook gently until it coats a spoon
– Pour everything back into the pot and cook on medium-low, stirring constantly with a heat-safe spatula.
– You’re looking for the classic “coat the spoon” test: run a finger through the custard on the spatula; it should leave a clean line.
– For precision, many custard bases thicken around 170–175°F (77–80°C)—but the coating test is often more reliable than strict temperature if you’re near the range.
4. Strain and chill thoroughly
– Strain the custard through a fine-mesh sieve to remove any tiny cooked bits or cocoa clumps.
– Chill fast: place the strained custard in a bowl over an ice bath or refrigerate uncovered briefly, then cover.
– Chill until fully cold (35–40°F / 2–4°C). Even great churning will be compromised if the base is lukewarm.
Why straining and chilling matter: cocoa is fine but can still form micro-grain during cooking. A sieve plus proper chilling removes those texture offenders before the ice crystals form.
Use Your KitchenAid Ice Cream Attachment
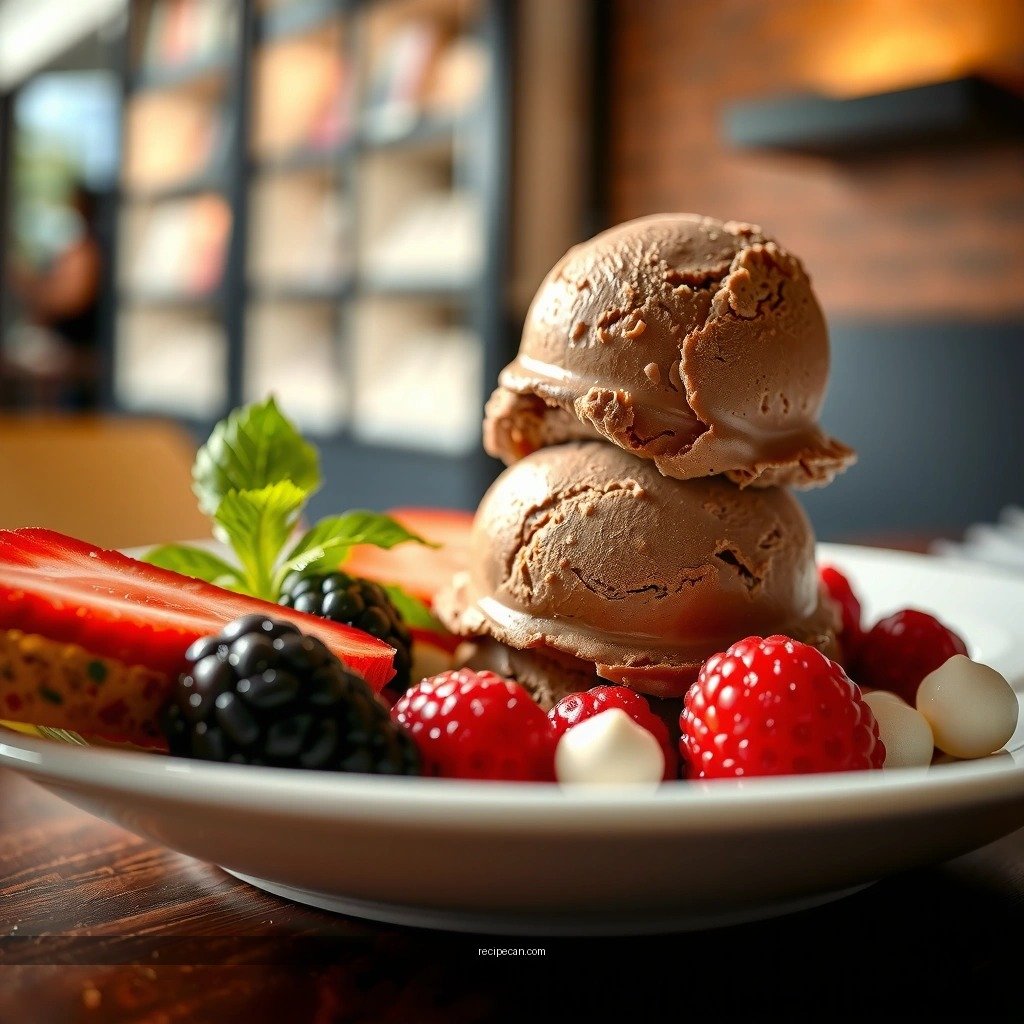
Once the custard is cold, the churn phase is mostly about consistency control—getting to the right thickness and timing your add-ins.
1. Churn the chilled custard to soft-serve
– Start the KitchenAid with the ice-cream attachment per your manual’s recommended speed/cycle.
– Add the chilled custard to the frozen bowl and churn until the mixture reaches soft-serve consistency—thick, airy, and able to hold a swirl.
– Over-churning can make the mixture too stiff before freezing, reducing the creamy “ribbon” scoop you want later.
2. Keep conditions stable
– Keep the bowl cold: don’t leave it sitting at room temperature longer than necessary.
– Keep the mixture moving: if your attachment has a hopper feed, ensure steady flow so the dasher maintains contact with the mix.
3. Add mix-ins at the right time
– If using chocolate chips, nuts, or cookie pieces, add them during the final minutes of churning.
– This prevents sinking and reduces the risk of chips clumping or becoming overly hard.
Operational perspective: Most KitchenAid ice-cream attachments rely on a pre-frozen bowl (or integrated cooling system, depending on model). In both cases, the custard temperature and churn endpoint are what determine crystal size. Soft-serve thickness is your cue that the mix is aerated and partially frozen—ideal for final freezing.
Achieve the Best Texture (No Icy Ice Cream)
“Icy” ice cream typically comes from one of three causes: custard wasn’t cold enough going into the churn, the churned base sat too long before freezing, or the ice cream was exposed to air in storage. You can address all three with a disciplined freeze method.
– Freeze in an airtight container
– Transfer promptly from the churn bowl to a container with a tight seal.
– Airtight storage limits freezer air exchange, which helps reduce surface ice crystals and flavor loss.
– Press a barrier on the surface
– Place parchment or plastic wrap directly on the surface before sealing the lid.
– This minimizes the oxygen and temperature gradient that drive ice crystal growth.
– Give it enough chill time
– For best scoop texture, freeze several hours (typically 4–6 hours) before serving.
– Serving too soon can make the ice cream hard or oddly firm; conversely, under-freezing can leave it soft with larger perceived ice crystals.
Pro tip: If you serve later, let the ice cream sit at room temperature for 3–5 minutes before scooping. You get a smoother scoop without fully melting the edges.
Flavor Variations for Chocolate Lovers
Once you nail the base, chocolate flavors can be tuned with ingredients rather than technique changes. These variations keep the same custard method so texture remains consistent while flavor changes dramatically.
– Richer, fudgier chocolate
– Swap part of the cocoa powder for melted chocolate (use unsweetened or semi-sweet depending on your sweetness preference).
– The added cocoa butter can enhance density and perceived richness, producing a more “truffle-like” finish.
– Dark chocolate with enhanced cocoa
– Use dark cocoa (or Dutch-process cocoa) and add a pinch of salt.
– Salt sharpens cocoa aroma and reduces “one-note” sweetness—especially if you’re using a standard sugar level.
– Mocha-style chocolate ice cream
– Add espresso powder (start with ¼ tsp and adjust).
– Espresso powder doesn’t make it taste like coffee ice cream; it makes chocolate taste more intense and complex.
Flavor strategy: Make one change at a time (e.g., cocoa swap, then salt, then espresso). This helps you identify what improves your preferred version and prevents accidental over-adjustment that can thin texture or overwhelm sweetness.
Troubleshooting Common KitchenAid Issues
Even with the right method, ice cream can vary based on your freezer temperature, bowl pre-freeze time, and custard thickness. Here’s how to diagnose fast.
– If it’s too soft
– Likely causes: under-churned mixture, base too warm, or not enough freezer time.
– Fix: churn a bit longer until true soft-serve consistency, confirm the custard was 35–40°F (2–4°C), and freeze 4–6 hours before judging texture.
– If it’s icy or grainy
– Likely causes: custard wasn’t chilled enough before churning, poor sealing during freeze, or transferring delays.
– Fix: chill the custard longer (don’t rush), press parchment/plastic directly on the surface, and minimize time between churn and freezer transfer.
– If flavor is weak
– Likely causes: cocoa amount too low, cocoa quality issues, or missing “boosters.”
– Fix: increase cocoa slightly, add melted chocolate for deeper flavor, or incorporate vanilla and a pinch of salt. For a mocha profile, add espresso powder in small increments.
Analytical takeaway: Texture and flavor both depend on the same foundation—custard stability. When the custard cooks and chills correctly, the churn “locks in” small ice crystals; when the ice cream is sealed correctly, crystals stay small. That’s why these troubleshooting tips are interconnected rather than separate.
Fresh, chocolatey KitchenAid ice cream is all about a well-cooked, well-chilled custard base and proper freezing afterward. Follow the custard steps until it coats a spoon, chill it thoroughly before churning, churn to soft-serve thickness, and freeze with an airtight barrier to protect texture. Once you’ve mastered the baseline, use chocolate, espresso, salt, and add-ins to shape your ideal chocolate profile—without sacrificing the creamy results that make homemade KitchenAid ice cream worth repeating.
Frequently Asked Questions
What is the best way to make chocolate ice cream in a KitchenAid ice cream maker?
Start by whisking your chocolate base (milk, cream, cocoa, and sugar) until fully smooth, then warm it just enough to dissolve sugar and cocoa. If your KitchenAid bowl-lift mixer has an ice cream attachment, chill the mixture thoroughly before churning to help it freeze evenly. Churn according to your attachment’s timing, then freeze the ice cream in a container until firm.
How do I prevent my KitchenAid chocolate ice cream from turning icy or grainy?
Icy texture usually comes from not chilling the custard long enough or skipping a stabilizer step, so refrigerate the base until very cold before churning. For creamier chocolate ice cream, consider adding egg yolks for a custard-style base or using a small amount of cornstarch to thicken. Also, keep sugar measurements accurate—too little sugar can cause harder, icier results.
Which chocolate should I use for the richest flavor in a KitchenAid chocolate ice cream recipe?
Use high-quality cocoa powder for classic chocolate ice cream or melted bittersweet chocolate for a deeper, fudgier taste. If you want a “bakery-style” flavor, blend cocoa powder with melted chocolate to boost both intensity and smoothness. Make sure the chocolate is fully melted and incorporated to avoid streaks in your churned ice cream.
Why does my KitchenAid chocolate ice cream look too soft after churning?
Many KitchenAid ice cream makers produce a soft-serve consistency immediately after churning, which is normal. The key is to transfer the churned ice cream to a freezer-safe container and freeze for at least 2–4 hours to let it firm up. If it stays runny, check that your ice cream base was thoroughly chilled and that your freezer has enough temperature capacity.
What temperature should my chocolate ice cream mixture be before I churn it in a KitchenAid?
Chill your chocolate ice cream base in the refrigerator until it reaches refrigerator-cold temperature, typically around 35–40°F (2–4°C). Churning a warm mixture can lead to slower freezing and a icier texture, even if the churn time seems right. Once chilled, proceed with your KitchenAid ice cream maker attachment for consistent, smooth freezing.
References
- Ice cream
https://en.wikipedia.org/wiki/Ice_cream - Chocolate ice cream
https://en.wikipedia.org/wiki/Chocolate_ice_cream - Custard
https://en.wikipedia.org/wiki/Custard - Chocolate
https://en.wikipedia.org/wiki/Chocolate - Google Scholar Google Scholar
https://scholar.google.com/scholar?q=chocolate+ice+cream+recipe - Google Scholar Google Scholar
https://scholar.google.com/scholar?q=ice+cream+emulsion+stabilizers+cocoa - Google Scholar Google Scholar
https://scholar.google.com/scholar?q=stand+mixer+ice+cream+churning+science - https://pubmed.ncbi.nlm.nih.gov/?term=ice+cream+emulsion+structure
https://pubmed.ncbi.nlm.nih.gov/?term=ice+cream+emulsion+structure - eCFR :: 21 CFR 135.110 — Ice cream and frozen custard.
https://www.ecfr.gov/current/title-21/chapter-I/subchapter-B/part-135/subpart-B/section-135.110 - Ice cream | Definition, History, & Production | Britannica
https://www.britannica.com/topic/ice-cream