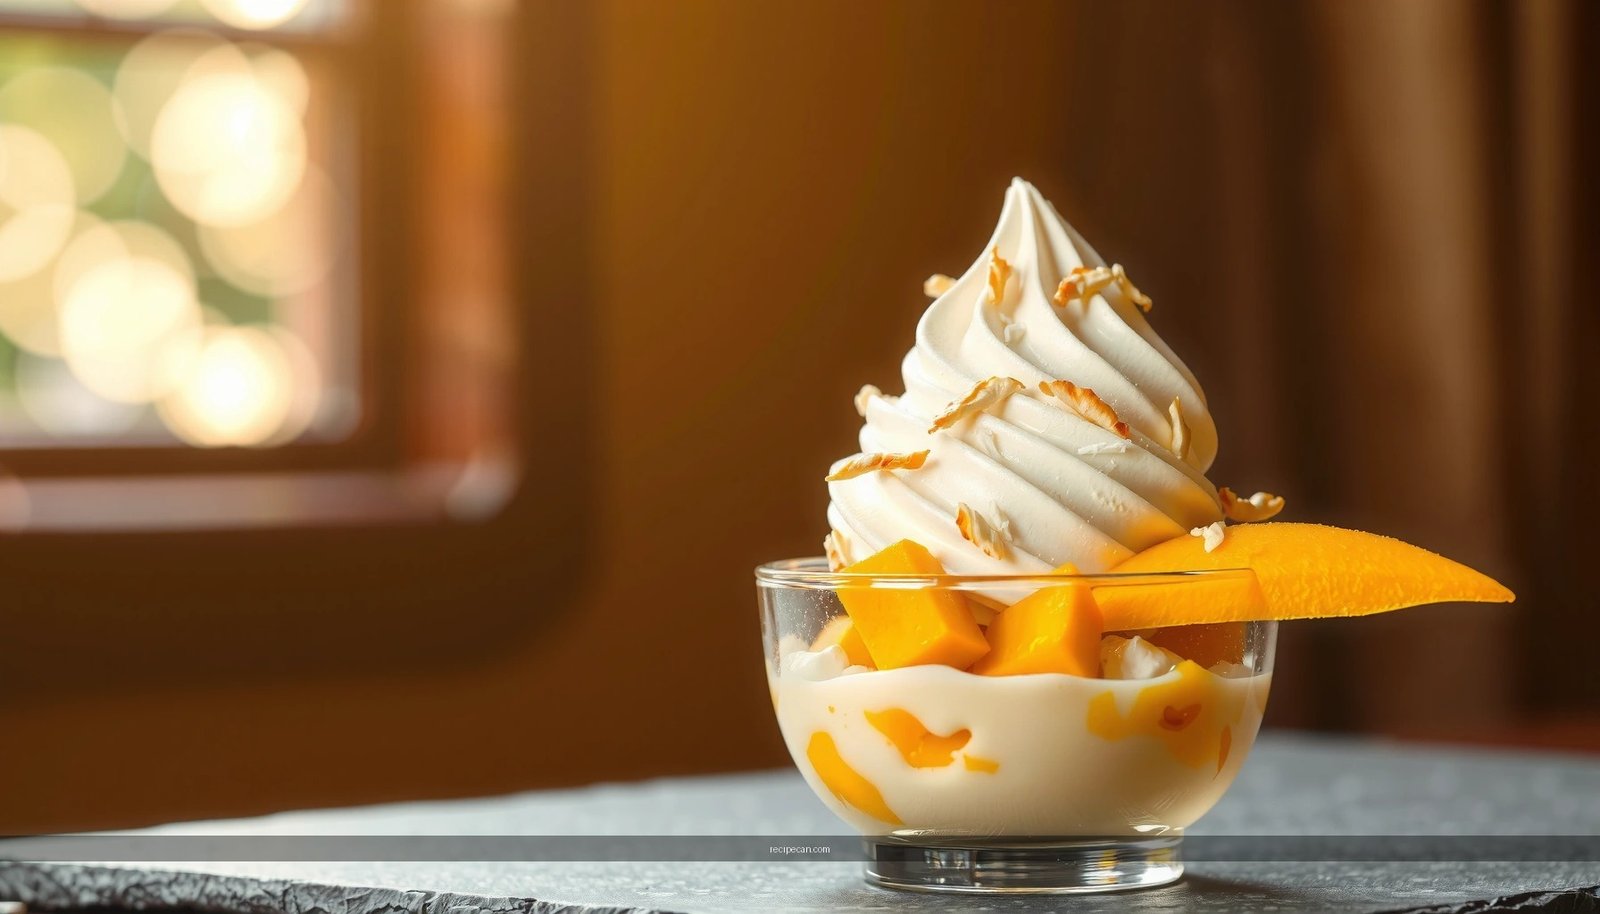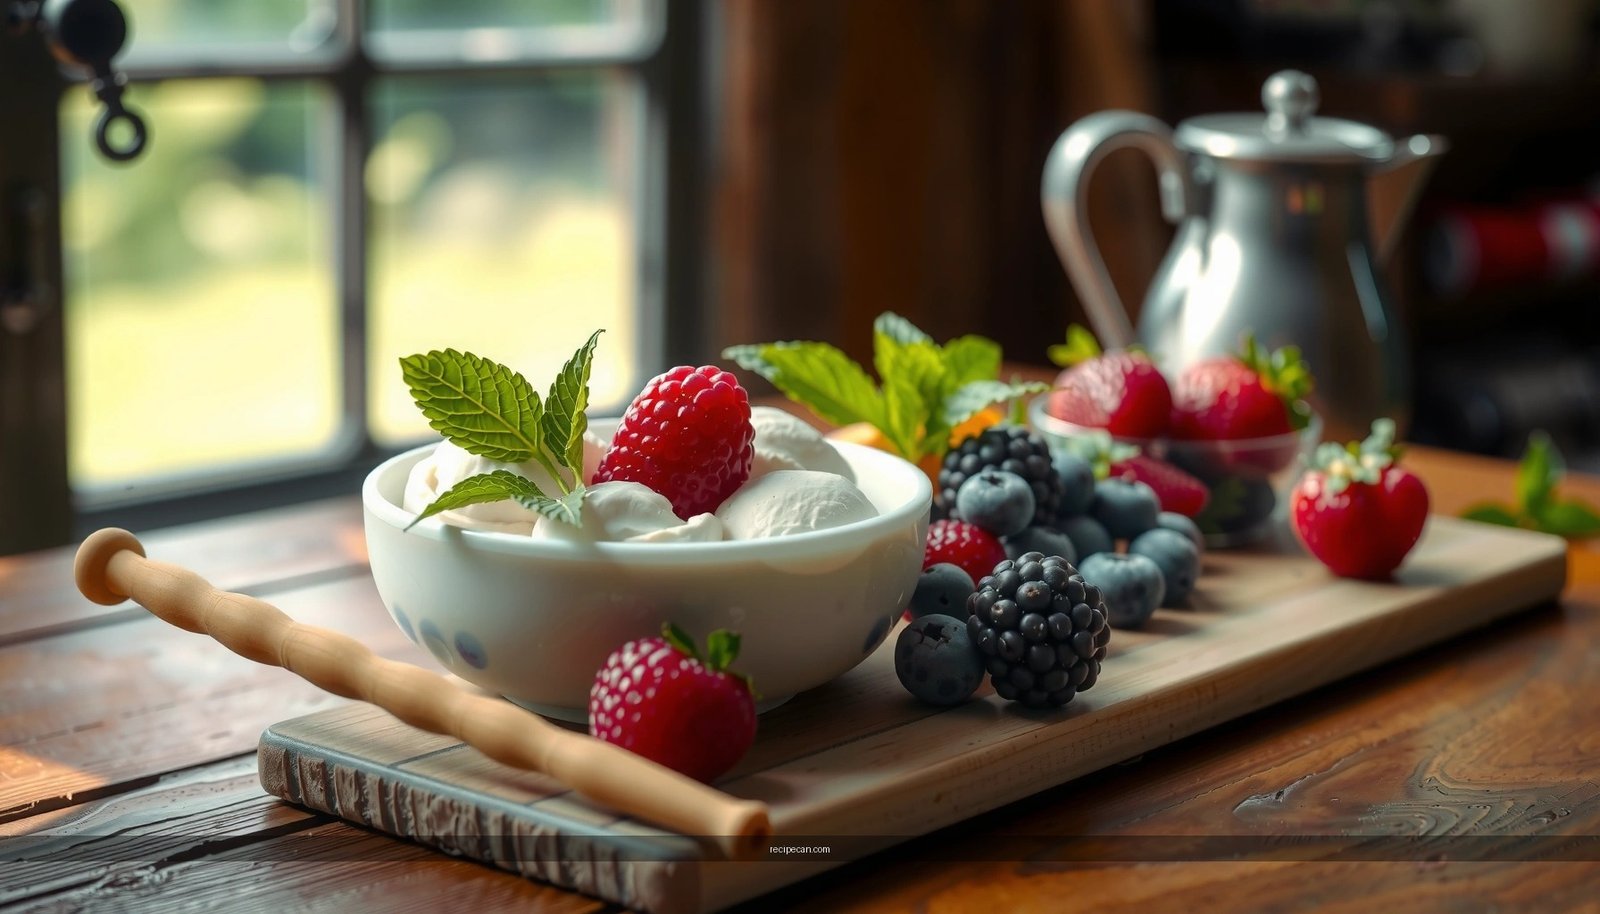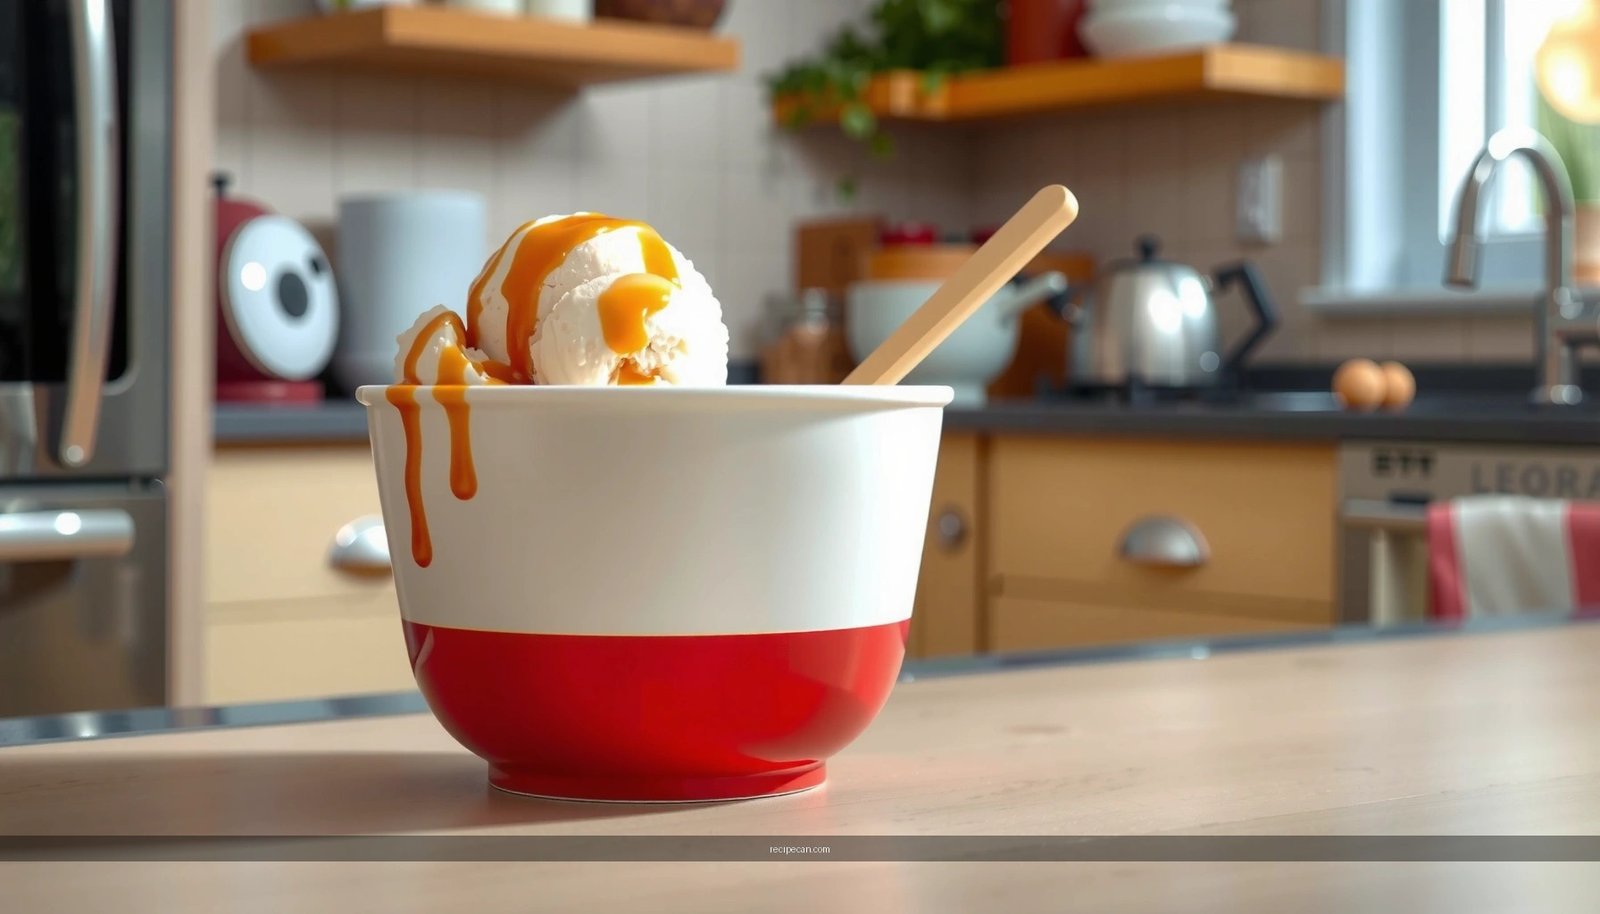
Find the best Ice Cream Recipe Pampered Chef method for easy homemade ice cream—fast, reliable, and actually doable at home. This guide delivers step-by-step instructions that match the Pampered Chef approach, from prepping the base to churning and freezing for smooth scoopable results. If you want a clear winner over complicated alternatives, follow this process and you’ll get consistent texture every time.
Make creamy, scoopable ice cream at home using a Pampered Chef–style process: build a smooth custard base, churn to soft-serve thickness, then freeze to set the texture. Below is a practical, step-by-step guide that focuses on what actually controls creaminess—proper base temperature, thorough ingredient blending, correct churning time, and a well-managed chill/hold cycle for a consistently smooth result.
Choose Your Ice Cream Base
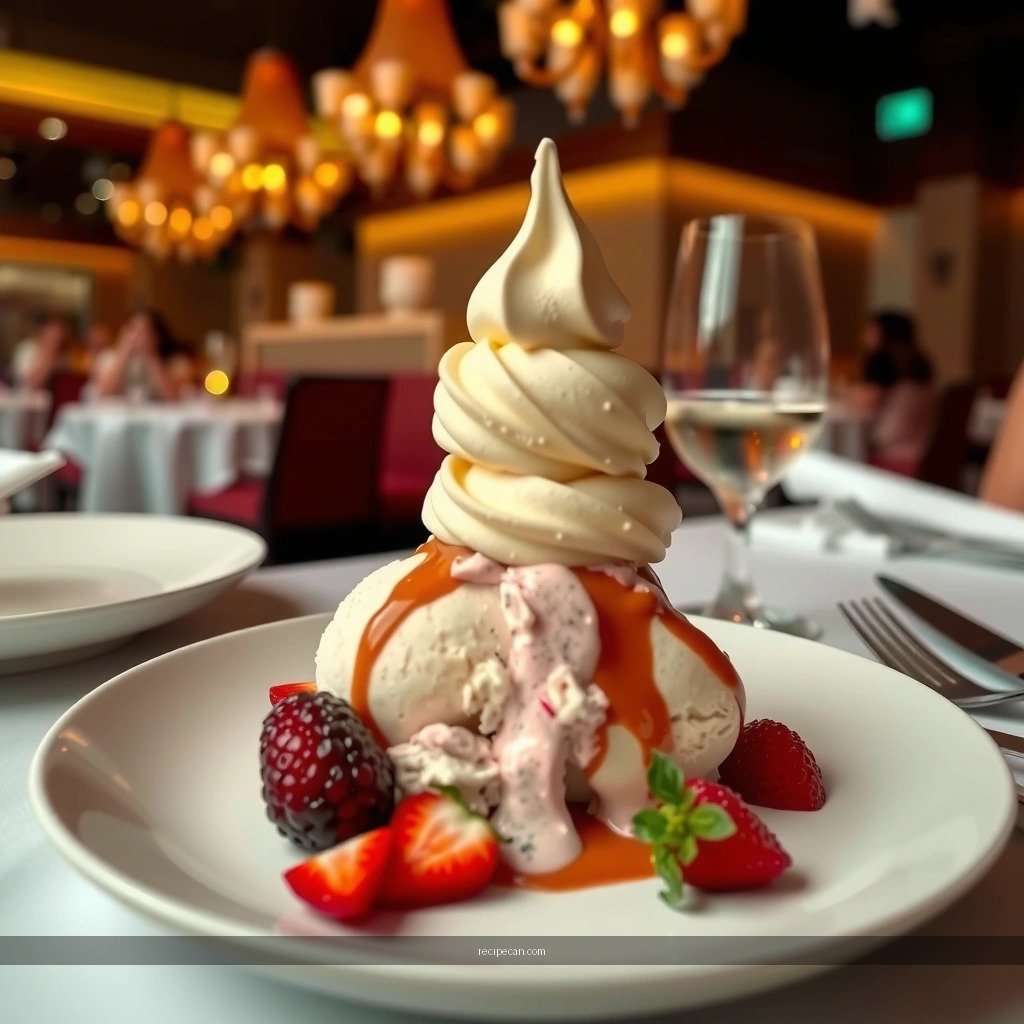
A great homemade ice cream starts long before the churn. In a Pampered Chef–inspired approach, the “base” is your control system for texture: fat level improves richness, dissolved sugar supports smoothness, and gentle custard cooking prevents graininess. If you want reliably creamy ice cream, prioritize a vanilla custard or sweet cream base and start with high-quality dairy.
– Pick a classic flavor foundation like vanilla custard or sweet cream
Vanilla custard delivers a classic, custardy body because egg yolks help stabilize the mixture. Sweet cream versions are simpler and still excellent, especially if you use well-balanced dairy and don’t rush the chilling stage.
– Use fresh dairy ingredients for the best texture and flavor
Fresh cream (or high-fat cultured cream), whole milk, and real vanilla make a measurable difference. Cold, fresh dairy also helps you reach the target base temperature more consistently—important for preventing curdling and for smooth emulsions.
– Plan for chilling time so the mixture churns smoothly
Chilling isn’t optional if you’re chasing scoopable creaminess. When your base is properly chilled (typically several hours), it churns more efficiently, forms smaller ice crystals, and yields a denser mouthfeel.
To support decision-making, here’s a quick reference for common base “performance drivers” you’ll see across vanilla custard and sweet cream styles.
Ice Cream Base Choices: What Impacts Texture Most (Home Batch)
| # | Base Option | Stabilizer | Typical Chilling Goal | Texture Outcome |
|---|---|---|---|---|
| 1 | Vanilla Custard (egg yolk) | Egg yolks + dairy | ≥ 4 hours (≤ 40°F) | ★ 5.0 Smooth |
| 2 | Sweet Cream (no eggs) | Cream + sugar dissolution | ≥ 6 hours (≤ 40°F) | ★ 4.6 Rich |
| 3 | Lighter “Half-and-Half” Style | Lower fat | ≥ 4 hours | ★ 3.8 Softer |
| 4 | Cooked Vanilla with Cornstarch | Cornstarch gel | ≥ 4–5 hours | ★ 4.7 Stable |
| 5 | Greek Yogurt Cream Base | Yogurt proteins | ≥ 6 hours | ★ 4.0 Tangy/firm |
| 6 | No-Churn Style (heavy cream) | Whipped air + sugar | 6–12 hours | ★ 3.6 Icy risk |
| 7 | Gelatin Stabilized Cream | Gelatin bloom | ≥ 5 hours | ★ 4.8 Glossy |
Prep and Flavor Your Mixture
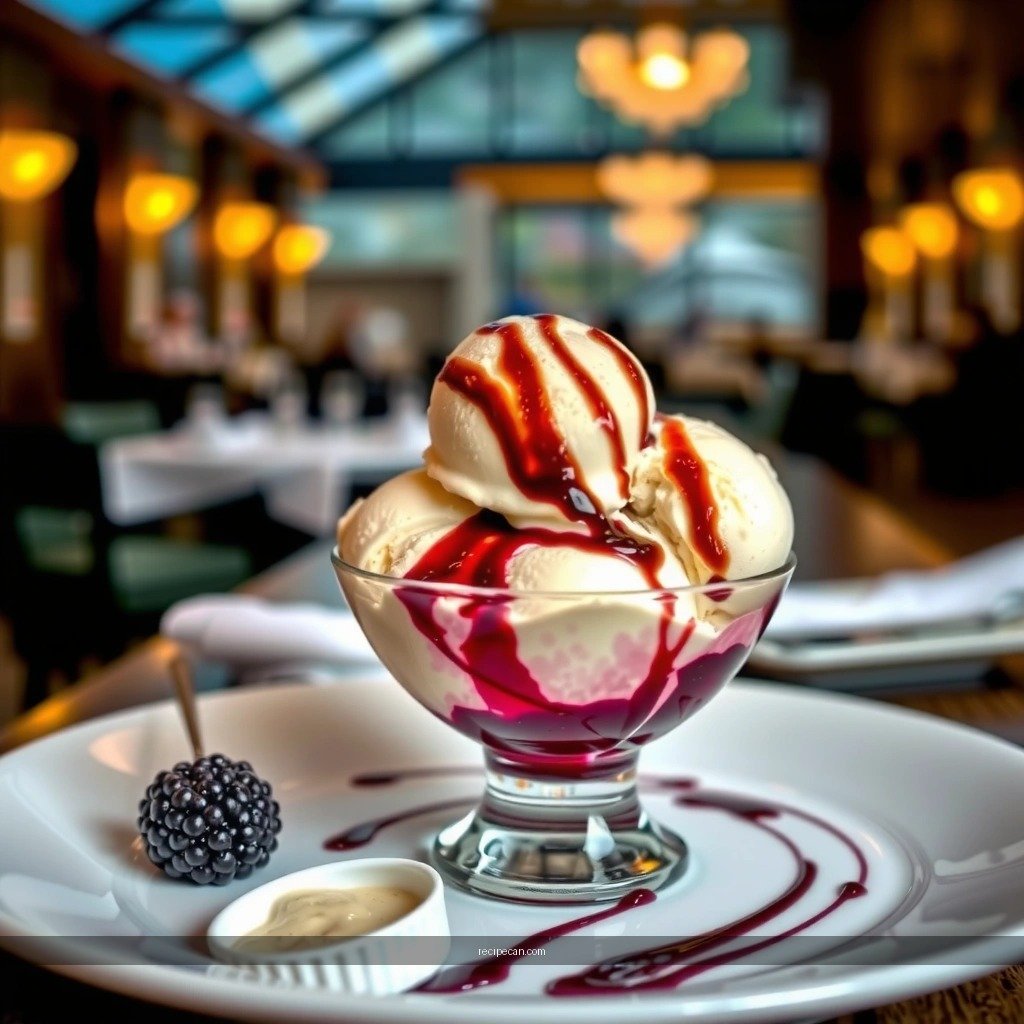
Once you’ve chosen your base, the goal is a uniform, well-hydrated mixture that freezes without turning grainy or icy. Most “bad ice cream” comes from uneven sugar dissolution, overheating, or delayed mixing—problems that a methodical process prevents.
– Combine ingredients thoroughly to avoid icy ice cream
Warm the dairy just enough to dissolve sugar and hydrate flavor components. Stir until the mixture looks glossy and homogeneous. If you’re adding cocoa, vanilla extract, or spices, whisk them in so they don’t clump.
– Add mix-ins (cookies, fruit, chocolate) at the right time
Timing matters:
– Chocolate chunks, cookie pieces: add during the final minutes of churn so they distribute evenly without becoming mushy.
– Fruit swirls: puree fruit and reduce it slightly to concentrate flavor and reduce excess water; add near the end, then avoid over-mixing so swirls stay visible.
– Caramel or fudge ribbons: drizzle gradually and keep a steady hand for consistent distribution.
– Taste and adjust sweetness before churning
Sweetness can seem muted in frozen desserts. As a practical rule, evaluate sweetness at near-cold temperature (after chilling or by carefully cooling a small sample). If it tastes balanced cold-to-cooler, it’s likely to freeze well.
Actionable tip: For a Pampered Chef–style workflow, strain your custard after cooking if you want extra smoothness. Even a small reduction in micro-lumps can translate into a silkier scoop—especially in vanilla ice cream.
Churn for the Right Consistency
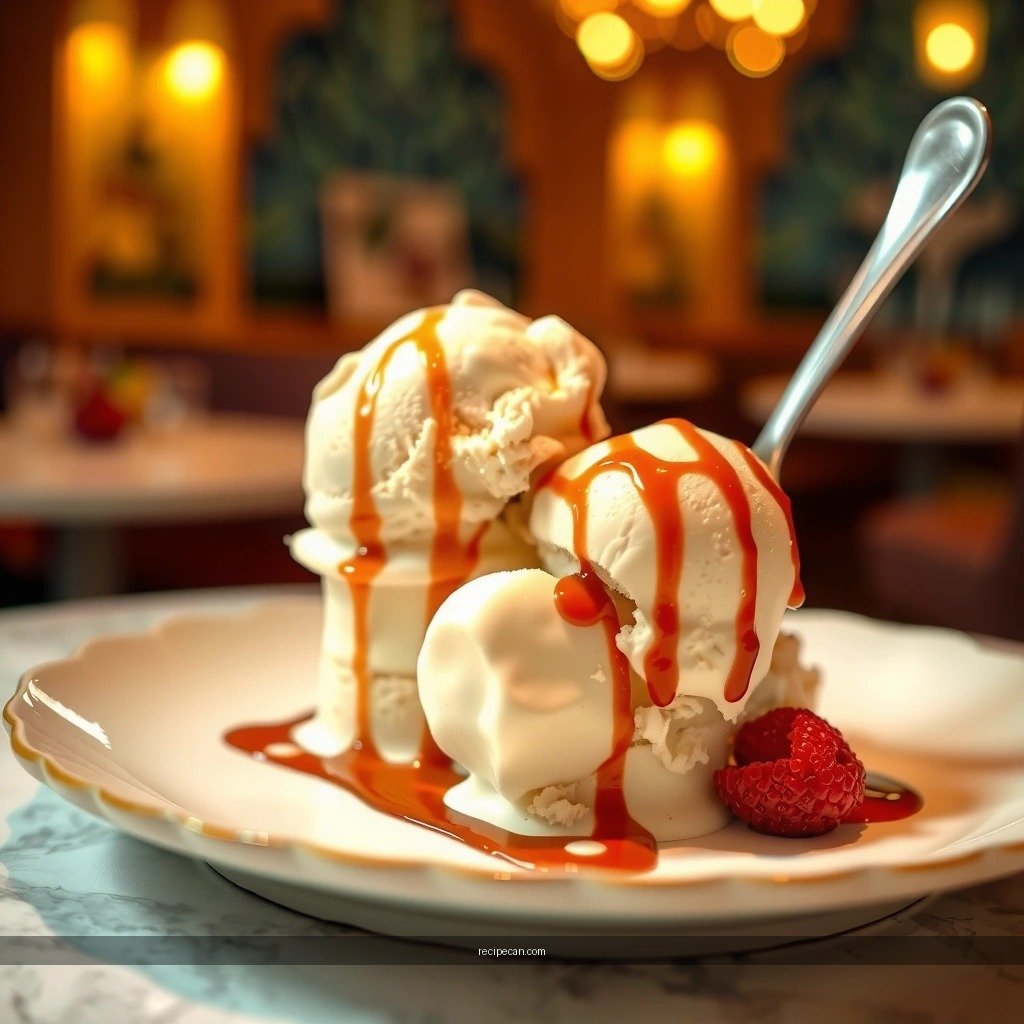
Churning is where you convert a liquid base into a structured frozen dessert. The key is not just “churn time,” but target texture—soft-serve consistency is the reliable stopping point.
– Follow your Pampered Chef method for churning duration
Different machines vary in speed and temperature stability. Use your manual as the baseline, then treat time as a guideline—not the final authority. The best results come from watching the texture change.
– Stop when it reaches soft-serve consistency
You want a thick, pourable, aerated mixture that holds shape but isn’t rock-hard. If you stop too early, it can freeze icier. If you stop too late, you risk over-agitating and affecting smoothness.
– Avoid over-churning to prevent graininess
Over-churning can promote larger ice crystals and a dry, slightly grainy mouthfeel. Stop the moment the mixture becomes dense and creamy and resembles soft-serve.
What to look for (visual + tactile): the mixture should cling to the paddle and look matte-smooth rather than watery. When you drag a spoon through it, it should leave a clean track that slowly relaxes.
Freeze to Set the Texture
After churning, you’re not done—you’re setting. Freezing controls hardness and the final scoop experience, so handle the mixture promptly and store it correctly.
– Transfer to an airtight container right away
Air exposure increases ice crystal formation and causes “freezer burn” texture. Press parchment or plastic wrap directly against the surface if you have it available—this is a simple improvement with outsized impact.
– Freeze long enough for a firm, scoopable result
For most churned bases, allow at least 4–6 hours (overnight is even better) for the structure to fully stabilize. If you cut the freeze time too short, you may get a soft, less cohesive scoop.
– Let it soften briefly before serving for best texture
If your goal is a creamy scoop, take it out 5–10 minutes before serving. This brief tempering reduces perceived iciness while preserving the set structure.
Professional serving standard: For events or meal prep, portioning helps. Pre-scoop and re-freeze quickly, minimizing how long the entire batch warms up.
Easy Add-Ins and Flavor Variations
Once the base is right, variations become easy—and repeatable. The best mix-ins amplify the base without introducing too much water or disrupting texture.
– Try chocolate chunks, caramel drizzle, or strawberry swirls
These flavors work because they balance fat richness:
– Chocolate chunks: add at the end for distinct bites.
– Caramel drizzle: add as ribbon-like layers near the end so it doesn’t fully blend in.
– Strawberry swirls: use a reduced puree (thicker consistency) to keep the swirl vivid and prevent iciness.
– Balance sweetness and salt to enhance flavor
A small pinch of salt in the base makes flavors pop. If your mix-ins are sweet (cookies, caramel), you may want slightly more salt overall—just don’t overcorrect.
– Keep mix-ins chopped to prevent uneven texture
Uneven pieces create hard icy spots and soft pockets. Aim for consistent size: roughly uniform cookie crumbles or chocolate chunk size so every spoon has a predictable texture profile.
Flavor engineering idea: If you want a “premium” result, match mix-in intensity to base strength. A subtle vanilla base pairs well with bright fruit; a richer vanilla custard can handle deeper flavors like cocoa, espresso, or dark caramel.
Troubleshooting Common Issues
Even experienced home cooks run into texture problems. The good news: most issues are correctable by adjusting chilling, churning, or flavor balance.
– If it’s too icy: chill longer and churn until fully thickened
Icy texture usually means the base wasn’t cold enough before churning or the mixture didn’t reach soft-serve consistency. Increase chilling time next round and watch for thickening during churn.
– If it’s too soft: freeze longer and use fresher dairy
Under-freezing leads to a weak structure. Also, dairy that’s past its best can affect emulsification and freeze behavior. Extend freezer time to let the structure fully set.
– If it lacks flavor: increase vanilla/cocoa gradually
Flavor often becomes less pronounced when frozen. Add flavor in small increments, and remember that vanilla, cocoa, or espresso should be adjusted gradually to avoid overpowering.
Quick diagnostic:
– Grainy + dry mouthfeel → likely over-churned or base not smooth.
– Watery + slushy → likely under-churned or base too warm.
– Hard/icy core after a good exterior → likely container/air exposure issues or insufficient airtight sealing.
When you use the right base, churn to soft-serve thickness, and freeze for a solid set, your ice cream recipe (Pampered Chef-inspired) will turn out creamy and scoopable every time. Pick one flavor today, follow the steps above, and then experiment with your favorite add-ins—make your next batch the best one yet.
Frequently Asked Questions
What is the best Pampered Chef ice cream recipe to make at home?
Many people look for an easy Pampered Chef ice cream recipe that uses simple pantry ingredients and the brand’s freezer bowl or ice cream maker base. A classic vanilla ice cream version is popular because it’s fast to assemble, then you can customize with mix-ins like chocolate chips, cookies, or fresh fruit. If you want a foolproof starting point, choose a recipe with eggs (custard-style) or one that’s labeled “no-churn” and follow the listed chilling steps exactly for smooth texture.
How do I make Pampered Chef ice cream using the ice cream maker?
Start by preparing the chilled ice cream base first—warming ingredients just until combined and then fully refrigerating helps the churn process. Pour the cold mixture into the Pampered Chef ice cream maker bowl and churn until thickened, then transfer to a container to firm up in the freezer. For the smoothest results, avoid adding chunky mix-ins too early; mix them in during the final minutes (if your recipe allows) so they distribute evenly.
Why is my homemade Pampered Chef ice cream icy instead of creamy?
Ice cream becomes icy when the base isn’t chilled long enough, the churn time is too short, or the freezer temperature fluctuates. Make sure your Pampered Chef ice cream base is thoroughly chilled (often several hours) and churn until it reaches a visibly thicker consistency. Also check that you’re using the correct sugar balance—sugar helps control ice crystal formation and is key to creamy texture.
Which mix-ins work best for Pampered Chef ice cream recipes?
The best mix-ins for Pampered Chef ice cream recipes are ones that won’t quickly soak up liquid or turn brittle, such as cookie crumbles, chocolate chunks, toasted nuts, and swirl-ready sauces. Keep portions moderate so the base can still freeze properly; heavy mix-ins can cause a softer, grainier result. Add mix-ins near the end of churning (or after churning, if the recipe directs) to prevent overmixing and to maintain distinct bites.
How can I store and serve Pampered Chef ice cream for the best texture?
Store your freshly made ice cream in an airtight container, pressing parchment or plastic wrap directly onto the surface to limit air exposure and freezer burn. For best texture, let it sit at cool room temperature for a few minutes before serving—this helps it soften without melting. If you’re using a Pampered Chef ice cream recipe with a custard base, keep it cold and consume within the recommended timeframe for the freshest flavor and smoothest scoop.
References
- Ice cream
https://en.wikipedia.org/wiki/Ice_cream - Ice cream | Definition, History, & Production | Britannica
https://www.britannica.com/topic/ice-cream - eCFR :: 21 CFR 135.110 — Ice cream and frozen custard.
https://www.ecfr.gov/current/title-21/chapter-I/subchapter-B/part-135/subpart-B/section-135.110 - https://www.ecfr.gov/current/title-21/chapter-I/subchapter-B/part-135/subpart-B/section-135.120
https://www.ecfr.gov/current/title-21/chapter-I/subchapter-B/part-135/subpart-B/section-135.120 - ice cream microstructure | Nature Search Results
https://www.nature.com/search?q=ice%20cream%20microstructure - https://pubmed.ncbi.nlm.nih.gov/?term=ice%20cream%20microstructure%20stabilizer%20emulsifier
https://pubmed.ncbi.nlm.nih.gov/?term=ice%20cream%20microstructure%20stabilizer%20emulsifier - https://www.sciencedirect.com/search?qs=ice%20cream%20formulation%20stabilizers%20emulsifiers
https://www.sciencedirect.com/search?qs=ice%20cream%20formulation%20stabilizers%20emulsifiers - Google Scholar Google Scholar
https://scholar.google.com/scholar?q=pampered+chef+ice+cream+recipe - Google Scholar Google Scholar
https://scholar.google.com/scholar?q=ice+cream+homemade+recipe+churning+overrun - Google Scholar Google Scholar
https://scholar.google.com/scholar?q=ice+cream+stabilizers+emulsifiers+science+microstructure