Craving an old fashioned ice cream recipe that delivers truly creamy, spoonable homemade flavor? This guide gives you a classic churn-and-freeze method with rich dairy, real sweetness, and a custard base that prevents icy texture. If you want the best results for a traditional, smooth scoop, follow these steps and you’ll know you got the real deal—no shortcuts required.
You can make old fashioned ice cream at home with a straightforward churn-and-chill process—fresh dairy, balanced sweetness, and (optional) custard-style egg yolks for a noticeably richer, smoother texture. Follow the steps below for a creamy classic homemade base, then chill thoroughly, churn correctly, and freeze just long enough to set.
—
Old Fashioned Ice Cream Ingredients

– Use heavy cream and whole milk for a rich, creamy base
– Add sugar for sweetness and balance
– Choose egg yolks (for custard-style) or skip for a simpler recipe
A truly classic old fashioned ice cream recipe starts with an ice-cream-friendly dairy ratio. Heavy cream provides most of the flavor-carrying fat, while whole milk contributes body and a softer, scoopable mouthfeel. Together, they help stabilize the mixture so it churns into a smooth texture rather than grainy ice crystals.
Choose your style: egg-free vs. custard
Egg-free (simpler, quicker, still creamy): This is ideal if you want a cleaner workflow—warm, dissolve, chill, churn, freeze. It produces a traditional “cream-forward” ice cream and is especially forgiving for first-timers.
Custard-style (richer, silkier): Adding egg yolks thickens the base and adds emulsifying power. That’s what often yields that hallmark “old fashioned” smoothness, where the ice cream melts slowly and tastes rounder rather than sweet and thin.
Measure with intention
Sugar isn’t only for sweetness. In ice cream, sugar also lowers the freezing point, improving scoopability. Too little sugar can make the final product firm and icy; too much can soften it excessively and dull flavor. Vanilla (or vanilla bean) is the finishing note that makes it feel unmistakably classic.
—
Classic Ice Cream Base Targets (Per 1 Quart / ~4–5 Cups)
| # | Ingredient | Egg-Free Target | Custard (Egg-Yolk) Target | Typical Purpose |
|---|---|---|---|---|
| 1 | Heavy cream (fat) | 2 cups (480 ml) | 2 cups (480 ml) | Body + smooth melt |
| 2 | Whole milk | 1 cup (240 ml) | 1 cup (240 ml) | Soft texture |
| 3 | Granulated sugar | 2/3 cup (135 g) | 2/3 cup (135 g) | Freezing point control |
| 4 | Egg yolks | — | 4 large yolks | Emulsion + custard thickness |
| 5 | Vanilla extract | 2 tsp (10 ml) | 2 tsp (10 ml) | Classic aroma |
| 6 | Salt | 1/8 tsp | 1/8 tsp | Flavor balance |
| 7 | Total base volume | ~3 cups | ~3 cups | Churn yield + air |
Use these targets as guardrails. Small deviations are fine, but they tend to affect (1) texture firmness, (2) melting speed, and (3) how “custardy” the flavor feels.
—
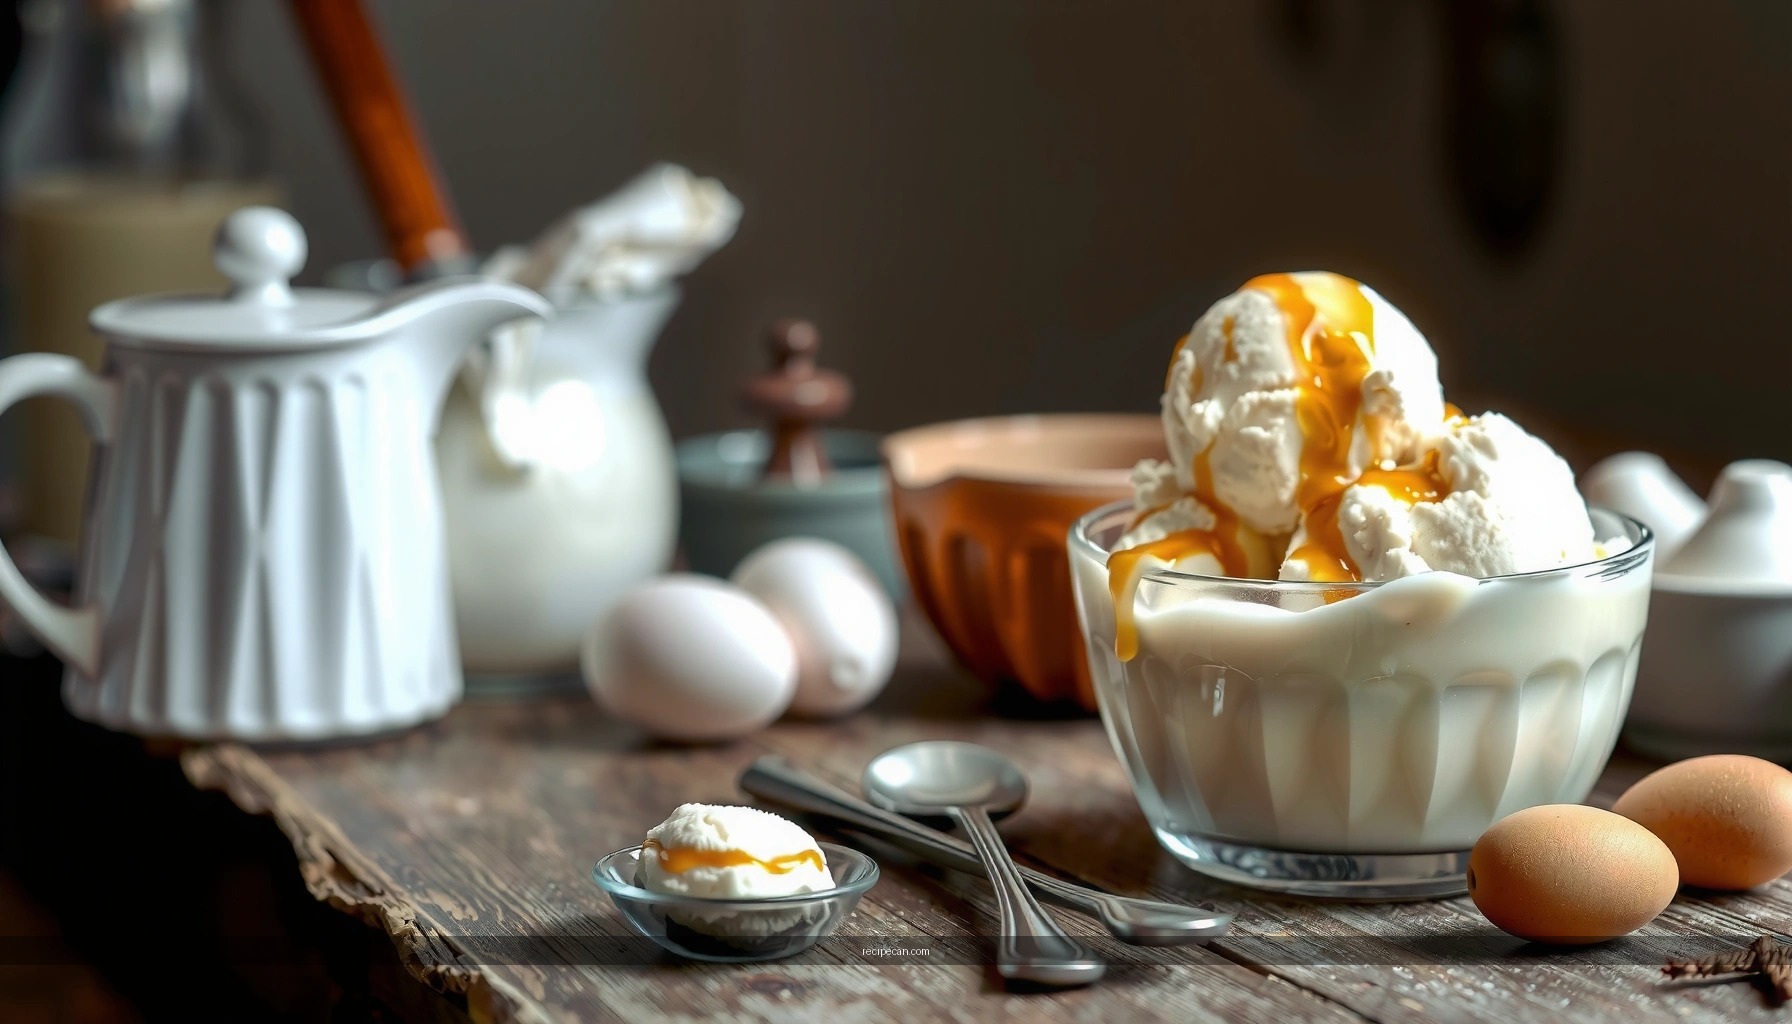
Preparing the Ice Cream Base

– Warm dairy and dissolve sugar until smooth (don’t boil)
– If using eggs, temper yolks and cook gently to thicken
– Cool the mixture completely before churning for best results
The base is where most home churners either unlock creaminess or accidentally introduce graininess. The goal is to create a uniform emulsion: fat and water mixed smoothly, with sugar dissolved fully and (if using eggs) proteins gently thickened.
Step-by-step base method (egg-free)
1. Warm milk and heavy cream in a saucepan over medium-low heat.
2. Add sugar and salt and stir until dissolved. You want steam and gentle warmth, not a rolling boil.
3. Steep flavor briefly (optional) by turning off the heat and letting the mixture sit 5–10 minutes.
4. Add vanilla after removing from heat (extract is best kept from prolonged simmering).
Custard-style method (with egg yolks)
1. Whisk yolks in a bowl until smooth.
2. Temper: Slowly drizzle a small amount of the warm dairy into the yolks while whisking continuously. This prevents scrambling.
3. Cook gently: Pour the tempered yolk mixture back into the pot and cook on low heat, stirring constantly, until it lightly coats a spoon (often around 170–175°F / 77–80°C, depending on your stove).
4. Strain for the smoothest texture.
5. Add vanilla once the custard is off heat.
Why you must cool completely
Churning ice cream works because the mixture is cold enough to freeze quickly and evenly in the freezer bowl. If the base is warm, fat doesn’t emulsify as cleanly and ice crystals can form too early. Chill at least several hours—or overnight—for the most consistent “old fashioned” results.
Actionable tip: Set up an ice bath so the base cools faster and you can move on to churning sooner.
—
Churning Tips for the Best Texture

– Chill the base thoroughly (at least a few hours) for faster, smoother churning
– Follow your ice cream maker’s timing and keep the bowl cold
– Stop when the ice cream reaches soft-serve thickness
Churning is where air is incorporated and the mixture becomes thick. The texture you want is soft-serve consistency—not overly firm. Over-churning can lead to a paste-like mixture that becomes less scoopable after freezing.
Key execution principles
– Bowl readiness matters: If your ice cream maker’s freezer bowl isn’t fully cold, results will be inconsistent. Many compressors are fine from the start; freezer-bowl models typically require overnight freezing.
– Start with a fully chilled base: The colder the base, the faster you’ll reach the proper thickness.
– Don’t chase maximum thickness: When the ice cream reaches a thick, pourable soft-serve stage, stop. It will harden during the freezing step.
A “feel” check you can trust
Classic churned ice cream should look glossy and thick enough to hold shape briefly on a spoon. If it’s still runny, let it churn a bit longer—but avoid continuing long after it turns thick.
—
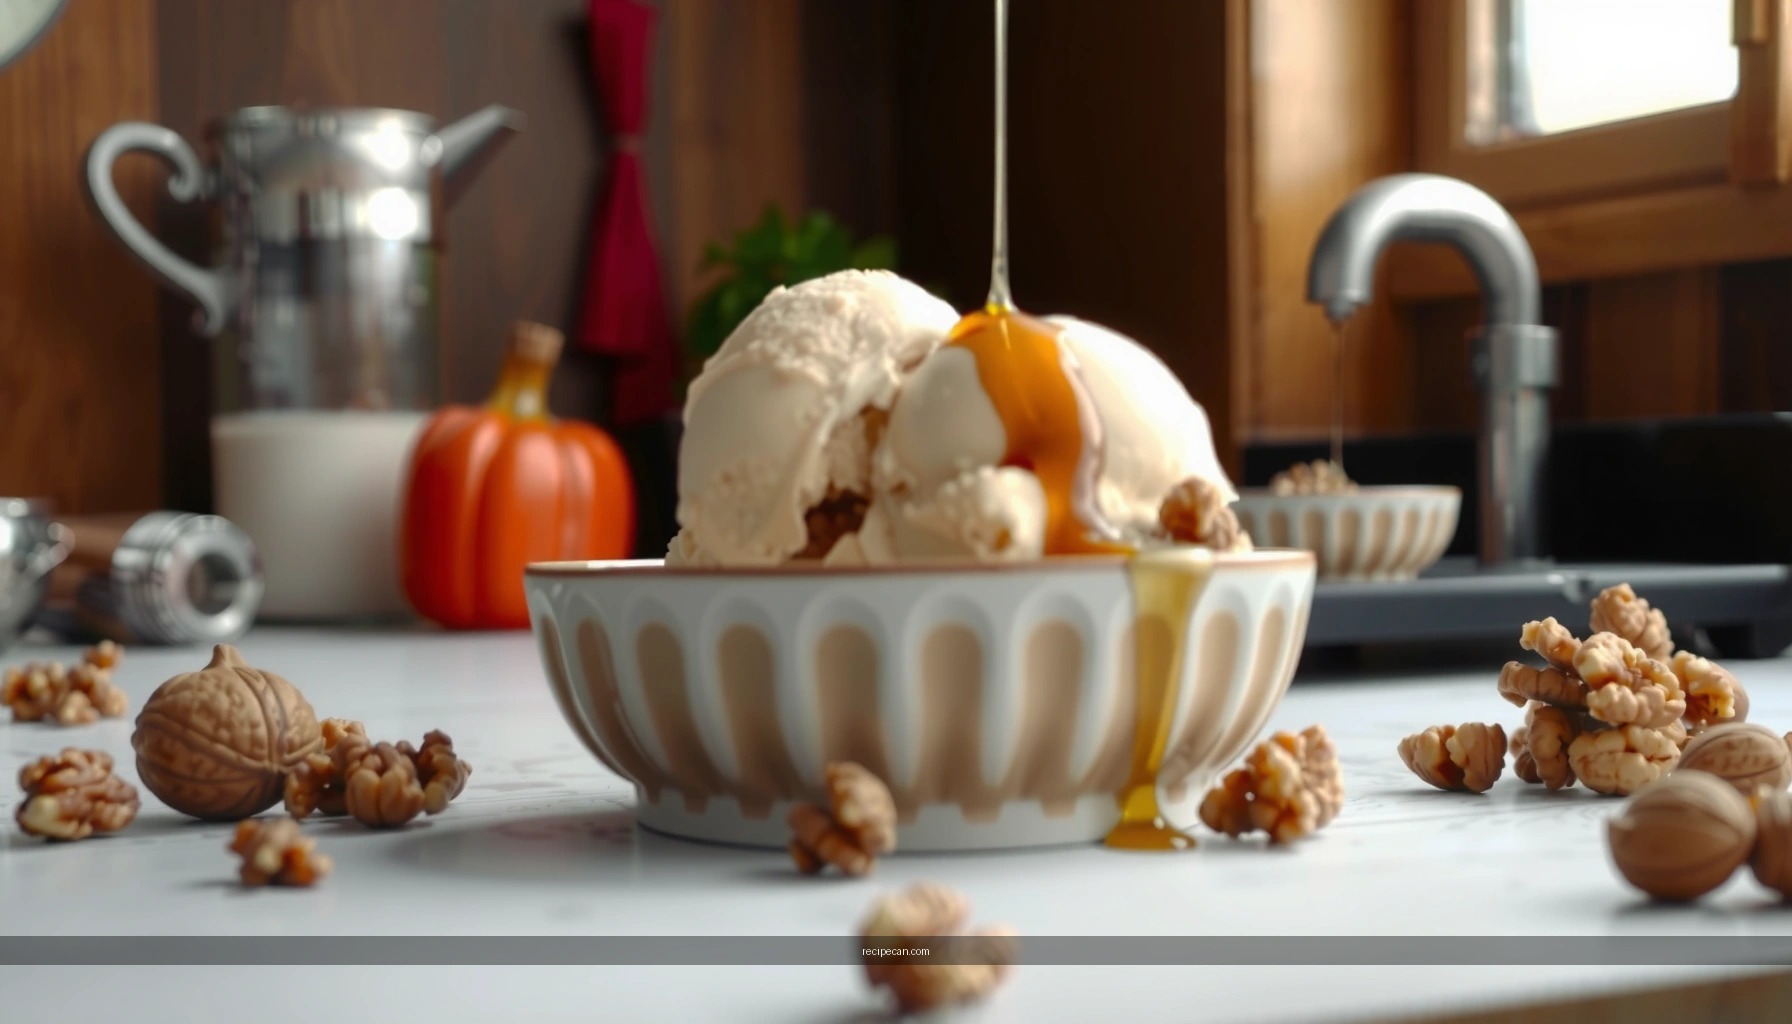
Flavor Variations That Still Feel Old Fashioned
– Stir in vanilla extract or vanilla bean for classic taste
– Add crushed cookies, fruit, or toasted nuts for gentle variety
– Keep mix-ins minimal to preserve a smooth churn
Old fashioned ice cream is defined by restraint. The base should taste like dairy and vanilla first; any additions should complement rather than overwhelm.
Classic vanilla enhancements
– Vanilla extract: Keep it simple and reliable; 2 teaspoons per quart base is a strong starting point.
– Vanilla bean: For a more traditional “pastry shop” aroma, scrape a bean into the warm mixture and let it steep briefly before straining.
Mix-in ideas that behave well
Because too many mix-ins can prevent smooth freezing, aim for modest amounts:
– Crushed cookies: Fold in after churning, once the ice cream has thickened.
– Toasted nuts: Toasting deepens flavor and reduces raw “dullness.”
– Fruit compote: Cook fruit down until syrupy so excess water doesn’t raise ice crystal risk.
Practical rule: If the mix-in is very juicy or watery, reduce it first.
—
Freezing, Setting, and Serving
– Transfer to a container and freeze until firm (usually 2–4 hours)
– Cover the surface to reduce ice crystals
– Let it soften 5–10 minutes before serving for a creamy scoop
The freezer phase is not just “waiting”—it’s about texture development. After churning, the ice cream still contains a significant amount of unfrozen liquid that will freeze as temperature drops. Freezing too long with poor coverage can increase surface ice.
Best practices for the set
1. Use a shallow container if you want faster, more even freezing.
2. Press parchment or plastic wrap directly onto the surface before sealing the lid. This barrier limits air exposure and helps reduce ice crystals.
3. Freeze 2–4 hours for a firm scoop.
Serving timing improves quality
Let the ice cream sit at room temperature briefly—5–10 minutes—so the fat and sugar soften into a creamy mouthfeel. This small step often changes “good homemade” into “classic and memorable.”
—
Troubleshooting Common Problems
– Too icy: chill longer next time and don’t under-churn
– Too soft: freeze longer or ensure correct churning thickness
– Lacks flavor: increase vanilla slightly or adjust sugar to taste
Even experienced cooks tweak ice cream. Here are the most common issues and how to correct them systematically.
Too icy (grainy or stiff surface)
Likely causes:
– Base wasn’t chilled long enough
– Under-churned mixture
– Too much watery mix-in
Fixes:
– Chill the base overnight next time.
– Churn until soft-serve thickness, not just “slightly thickened.”
– Reduce fruit or syrupy additions; fold in only after churning.
Too soft (won’t hold a scoop)
Likely causes:
– Over-churned (air structure destabilizes)
– Base too warm at churning
– Sugar balance off
Fixes:
– Start with a properly chilled base.
– Stop at soft-serve thickness.
– Freeze longer; if it persists, slightly reduce sugar by 1–2 tablespoons and retest.
Lacks flavor (tastes flat or overly dairy-neutral)
Likely causes:
– Vanilla under-dosed
– Not enough salt to balance sweetness
– Sugar too low for perceived richness
Fixes:
– Add a small additional amount of vanilla (start with 1/2 teaspoon increments).
– Add salt carefully (tiny pinches make a difference).
– Taste the base: it should taste pleasantly sweet and vanilla-forward before freezing.
—
Old fashioned ice cream is all about a well-made base, proper chilling, and careful churning—then a short freeze to set. Try this recipe once as written, then tweak vanilla slightly or add a classic mix-in; if you want the richest texture, choose the custard (egg yolk) version. Make your next batch this weekend and share your favorite flavor twist.
Frequently Asked Questions
What is the best old fashioned ice cream recipe for a rich, creamy texture?
Look for an old fashioned ice cream recipe that uses egg yolks, whole milk, and heavy cream to build a custard base for a smooth, scoopable texture. Churning slowly at a consistent temperature helps prevent ice crystals and keeps the mouthfeel “old fashioned.” If you want extra richness, add a touch of vanilla extract and let the custard chill thoroughly before churning.
How do you make old fashioned ice cream without eggs?
You can make an egg-free old fashioned style ice cream by using a no-cook base with heavy cream, whole milk, sugar, and a thickener like cornstarch (heated into the milk) or a small amount of gelatin. The key is to ensure the mixture is properly thickened before freezing, since custard-style thickness is what helps prevent icy ice cream. Chill the mixture completely, then churn until it reaches soft-serve consistency.
Why does homemade old fashioned ice cream turn icy, and how can you prevent it?
Icy old fashioned ice cream usually comes from under-churning, a base that wasn’t fully chilled, or too little sugar/fat. Make sure your custard is cold before it goes into the ice cream maker, and churn until it thickens noticeably. Also, slightly reduce the freezing temperature by storing at a consistent freezer temperature and avoid repeatedly warming and refreezing.
Which churn method works best for old fashioned ice cream—hand-crank, compressor, or rock salt style?
For classic results, an old fashioned hand-crank or traditional rock salt style churn can deliver great texture because you can control the churning pace. However, compressor ice cream makers are often the easiest way to replicate smooth, creamy results reliably with less effort. Whichever method you choose, keep the base cold and churn just until it reaches a soft, thick consistency.
How long should you chill and churn an old fashioned ice cream recipe?
Chill your custard base for at least 4–6 hours (overnight is best) so it churns efficiently and produces fewer ice crystals. Churn time varies by machine, but most old fashioned ice cream recipes take about 20–40 minutes until the mixture looks like soft serve. After churning, freeze the ice cream in an airtight container for 2–4 hours to firm up before scooping.
References
- Google Scholar Google Scholar
https://scholar.google.com/scholar?q=old-fashioned+ice+cream+recipe - Google Scholar Google Scholar
https://scholar.google.com/scholar?q=ice+cream+churning+history+home+preparation - Google Scholar Google Scholar
https://scholar.google.com/scholar?q=ice+cream+mix+emulsion+fat+stabilizers+crystallization - Ice cream
https://en.wikipedia.org/wiki/Ice_cream - Vanilla ice cream
https://en.wikipedia.org/wiki/Vanilla_ice_cream - https://en.wikipedia.org/wiki/Philadelphia-style_ice_cream
https://en.wikipedia.org/wiki/Philadelphia-style_ice_cream - Ice cream | Definition, History, & Production | Britannica
https://www.britannica.com/topic/ice-cream - Projects – National Center for Home Food Preservation
https://nchfp.uga.edu/how/freeze/ice_cream.html - https://pubmed.ncbi.nlm.nih.gov/?term=ice%20cream%20crystallization%20churning%20overrun
https://pubmed.ncbi.nlm.nih.gov/?term=ice%20cream%20crystallization%20churning%20overrun - https://www.sciencedirect.com/search?qs=ice%20cream%20crystallization%20overrun%20churning
https://www.sciencedirect.com/search?qs=ice%20cream%20crystallization%20overrun%20churning