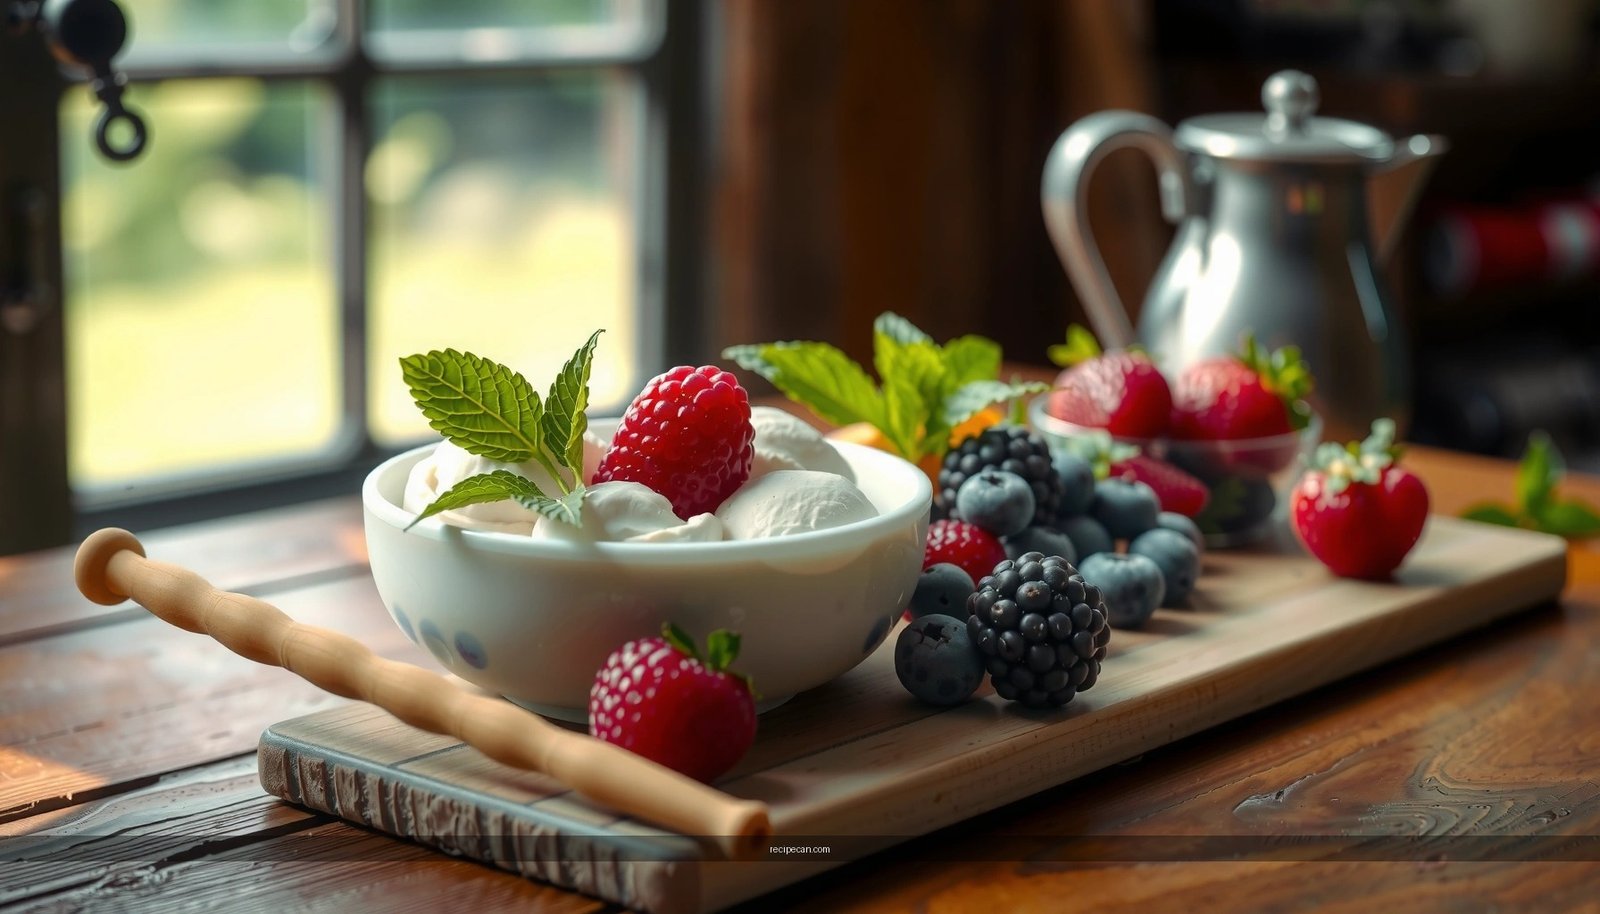
Want an easy ice cream in a bag with milk recipe that actually sets into a creamy cold treat? This guide delivers a simple, no-churn method that uses milk and a few pantry staples, with the bag-shaking technique doing the heavy lifting. If you need a fast dessert you can make in minutes, this is the winner.
Ice cream in a bag with milk is a fast, no-churn treat you can make in about 5 minutes of active effort by shaking a sealed milk mixture in a second bag packed with ice and salt. You’ll get a smooth, creamy texture when you use the right ratios, seal tightly to prevent leaks, and shake long enough for the salt-brined ice to freeze the mixture consistently.
There are two perspectives on this method. From a home-kitchen standpoint, it’s a simple “physics-in-a-bag” trick: salt lowers the freezing point of water, making the ice bath colder than 32°F/0°C so your mixture can freeze quickly. From an operations/quality lens (think: repeatability), success comes down to controlling three variables—temperature, motion, and time. Nail those, and the results are consistently scoopable. Below is a practical, step-by-step approach designed for reliable outcomes every time.
Ice Cream in a Bag: Ratio Guidance for Consistent Texture
| # | Milk Mixture (per bag) | Sugar | Ice Bath (outer bag) | Salt | Expected Texture Outcome |
|---|---|---|---|---|---|
| 1 | 1/2 cup (120 mL) milk | 2 Tbsp (25 g) | 2 cups ice (about 400 g) | 1/2 Tbsp (8–10 g) | ★ Smooth & scoopable |
| 2 | 1/2 cup (120 mL) milk | 3 Tbsp (37 g) | 2 cups ice | 1 Tbsp (16–18 g) | ★ Very soft, faster melt |
| 3 | 3/4 cup (180 mL) milk | 3 Tbsp (37 g) | 3 cups ice (about 600 g) | 3/4 Tbsp (12–15 g) | ★ Balanced firmness |
| 4 | 3/4 cup (180 mL) milk | 2 Tbsp (25 g) | 3 cups ice | 1 Tbsp (16–18 g) | ★ Icier, harder to scoop |
| 5 | 1 cup (240 mL) milk | 1/4 cup (50 g) | 4 cups ice (about 800 g) | 1 Tbsp (16–18 g) | ★ Consistent churnless cream |
| 6 | 1/2 cup (120 mL) milk + 1 Tbsp cream | 2 Tbsp (25 g) | 2 cups ice | 1/2 Tbsp | ★ Creamier mouthfeel |
| 7 | 1/2 cup (120 mL) milk | 2 Tbsp (25 g) | 2 cups ice (crushed) | 1/2 Tbsp (8–10 g) | ★ Slightly grainy if over-shaken |
What You Need (Ingredients)

For the ice cream in a bag with milk recipe, the ingredients are intentionally minimal, but each one plays a role in flavor and texture.
– Milk: Provides the base structure. Whole milk typically yields the creamiest result because it carries more fat, which slows the formation of large ice crystals. You can still use low-fat milk, but expect a firmer or slightly icier texture if you don’t shake and time carefully.
– Sugar: Sweetens and—critically—acts as a freezing-point modifier. This helps create a smoother, softer frozen texture rather than a hard, icy block.
– Vanilla: Adds aroma and rounds out the flavor profile. Use real vanilla extract for the most “classic” taste.
– Ice: Supplies the freezing power in the outer bag. Colder ice works faster and more reliably than slightly melted ice.
– Salt: The engine of the process. Salt mixes with meltwater to form a brine that lowers the temperature of the ice bath below normal freezing, allowing your milk mixture to freeze quickly.
Practical note: If you’re aiming for the most consistent results, use table salt (iodized or plain) rather than coarse specialty salts. Coarser salt can dissolve more slowly, which can slightly reduce the freezing speed.
Equipment Setup
This is where the “no-churn” approach becomes operationally sound. Having the right setup reduces mess and improves consistency.
– Two resealable bags
– Small bag: For the ice cream mixture. Choose one that holds about 1 cup (250 mL) and can be sealed tightly.
– Large bag: For the ice bath. Choose one that can hold several cups of ice without leaking.
– Towels: Useful for insulating and preventing slippery mess on counters.
– Tray or bowl: Place the large bag over a tray to catch any condensation or accidental drips.
– Optional but helpful: Gloves for comfort, especially if your hands get cold during shaking, and a timer so you can shake in controlled intervals.
Best practice: If you want extra leak protection (especially with kids or during busy group activities), place the sealed small bag into the large bag and then—before adding ice—give the small bag a quick “dry squeeze check” to ensure there are no gaps in the seal.
Make the Ice Cream Base
The goal of this step is uniform mixing with minimal air pockets, because uneven concentration can lead to graininess.
– Mix milk, sugar, and vanilla in the small bag until combined
– Add the milk first, then sugar, then vanilla.
– Seal and gently shake until the sugar fully dissolves. You’re not trying to freeze yet—just create a consistent base.
– Remove excess air and seal tightly to prevent leaks
– Press out extra air before fully sealing. Less air makes shaking more effective because the mixture stays in constant contact with the bag sides.
– Check the zipper closure all the way around.
Texture science, simplified: The smoother your sugar distribution, the more even the freezing behavior will be. When sugar dissolves well, it interferes with ice crystal growth more consistently across the batch.
Create the Ice Bath (Outer Bag)
The outer bag is where temperature control happens. The ice bath must be cold and salty enough to freeze the mixture quickly.
– Add ice to the large bag and sprinkle in salt
– Use enough ice that the small bag will be surrounded on all sides.
– Spread the salt over the ice rather than dumping it in one corner; more even brine formation improves consistency.
– Place the sealed small bag inside and seal the outer bag well
– Ensure the small bag stays centered within the ice bath.
– Seal the outer bag tightly to prevent saltwater from escaping.
Quality control tip: If your ice is not sharply cold (e.g., sitting in a warm room), pre-chill the outer bag with a handful of ice for 1 minute, then remove and replace. This small adjustment can prevent under-freezing that leads to a softer, less scoopable end result.
Shake to Freeze
This is the step that most strongly determines whether your ice cream ends up creamy or icy.
– Shake vigorously for about 5 minutes, checking texture
– Shake continuously rather than pausing long intervals. The mixture needs frequent motion so frozen edges don’t become large crystals.
– After around 3–5 minutes, start checking. You’re looking for a thickening state—something like soft-serve consistency.
– If needed, keep shaking in short intervals until thick and creamy
– If it’s still runny, shake in additional 30–60 second bursts.
– Stop once thick. Over-shaking can sometimes make the texture slightly grainy, particularly if ice is crushed very fine.
Timing guidance from experience: If the ice bath is correct (enough ice, correct salt amount, and sealed bags), the mixture typically shifts from liquid to thick within minutes. Your “stop point” matters more than hitting an exact minute mark—texture is the real benchmark.
Serve and Store Tips
To get the best scoop or spoon experience, treat resting time as part of the recipe rather than an afterthought.
– Let it rest 1–2 minutes for best scoopable consistency
– Immediately after shaking, the texture can be slightly too soft due to residual movement.
– Resting allows the mixture to settle into a more stable frozen structure.
– Eat immediately or store covered in the freezer for a firmer texture
– Serve soon for the creamiest mouthfeel.
– For storage, keep the ice cream covered to reduce freezer burn and odor absorption. It can harden further in the freezer, so plan for slightly firmer scoops.
Flavor and presentation ideas: A classic pairing is warm toppings like caramel or fresh berries. For a more “bakery-style” effect, add crushed cookies near the end (so they stay suspended, not just sinking into the mixture).
If you’d like to expand beyond vanilla, here are simple, consistent variations:
– Chocolate: Add cocoa powder to the milk mixture and shake until smooth.
– Strawberry: Use strawberry puree (reduce added sugar slightly to avoid overly soft texture).
– Cookies and cream: Stir in crushed chocolate sandwich cookies at the end of shaking.
Troubleshooting Ice Cream in a Bag with Milk
| ID | Symptom | Likely Cause | Fix (Do This Next Time) |
|---|---|---|---|
| 1 | Still liquid after 7–8 minutes | Too little salt or warm ice bath | Add salt incrementally and shake 30–60 seconds more |
| 2 | Grainy or icy texture | Over-shaking or sugar not dissolved | Dissolve sugar fully before freezing; stop when thick, not after |
| 3 | Strong salty flavor | Too much salt in the outer bag | Use smaller salt amounts; keep salt distributed on ice |
| 4 | Leaky bag or watery mess | Seal not fully closed or bags not sized right | Seal twice, remove excess air, and use a larger outer bag |
Ice cream in a bag with milk is a fast, no-churn method that gives you a fun, creamy treat with minimal effort. Follow the base-and-ice-bath steps closely, shake until thick, and taste as you go—then try a new flavor next time (chocolate, strawberries, or cookies).
To wrap up: measure with intention, dissolve sugar before freezing, keep the small bag sealed tight, and treat shaking as controlled, texture-driven work. When temperature, motion, and time align, your ice cream in a bag with milk recipe reliably delivers a smooth, scoopable cold treat you can make again and again.
Frequently Asked Questions
What is an ice cream in a bag with milk recipe and how does it work?
An ice cream in a bag with milk recipe is a no-churn “bag ice cream” method where a milk-based mixture is sealed in a small bag and placed inside a larger bag of ice and salt. The salt lowers the freezing point of the ice, creating a colder ice bath that quickly chills the milk mixture. After shaking for about 5–10 minutes (often longer depending on temperature), the mixture thickens into a creamy ice cream texture.
How do I make ice cream in a bag with milk without crystallization?
To prevent icy ice cream, start with cold milk and heavy whipping cream (or add enough cream for a richer base) and keep your mixture well mixed before sealing. Use fine salt or the correct ice-to-salt ratio, and shake consistently so the temperature drops evenly. Also, don’t over-shake until it turns slushy—stop when it reaches a soft-serve consistency, then chill briefly if you want it firmer.
Why does salt matter when making ice cream in a bag with milk?
Salt is the key ingredient that makes the ice bath colder than freezing, which helps the milk mixture freeze faster. When salt is added to ice, it lowers the freezing point and creates a super-cold mixture around your inner bag. This faster chilling is what turns your milk ice cream base into a smooth, scoopable texture instead of staying as a liquid.
Which ingredients are best for an easy ice cream in a bag with milk recipe?
For the best results, use cold whole milk and, if possible, heavy cream or half-and-half to improve creaminess. Choose sugar (or sweetened condensed milk for extra smoothness) and a flavoring like vanilla extract, cocoa powder, or crushed cookies. If you want a thicker, more “real ice cream” feel, higher-fat dairy tends to reduce iciness and improve mouthfeel.
Best way to fix a runny or too-salty ice cream in a bag with milk?
If your ice cream in a bag with milk recipe is runny, keep shaking in short bursts until it reaches soft-serve thickness, since freezing takes time depending on ice temperature. If it tastes too salty, use the correct amount of salt (often about 1/2 cup salt per 1–2 cups ice, depending on your bag size) and ensure the inner bag is sealed tightly so salt water can’t leak. For quick rescue, blend in a little extra milk or cream and chill briefly to rebalance texture and flavor.
References
- Ice cream
https://en.wikipedia.org/wiki/Ice_cream - Freezing-point depression
https://en.wikipedia.org/wiki/Freezing_point_depression - https://en.wikipedia.org/wiki/No-churn_ice_cream
https://en.wikipedia.org/wiki/No-churn_ice_cream - Ice cream | Definition, History, & Production | Britannica
https://www.britannica.com/topic/ice-cream - https://www.exploratorium.edu/snacks/ice-cream-in-a-bag
https://www.exploratorium.edu/snacks/ice-cream-in-a-bag - https://www.sciencebuddies.org/science-fair-projects/ice-cream-in-a-bag
https://www.sciencebuddies.org/science-fair-projects/ice-cream-in-a-bag - Google Scholar Google Scholar
https://scholar.google.com/scholar?q=ice+cream+in+a+bag+milk+recipe - Google Scholar Google Scholar
https://scholar.google.com/scholar?q=ice+cream+in+a+bag+salt+ice+freezing+point+depression - Google Scholar Google Scholar
https://scholar.google.com/scholar?q=no-churn+ice+cream+milk+cream+base+scientific+principles - Google Scholar Google Scholar
https://scholar.google.com/scholar?q=rapid+freezing+ice+cream+ice+crystal+formation+milk