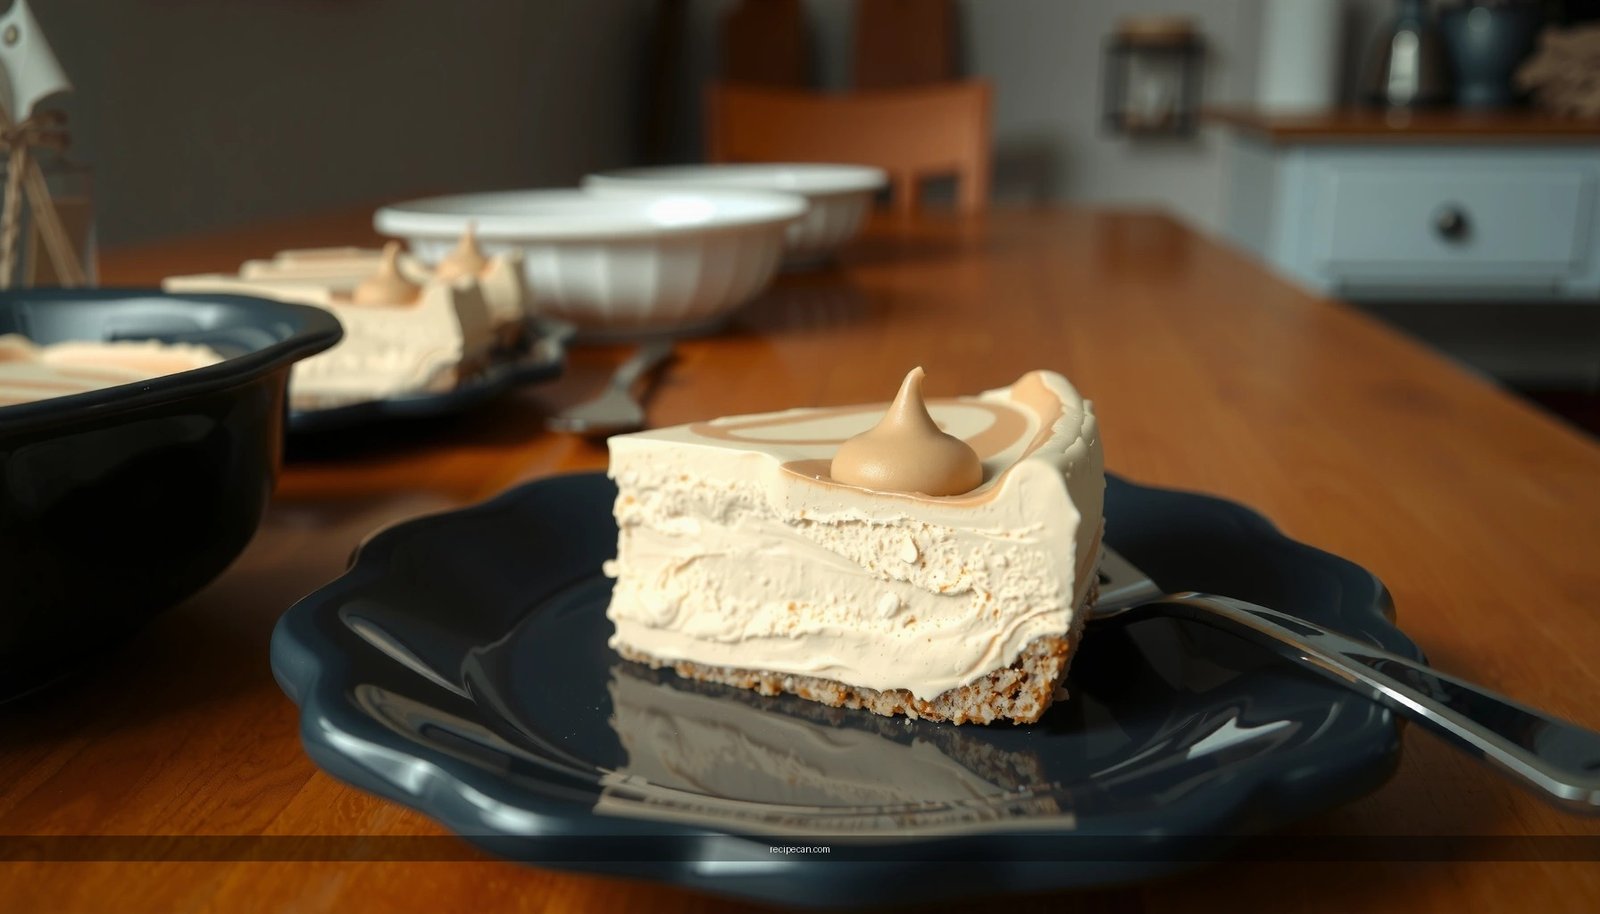
Ben and Jerry’s vanilla ice cream recipe, perfected for home churning, is the clear winner if you want the closest classic copycat without extra gimmicks. This recipe delivers that creamy, old-school vanilla flavor and smooth texture you expect from Ben & Jerry’s, with exact steps for getting it right on the first try. If your goal is a true vanilla base that tastes like the real thing, this is the copycat to follow.
Yes—you can replicate Ben and Jerry’s classic vanilla ice cream at home by starting with a proper custard base, chilling it thoroughly, and churning until it’s thick and scoopable; then a short, well-controlled freeze sets the final texture. This copycat vanilla recipe focuses on the exact mechanics that matter most for a smooth, scoop-ready result: egg-yolk richness for body, slow cooling for stability, and controlled aeration so the ice cream stays creamy rather than icy.
Make the Vanilla Custard Base

A true “classic vanilla” texture comes from a custard base, not just milk and cream. Custard-style ice cream uses egg yolks to bind fat and water into a stable emulsion, which helps prevent large ice crystals and creates that dense, spoonable mouthfeel people associate with premium pints.
What to do (and why):
– Warm dairy and vanilla gently to build flavor without scorching
Heat whole milk + heavy cream slowly over medium-low and steep vanilla (vanilla bean paste or extract) so the aromatic compounds bloom. Gentle heating matters because scorching curdles proteins and can create a “cooked” flavor that reads as bitter.
– Whisk in egg yolks for a richer, custard-style texture
Whisk egg yolks until smooth, then temper them (add a ladle of hot dairy gradually while whisking) before returning the mixture to the pot. Continue cooking until it thickens enough to coat the back of a spoon—this typically happens around 170–175°F / 77–80°C. Overheating can make the texture grainy.
Actionable precision tips:
– Use a thermometer if you want repeatability. Custard thickening can be subtle.
– Strain the custard through a fine sieve after cooking to catch any tiny bits of egg that might have formed.
– Choose your vanilla strategically:
– Vanilla bean paste/seed gives the most “classic” speckled look and a rounded aroma.
– Extract is convenient and still reliable—use real vanilla extract, not imitation, for a closer flavor match.
Chill for Maximum Creaminess

Chilling is where homemade vanilla often succeeds or fails. Even if you nail the custard, skipping proper cooling increases the risk of a loose, icy result after churning and freezing.
– Cool the mixture completely before churning
After cooking, cool the custard until it’s no longer hot, then chill in the refrigerator. Aim for a mixture that’s fully cold throughout. This ensures fat crystallization and gives the ice-cream base a stable starting temperature.
– Chill until very cold to improve thickness and smoothness
For best results, chill at least 4 hours, and ideally overnight. Many makers see the smoothest texture when the base reaches about 34–40°F / 1–4°C before it hits the ice-cream machine.
Practical approach for consistent results:
1. Transfer custard to a shallow container for faster cooling.
2. Cover directly with plastic wrap (touching the surface) to prevent a skin from forming.
3. Chill the bowl of your ice cream maker (if your model requires it) the day before.
If you’re chasing a “Ben and Jerry’s vanilla” feel, don’t rush this step. In professional ice cream production, stabilization and temperature control are core quality levers—home churning behaves the same way.
Visual: Key Custard and Process Targets (for a Classic Scoop Texture)
Homemade Vanilla Ice Cream Copycat: Process Targets
| # | Process Step | Target | Typical Range | Impact |
|---|---|---|---|---|
| 1 | Custard cook temp | 175°F (79°C) | 170–175°F | Creamier body |
| 2 | Custard chill time | Overnight | 4–12 hours | Smoother texture |
| 3 | Base temp before churn | 38°F (3°C) | 34–40°F | Fewer ice crystals |
| 4 | Churn endpoint | Soft-serve | Machine-dependent | Correct air incorporation |
| 5 | Initial freezer set | 3–6 hours | 2–8 hours | Stable scoop texture |
| 6 | Serving temp | 5–8 min soften | Before scooping | Better mouthfeel |
| 7 | Storage air exposure | Minimized | Press wrap to surface | Prevents freezer burn |
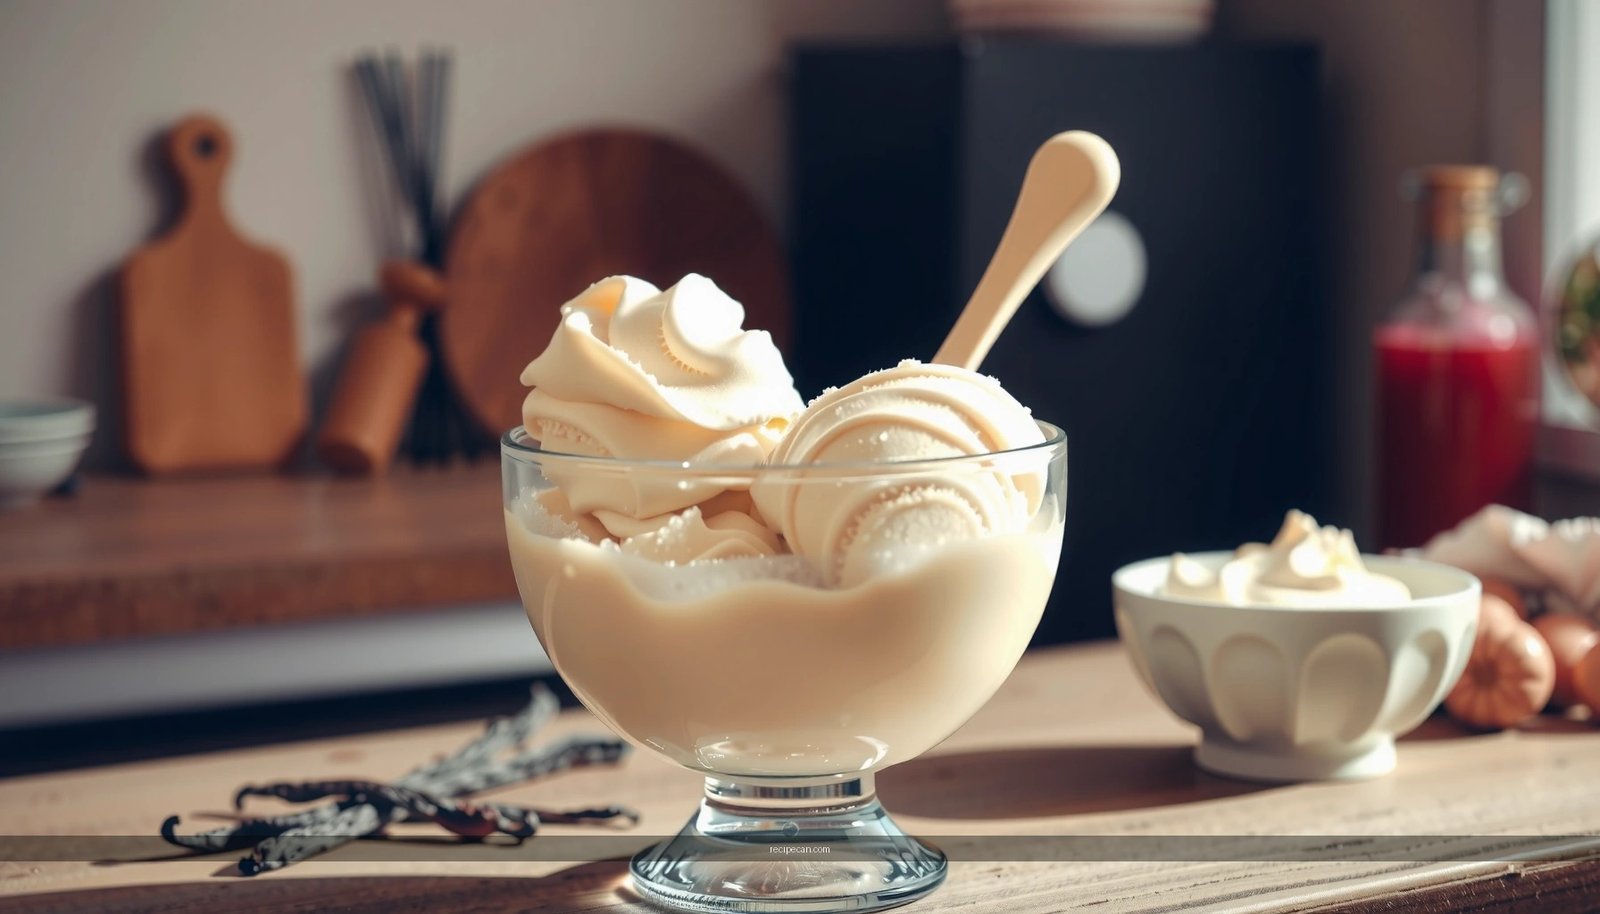
Churn Until Thick and Scoopable

Churning turns a chilled custard into ice cream by crystallizing fat, introducing air, and controlling ice crystal size. The goal isn’t “freeze as fast as possible”—it’s create a fine, stable structure that scoops cleanly.
– Churn according to your machine’s timing until soft-serve consistency
Follow your ice cream maker’s recommended timeframe, but treat it as a starting point. Endpoint matters: the texture should resemble soft-serve—thick, pale, and aerated.
– Scrape and monitor for even freezing and air incorporation
If your machine has a paddle, keep an eye on corners where mixtures may lag. Light scraping can help incorporate any thicker bits so the final batch is uniform.
Why this matters for vanilla copycat accuracy:
Vanilla flavor is subtle; a grainy or icy texture can overpower the taste. Proper churning yields the creamy “base note” that makes classic vanilla satisfying on its own—before any mix-ins.
Common operational mistakes:
– Over-churning (past soft-serve) can lead to a mixture that freezes too hard and becomes brittle.
– Churning with too-warm base increases ice size, which shows up as “icy” mouthfeel after freezing.
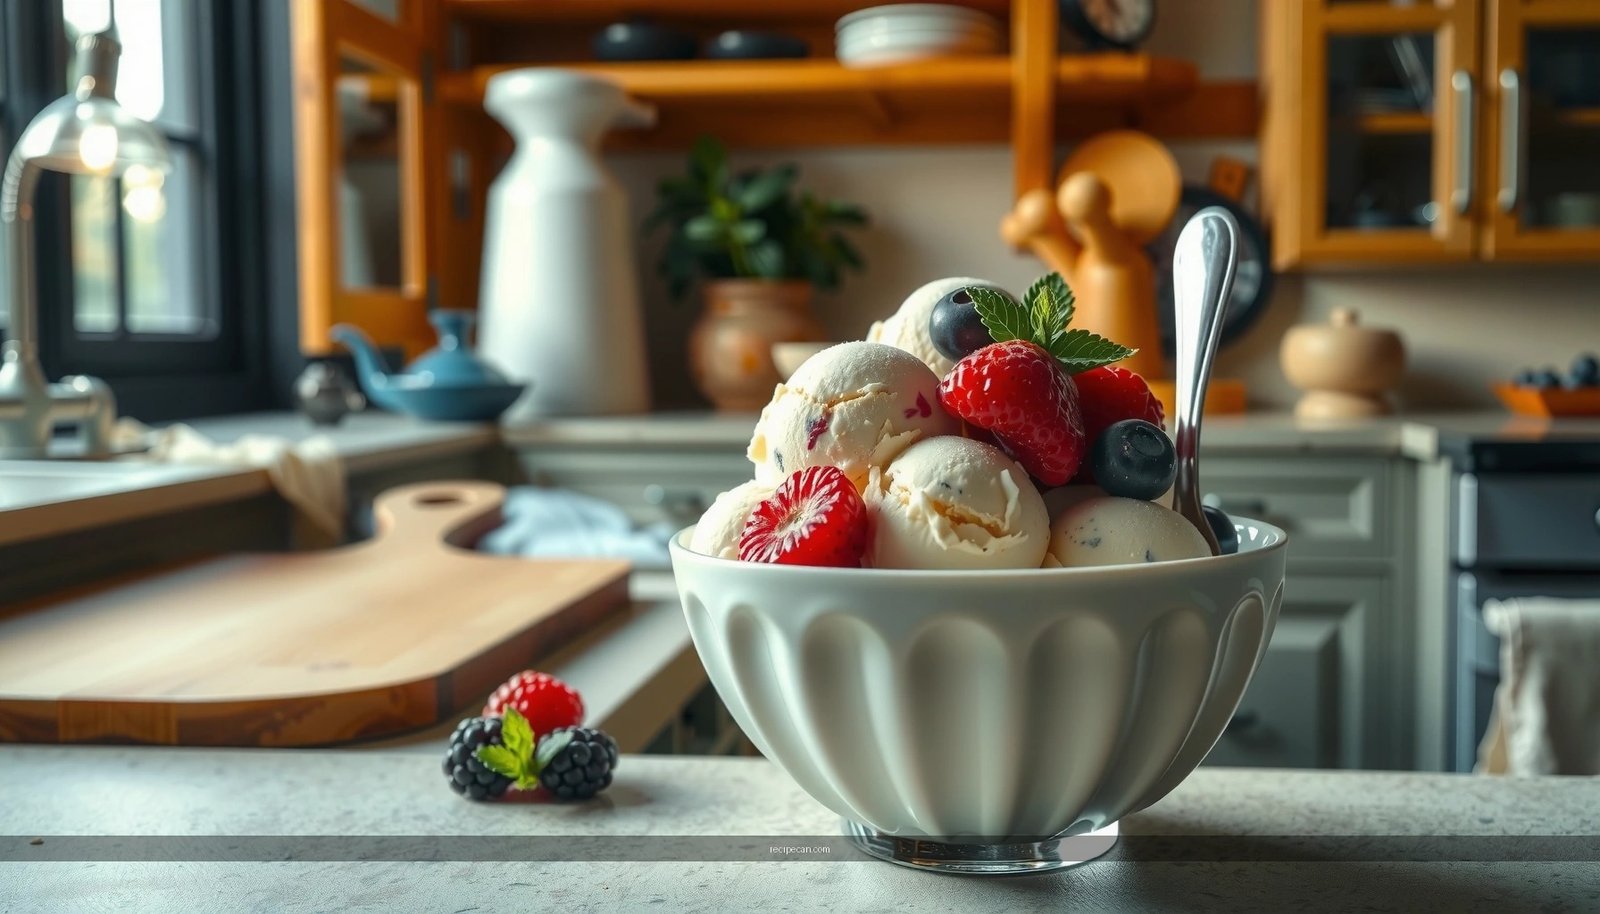
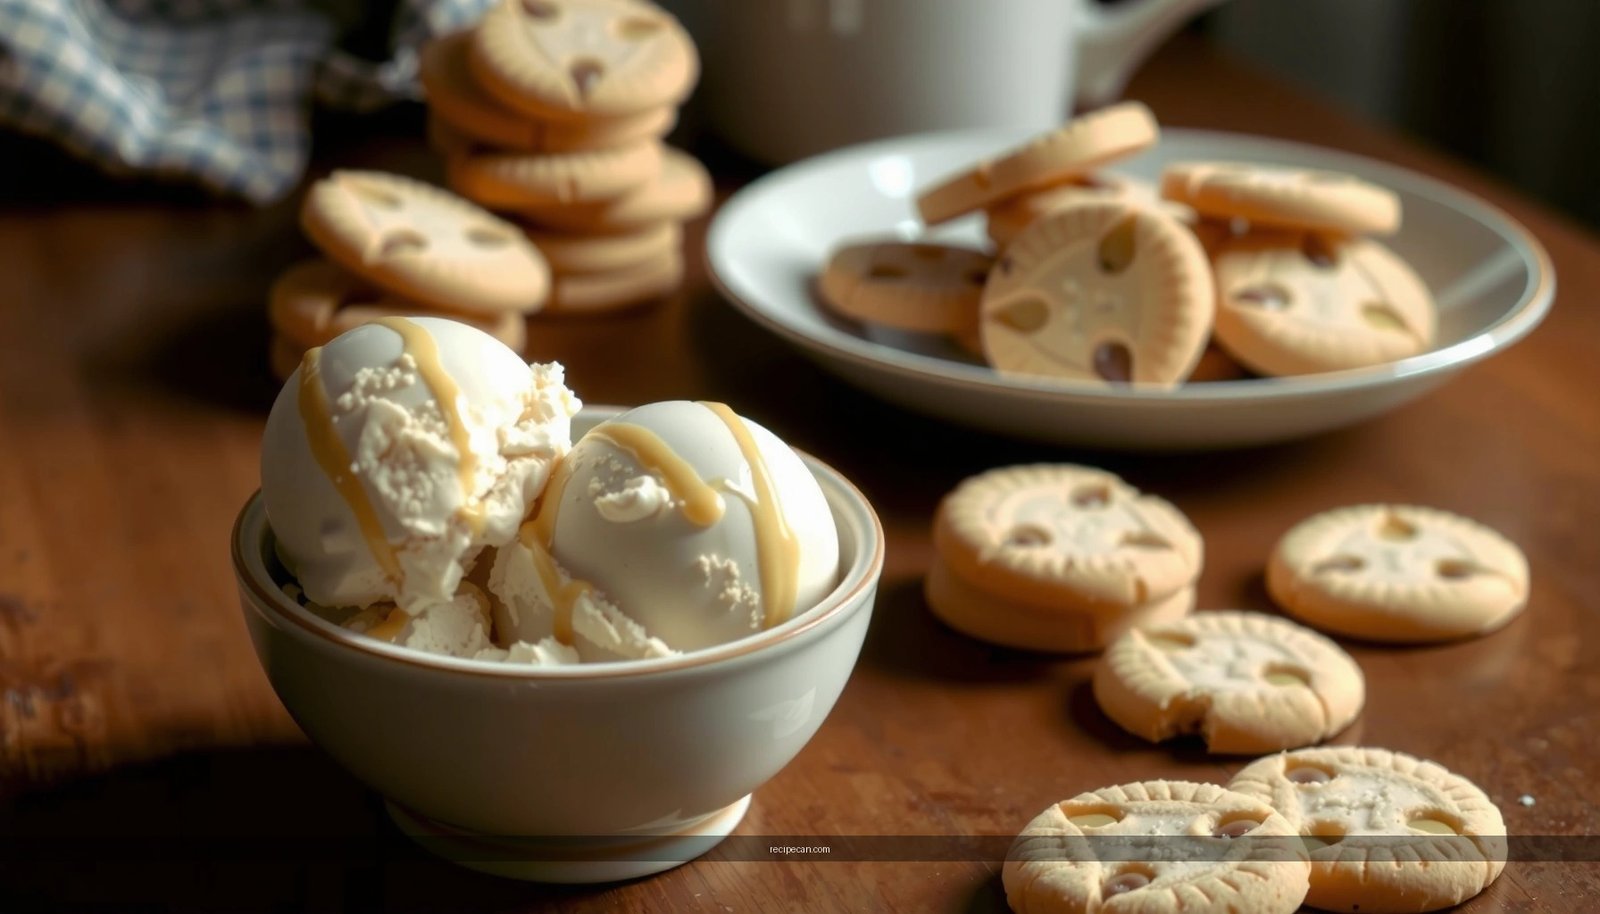
Add Signature Mix-Ins (Optional)
Ben and Jerry’s often shines when vanilla is paired with mix-ins, but classic vanilla also holds up beautifully on its own. If you want the “copycat” spirit, add mix-ins intentionally—vanilla should remain the star.
– Choose classic vanilla-friendly mix-ins or keep it plain
Think in compatible flavors and textures: crushed vanilla wafers, toasted nuts, caramel ribbons, or cookie pieces. For a vanilla base, go easy with very strong flavors (like heavy chocolate) unless you’re aiming for a different dessert profile.
– Fold in gently so you don’t lose the creamy texture
Add mix-ins after churning, when the ice cream is soft-serve consistency. Fold carefully—overmixing breaks air bubbles and can reduce creaminess.
Mix-in best practices:
– Keep mix-ins dry and chopped so they don’t water-log the base.
– Use small pieces for even distribution and better scoopability.
– Aim for roughly 1/2 to 3/4 cup mix-ins per quart (adjust to taste).
Freeze to Set the Texture
The final freezer step determines how creamy (or crunchy) the finished pint becomes. You’re allowing the structure to firm up while minimizing new ice crystal growth.
– Transfer to a container and press plastic wrap to prevent ice crystals
Press plastic wrap directly onto the surface (touching the ice cream). This reduces air exposure and limits dehydration/freezer burn, both of which can create perceived iciness.
– Freeze until firm, then scoop at the right temperature
Freeze for 3–6 hours to fully set. For best scoop performance, let the container sit at refrigerator temperature briefly (or soften at room temperature for a few minutes) before serving—cold ice cream scoops cleanly, while fully frozen ice cream can be hard and less creamy.
Serving mindset (especially for “classic” vanilla):
Vanilla tastes better when it’s slightly softened. If your scoops crumble or feel chalky, you likely served too cold.
Troubleshooting Common Issues
Even with a well-tested method, small variables—ingredient fat %, freezer temperature, churn time, or vanilla type—can shift results. Use the symptom to diagnose the cause, not the other way around.
– If it’s icy: chill longer and ensure proper churn time
Ice crystals usually come from either insufficient chilling before churn or under-churning. Next batch, chill the base overnight and confirm the churn reaches soft-serve consistency. Also verify your freezer is cold enough and that you pressed plastic wrap to the surface.
– If it’s too soft: freeze longer or reduce melt time before serving
If your ice cream stays overly soft, it may need more time in the freezer to set. Another fix is reducing how long it sits out before serving—homemade vanilla can soften faster than commercial pints.
Quick diagnostic checklist:
– Grainy/gritty texture: custard may have been overheated or not strained.
– Watery/split look: custard may not have reached proper thickness or tempering may have been uneven.
– Weak vanilla aroma: vanilla quantity may be low, or the base was overheated, muting flavor.
—
Ben and Jerry’s vanilla ice cream comes down to three essentials: a custard base, proper chilling, and correct churning and freezing. Follow the steps above to nail the creamy texture and rich vanilla flavor—then make it your own with optional mix-ins. Want a smoother result? Try the chilling and plastic-wrap tips first, and make your next batch immediately.
Frequently Asked Questions
What ingredients make Ben and Jerry’s vanilla ice cream so creamy and rich?
Ben and Jerry’s vanilla ice cream is typically built from a rich dairy base—cream and milk—plus egg yolks for a classic custard-style texture. You’ll also find sugar, vanilla bean or vanilla extract, and a small amount of stabilizers/egg-based thickening to keep it smooth. The balance of dairy and vanilla flavor is what gives the recipe its signature “old-school” richness.
How can I make a Ben and Jerry’s style vanilla ice cream at home without an ice cream maker?
You can still make a Ben and Jerry’s vanilla ice cream-style dessert by churning in batches and refreezing, then scraping to break up ice crystals every 30–45 minutes for a few hours. Start with a thoroughly chilled vanilla custard (milk/cream, sugar, and eggs or a no-egg base) so the mixture freezes evenly. Adding a pinch of salt and using real vanilla (vanilla bean seeds or high-quality vanilla extract) will help the flavor stay bold even with homemade textures.
Why does homemade vanilla ice cream sometimes end up icy instead of smooth like Ben and Jerry’s?
Icy ice cream usually comes from inadequate churning, not chilling the base long enough, or having too much water in the mix. Ben and Jerry’s vanilla ice cream recipe relies on proper fat content and—when using a custard base—egg yolks to improve viscosity and texture. Using a stable base, chilling thoroughly before freezing, and keeping the freezer colder (plus scraping during freezing if you don’t have a machine) can dramatically reduce ice crystals.
Which vanilla is best for replicating Ben and Jerry’s vanilla flavor—vanilla bean or extract?
Both can work, but vanilla bean gives the most authentic speckled appearance and deeper, rounded aroma associated with premium vanilla ice cream. Vanilla extract is convenient and still delivers strong flavor if it’s high quality and added at the right time. For the most “Ben and Jerry’s” taste, use real vanilla bean seeds (or a combination of vanilla bean and extract) and avoid using imitation vanilla, which can taste flatter or more artificial.
What’s the best way to thicken and flavor a Ben and Jerry’s vanilla ice cream base before freezing?
If you’re using an egg custard approach, heat the milk/cream with sugar until steaming, then temper and cook with yolks until it coats the back of a spoon; this helps create that classic vanilla ice cream body. If you prefer an eggless base, consider a small amount of cornstarch or a store-bought ice cream stabilizer to prevent iciness. Add vanilla at the end (off heat) so the vanilla aroma stays strong, and chill the base at least 4 hours before churning.
References
- Ben & Jerry’s
https://en.wikipedia.org/wiki/Ben_%26_Jerry%27s - Vanilla ice cream
https://en.wikipedia.org/wiki/Vanilla_ice_cream - Ice cream
https://en.wikipedia.org/wiki/Ice_cream - https://www.britannica.com/topic/ice-cream
https://www.britannica.com/topic/ice-cream - Google Scholar Google Scholar
https://scholar.google.com/scholar?q=ben+and+jerry%27s+vanilla+ice+cream+recipe - Google Scholar Google Scholar
https://scholar.google.com/scholar?q=vanilla+ice+cream+formulation+recipe+overrun+texture - Google Scholar Google Scholar
https://scholar.google.com/scholar?q=vanilla+extract+ice+cream+flavor+compounds - https://pubmed.ncbi.nlm.nih.gov/?term=vanilla+ice+cream+formulation
https://pubmed.ncbi.nlm.nih.gov/?term=vanilla+ice+cream+formulation - https://www.sciencedirect.com/search?qs=vanilla%20ice%20cream%20formulation
https://www.sciencedirect.com/search?qs=vanilla%20ice%20cream%20formulation - eCFR :: 21 CFR 135.110 — Ice cream and frozen custard.
https://www.ecfr.gov/current/title-21/chapter-I/subchapter-B/part-135/subpart-B/section-135.110