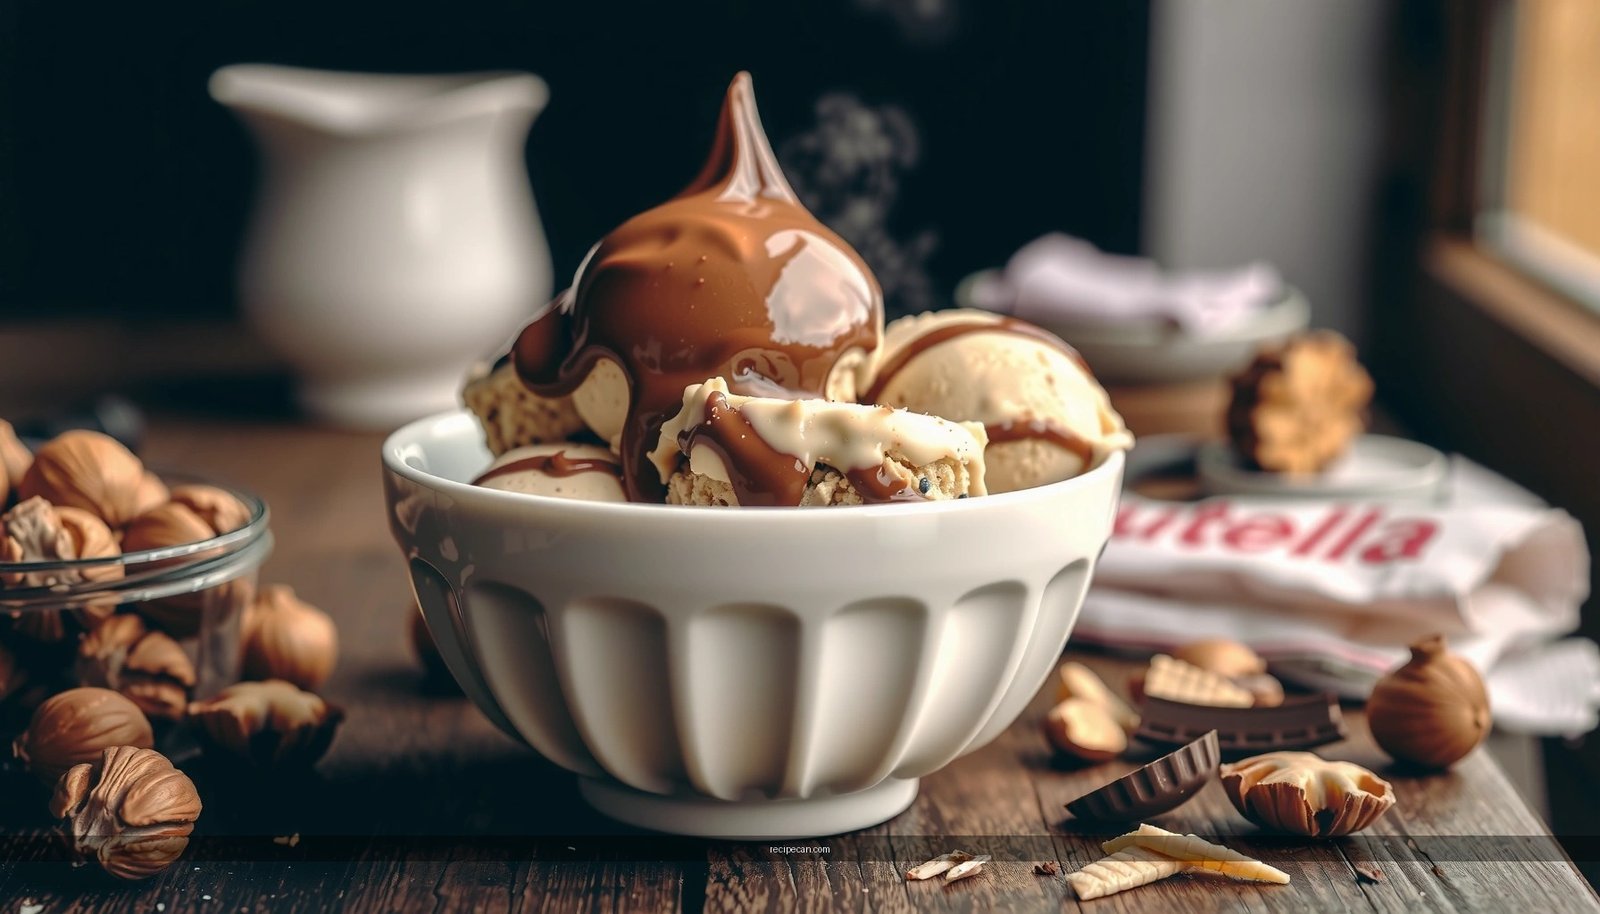
Looking for a Ben and Jerry’s Chocolate Ice Cream recipe that actually tastes like the real thing? This copycat version delivers the closest match when you follow the exact base, chocolate swirl, and mix-in method—so you get that signature rich, creamy bite at home. If your goal is the most accurate “Ben & Jerry’s-style” result, these steps are the shortcut.
Make Ben and Jerry’s–style chocolate ice cream at home by building a rich chocolate custard, churning to soft-serve thickness, then freezing until scoopable—consistency is the difference between “close” and “classic.” With a few targeted techniques (proper cocoa bloom, egg tempering if you use it, and the right mix-in timing), you can replicate that dense, creamy body and satisfying chunk-to-cream ratio.
Ingredients for Ben and Jerry’s Chocolate Ice Cream

Ben and Jerry’s chocolate ice cream is all about balance: deep cocoa flavor, creamy custard texture, and generous “mix-ins” distributed throughout without becoming mush. The ingredient list below is designed to hit those targets while staying realistic for home kitchens.
Core base (custard-style)
– Cocoa and chocolate for deep, classic flavor
Use Dutch-process cocoa (smoother, darker, less acidic) plus chopped semisweet or bittersweet chocolate for a layered chocolate taste.
– Cream, milk, sugar, and eggs (optional) for a smooth custard base
– Heavy cream drives richness and melt resistance.
– Milk helps create a lighter pour while still supporting creaminess.
– Sugar not only sweetens, but also lowers freezing point for scoopability.
– Egg yolks (optional) act as natural emulsifiers and thickeners for that “premium” custard mouthfeel.
Mix-ins (where the signature personality comes from)
– Chocolate chunks (best for texture and “melty” pockets)
– Fudge or warm ganache pieces (for dense, sweet contrast)
– Cookie pieces (avoid overly soft cookies so they don’t dissolve)
– Optional add-ons: toasted nuts, brownie bites, or chocolate-covered pretzels for sweet-salty depth
Bench-ready quantities (for one typical batch)
If you want a reliable “copycat” starting point, plan around:
– 2 cups heavy cream
– 1 cup whole milk
– 1/2–3/4 cup sugar (to taste; cocoa intensity matters)
– 1/2 cup Dutch-process cocoa
– 4–6 oz chopped chocolate
– 3–5 egg yolks (optional, for thicker custard)
– 1.5–2 cups mix-ins (aim for a substantial amount—Ben & Jerry’s-style typically isn’t shy)
Make the Chocolate Custard Base

A thick, scoopable chocolate ice cream starts before the churn. The custard base determines whether your finished ice cream tastes “buttery and smooth” or “icy and flat.”
1) Bloom and dissolve the cocoa correctly
Cocoa flavor can go either way depending on whether it’s properly incorporated. For best results:
– Warm cream and milk over medium heat until steaming, not boiling.
– Whisk cocoa with sugar first (dry) to minimize clumps.
– Gradually whisk the cocoa-sugar mixture into the warm dairy.
– Keep whisking until the mixture is fully smooth and dissolved—a few extra minutes here prevents gritty texture later.
Pro tip: If you’re using chocolate, melt the chopped chocolate separately (microwave in short bursts or over a double boiler) and whisk it into the hot custard. This helps create a silky chocolate distribution rather than lumps.
2) Temper eggs (if using) to thicken without scrambling
If you choose egg yolks, tempering is what keeps the custard professional-grade:
– Whisk egg yolks in a bowl until uniform.
– Slowly drizzle a small amount of the hot chocolate dairy into the yolks while whisking constantly.
– Pour the tempered yolk mixture back into the pot.
– Cook on medium-low heat, stirring until thick enough to coat a spoon (commonly around 170–175°F / 77–80°C, though kitchen judgment matters).
3) Chill thoroughly before churning
This step is non-negotiable for classic texture:
– Strain the custard (optional but helpful for absolute smoothness).
– Chill until cold all the way through—ideally 4 hours or overnight.
Why it matters: pre-chilling reduces ice crystal growth during freezing/churning, which is the main reason homemade ice cream can end up icy.
Key process comparison: What each choice changes
Home Chocolate Ice Cream: Mix Strategy & Expected Texture (Batch Guidance)
| # | Mix-in Strategy | Recommended Timing | Chunk Retention | Best Use Case | Texture Score |
|---|---|---|---|---|---|
| 1 | Chocolate chunks (1–2 cm) | Last 2–3 minutes of churning | High | Classic cookie-free texture | 9.2 ★ |
| 2 | Fudge pieces (dense, bite-size) | Last 1–2 minutes | Medium-High | Brownie-like richness | 8.8 ★ |
| 3 | Cookie chunks (slightly stale) | Last 3–4 minutes | Medium | Crunchy pockets | 8.3 ★ |
| 4 | Soft brownies (tiny crumbles) | Last 5 minutes | Low-Medium | Marbled chocolate flavor | 6.7 ★ |
| 5 | Freeze-dried cocoa nib dust | Whisk into custard before chilling | N/A (even distribution) | Extra chocolate aroma | 8.9 ★ |
| 6 | Chopped nuts (toasted, 0.5–1 cm) | Last 2–3 minutes | High | Sweet-salty complexity | 8.6 ★ |
| 7 | Caramel swirls (thick, scoopable) | After churning, gentle folds | Medium | Marble effect | 8.1 ★ |
Churn Until Thick and Creamy

Churning is where homemade ice cream gains its signature texture. It’s also where most people accidentally overdo it—resulting in a grainier or too-stiff final product.
1) Churn to soft-serve consistency
Churn until the mixture looks like thick soft-serve—usually:
– 20–30 minutes for many home ice cream makers
– Less time for very fast machines
– More time if your freezer bowl wasn’t fully frozen
A good “copycat” cue: the custard should be aerated and thick, but still pliable enough to fold mix-ins without breaking them.
2) Add mix-ins at the right time
For Ben & Jerry’s–style chocolate ice cream, the mix-ins should stay chunky:
– Add harder items (chocolate chunks, nuts) near the end of churning so they don’t get pulverized.
– Add fudge or dense brownie bites later as well, so you preserve structure while still distributing pieces evenly.
– Avoid adding very soft mix-ins too early; they often smear into the base.
3) Don’t over-churn
Over-churning can:
– Drive out too much moisture balance
– Produce smaller air bubbles that freeze into a tighter, sometimes icy texture
If in doubt, stop a little early and let the freezer finish the firmness.
Freeze for the Perfect Scoop
Churning alone doesn’t create scoopable body—freezing does. This is where you lock in that creamy density.
1) Transfer and freeze until firm
– Move ice cream to a container with a tight lid.
– Smooth the top to reduce ice buildup.
– Freeze until firm, typically 4 hours to overnight.
2) Stir/press lightly during early freezing for a smoother body
If you want a more uniform texture:
– During the first 30–60 minutes of freezing (when it starts to set), you can stir briskly once or press the surface with a clean spatula.
– This helps reduce large ice crystal formation and improves “packable” body.
3) Rest before serving so it scoops cleanly
Even excellent homemade chocolate ice cream can be too hard straight from the freezer:
– Rest at room temperature 5–10 minutes.
– Use a warmed scoop for clean portions.
This small timing adjustment often makes homemade ice cream feel “restaurant-level.”
Troubleshooting Common Issues
Chocolate ice cream is sensitive to temperature and process. The good news: most problems have clear fixes.
Ice crystals
What happens: Grainy texture, watery bite, or crunchy ice.
Fixes:
– Chill the custard fully before churning (again, this is the biggest factor).
– Churn to soft-serve thickness, not beyond.
– Freeze quickly and keep the container sealed.
Too soft or icy
What happens: Either it won’t scoop or it becomes firm-but-icy.
Fixes:
– If it’s too soft: your mix-ins may be melting the base faster, or you may need slightly more sugar or longer freeze.
– If it’s icy: consider thicker base (more cocoa chocolate, or use egg yolks next time), and reduce the size of your mix-ins only if they contain lots of water.
Flavor too mild
What happens: Chocolate tastes “brown” rather than deeply chocolate-forward.
Fixes:
– Increase Dutch-process cocoa slightly.
– Add more chopped chocolate (or a higher-percentage bittersweet bar).
– Ensure you’re dissolving cocoa thoroughly so the full chocolate profile develops.
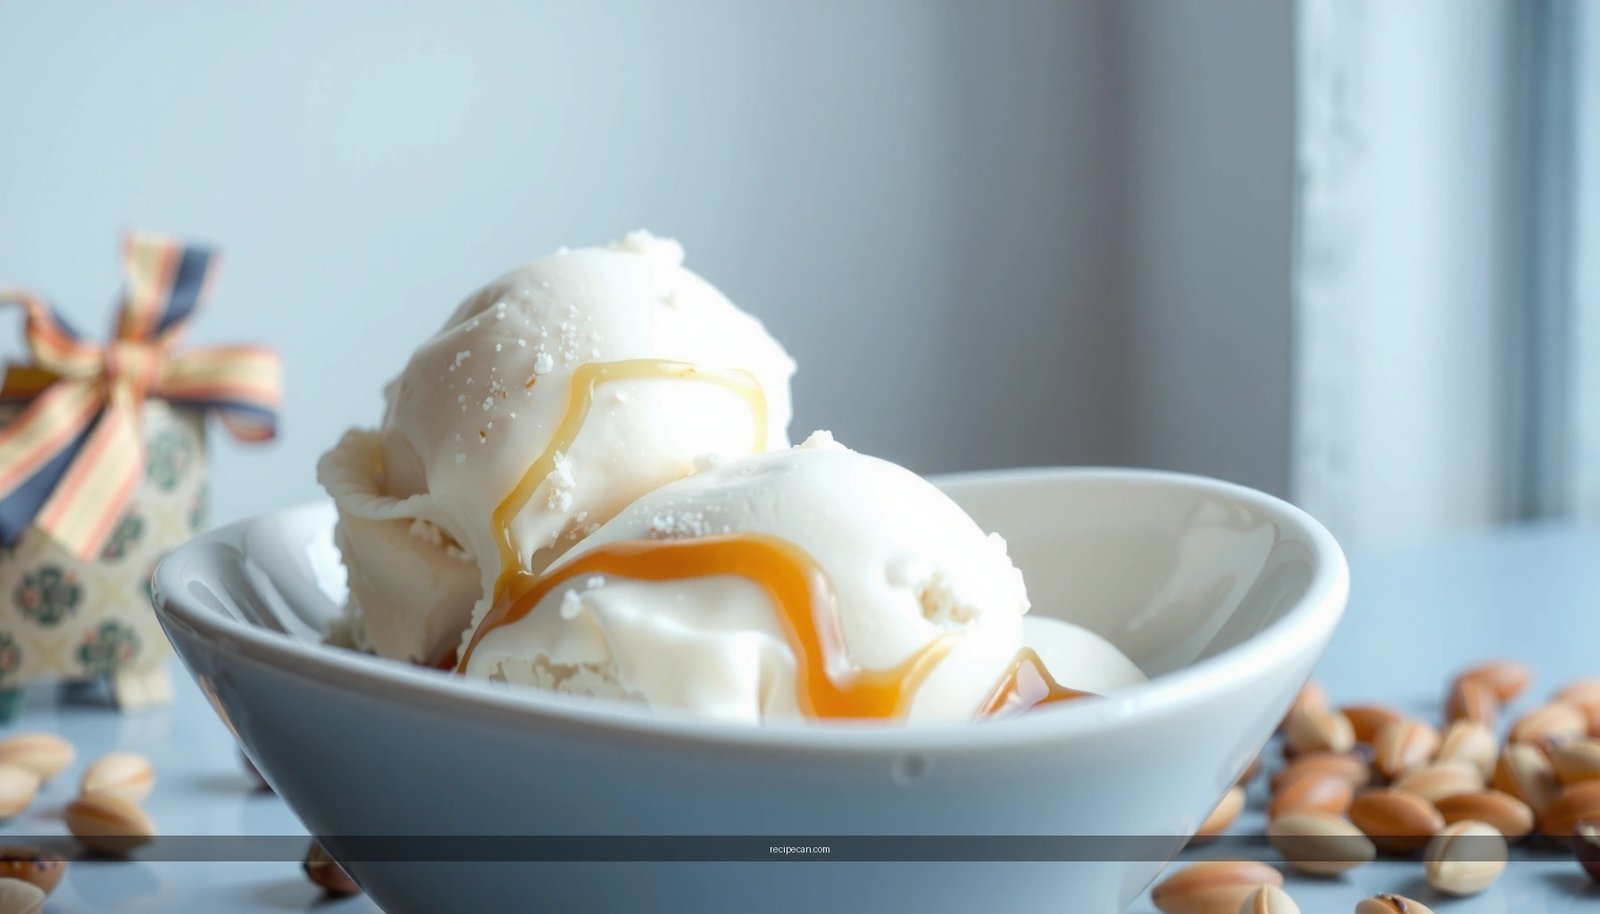
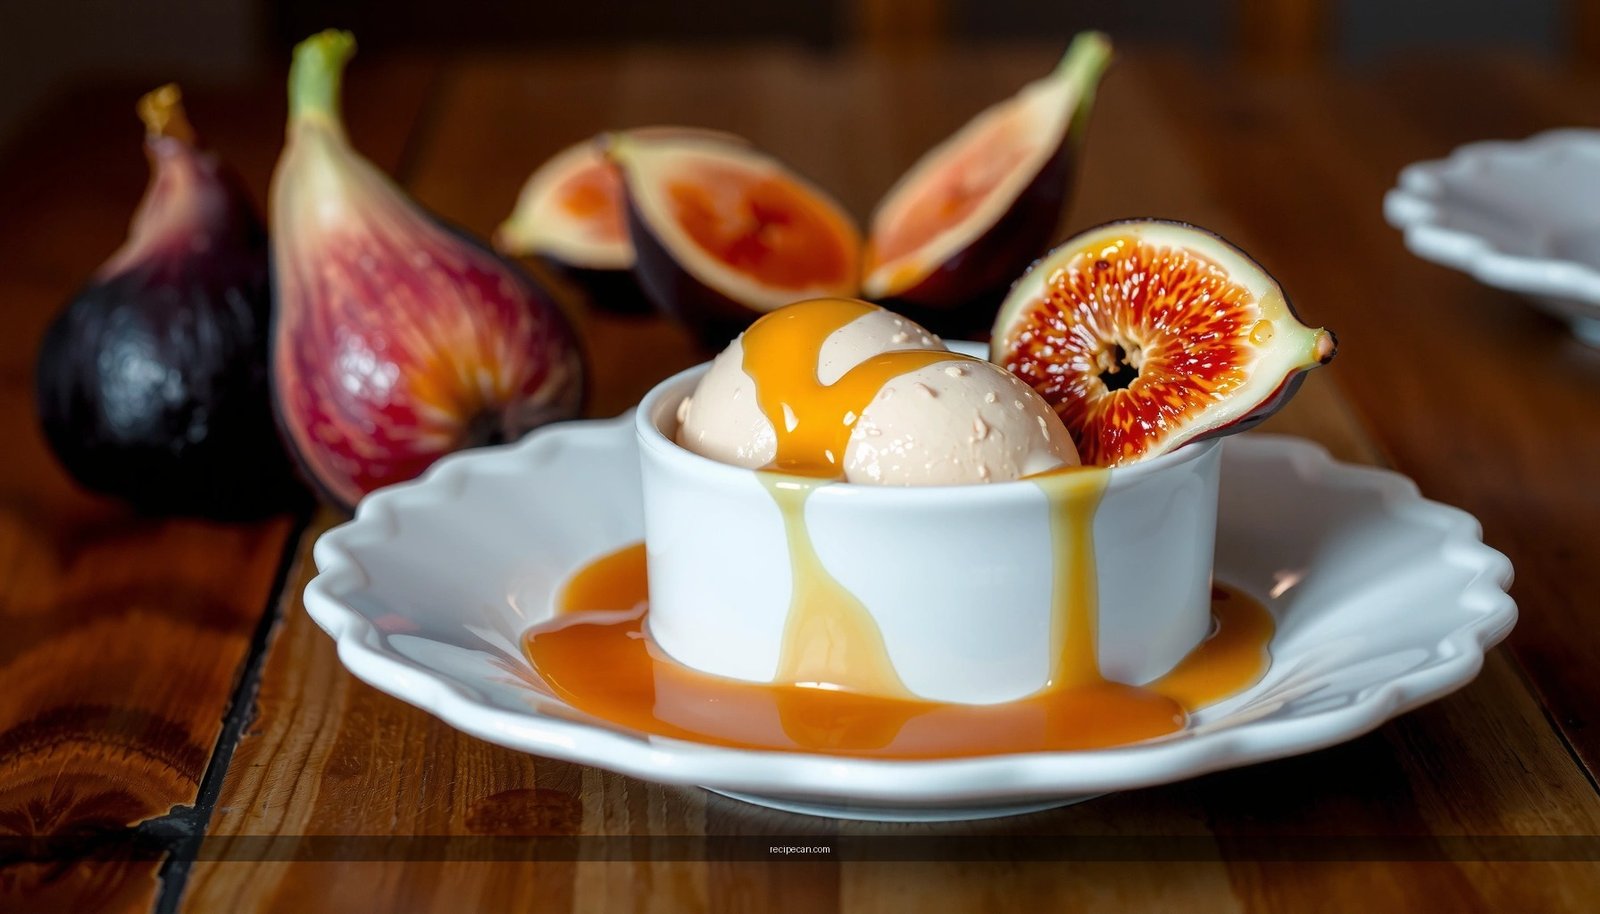
Serving Suggestions and Storage Tips
To keep your Ben and Jerry’s–style chocolate ice cream tasting fresh, storage is as important as technique.
Storage
– Store in an airtight container to prevent freezer burn and off flavors.
– Press plastic wrap directly onto the surface before sealing (especially if freezing for more than a couple weeks).
Serving
– Serve slightly softened for best texture: creamy edge, scoopable middle.
– Pair with warm brownies, chocolate cake, or a simple bowl of berries to highlight cocoa richness.
Shelf life
For peak quality, aim to eat within 2–3 weeks. While frozen ice cream can last longer technically, flavor and texture typically decline as freezer air exposure increases.
Ben and Jerry’s chocolate ice cream comes together by building a rich chocolate base, churning properly, then freezing until scoop-ready. Follow the steps above, choose your favorite mix-ins, and make a batch you can customize—then share your best variation or try a new chunk/fudge combo next time.
Frequently Asked Questions
What ingredients make Ben and Jerry’s chocolate ice cream so creamy and chocolatey?
Ben & Jerry’s chocolate ice cream typically relies on a rich base of cream, milk, and sugar, plus cocoa powder and/or melted chocolate for deep chocolate flavor. For the “chunky” character many people associate with the brand, mix-ins like fudge swirls, chocolate chips, or cookie pieces are added to create contrast in texture. If you’re recreating the recipe at home, using quality cocoa and properly mixing the base helps you get that signature chocolate intensity without a chalky taste.
How do you make a homemade version of Ben and Jerry’s chocolate ice cream that churns well?
Start with a well-balanced custard-style base (milk/cream with sugar and cocoa), heat just until sugar dissolves, then cool thoroughly before churning in an ice cream maker. Churning works best when the base is cold, because it creates smaller ice crystals for a smoother Ben & Jerry’s-style texture. After churning, fold in chocolate chunks or fudge swirl gently and freeze until firm so the mix-ins distribute evenly.
Why does homemade chocolate ice cream sometimes turn icy, and how can you prevent it?
Ice crystals usually form when the ice cream base isn’t cooled properly before churning, when it has too much water, or when it isn’t frozen quickly enough. Using enough fat from cream, adding cocoa (which reduces free water), and ensuring your base reaches the right temperature before churning can significantly improve texture. For a more Ben and Jerry’s-like result, store the finished ice cream in a well-sealed container and keep the freezer temperature consistent to reduce ice buildup.
Which mix-ins pair best with Ben and Jerry’s chocolate ice cream recipe?
Many fans like chocolate mix-ins such as chocolate chunks, brownies, or cookie pieces because they complement the cocoa base and mimic popular Ben & Jerry’s textures. Fudge swirls are another common add-in, providing a concentrated chocolate flavor that stands out in each bite. If you’re aiming for the closest “Ben and Jerry’s” feel, choose mix-ins that are not too hard or stale, and cut them into small pieces so every scoop gets a balanced distribution.
What’s the best way to get a Ben and Jerry’s style fudge swirl in your chocolate ice cream?
Make a quick fudge swirl by simmering chocolate with a bit of cream (or using melted chocolate thickened with a small amount of syrup), then cool it until it’s spoonable but still pourable. Add the swirl during or right after churning in a way that creates ribbons—then don’t overmix, or the swirl can disappear into the base. Freezing the churned ice cream for several hours helps the swirl set and creates that classic Ben and Jerry’s chocolate ice cream look and texture.
References
- Google Scholar Google Scholar
https://scholar.google.com/scholar?q=Ben+%26+Jerry%27s+chocolate+ice+cream+recipe - Google Scholar Google Scholar
https://scholar.google.com/scholar?q=chocolate+ice+cream+formulation+fat+crystallization+structure - Google Scholar Google Scholar
https://scholar.google.com/scholar?q=ice+cream+mix+stabilizers+emulsifiers+overrun+science - Ben & Jerry’s
https://en.wikipedia.org/wiki/Ben_%26_Jerry%27s - Ice cream
https://en.wikipedia.org/wiki/Ice_cream - Chocolate ice cream
https://en.wikipedia.org/wiki/Chocolate_ice_cream - Ice cream | Definition, History, & Production | Britannica
https://www.britannica.com/topic/ice-cream - eCFR :: 21 CFR Part 135 — Frozen Desserts
https://www.ecfr.gov/current/title-21/chapter-I/subchapter-B/part-135 - https://pubmed.ncbi.nlm.nih.gov/?term=ice+cream+fat+crystallization
https://pubmed.ncbi.nlm.nih.gov/?term=ice+cream+fat+crystallization - https://pubmed.ncbi.nlm.nih.gov/?term=chocolate+ice+cream+flavor+compounds
https://pubmed.ncbi.nlm.nih.gov/?term=chocolate+ice+cream+flavor+compounds