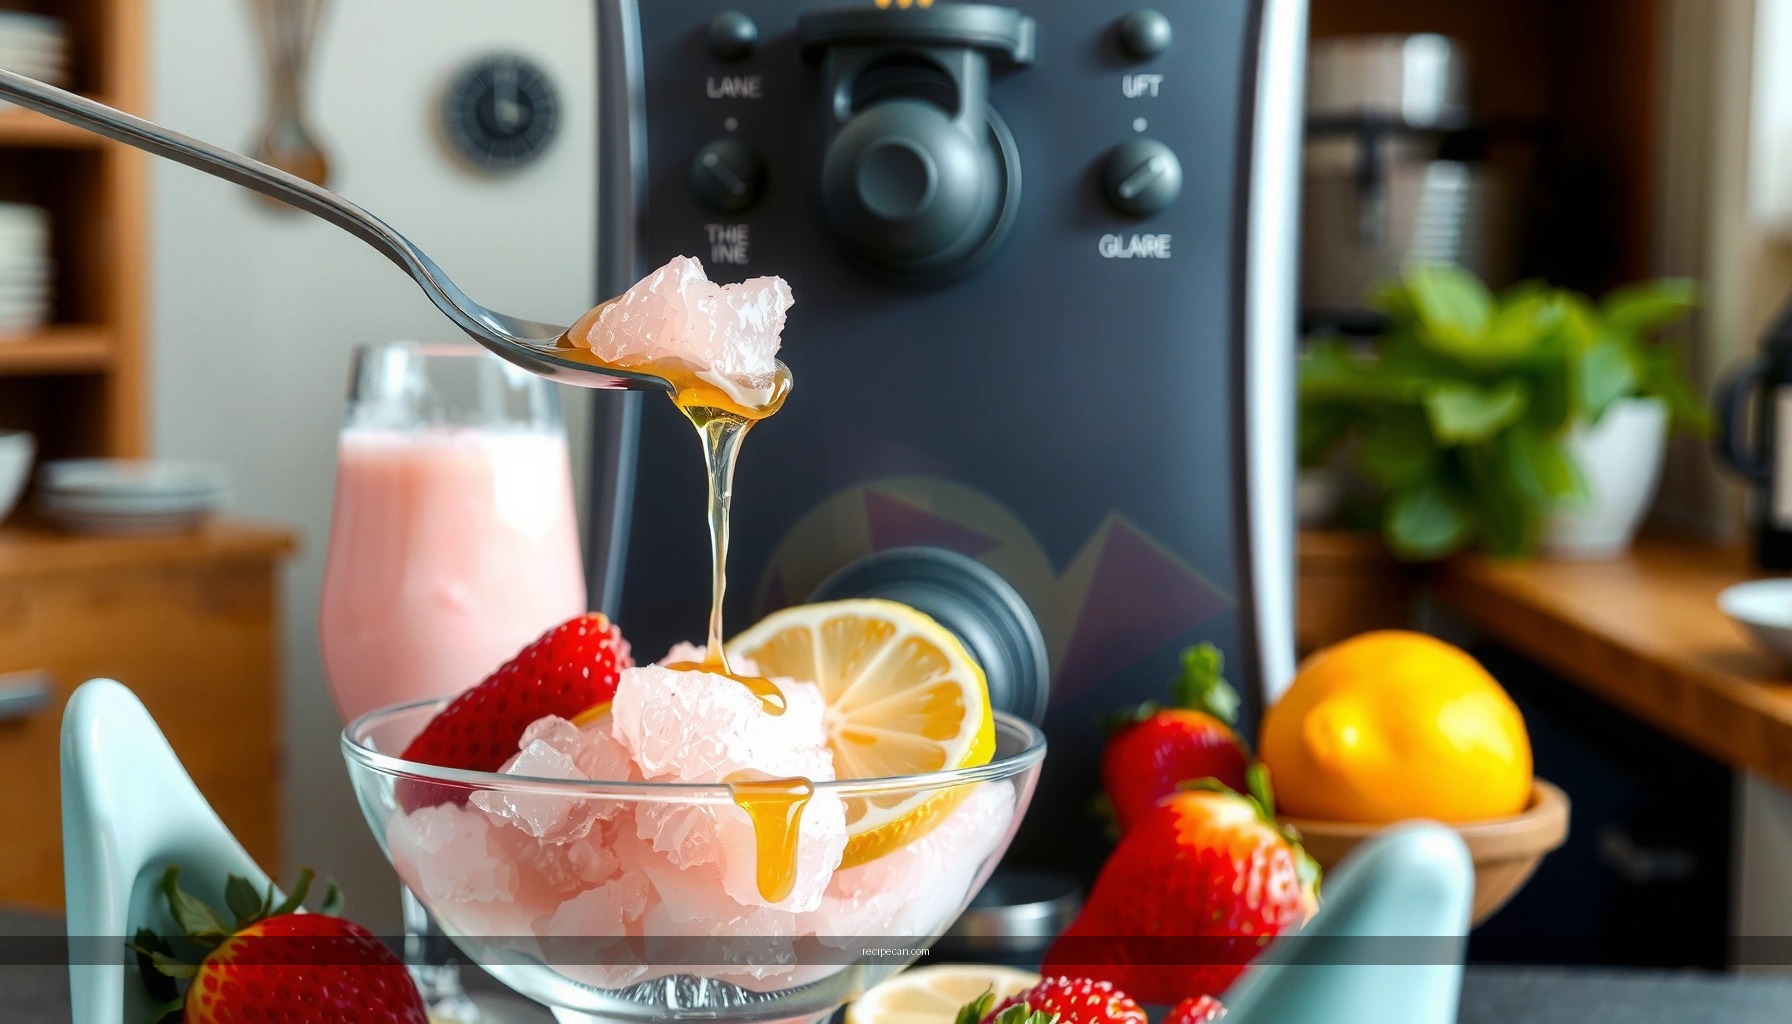
Find out how to make vegan oat milk ice cream that actually turns out creamy, scoopable, and genuinely satisfying—without dairy. This recipe gives you a clear method for dialing in texture and sweetness so it freezes like real ice cream, not icy dessert. If you want homemade vegan oat milk ice cream with a rich, churned finish, this is the one to follow.
You can make creamy vegan oat milk ice cream at home by creating a thick, well-chilled oat base, then churning it to trap air and freezing it until scoopable. The key to avoiding icy texture is selecting full-fat/barista-style oat milk, using a reliable thickener (or custard-style method), and following correct churn + freeze timing so your dairy-free dessert behaves like true ice cream.
Choose Your Ingredients for Vegan Creaminess

Great vegan ice cream starts with understanding what dairy provides in traditional versions: milk fat for body, proteins for stability, and sugar for texture. In oat milk ice cream, you recreate those functions with the right oat base and a thickener that prevents large ice crystals.
Start with richer oat milk
– Use full-fat or barista-style oat milk for a richer base. These typically contain more solids and sometimes added emulsifiers, which help your base hold onto air during churning.
– Check for low separation. Oat milk that stays relatively smooth after stirring usually blends more evenly and yields better mouthfeel.
Add a thickener to prevent icy texture
Without fat and dairy proteins, oat-based bases cool into a harder, icier matrix. A thickener increases viscosity, stabilizes ice crystal formation, and improves scoopability.
– Cornstarch method (easy, consistent): Cornstarch gelatinizes when heated, thickening the base quickly.
– Custard-style method (more “ice-cream-like”): Heating with a dairy-free egg replacer or a starch/protein blend can produce a more stable structure, especially for premium textures.
– Why it matters: When your base is too thin, water freezes into larger crystals. When your base is thick enough, those crystals remain smaller and the texture stays creamy.
Sweeteners: balance freezing points and flavor
Sugar does two jobs: it sweetens and it lowers the freezing point so the ice cream stays scoopable.
– Use a mix of granulated sugar and/or glucose syrup (if you have it). Glucose syrup improves softness and reduces iciness.
– If you prefer maple syrup or coconut sugar, use slightly less total volume of liquid sweeteners and compensate with thickener to maintain structure.
Flavor ingredients with practical impact
Vanilla, cocoa, spices, and fruit purees all change texture. Cocoa, for example, tends to thicken slightly, while fruit adds water.
– For fruit-forward flavors (strawberry/raspberry), reduce purée or use less fruit per batch, then add a bit more thickener if needed.
Ingredient Benchmark Table (What “Creamy” Usually Means)
Stabilizers for Vegan Oat Milk Ice Cream: Typical Performance (500–800 g batches)
| # | Stabilizer Choice | Best For | Recommended Amount | Texture Outcome |
|---|---|---|---|---|
| 1 | Cornstarch | Fast, beginner-friendly thickening | 12–18 g per 1 liter | Creamy, low-ice |
| 2 | Arrowroot | Neutral flavor, smooth mouthfeel | 14–20 g per 1 liter | Silky, stable base |
| 3 | Carrageenan (if using) | Scoopability and strong stability | 0.2–0.5% by weight | Restaurant-style body |
| 4 | Guar gum | Thin bases needing viscosity | 0.2–0.4% by weight | Smooth, less icy |
| 5 | Xanthan gum | Consistency in churned bases | 0.05–0.15% by weight | Even texture (watch dosing) |
| 6 | No thickener (avoid) | Not recommended for scoopable ice cream | 0 g | Icy, harder scoop |
| 7 | Custard-style starch blend | Premium “ice-cream shop” feel | Typically 20–28 g per 1 liter | Thick, scoopable, slow-melting |
Make the Ice Cream Base

Once you’ve selected ingredients, the base step is where texture is won or lost. For vegan oat milk ice cream, your goal is to thoroughly dissolve the thickener and thicken the base evenly, then cool it fast and thoroughly.
1) Combine and heat correctly
– Whisk oat milk, sweeteners, and any salt (salt improves perceived sweetness and flavor clarity).
– If using cornstarch or arrowroot, temper it first: mix the starch with a small amount of cold oat milk (or the recipe liquid) to avoid lumps.
– Heat to a gentle simmer while whisking. You want the mixture to visibly thicken—stirring ensures uniform stability.
2) Achieve the right thickness
A good base coats the back of a spoon and leaves a clear line when you run a finger through it. If it looks thin, it’s not ready yet.
– Overheating isn’t usually the issue; under-heating is (starch not fully gelatinized).
3) Cool completely before churning
Cooling is not optional. Churning warm base can lead to:
– excess ice crystal formation,
– slower freezing,
– and grainy texture.
Cool to refrigerator temperature (ideally 4°C / 39°F) and let it rest so oat flavor melds and air bubbles settle.
4) Optional emulsification for extra smoothness
If your blender can handle heat, some cooks blend the cooled base briefly to improve homogeneity—especially if you use cocoa or fruit.
Churn for Smooth Texture

Churning is the transformation step: it aerates the base, partially freezes it, and creates the small ice crystals that deliver creaminess.
Churn until it reaches soft-serve consistency
– Most machines indicate readiness when the mixture looks like thick soft serve—pale, fluffy, and barely flowable.
– If you churn too little, it will feel dense and icy after freezing.
– If you churn too long, it can become overly firm in the machine and lose that smooth aerated structure.
Transfer immediately
– Move to a container quickly to minimize temperature rise.
– Smooth the top for better freezing and easier scooping.
Why soft-serve timing matters
Soft-serve consistency indicates enough viscosity + ice crystal formation to trap air without letting crystals grow. This is the same principle professional kitchens rely on to create “scoop-ready” texture.
Freeze to Set and Scoop
Freezing completes what churning began: the remaining water crystallizes into a stable structure, while sugars and thickener keep it scoopable instead of rock hard.
Freeze until firm
– Plan for a few hours for soft-set or overnight for best texture.
– If you freeze too briefly, you may get a “semi-frozen” center and a crumbly surface.
Let it soften briefly before serving
– Remove from freezer and rest 5–10 minutes. This small temperature increase relaxes the structure and makes scooping dramatically easier.
Operational tip
If you’re serving for an event, consider storing in multiple smaller containers. Faster temperature stabilization leads to better uniform texture.
Flavor Ideas and Mix-Ins
Once your base is correct, flavor is where creativity shines. The guiding rule: keep water and large solids under control so you don’t destabilize the ice.
Classic flavor paths
– Vanilla: Add vanilla extract after thickening (and after cooling, if you prefer fresher aroma).
– Chocolate: Use cocoa powder for a deeper taste; if using melted chocolate, confirm your base is thick enough to support cocoa solids.
– Strawberry: Use reduced strawberry purée to avoid watery ice crystals.
– Cinnamon: Toasted spices deliver a warmer, more complex profile and blend well with oat notes.
Mix-ins: add near the end
– Fold cookies, berries, or chocolate chunks into the churned base near the end of churning (or immediately after transferring, depending on your machine).
– Keep mix-in size consistent—small chunks freeze more evenly and reduce icy pockets.
Practical examples
– For cookie dough, use pre-chopped cookies or heat-treated flour-based dough to maintain safety and texture.
– For “swirl” flavors, use a thicker sauce (like berry compote reduced to jam consistency) and swirl gently to avoid streaking that turns icy.
Troubleshooting Common Issues
Even with careful technique, vegan oat milk ice cream can occasionally misbehave. The goal is to diagnose why texture went off, then adjust the base or process accordingly.
If it’s icy
Most common causes:
– too little thickener or starch not fully activated,
– base not chilled enough before churning,
– under-churning.
Actions:
– Increase thickener slightly next batch (or ensure cornstarch reaches a true simmer).
– Churn a bit longer to reach soft-serve texture.
– Chill the base longer before processing.
If it’s too soft
This usually indicates excess water or insufficient solids.
Actions:
– Freeze longer (overnight helps).
– Reduce liquid sweeteners or add a touch more thickener next time.
– Consider swapping some oat milk for a creamier oat barista product if yours is very thin.
If it’s grainy
Graininess often comes from:
– crystals growing too large (base too warm, not thick enough),
– poor dissolution of cocoa or starch.
Actions:
– Whisk thoroughly during heating.
– Strain if needed for cocoa-based bases.
– Chill longer before churning.
If oat flavor is too strong
Oats can read “toasty” or slightly cereal-like.
Actions:
– Add vanilla (a small amount can round oat notes).
– Use a slightly sweeter profile.
– Choose barista-style oat milk with a more neutral flavor profile.
Quick Reference: Core Process Logic (No Guesswork)
To help you replicate consistent results, aim for this texture logic:
– Thick + cold base = smaller ice crystals
– Correct churn endpoint = trapped air + proper crystal size
– Proper freeze duration = scoop-ready firmness
– Rest before serving = easy scooping, best mouthfeel
Flavor Compatibility Snapshot (What Works Best with Oat Milk)
Vegan Oat Milk Ice Cream: Flavor Match Score (Practical Consistency)
| ID | Flavor | Mix-In Friendly | Texture Stability | Rating |
|---|---|---|---|---|
| 1 | Vanilla | Excellent | High | ★★★★☆ |
| 2 | Chocolate | Very good | High | ★★★★★ |
| 3 | Strawberry (reduced purée) | Good | Medium–High | ★★★★☆ |
| 4 | Cinnamon | Good | High | ★★★★☆ |
| 5 | Mint chocolate chip | Excellent | Medium–High | ★★★★☆ |
| 6 | Coffee (oat-friendly) | Very good | Medium | ★★★☆☆ |
| 7 | Lemon (needs reduction) | Good | Medium | ★★★☆☆ |
To sum up, a vegan oat milk ice cream recipe is all about building a thick, well-chilled base and churning for a smooth finish. Choose a richer oat milk, activate your thickener properly, chill the base thoroughly, churn to soft-serve consistency, and freeze until firm—then tweak thickener or solids if you see iciness or softness. With those fundamentals, you can confidently make dairy-free oat milk ice cream at home with restaurant-quality texture and flavors.
Frequently Asked Questions
What’s the best vegan oat milk ice cream recipe base for a creamy texture?
Start with full-fat vegan oat milk and a thickener like cornstarch or a small amount of vegan cream cheese to boost body. A simple custard-style base (heat oat milk with sugar, then whisk in cornstarch and cook until it thickens) helps the vegan oat milk ice cream set up like traditional ice cream. Chill the base completely before churning for the smoothest results.
How do I make vegan oat milk ice cream without an ice cream maker?
After cooking and chilling your oat milk ice cream base, pour it into a shallow container and freeze. Every 30–45 minutes for 3–4 hours, stir vigorously or blend to break up ice crystals. The more often you agitate early on, the creamier your homemade vegan oat milk ice cream will be.
Why does my homemade vegan oat milk ice cream turn icy, and how can I fix it?
Iceiness usually comes from not fully cooking the thickener, using low-fat oat milk, skipping the chilling step, or not using enough sugar/ice-crystal stabilizers. Increase creaminess by using a reliable thickener (cornstarch) and adding a small amount of fat (coconut cream or vegan butter) or sweetener like honey-free sugar alternatives that retain moisture. Also churn/cold-freeze promptly and don’t skip the long chilling of the base.
Which sweeteners work best in vegan oat milk ice cream for flavor and texture?
Granulated sugar is often the easiest for a classic, smooth vegan oat milk ice cream texture because it lowers the freezing point. If you want less sweetness, consider powdered sugar or a sugar substitute designed for frozen desserts, but add a stabilizer to maintain scoopability. Taste-test your base—vanilla, salt, and a touch of acid (like lemon juice) can make flavors pop even with different sweeteners.
How can I flavor vegan oat milk ice cream (like vanilla, chocolate, or strawberry) without ruining the consistency?
For vanilla, steep vanilla bean or use vanilla extract in the hot base so the flavor disperses evenly, then chill thoroughly. For chocolate, melt dairy-free chocolate or cocoa into the warm oat milk base to prevent graininess, and consider slightly increasing fat for a richer vegan oat milk ice cream. For fruit flavors like strawberry, use cooked and strained puree to reduce ice-forming water and add the puree during chilling so it blends smoothly.
References
- https://en.wikipedia.org/wiki/Oat_milk
https://en.wikipedia.org/wiki/Oat_milk - Ice cream
https://en.wikipedia.org/wiki/Vegan_ice_cream - Ice cream
https://en.wikipedia.org/wiki/Ice_cream - https://en.wikipedia.org/wiki/Veganism
https://en.wikipedia.org/wiki/Veganism - Google Scholar Google Scholar
https://scholar.google.com/scholar?q=vegan+oat+milk+ice+cream+recipe - Google Scholar Google Scholar
https://scholar.google.com/scholar?q=plant-based+ice+cream+oat+milk+stabilizers+emulsifiers - Google Scholar Google Scholar
https://scholar.google.com/scholar?q=oat+milk+ice+cream+formulation+texture+overrun - https://pubmed.ncbi.nlm.nih.gov/?term=oat+milk+ice+cream
https://pubmed.ncbi.nlm.nih.gov/?term=oat+milk+ice+cream - https://www.sciencedirect.com/search?qs=vegan%20oat%20milk%20ice%20cream
https://www.sciencedirect.com/search?qs=vegan%20oat%20milk%20ice%20cream - oat milk ice cream vegan | Nature Search Results
https://www.nature.com/search?q=oat%20milk%20ice%20cream%20vegan