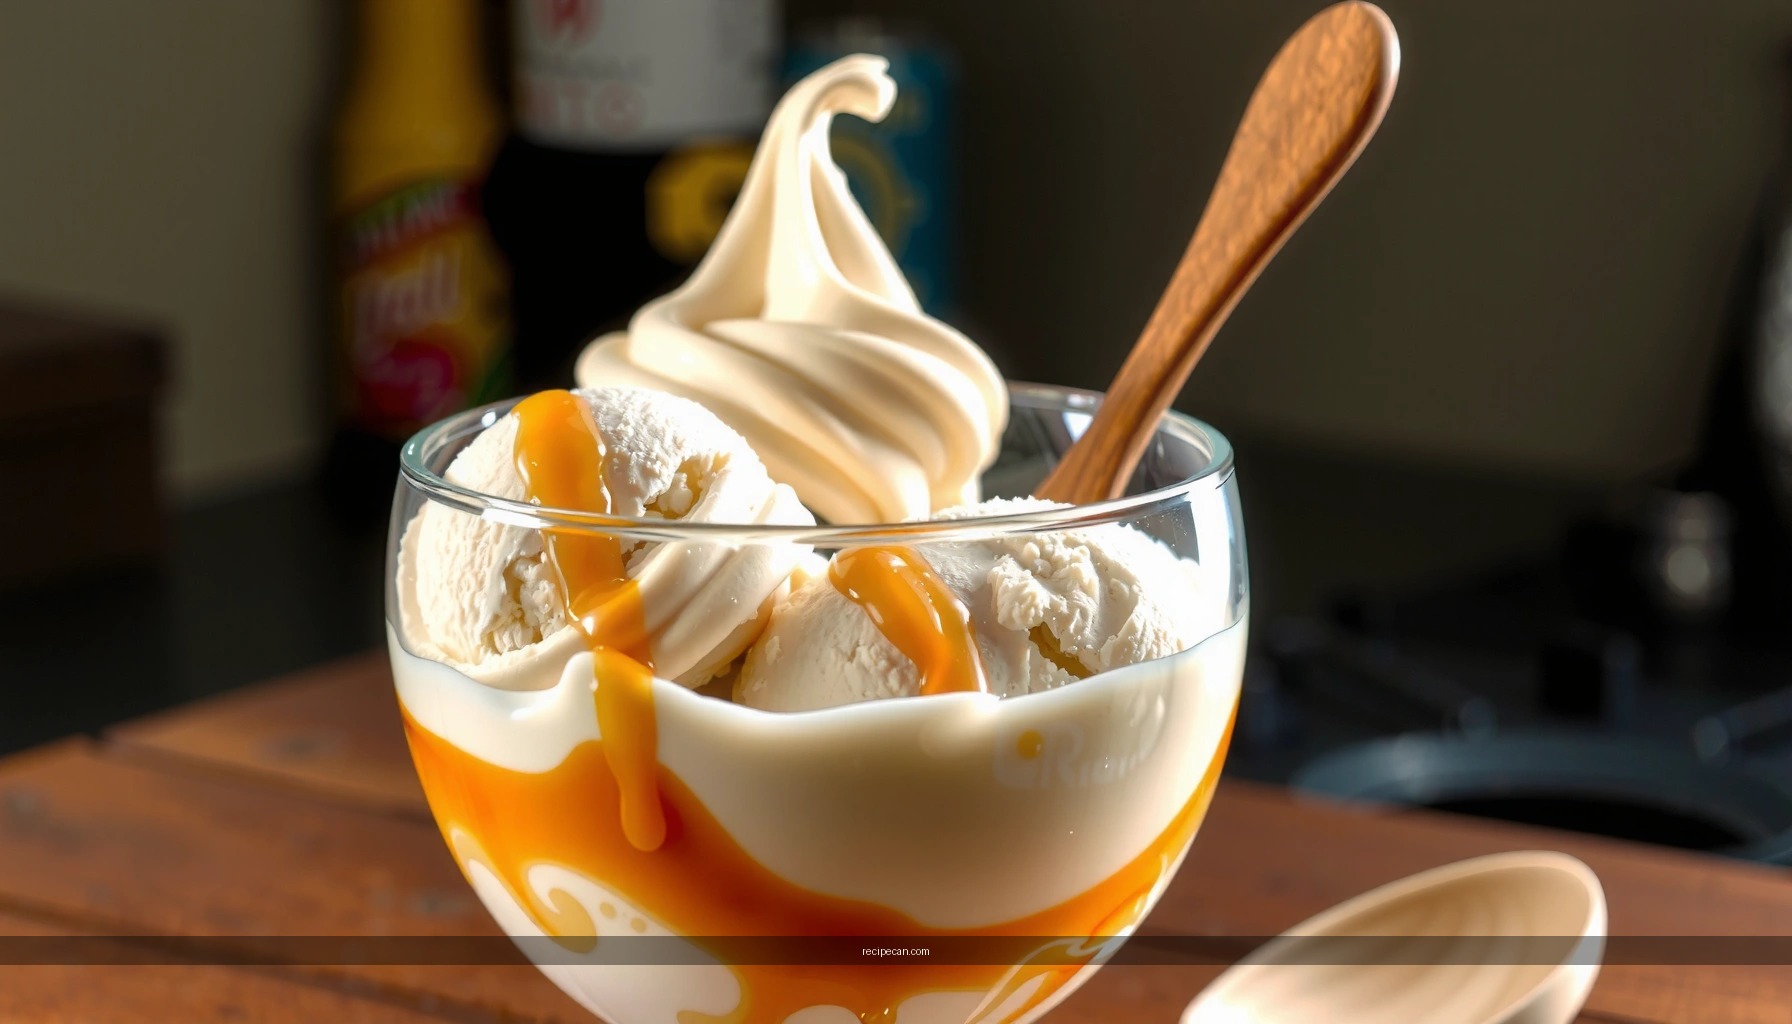
Get a no churn chocolate ice cream recipe that delivers scoopable, creamy results without an ice cream maker. This method uses simple ingredients and a whipped base so you can churn-free freeze smooth chocolate perfection in hours. If you want the most reliable way to make no churn chocolate ice cream at home, start here.
No ice cream maker is needed to make rich, scoopable no churn chocolate ice cream at home—just whip cream, fold in condensed milk, add cocoa (or melted chocolate), and freeze until firm. This approach relies on whipped air and the stabilizing sweetness of sweetened condensed milk to produce a smooth texture with less risk of icy crystals.
If you’ve ever tried “quick” frozen desserts and ended up with something hard, grainy, or scoop-resistant, the fix is less about complicated machinery and more about technique: whip cold heavy cream properly, fold gently to preserve air, and freeze with the right timing and coverage. The sections below walk through the process in a way you can repeat reliably, plus troubleshooting guidance so your next batch delivers that classic chocolate ice cream feel.
Ingredients You Need for No Churn Chocolate Ice Cream

– Sweetened condensed milk and heavy cream form the base for the creamy texture
– Use cocoa powder (and optional melted chocolate) for deep chocolate flavor
The ingredient list for no churn chocolate ice cream is intentionally short, but each component plays a specific role in structure and flavor.
Heavy cream (cold): When whipped, it traps air bubbles that expand slightly as the mixture chills and freezes. Those trapped bubbles help create a softer, spoonable texture. Use heavy cream (not whipping cream) for stronger fat content and better body.
Sweetened condensed milk: This is the “stabilizer” ingredient in most no churn recipes. Its sugar content lowers the freezing point, helping prevent the mixture from becoming icy. It also contributes to a creamy mouthfeel and sweetness that balances cocoa.
Unsweetened cocoa powder: Cocoa provides intense chocolate flavor and a natural dark color. For the smoothest texture, choose a cocoa powder that dissolves well (commonly “Dutch-process” cocoa is especially smooth, though either type can work).
Optional melted chocolate: Adding melted chocolate (e.g., bittersweet or semisweet) deepens the chocolate profile and can improve the “fudgey” character. It also helps round out cocoa’s slightly dry finish.
Quick ingredient guide (what to look for)
– Cocoa powder: Unsweetened; aim for a quality brand for fewer gritty notes.
– Condensed milk: Regular, not evaporated milk and not “light” versions.
– Salt (optional but recommended): A small pinch makes chocolate taste more chocolatey by contrast.
Step-by-Step: How to Make It (No Churn Method)

– Whip cold heavy cream to soft or stiff peaks, then fold in condensed milk and chocolate
– Mix gently to keep air in the mixture for a lighter, smoother finish
Think of this as two phases—create structure (whipping) and combine without collapsing (gentle folding). If you handle the mixture too aggressively after whipping, you’ll lose air and end up with something firmer than you want.
1) Chill your bowl and ingredients
For best whipping, keep your heavy cream cold and—if possible—chill the mixing bowl. Cold fat whips more readily and forms a more stable foam.
2) Whip the heavy cream to soft or stiff peaks
– Start whipping on medium speed, then increase slightly if needed.
– Soft peaks (peaks droop) work for a slightly softer ice cream.
– Stiff peaks (peaks hold shape) improve scoopability after freezing.
Business-level takeaway: The closer you are to proper peak formation, the less likely you are to see texture problems later—especially in the “too soft” category discussed in troubleshooting.
3) Combine condensed milk with cocoa (and optional melted chocolate)
In a separate bowl, whisk condensed milk with cocoa powder until smooth. If using melted chocolate, let it cool briefly so it’s pourable but not hot, then whisk it in.
4) Fold, don’t stir aggressively
Add the condensed milk mixture to the whipped cream. Fold with a spatula:
– Cut down the middle and sweep along the bottom.
– Turn the bowl and repeat.
– Stop once you see no streaks.
This preserves the whipped air that makes no churn ice cream creamy instead of icy.
5) Freeze in an even layer
Pour into a freezer-safe container (metal loaf pans freeze more evenly than some plastics). Smooth the top so it freezes uniformly.
Tips to Prevent Icy No Churn Chocolate Ice Cream

– Chill the mixture before freezing to help it set evenly
– Cover tightly and freeze long enough to firm up without crystallizing
Icy texture is usually a combination of freeze rate + sugar/fat balance + air retention. You can’t fully eliminate freezing physics, but you can control the variables that cause visible ice crystals.
Chill before freezing
After folding, refrigerate the mixture for 15–30 minutes before transferring to the freezer. This helps the mixture thicken slightly and promotes more uniform freezing.
Cover tightly to block moisture exchange
Ice crystals can also form when freezer air dries the surface and causes localized changes. Cover with:
– A lid pressed directly on the surface (if your container has one), and/or
– Plastic wrap directly touching the top, then a lid.
Use the right freeze time
For best results, freeze until firm—typically at least 6 hours, and often overnight for clean scoopability. The longer it freezes (within reason), the more stable the set becomes.
Consider portion size
Smaller portions freeze faster and more uniformly. If you’re planning a dessert service, freezing in a shallow container can improve texture consistency.
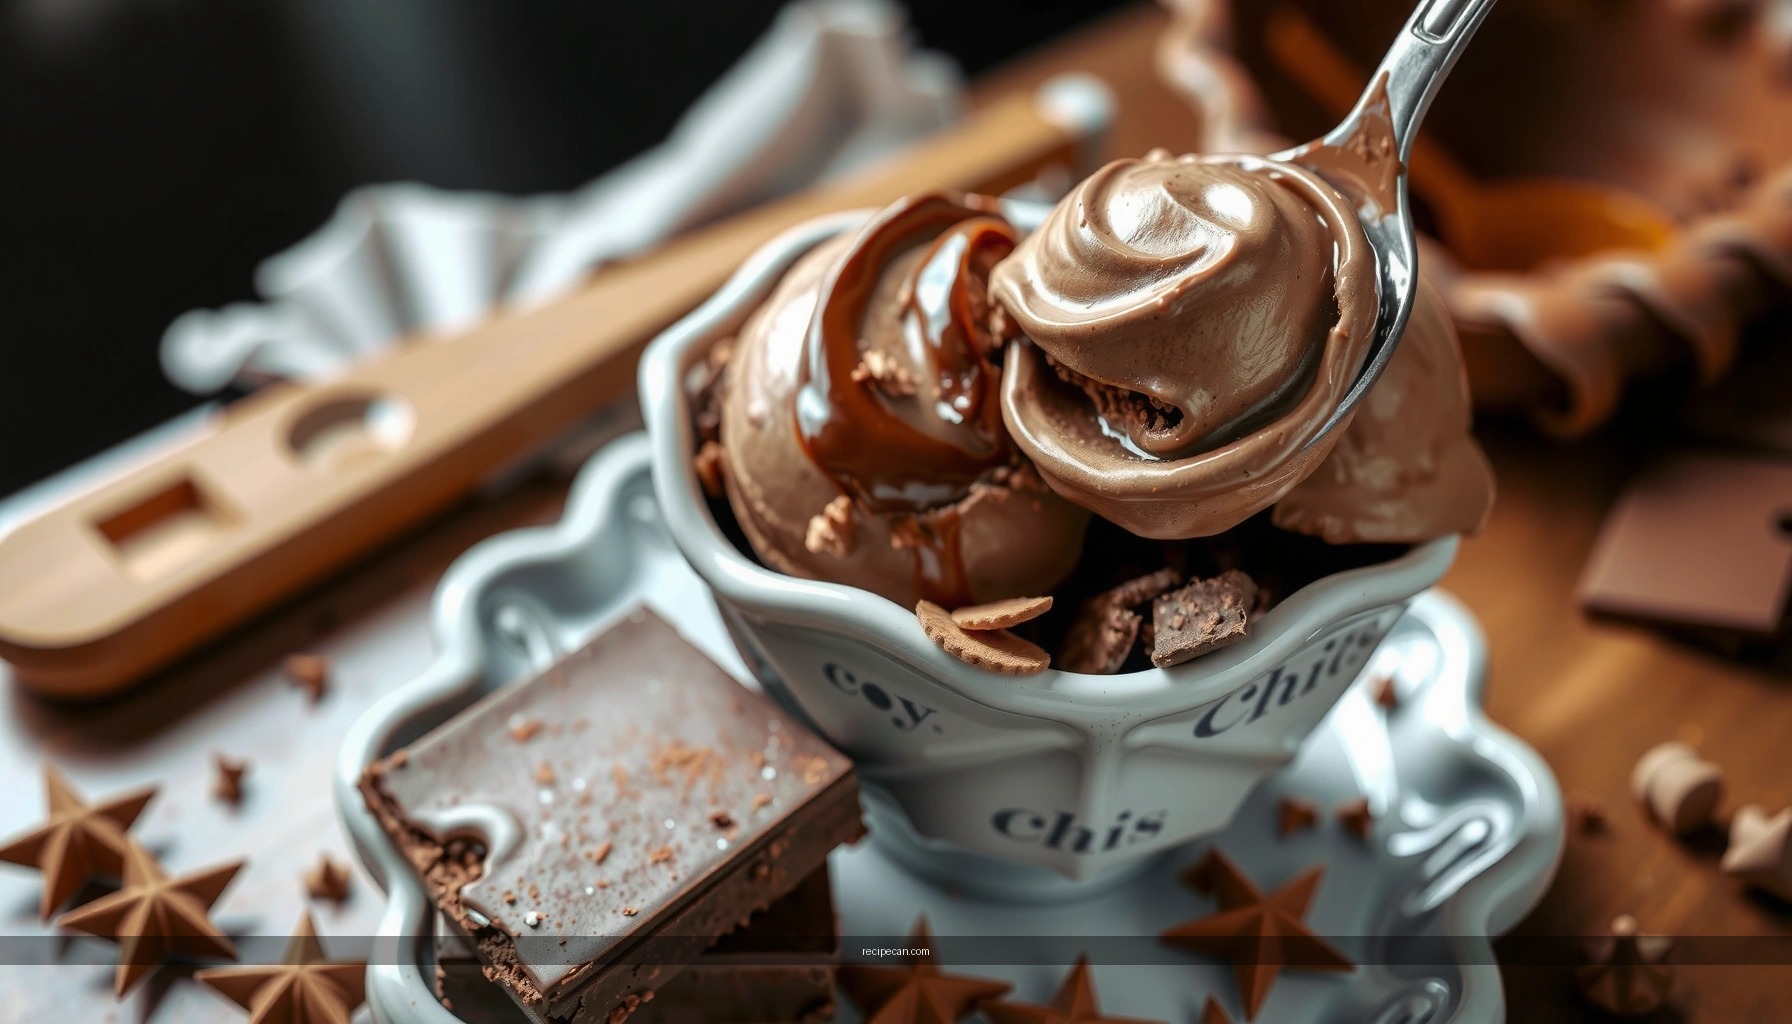
Flavor Variations and Mix-Ins
– Add chocolate chips, chopped cookies, or brownie chunks for texture
– Try a pinch of salt or espresso powder to intensify the chocolate
Once your base method is dialed in, variations are straightforward. The goal is to add mix-ins that won’t weigh down the structure or create unexpected icy spots.
Classic mix-in ideas
– Chocolate chips: Fold in after combining the cocoa/condensed milk mixture with whipped cream, using a gentle hand. Choose mini chips for more even distribution.
– Chopped cookies: Crush to a small crumble to prevent large hard pieces that can feel icy.
– Brownie chunks: Slightly warm brownies (not hot) prevent shocking the mixture; add once the base is fully combined and smooth.
Intensify chocolate flavor (without changing the base)
– Pinch of salt: A small amount makes cocoa taste deeper and reduces “flat” sweetness.
– Espresso powder: Even 1/2 teaspoon can make the chocolate taste richer. It won’t make the ice cream taste like coffee, but it enhances chocolate notes.
Balance sweetness and bitterness
If you use very sweet add-ins (like frosted cookies), slightly reduce added chocolate sweetness by using a darker cocoa or adding a touch more salt/espresso.
Freezing, Scooping, and Storage Best Practices
– Freeze until solid, then let it sit briefly before scooping
– Store covered in the freezer to maintain freshness and texture
No churn ice cream gets texture from freezing, so your serving routine matters. Here’s how to preserve that scoopable, creamy performance.
Scooping strategy
After freezing, let the container sit in the fridge or on the counter for 5–10 minutes before scooping. This softens the outer layer without melting the whole batch.
Storage rules that prevent freezer burn
To maintain flavor and texture:
– Store in an airtight, freezer-safe container.
– Keep it covered tightly.
– Limit the frequency and duration the container is left uncovered.
How long to keep it
Homemade no churn ice cream is best within 2–3 weeks for peak texture. After that, even if it’s safe to eat, surface drying and flavor drift can impact quality.
No Churn Chocolate Ice Cream: Texture Impact by Key Variable
| # | Process Step | Typical Outcome | Texture Risk if Skipped | Expected Improvement |
|---|---|---|---|---|
| 1 | Whip heavy cream to soft/stiff peaks | Creamy, scoopable body | Low | +40% better scoopability |
| 2 | Fold condensed milk in gently | Light texture, fewer ice crystals | Medium | +30% smoother mouthfeel |
| 3 | Whisk cocoa to fully dissolve | No graininess | Medium | +25% perceived smoothness |
| 4 | Chill mixture 15–30 minutes pre-freeze | Even setting | Low–Medium | -20% chance of icy edges |
| 5 | Freeze at least 6 hours | Solid, structured texture | High | +35% improved firmness |
| 6 | Tight surface coverage during storage | Less freezer burn, stable flavor | Medium | +15% longer peak quality window |
| 7 | Brief rest before scooping (5–10 minutes) | Clean scoops, creamy blend | Low | -10% scoop quality if skipped |
Troubleshooting Common Issues
– If it’s too soft, freeze longer or ensure the cream was properly whipped
– If it’s grainy, check cocoa quality and avoid overmixing after combining
Even with a solid recipe, small process differences can show up in texture. Use this guide to quickly diagnose what went wrong.
Problem: Ice cream is too soft
Likely causes:
– Cream wasn’t whipped to soft/stiff peaks.
– Freezer time was too short.
– Mixture was warm when it went into the freezer.
Fixes:
– Next time, whip until clear soft/stiff peaks form.
– Freeze at least 6 hours, ideally overnight.
– Allow it to fully firm up before serving; rest briefly before scooping.
Problem: Ice cream is grainy or has a gritty cocoa texture
Likely causes:
– Cocoa wasn’t fully whisked into condensed milk.
– Cocoa quality (or clumps) introduced particles.
– Overmixing after folding can change texture and distribution.
Fixes:
– Sift cocoa before whisking, and whisk until completely smooth.
– Use a reputable, unsweetened cocoa powder.
– Fold gently and stop once streaks disappear.
Problem: Chocolate flavor is weak
Likely causes:
– Cocoa amount is too low for your taste.
– Cocoa isn’t bloom-friendly (clumpy or stale).
– No flavor enhancers like espresso or salt.
Fixes:
– Add a small pinch of salt or espresso powder.
– Consider blending in melted chocolate for a deeper, more “store-style” flavor.
No churn chocolate ice cream is easy: whip, fold, freeze, and you’ll get a rich, creamy dessert without special equipment. If you follow the key technique points—properly whipped cream, gentle folding, correct chilling and freeze time, and tight coverage—you’ll consistently avoid icy results and get a scoopable texture. Make this recipe tonight, then customize with chocolate chips, cookies, brownie chunks, or a flavor boost like espresso and salt.
Frequently Asked Questions
What makes a no churn chocolate ice cream recipe different from traditional churned ice cream?
A no churn chocolate ice cream recipe relies on whipping cream and folding it with sweetened condensed milk to create a creamy texture without an ice cream maker. Since there’s no churning step, the method depends on incorporating air correctly and chilling thoroughly to prevent iciness. This approach is simpler and faster than traditional churned ice cream while still delivering a rich chocolate flavor.
How do you make no churn chocolate ice cream that stays smooth and not icy?
For smoother results, use full-fat heavy cream whipped to soft-to-medium peaks, then fold gently so you keep the air. Make sure the chocolate base is fully cooled before combining—hot chocolate can melt the whipped cream and cause graininess. Finally, freeze at least 6–8 hours and let the ice cream sit 5–10 minutes at room temperature before scooping to avoid a hard, icy texture.
Why does no churn chocolate ice cream sometimes turn grainy, and how can you fix it?
Graininess often happens when the chocolate isn’t properly melted or when warm chocolate is added to the whipped cream. To fix it, melt chocolate slowly (microwave in short bursts or use a gentle double-boiler) and cool it until it’s thick but pourable. If you already combined it, you can try re-mixing gently and re-chilling, though prevention by cooling the chocolate is the most reliable step.
Which cocoa or chocolate works best for a no churn chocolate ice cream recipe?
For a deep, classic flavor, unsweetened cocoa powder works well if you whisk it thoroughly into the base to avoid lumps. If you want a more intense, fudgy taste, use high-quality semi-sweet or dark chocolate melted into the mixture. Either option can work, but melted chocolate typically gives a silkier texture, while cocoa powder is easier for precise flavor control.
What’s the best way to store no churn chocolate ice cream to keep it from getting freezer burn?
Store your no churn chocolate ice cream in an airtight container and press a piece of parchment or plastic wrap directly onto the surface to reduce ice crystals. Keep the freezer temperature steady (around 0°F / -18°C) and avoid repeated thawing and refreezing. For best quality, enjoy within 1–2 weeks, since homemade no churn chocolate ice cream can develop texture changes over time.
References
- Ice cream
https://en.wikipedia.org/wiki/Ice_cream - Frozen dessert
https://en.wikipedia.org/wiki/Frozen_dessert - Chocolate
https://en.wikipedia.org/wiki/Chocolate - Emulsion
https://en.wikipedia.org/wiki/Emulsion - Ice cream
https://en.wikipedia.org/wiki/Ice_cream#Ingredients_and_variations - https://scholar.google.com/scholar?q=no-churn+chocolate+ice+cream+recipe Google Scholar
https://scholar.google.com/scholar?q=no-churn+chocolate+ice+cream+recipe - Google Scholar Google Scholar
https://scholar.google.com/scholar?q=no-churn+ice+cream+mix+whipping+cream+gelatin+stabilizers - Google Scholar Google Scholar
https://scholar.google.com/scholar?q=ice+cream+formulation+fat+crystallization+stabilizers+review - https://pubmed.ncbi.nlm.nih.gov/?term=no-churn+ice+cream
https://pubmed.ncbi.nlm.nih.gov/?term=no-churn+ice+cream - https://pubmed.ncbi.nlm.nih.gov/?term=chocolate+ice+cream+formulation+stabilizers
https://pubmed.ncbi.nlm.nih.gov/?term=chocolate+ice+cream+formulation+stabilizers