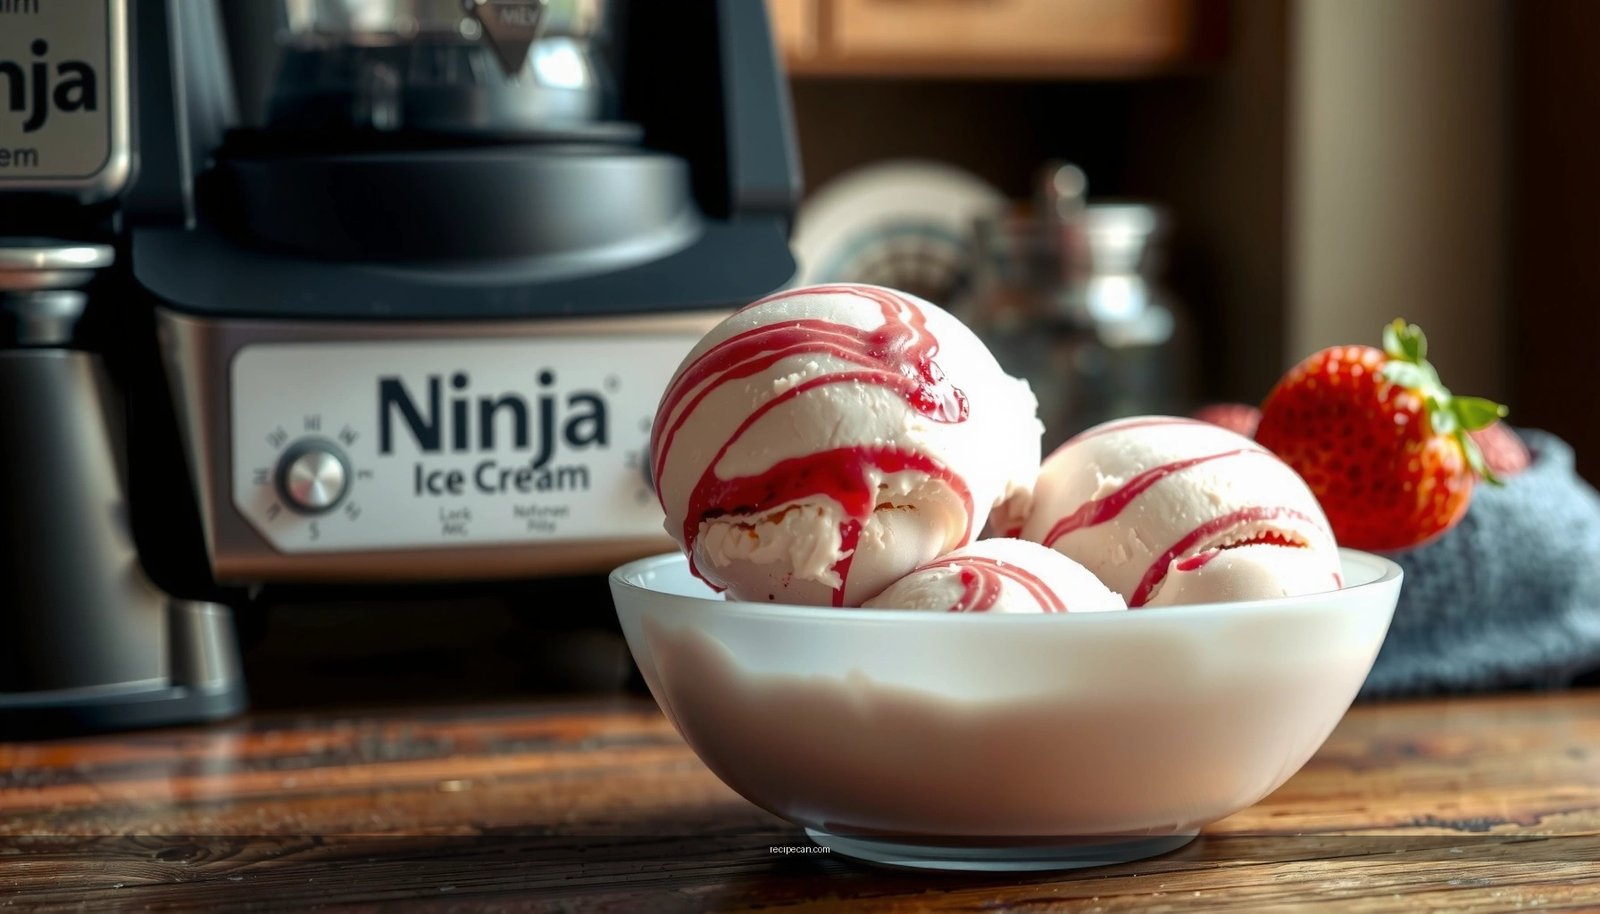
Looking for the best ninja strawberry ice cream recipe that actually delivers creamy, homemade results without fuss? This step-by-step method shows the exact Ninja-friendly process for turning fresh or frozen strawberries into a smooth, scoopable ice cream. If you want restaurant-style texture in a real homemade batch, this is the winner—and it’s built to work with your Ninja from start to finish.
If you want creamy Ninja strawberry ice cream, blend strawberries with heavy cream and sugar (or another sweetener), then churn until thick and scoopable and freeze to firm. The key to a “restaurant-style” texture is fully smoothing the strawberry base, chilling it before churning, and storing the finished ice cream to minimize ice crystals.
Ingredients for Ninja Strawberry Ice Cream

To make a true homemade Ninja strawberry ice cream (not just a frozen blended dessert), you need a balanced dairy base, enough strawberry flavor, and sweetening that supports both taste and texture. Heavy cream provides the fat content that slows ice crystallization and creates a silky mouthfeel, while sugar (or an alternative sweetener) helps the ice cream stay scoopable after freezing.
Core ingredient choices
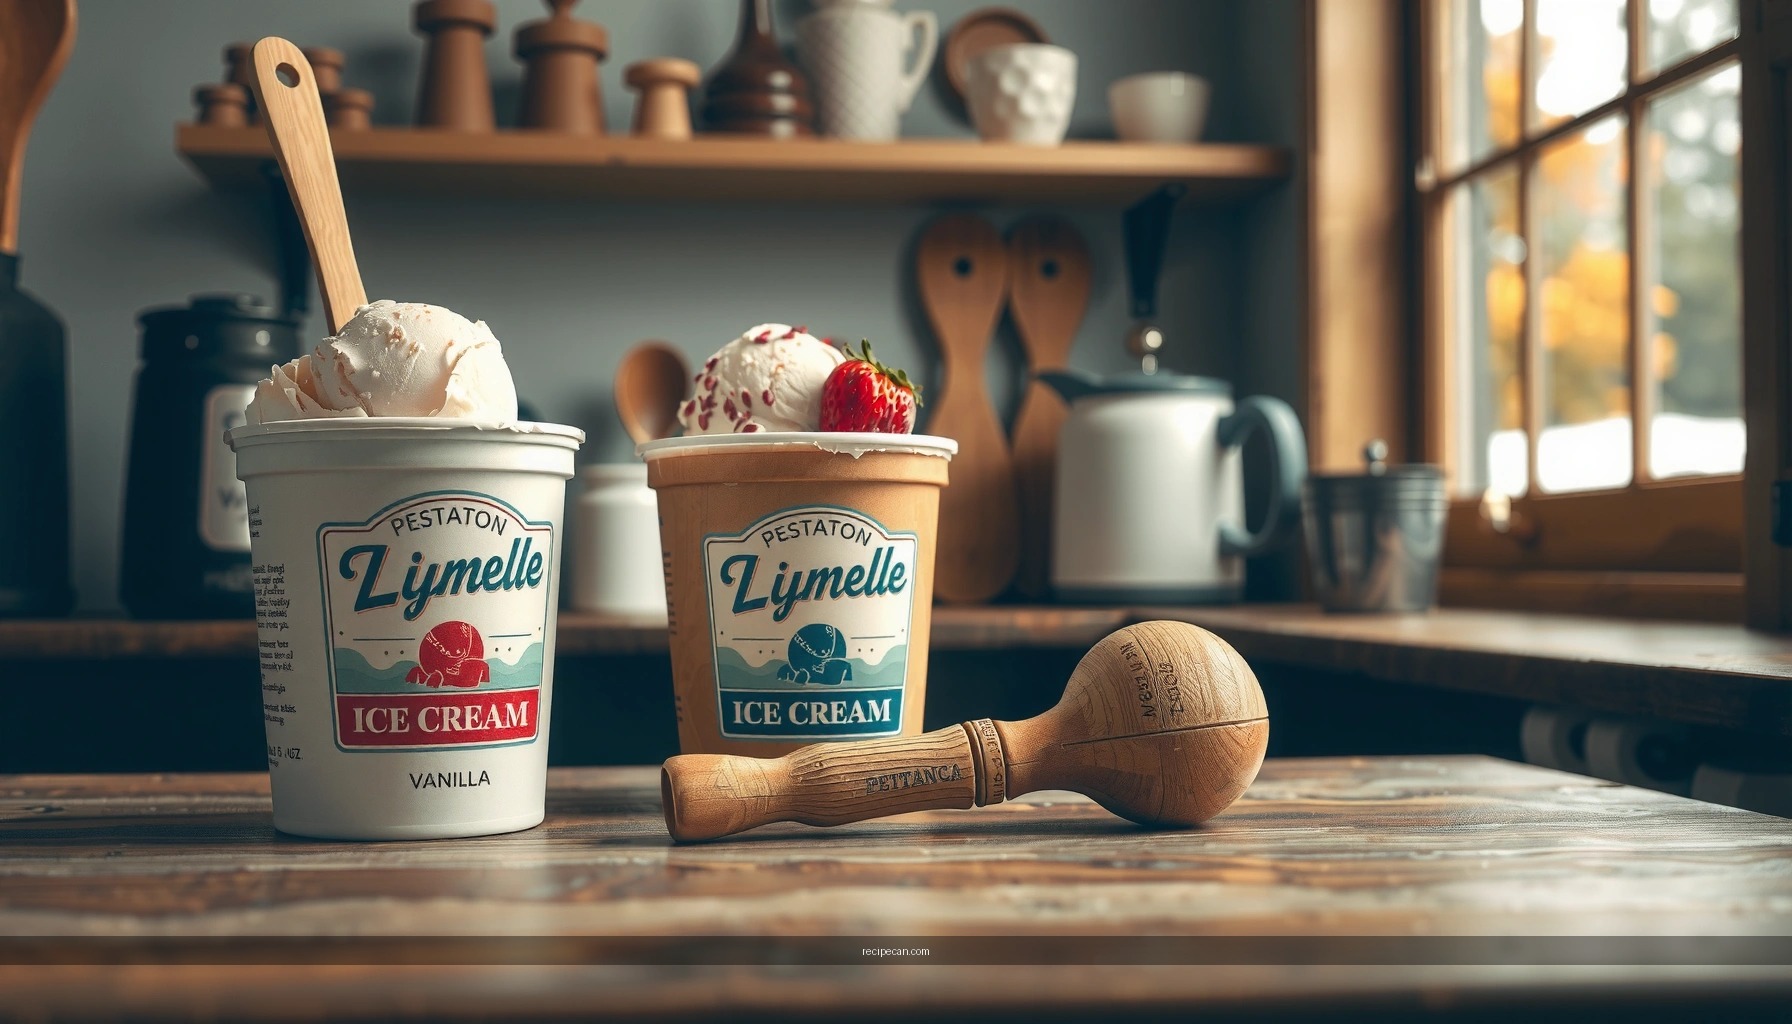
– Strawberries (fresh or frozen): Choose ripe fresh berries for maximum aroma, or use frozen strawberries for convenience and consistent results year-round.
– Heavy cream: This is the primary cream component for body, creaminess, and richness.
– Sweetener: Traditional sugar yields classic texture and sweetness; honey, maple syrup, or specialty ice-cream sweeteners can also work, but will slightly change freezing behavior.
– Optional vanilla: Adds warmth and rounds strawberry’s natural acidity.
– Pinch of salt: Improves overall flavor balance and makes the strawberry taste more “vibrant” rather than muted.
Strawberry Ice Cream Texture Factors (What Helps Most)
| # | Control Factor | Impact on Smoothness | Best Practice | Outcome |
|---|---|---|---|---|
| ★ | Full strawberry blending | 9/10 | Blend until no visible flecks | Smooth finish |
| 2 | Chill base before churning | 8/10 | Refrigerate 2–4 hours | Finer texture |
| 3 | Fat level in cream | 8/10 | Use heavy cream, not milk | Creamier body |
| 4 | Sugar/sweetener balance | 7/10 | Sweeten enough for scoopability | Better scoop |
| 5 | Churn time (don’t under-run) | 7/10 | Churn to soft-serve thickness | Thicker texture |
| 6 | Storage airtightness | 6/10 | Press plastic to surface | Fewer ice crystals |
| 7 | Base temperature right before churning | 5/10 | Aim for thoroughly chilled | More stable churning |
Prep Tips for Smooth Strawberry Flavor

Smooth texture in Ninja strawberry ice cream is mostly engineering: controlling particle size, temperature, and the rate at which ice crystals form. Strawberries contain water and natural solids; if they aren’t fully broken down, you’ll feel icy bits or frozen chunks.
Blend strategy (reduce grain)
– Blend thoroughly: Process strawberries until the mixture looks uniform—no visible flecks or pulp texture.
– Use the right consistency: If your berries are very thick (common with frozen strawberries after thawing), blend longer and scrape down the container so the base blends evenly.
– Balance sweetness and acidity: Strawberry sweetness varies by variety. If you taste the blended base and it feels sharply acidic, add a touch more sugar—sweetness directly affects how smooth the final scoop feels.
Chill for better churn
– Chill the base before churning: Refrigerate the strawberry-cream mixture for at least 2 hours (up to 4) before you churn. A colder base produces a faster temperature drop in the mix, helping the ice cream form smaller crystals.
– Don’t rush the freeze: Once churned, transfer promptly to a freezer-safe container so the texture sets properly.
Small quality checks that matter
– Salt and vanilla last: Add salt (and vanilla, if using) after blending strawberries into the cream base so they distribute evenly.
– Strain only if necessary: If you prefer a “very premium, gelato-like” finish and you notice stubborn seeds or skin, strain the blended base through a fine mesh sieve. It’s optional, but it can elevate texture significantly.
How to Make It in Your Ninja (Step-by-Step)

This section focuses on the mechanics that produce creamy, scoopable results in a Ninja-style workflow: build a smooth strawberry-cream base, blend until uniform, then churn and freeze.
Step-by-step method
1. Prepare strawberries
– If using fresh: hull, rinse, and chop.
– If using frozen: thaw until scoopable (usually 10–20 minutes at room temperature), then blend.
2. Blend the strawberry base
– Add strawberries, heavy cream, and sweetener to your Ninja blender.
– Blend until smooth and fully combined—aim for a silky texture, not a chunky purée.
– Add vanilla (optional) and a pinch of salt. Pulse briefly to distribute.
– Refrigerate the base until cold (commonly 2–4 hours). This step is one of the best predictors of final smoothness.
4. Churn
– If your Ninja setup uses an ice cream attachment or compatible churn system: pour the chilled base into the bowl/churn container and follow your machine’s ice-cream or frozen dessert program.
– If your setup works like a blender + separate churner: transfer to your ice cream maker once the base is chilled, then churn until thick like soft-serve.
5. Stop at the right time
– Stop churning when the mixture looks thick, aerated, and spoonable. Over-churning can make the texture feel denser than you want right away.
What “right” looks like during blending
A professional-quality strawberry ice cream base should appear:
– Uniform in color (no streaks)
– Smooth with no visible fruit bits
– Slightly thickened from the combined action of blending and the cream-fat structure
Churning & Texture Check
Churning transforms a pourable liquid base into a creamy structure by incorporating air and encouraging many small ice crystals rather than a few large ones. The practical goal is a consistency close to soft-serve right after the churn.
Texture targets
– Thick like soft-serve: When you lift the paddle or spoon, the mixture should ribbon slowly rather than pour like milk.
– Stable aeration: It should hold shape briefly on a spoon and not collapse immediately.
How long to churn (practical guidance)
Because Ninja models and attachment types vary, you should time by texture rather than minutes alone. Plan for:
– A first check around the mid-point of the typical program length your model recommends
– Final checks every few minutes until the soft-serve thickness is reached
If it’s not thick enough
– Continue churning a bit longer (incremental time).
– Confirm base chill temperature: If you skipped chilling, the mix may struggle to thicken. Next time, refrigerate longer for more consistent results.
Firming after churn
– Once churned, transfer immediately to a container and freeze to firm. Even if it’s scoopable at soft-serve thickness, freezing improves structure and makes servings feel more “ice-cream-like.”
Freezing, Serving, and Storage
Even the best churn can suffer from poor storage, because exposure to air and temperature swings drive ice crystal formation. This is where homemade ninja strawberry ice cream either stays smooth—or becomes grainy.
Best storage practices
– Use an airtight container: Fill to the top to reduce empty space.
– Minimize freezer exposure: Place the container in the coldest part of your freezer.
– Optional but excellent: Press a piece of parchment or plastic wrap directly against the surface before sealing the lid. This reduces surface ice.
Serving timing for the perfect scoop
– Let it sit at room temperature 2–5 minutes before scooping. This small window softens the outer layer without melting the structure.
– If it’s very hard from deep-freeze, wait an extra minute or two rather than forcing scoops aggressively (which can tear texture).
How long it keeps
Homemade ice cream is best within:– 1–2 weeks for peak texture, though flavor can remain good longer.
After that, you may notice more ice crystals due to normal freezer conditions and air exposure.
Flavor Variations (Keep the Same Recipe)
One of the strengths of a Ninja strawberry ice cream method is that the base remains consistent—so variations are simple, controlled modifications rather than full reworks. Keep the strawberry-cream logic the same, then add flavor with ingredients that won’t disrupt texture.
Variation ideas that work well
– Strawberry jam swirl
– Warm strawberry jam for 10–15 seconds to loosen.
– After churning (or during early freezing if your method allows), swirl in spoonfuls gently.
– Why it works: jam adds concentrated fruit flavor and color without drastically changing the cream structure.
– Crushed cookies or chocolate chips
– Fold in only when the ice cream is thickened enough not to melt significantly (often after churn, before the final freeze).
– Use a moderate amount—too many mix-ins can reduce smoothness and increase icy pockets.
– For a balanced profile, consider a small amount of salt in the base to enhance chocolate flavor.
Example business-friendly “menu” combinations
If you’re making this for parties, events, or recurring family gatherings, consider rotating:
– Classic Strawberry
– Strawberry Jam Swirl
– Strawberry with Dark Chocolate Chunks
– Strawberry with Vanilla Wafer Crumble
This keeps the process efficient while delivering perceived variety.
Homemade ninja strawberry ice cream is as simple as blending a smooth strawberry-cream base, churning until thick, and freezing to firm. Follow the ingredient prep and texture tips for the best scoop, then try a variation or two—make your batch today and enjoy fresh strawberry ice cream in the next few hours.
Frequently Asked Questions
What is a ninja strawberry ice cream recipe and what makes it “ninja”?
A ninja strawberry ice cream recipe is typically an ice cream base made with fresh or frozen strawberries and churned or blended using a Ninja kitchen appliance (like a Ninja Creami or Ninja blender). The “ninja” part usually refers to the method—using the machine to create a smooth, scoopable strawberry ice cream texture with less manual effort. Many versions also include a creamy base like condensed milk, heavy cream, or Greek yogurt for a rich finish.
How do I make strawberry ice cream using a Ninja Creami at home?
Start by macerating strawberries with sugar (or pureeing strawberries and mixing with sweetener) and then stir in dairy like heavy cream and condensed milk. Chill the mixture fully, pour it into pint containers, and freeze until solid. When ready, process the frozen pint in your Ninja Creami using the appropriate setting (often “Ice Cream” or “Gelato”), then re-spin if you want it thicker or smoother. Finish with mix-ins or a quick drizzle of strawberry syrup if desired.
Why does my homemade strawberry ice cream turn icy, and how can I prevent it?
Icy strawberry ice cream usually happens when the base has too much water or isn’t thick enough due to low fat content, insufficient sweetener, or skipping the full freezing and pre-chilling steps. Using sweetened condensed milk or adding a stabilizer like cornstarch (cooked into the base) can reduce ice crystals and improve scoopability. Also, make sure the Ninja strawberry ice cream base is completely frozen before processing, and don’t over-process repeatedly, which can thin the texture.
Which strawberry ice cream ingredients work best for a rich, smooth result?
For the best texture, choose ripe strawberries for strong flavor, or use high-quality frozen strawberries for consistent results year-round. A creamy base such as heavy cream plus sweetened condensed milk helps create a smooth, less icy strawberry ice cream. If you want extra tang and body, Greek yogurt can be included, but balance it with enough sweetener and fat so the final ice cream stays creamy rather than icy.
Best way to store ninja strawberry ice cream and keep it from getting hard?
After churning with your Ninja machine, store strawberry ice cream in an airtight container to minimize freezer burn and ice crystal formation. For best scoopability, keep it at a stable freezer temperature and let it sit for 5–10 minutes at room temperature before serving. If you plan to save it for later, press parchment or plastic wrap directly onto the surface to reduce exposed air, helping your Ninja strawberry ice cream taste fresh longer.
References
- Google Scholar Google Scholar
https://scholar.google.com/scholar?q=ninja+strawberry+ice+cream+recipe - https://scholar.google.com/scholar?q=strawberry+ice+cream+recipe+ice+cream+maker Google Scholar
https://scholar.google.com/scholar?q=strawberry+ice+cream+recipe+ice+cream+maker - Google Scholar Google Scholar
https://scholar.google.com/scholar?q=ice+cream+emulsion+stabilizers+strawberry+flavor - Ice cream
https://en.wikipedia.org/wiki/Ice_cream - Strawberry
https://en.wikipedia.org/wiki/Strawberry - https://en.wikipedia.org/wiki/Ice_cream_mix
https://en.wikipedia.org/wiki/Ice_cream_mix - https://en.wikipedia.org/wiki/Churn_(food
https://en.wikipedia.org/wiki/Churn_(food - Gelato
https://en.wikipedia.org/wiki/Gelato - Ice cream | Definition, History, & Production | Britannica
https://www.britannica.com/topic/ice-cream - https://www.sciencedirect.com/topics/food-science/ice-cream
https://www.sciencedirect.com/topics/food-science/ice-cream