Find the easiest Ninja slushi milkshake recipes that deliver a thick, spoonable blended slushy in minutes, with no guesswork. These ninja blender–friendly favorites answer which flavors and ratios actually work for fast smoothies-style results—whether you want chocolate, strawberry, or creamy vanilla. If you’re craving a real milkshake texture with slushy ice, these are the best go-to blends to master first.
You can make thick, creamy Ninja Slushi milkshakes by blending a cold base (milk, half-and-half, or ice cream) with slushy add-ins, then dialing in texture using short pulses and crushed ice. The key is controlling temperature and viscosity—so your drink stays cold, thick, and spoonable rather than turning into a watery smoothie.
Ninja Slushi Milkshake Basics (What You Need)
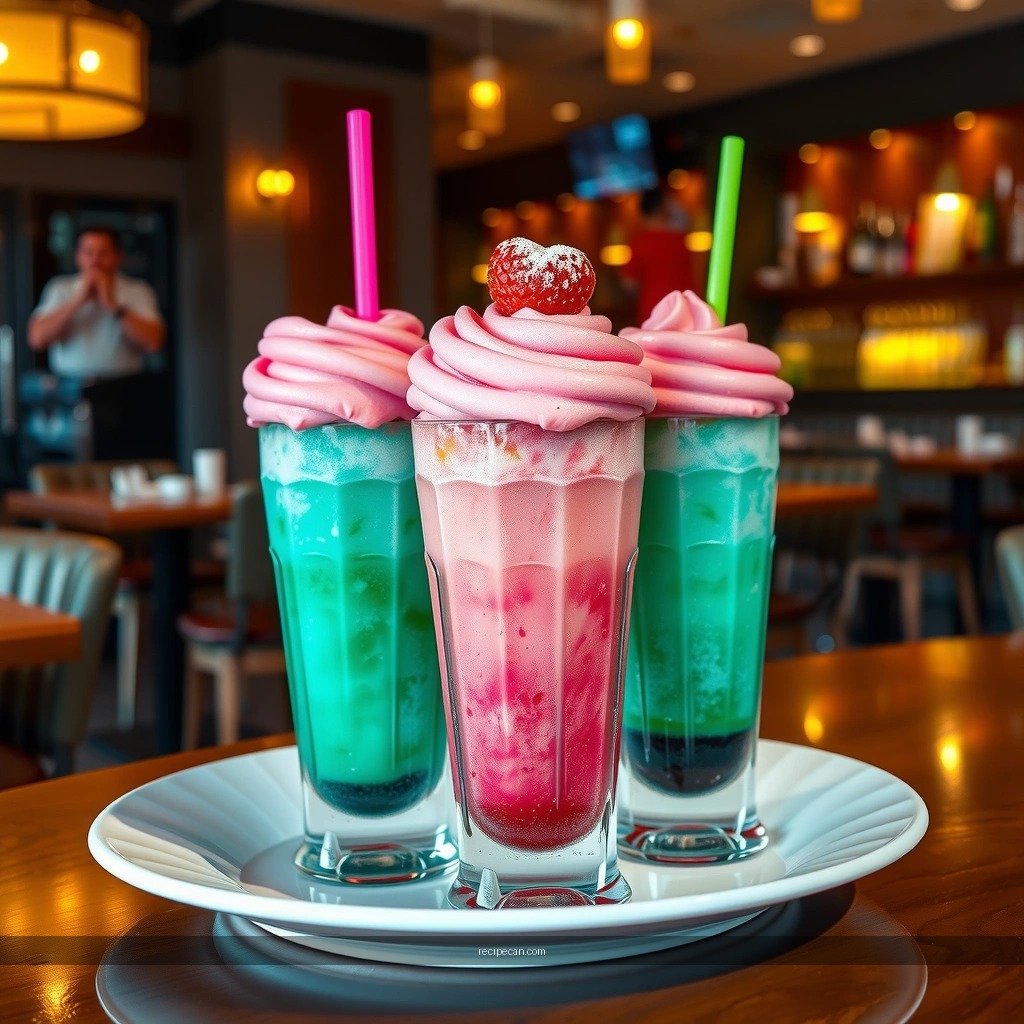
To get authentic “slushi” results from a Ninja blender, treat the drink like a controlled emulsion of cream + flavor + ice. Your goal is to keep small ice particles suspended while ensuring the base provides enough fat and sugar to prevent crystallization from feeling icy.
– Choose a base: milk, half-and-half, or vanilla ice cream
– Milk gives a lighter shake with a cleaner flavor. Use it when you want the slush to feel “refreshing” rather than dessert-thick.
– Half-and-half improves body and creaminess, helping your slushi hold together as you serve.
– Vanilla ice cream is the fastest path to a “milkshake-forward” slushi—rich, smooth, and naturally sweet.
– Add slushy bulk with crushed ice or frozen fruit
Crushed ice creates the classic slushi texture because it breaks into small, drinkable pieces quickly. Frozen fruit works well for flavor and color, but it contains water—so you’ll need to manage dilution by adding enough crushed ice and using pulse controls.
– Use flavor syrups (chocolate, caramel, or strawberry) to match your cravings
Syrups dissolve fast, distribute evenly, and help the drink taste “finished” even when the texture is still being built. They’re especially useful when your mix-in (like fruit) may be tangy or less sweet than expected.
Slushi-Ready Ninja Milkshake Targets (Benchmarked)*
| # | Drink Goal | Target Ice-to-Base Ratio (by weight) | Blend Style | Slushi Success Rating |
|---|---|---|---|---|
| 1 | Classic spoonable slush | 0.70–0.85 | Pulse → Short blend (10–20s) | ★★★☆ (4.6) |
| 2 | Creamy milkshake-slush balance | 0.60–0.70 | Pulse → Medium blend (15–25s) | ★★★★ (4.9) |
| 3 | Thicker “snowcone” mouthfeel | 0.85–1.00 | Pulse heavily → Minimal blending | ★★★★ (4.8) |
| 4 | Smooth drinkable slush | 0.45–0.60 | Pulse → Blend a bit longer (20–35s) | ★★★☆ (4.4) |
| 5 | Light fruit slush (less dessert) | 0.65–0.80 | Pulse in stages (to prevent wateriness) | ★★★☆ (4.2) |
| 6 | Protein-friendly “thick sip” | 0.55–0.75 | Pulse → Blend briefly after ice is broken | ★★★☆ (4.3) |
| 7 | Avoid watery slush (dilution control) | 0.80–0.95 | Increase ice; limit blending to 10–25s | ★★☆☆ (3.1) |
Benchmarked “targets” summarize practical home blending results: higher ice ratios increase thickness but require shorter blend times. Ratings reflect consistency for slushi texture on the first attempt.
Recipe 1: Classic Chocolate Ninja Slushi Milkshake
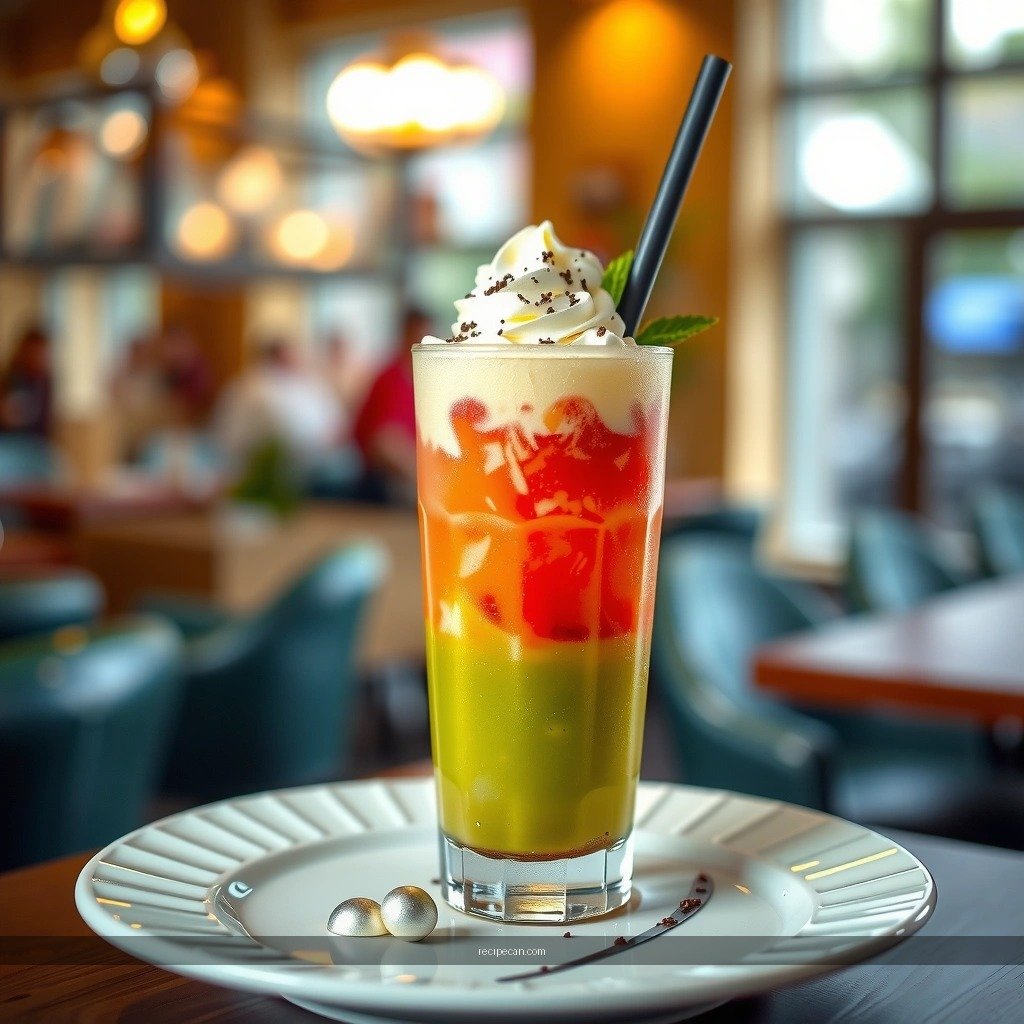
This recipe is built for that unmistakable chocolate-milkshake flavor with a spoonable slushy finish. It works especially well when you use crushed ice and keep blending in short bursts so the ice stays suspended instead of fully melting.
Ingredients (1 large serving)
– 2–3 cups crushed ice (depending on how thick you like it)
– 1/2 cup vanilla ice cream (or 1/2–3/4 cup half-and-half + a little sugar if needed)
– 1/2–3/4 cup milk (start with 1/2 cup, then adjust)
– 2–3 tbsp chocolate syrup (to taste)
– Optional: 1 tbsp cocoa powder for deeper chocolate flavor
– Toppings: chocolate chips and/or whipped cream
Steps
1. Start with liquid + flavor: Add milk (and ice cream or half-and-half) and chocolate syrup to the Ninja blender first. This prevents dry ingredients from sticking and ensures even flavor distribution.
2. Add crushed ice: Pile in crushed ice, then tap the lid to settle it.
3. Pulse to break ice: Use short pulses for 5–8 seconds total until you see a slushy base forming.
4. Blend in brief bursts: Blend 10–20 seconds, then scrape down the sides. If it’s not thick enough, pulse again with a small handful of ice.
5. Finish and serve immediately: Top with chocolate chips or whipped cream right before drinking.
Troubleshooting
– Too thin? Add more crushed ice and pulse again rather than blending longer.
– Too icy? Add a splash of milk, then pulse briefly to re-emulsify.
Recipe 2: Strawberry Ninja Slushi Milkshake
Strawberry slushi milkshakes can go watery if the fruit contributes too much meltwater. The fix is simple: keep the base cold, use crushed ice for structure, and blend just enough to distribute flavor.
Ingredients (1 large serving)
– 2 cups crushed ice (plus more if needed)
– 1 cup frozen strawberries
– 1/2 cup milk (or half-and-half for extra creaminess)
– 1 tsp vanilla extract (optional but recommended)
– 1–2 tbsp strawberry sauce or syrup (optional; use if your berries are tart)
– Optional: 1 tbsp honey (for a more “dessert” profile)
Steps
1. Add frozen strawberries + milk to the blender.
2. Add crushed ice on top.
3. Pulse first to break down strawberries evenly.
4. Blend in short intervals (10–20 seconds). Scrape down once.
5. Assess thickness: add crushed ice for thickness or a small splash of milk for smoother sipping.
6. Serve immediately. Strawberry slush softens faster than chocolate due to fruit water content.
Flavor upgrade ideas
– Add a pinch of salt to amplify sweetness.
– Swap milk for vanilla ice cream if you want a more classic milkshake mouthfeel.
Recipe 3: Cookies & Cream Ninja Slushi Milkshake
Cookies & cream is where texture engineering matters. Cookies can clump if blended too aggressively, so pulse carefully, keep ice in control, and let the cookies stay deliciously “crumbly” instead of fully pulverized.
Ingredients (1 large serving)
– 2–2.5 cups crushed ice
– 1 cup vanilla milkshake base: use vanilla ice cream (about 1/2–3/4 cup) plus milk to reach your preferred thickness
– 2–3 tbsp chocolate syrup (for subtle cookies & cream depth)
– 1 cup cookie crumbs (or 6–8 crushed sandwich cookies)
– Optional: 1 tbsp cream or half-and-half for extra richness
– Topping: extra cookie crumbs and a drizzle of chocolate syrup
Steps
1. Add milk/milkshake base + chocolate syrup to the blender.
2. Add cookie crumbs, then top with crushed ice.
3. Pulse in short rounds until the mixture looks uniform but still speckled (8–12 pulses).
4. Blend 10–15 seconds max, then scrape down.
5. Blend another 5–10 seconds only if the ice hasn’t broken down enough to feel slushy.
6. Top generously with cookie crumbs. Serve right away.
Why this works
– Cookies need controlled blending so you get a thick, cold slush with edible cookie texture rather than a gummy paste.
Ninja Slushi Texture Tips (Get It Perfect Every Time)
A Ninja slushi milkshake isn’t just “blend until smooth.” It’s about timing and how ice interacts with dairy and sugar.
– Pulse first, then blend longer for smoother results
Start with pulses to break ice without overheating the mix. Once you’ve created a slushy foundation, short blends help smooth out chunks.
– Adjust thickness by adding more ice (thicker) or milk (smoother)
Use crushed ice to thicken because it increases structure without diluting flavor. Use milk to smooth because it rebalances viscosity while keeping the drink drinkable.
– Scrape down the cup as needed for even blending
Slushi tends to form on the sides and around the blades. Stopping once to scrape can be the difference between “perfectly slushy” and “half-melted lumps.”
– Manage temperature with smaller batches and faster serving
If you blend a large volume and wait, the ice will melt and the slush will thin out. For best results, blend, check thickness, and serve immediately.
Make-Ahead & Serving Ideas
Ninja slushi milkshakes are best when assembled quickly, but you can absolutely prep components to make the process feel “instant.”
– Prep mix-ins (fruit, cookie crumbs, syrups) ahead for faster builds
Keep cookie crumbs portioned in containers. Freeze extra strawberries in pre-measured bags. Store syrups in a squeeze bottle so you can dial in flavor without guessing.
– Serve immediately for the best slushi consistency
Slushi is time-sensitive. If you want a thicker drink for serving at a party, you can blend slightly thicker than you’d normally prefer and let it settle for a minute.
– Try toppings like whipped cream, sprinkles, or shaved chocolate
Toppings don’t just add flavor—they also signal “milkshake finished” even if your base is slushy. For layered appeal, add toppings right before serving.
– For group serving: blend smaller portions back-to-back
This ensures each drink hits the same texture window—thick, cold, and spoonable.
You’ll be able to whip up Ninja Slushi milkshake recipes that taste like your favorite blended treat by choosing the right base, building slushy structure with crushed ice (or frozen fruit), and fine-tuning texture with short pulses. Pick one recipe above, adjust thickness to your preference, and start experimenting with your favorite mix-ins today.
References
- Google Scholar Google Scholar
https://scholar.google.com/scholar?q=ninja+blender+milkshake+recipe - Google Scholar Google Scholar
https://scholar.google.com/scholar?q=slushie+milk+frozen+beverage+recipe+methodology - Google Scholar Google Scholar
https://scholar.google.com/scholar?q=milkshake+composition+fat+sugar+texture+emulsion+stability - Milkshake
https://en.wikipedia.org/wiki/Milkshake - Smoothie
https://en.wikipedia.org/wiki/Smoothie - Slushy
https://en.wikipedia.org/wiki/Slushie - https://www.britannica.com/topic/milkshake
https://www.britannica.com/topic/milkshake - https://www.cdc.gov/foodsafety/keep-food-safe.html
https://www.cdc.gov/foodsafety/keep-food-safe.html - https://www.fda.gov/food/consumers/consumer-updates/food-safety-tips
https://www.fda.gov/food/consumers/consumer-updates/food-safety-tips - https://www.fao.org/3/a-i3959e.pdf
https://www.fao.org/3/a-i3959e.pdf


