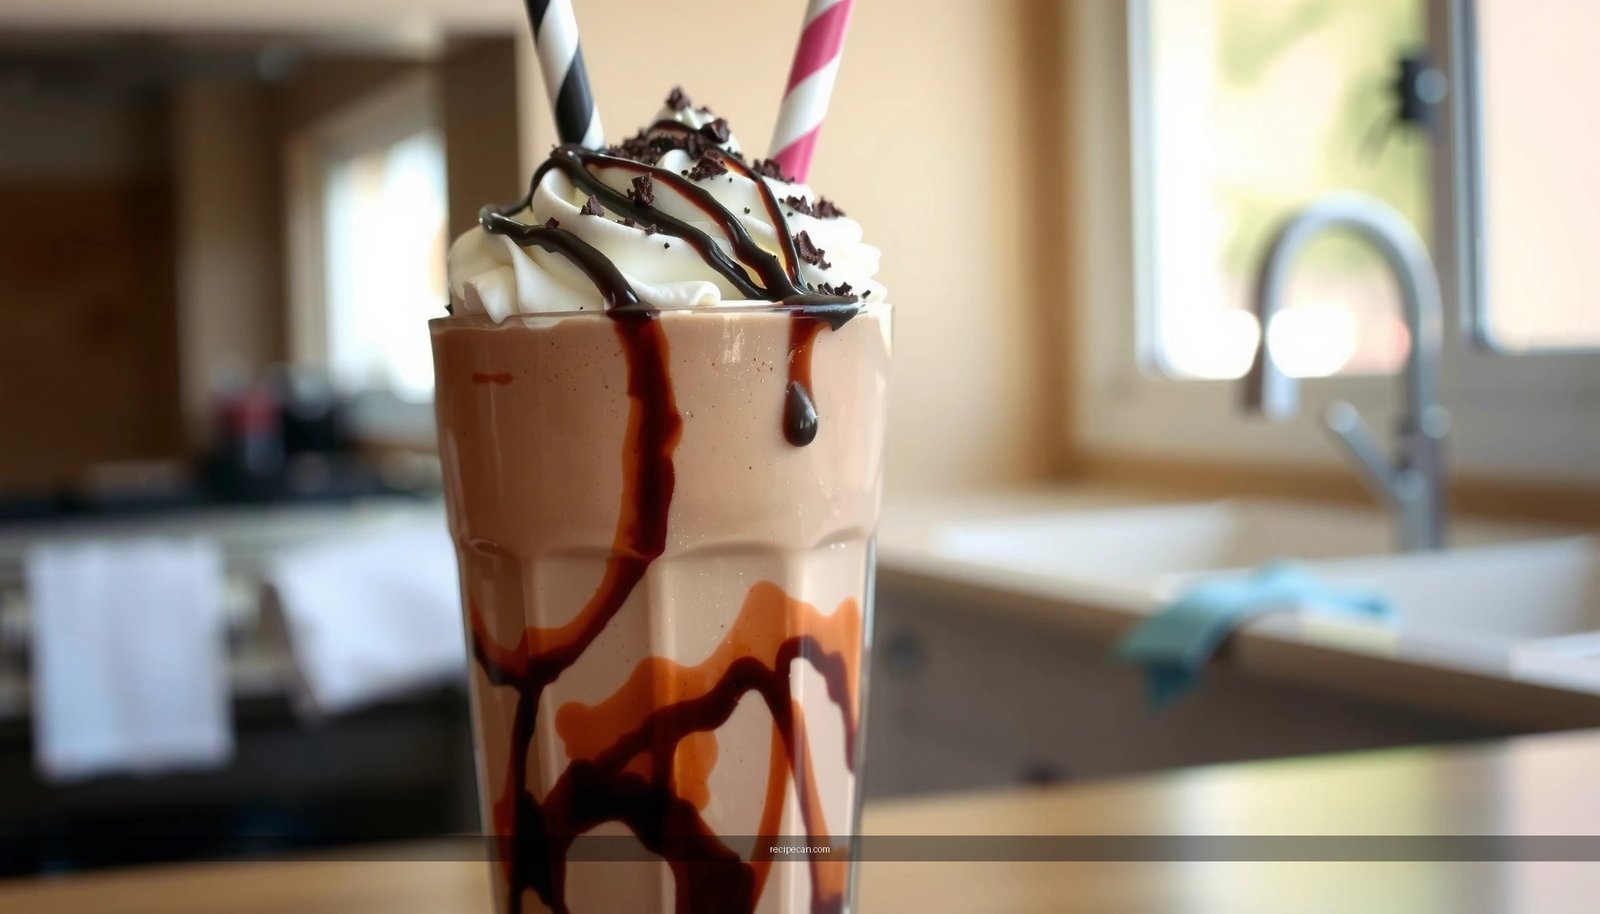
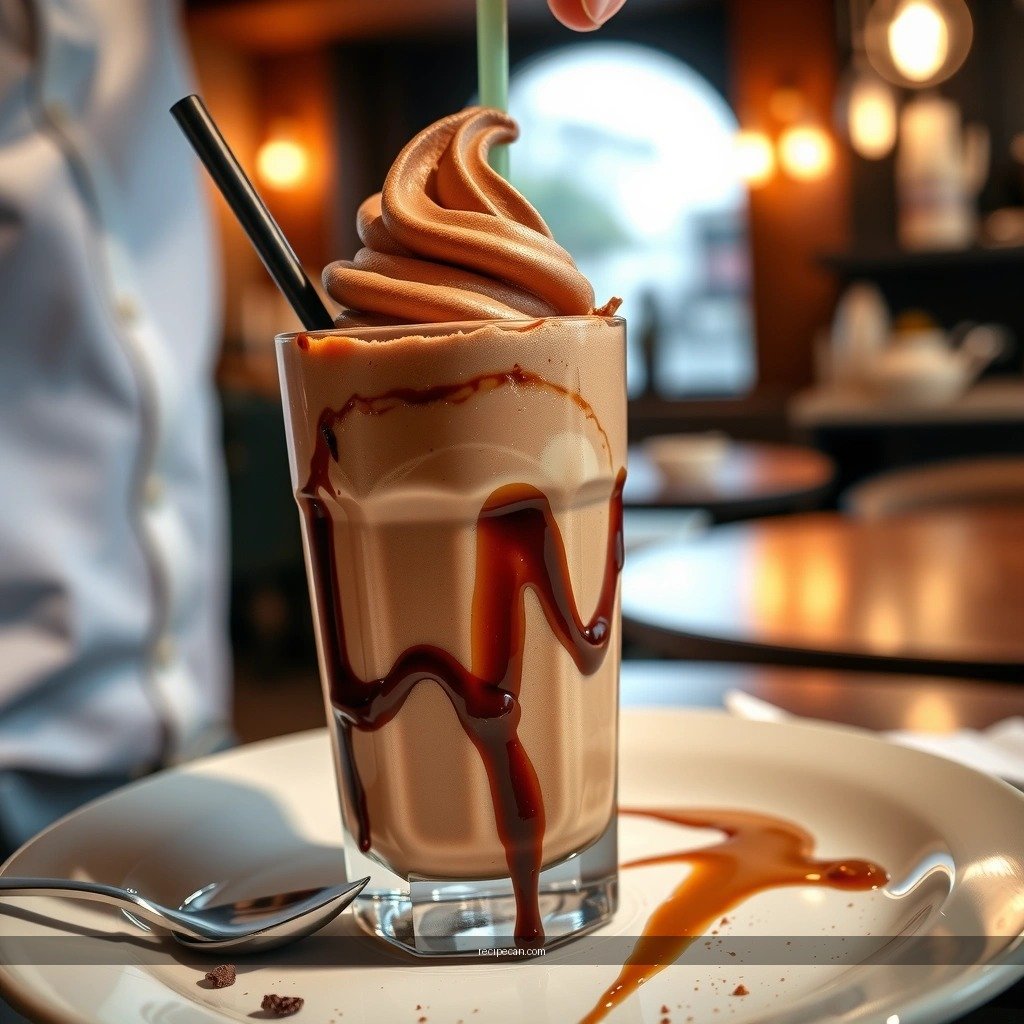
This chocolate milkshake with chocolate ice cream delivers the best creamy, intensely chocolate flavor in minutes, with a straightforward method you can follow without guesswork. The recipe below answers exactly how to blend chocolate ice cream and milk into a thick, spoonable shake—plus the right mix-in options to match your taste. If you want a rich milkshake, not a thin drink, this is the one to make.
Blend chocolate ice cream with milk and chocolate flavoring (cocoa powder or syrup) until smooth, and you’ll get a thick, rich chocolate milkshake with classic diner-level flavor. This recipe walks you through exact ingredients and simple steps to control creaminess, sweetness, and thickness—so the result is consistently silky rather than icy or grainy.
Gather Ingredients and Tools
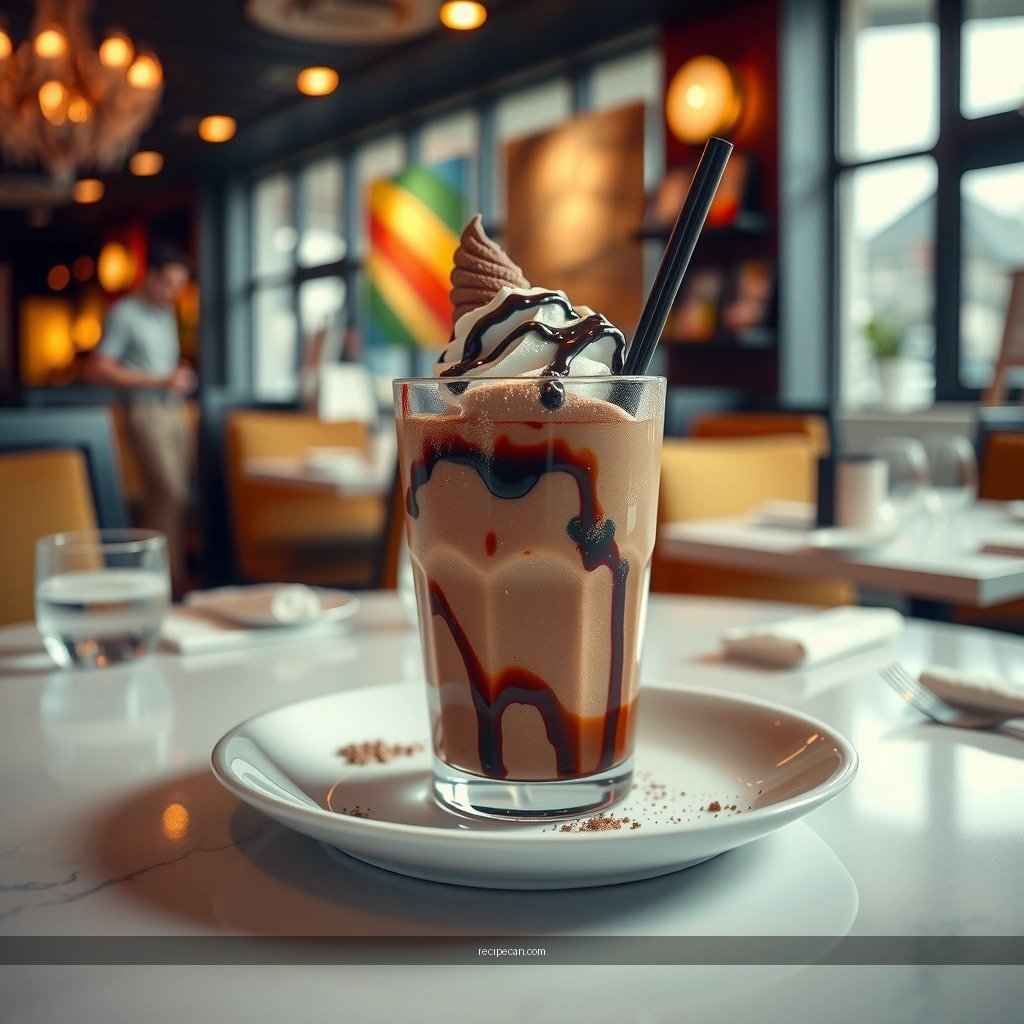
– Choose chocolate ice cream as the base for maximum flavor and creaminess
– Use milk (dairy or your preferred alternative) to adjust thickness
– Have a blender and measuring cups ready for quick mixing
To make a truly thick chocolate milkshake, the “base decision” matters as much as the blending. Chocolate ice cream contributes fat, sugar, and emulsifiers that help the shake stay smooth and spoonable. If you start with low-fat ice cream, the shake can turn thin, icy, or less cohesive even when you add cocoa.
Core ingredients (recommended quantities)
For one generous serving (about 16 oz / 475 ml):
– Chocolate ice cream: ~3–4 scoops (about 300–360 g)
– Milk: ~1/2 to 3/4 cup (120–180 ml), adjusted to taste
– Chocolate booster (choose one):
– Unsweetened cocoa powder: 1–2 tablespoons, or
– Chocolate syrup: 1–3 tablespoons, or
– A small mix (e.g., 1 tbsp cocoa + 1 tbsp syrup) for both depth and sweetness
Optional but high-impact additions
– Pinch of salt: makes cocoa taste more “chocolaty” without making it salty
– Vanilla extract: rounds out flavor and improves perceived sweetness
– Toppings: whipped cream, chocolate drizzle, or shaved chocolate for an elevated finish
Tools that reduce failure points
– Blender (preferred): helps fully dissolve cocoa powder and avoids lumps
– Measuring cups/spoons: keep your texture predictable
– A sturdy spatula: helps scrape down the sides so the shake blends evenly
> Tip for best texture: Use slightly softened ice cream (just 3–5 minutes at room temp) so the blender can work quickly and evenly.
Chocolate Milkshake Success Ratios (16 oz / 475 ml)
| # | Shake Base (Ice Cream) | Milk (ml) | Cocoa/Syrup Booster | Predicted Texture Rating |
|---|---|---|---|---|
| 1 | Chocolate ice cream (standard) | 120 | 2 tbsp cocoa powder | ★★★★★ |
| 2 | Chocolate ice cream (standard) | 140 | 2 tbsp chocolate syrup | ★★★★☆ |
| 3 | Chocolate ice cream (standard) | 150 | 1 tbsp cocoa + 1 tbsp syrup | ★★★★★ |
| 4 | Chocolate ice cream (low-fat) | 120 | 2 tbsp cocoa powder | ★★★☆☆ |
| 5 | Chocolate ice cream (low-fat) | 140 | 2 tbsp chocolate syrup | ★★☆☆☆ |
| 6 | Chocolate ice cream (standard) | 165 | 1 tbsp cocoa powder | ★★★★☆ |
| 7 | Chocolate ice cream (standard) | 180 | 2 tbsp cocoa powder | ★★★☆☆ |
Basic Recipe Steps
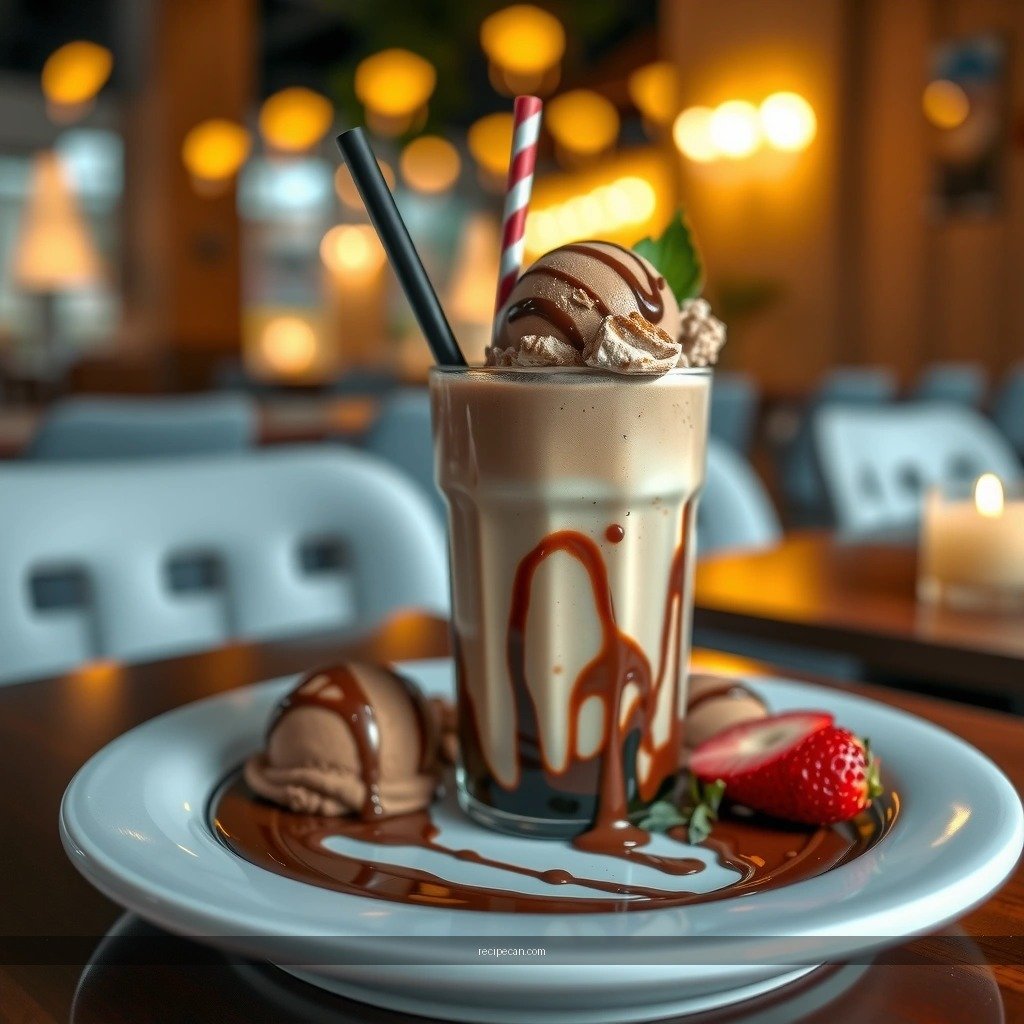
– Add chocolate ice cream and milk to the blender first, then blend until smooth
– Add cocoa powder or chocolate syrup for extra chocolatey taste
– Blend again briefly to fully combine and eliminate lumps
This is the part where many milkshakes go wrong—usually because cocoa powder isn’t properly dispersed or because the blender doesn’t get enough liquid at the start. Follow this sequence for consistent results:
1. Start with the “liquid-friendly” base
– Add milk and chocolate ice cream to the blender first.
– Blend for 20–35 seconds until it looks thick and uniform.
2. Add your chocolate booster
– Add cocoa powder (if using) or chocolate syrup (if using).
– Blend for 10–20 seconds again.
3. Check texture and finish strong
– Pause and scrape the sides with a spatula.
– Blend an additional 5–10 seconds to eliminate any lingering cocoa pockets.
Why this order works (analytical view)
– Cocoa powder needs enough motion and liquid to hydrate and disperse. If you dump it in with no milk first, it can form dry granules.
– Chocolate syrup dissolves quickly, but if it’s added too early with excessive ice cream, it may streak rather than fully incorporate—another reason for the brief second blend.
Small quality checks
A successful chocolate milkshake should:
– Pour as a thick stream (not watery)
– Feel smooth on a spoon (no gritty cocoa)
– Hold its structure briefly before settling
If it’s too thick, you’ll see it “clump” and resist pouring; if it’s too thin, it will run like chocolate-flavored milk.
Adjust Thickness and Sweetness
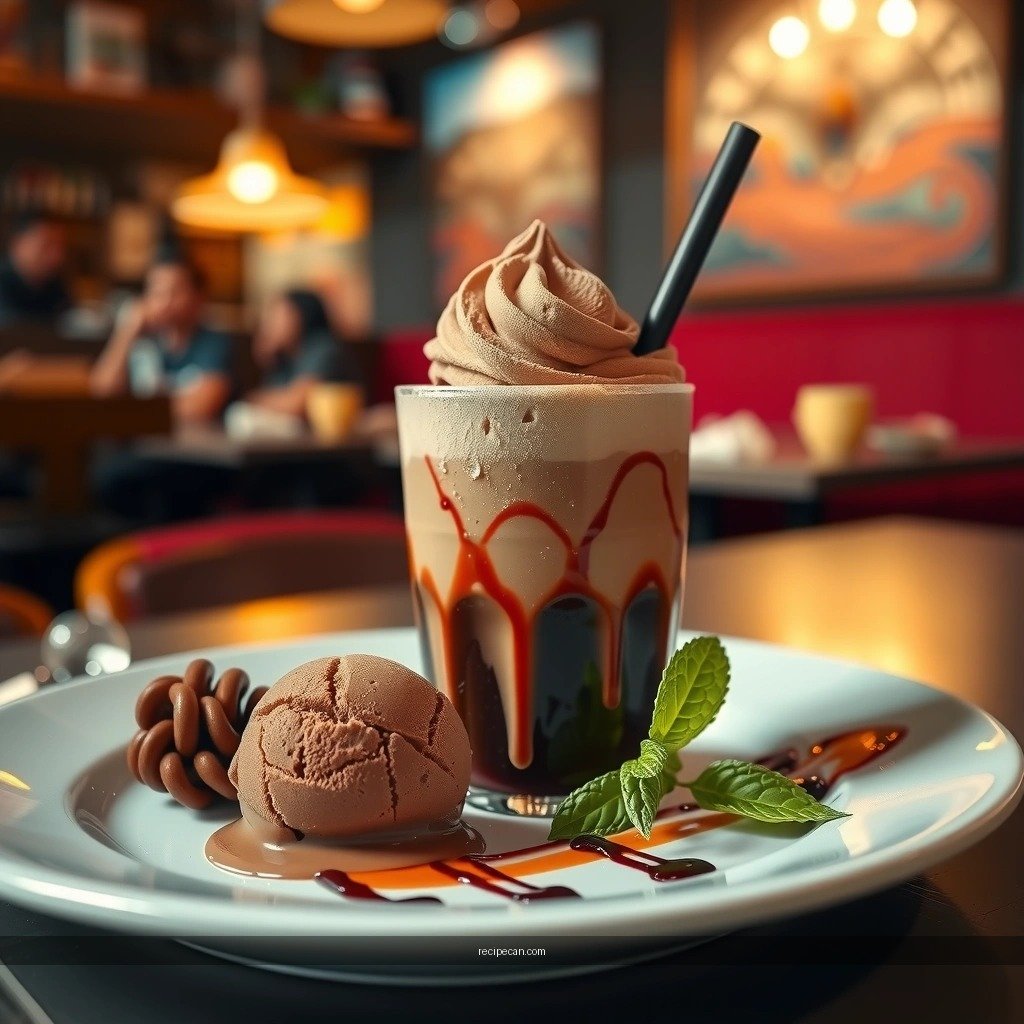
– For a thicker shake, use less milk or add a little more ice cream
– For a thinner shake, add milk a splash at a time while blending
– Taste and tweak sweetness by adding more syrup or cocoa as needed
Milkshake thickness is mostly a ratio problem—quick to fix, but only if you adjust in small increments.
Thickness control: what to change
– Too thick / too stiff:
Add 1–2 tablespoons of milk at a time, blend 5–10 seconds, then reassess.
– Too thin / not spoonable:
Add 1 scoop of ice cream, blend again 20–30 seconds.
Practical target: if you want it “thick like a soda shop,” aim for a shake that supports a spoon. If you want “sippable,” target a smoother pour with less resistance.
Sweetness control: cocoa vs. syrup logic
– Chocolate syrup raises sweetness quickly because it includes sugar.
– Cocoa powder deepens chocolate flavor but can read slightly less sweet (and more “roasty” or bitter) depending on brand.
A simple tuning approach:
1. Taste after the first full blend.
2. If it’s not chocolate-forward enough, add cocoa powder (1 teaspoon to 1 tablespoon increments).
3. If it’s not sweet enough, add syrup (1 tablespoon increments).
4. Blend only as long as needed to integrate—over-blending can warm the mixture slightly.
Upgrade Ideas for Extra Flavor
– Add a pinch of salt to make the chocolate flavor pop
– Stir in a splash of vanilla extract for a richer, smoother taste
– Top with whipped cream, chocolate drizzle, or chocolate shavings
If you want your chocolate milkshake to taste “restaurant-level,” treat it like a balanced flavor system: chocolate intensity, sweetness, and aroma should reinforce each other.
Flavor upgrades that work reliably
– Pinch of salt (high ROI):
Add a very small pinch (literally 1/16 tsp). Salt boosts perceived chocolate flavor and reduces the “flat” taste you sometimes get from cocoa powder.
– Vanilla extract (smooths edges):
Add 1/2 to 1 tsp vanilla. This makes the shake taste rounder and more cohesive, especially if you used cocoa powder instead of syrup.
– Better cocoa experience:
For cocoa powder shakes, consider sifting cocoa before adding. This reduces the risk of lumps and can improve mouthfeel.
Toppings for texture contrast
Toppings aren’t just decoration—they add crunch, aroma, and visual appeal:
– Whipped cream: soft, indulgent finish
– Chocolate drizzle: glossy sweetness
– Chocolate shavings: bitter-sweet complexity and a more “crafted” look
If you’re serving guests, toppings also help manage expectations: even if someone prefers it thicker or sweeter, toppings let them customize without re-blending.
Serving and Storage Tips
– Pour immediately into a chilled glass for the best texture
– Serve with a straw and spoon for easy sipping and thick consistency
– If needed, refrigerate briefly, then stir or re-blend to refresh texture
Milkshakes begin changing the moment blending stops: ice cream melts slightly, and the mixture can lose structure. With good serving habits, you’ll preserve the thick, creamy experience.
Best serving practice
– Use chilled glasses:
Chill your glass for 5–10 minutes. Cold temperature helps the milkshake hold shape longer.
– Serve immediately:
The “best window” is typically within the first 5–15 minutes.
How to serve for both mouthfeel and usability
– Put a straw and a spoon together.
– Straw for easy sipping
– Spoon for thick, spoonable bites
This is a simple service strategy used in many beverage programs because it matches the physical properties of a thick milkshake.
Storage and recovery (if you must make ahead)
Milkshakes don’t store perfectly, but you can recover them:
– Refrigerate briefly (up to about 2–3 hours for best results)
– Stir well first. If it’s separated, re-blend 10–20 seconds to restore smoothness.
For longer storage, expect more ice crystallization and reduced creaminess—meaning reheating won’t help the texture.
You can make a classic chocolate milkshake by blending chocolate ice cream with milk, then boosting flavor with cocoa or chocolate syrup. Follow the steps, adjust thickness to your preference, and finish with your favorite toppings—then make one today and share your perfect version!
References
- Milkshake
https://en.wikipedia.org/wiki/Milkshake - Chocolate milk
https://en.wikipedia.org/wiki/Chocolate_milk - Ice cream
https://en.wikipedia.org/wiki/Ice_cream - https://www.britannica.com/topic/milkshake
https://www.britannica.com/topic/milkshake - https://pubmed.ncbi.nlm.nih.gov/?term=milkshake
https://pubmed.ncbi.nlm.nih.gov/?term=milkshake - Google Scholar Google Scholar
https://scholar.google.com/scholar?q=chocolate+milkshake+recipe+with+chocolate+ice+cream - Google Scholar Google Scholar
https://scholar.google.com/scholar?q=milkshake+ice+cream+ingredients+chocolate - Google Scholar Google Scholar
https://scholar.google.com/scholar?q=ice+cream+formulation+sugar+chocolate+flavoring - USDA FoodData Central
https://fdc.nal.usda.gov/ - Google Scholar Google Scholar
https://scholar.google.com/scholar?q=recipe+for+chocolate+milkshake+with+chocolate+ice+cream


