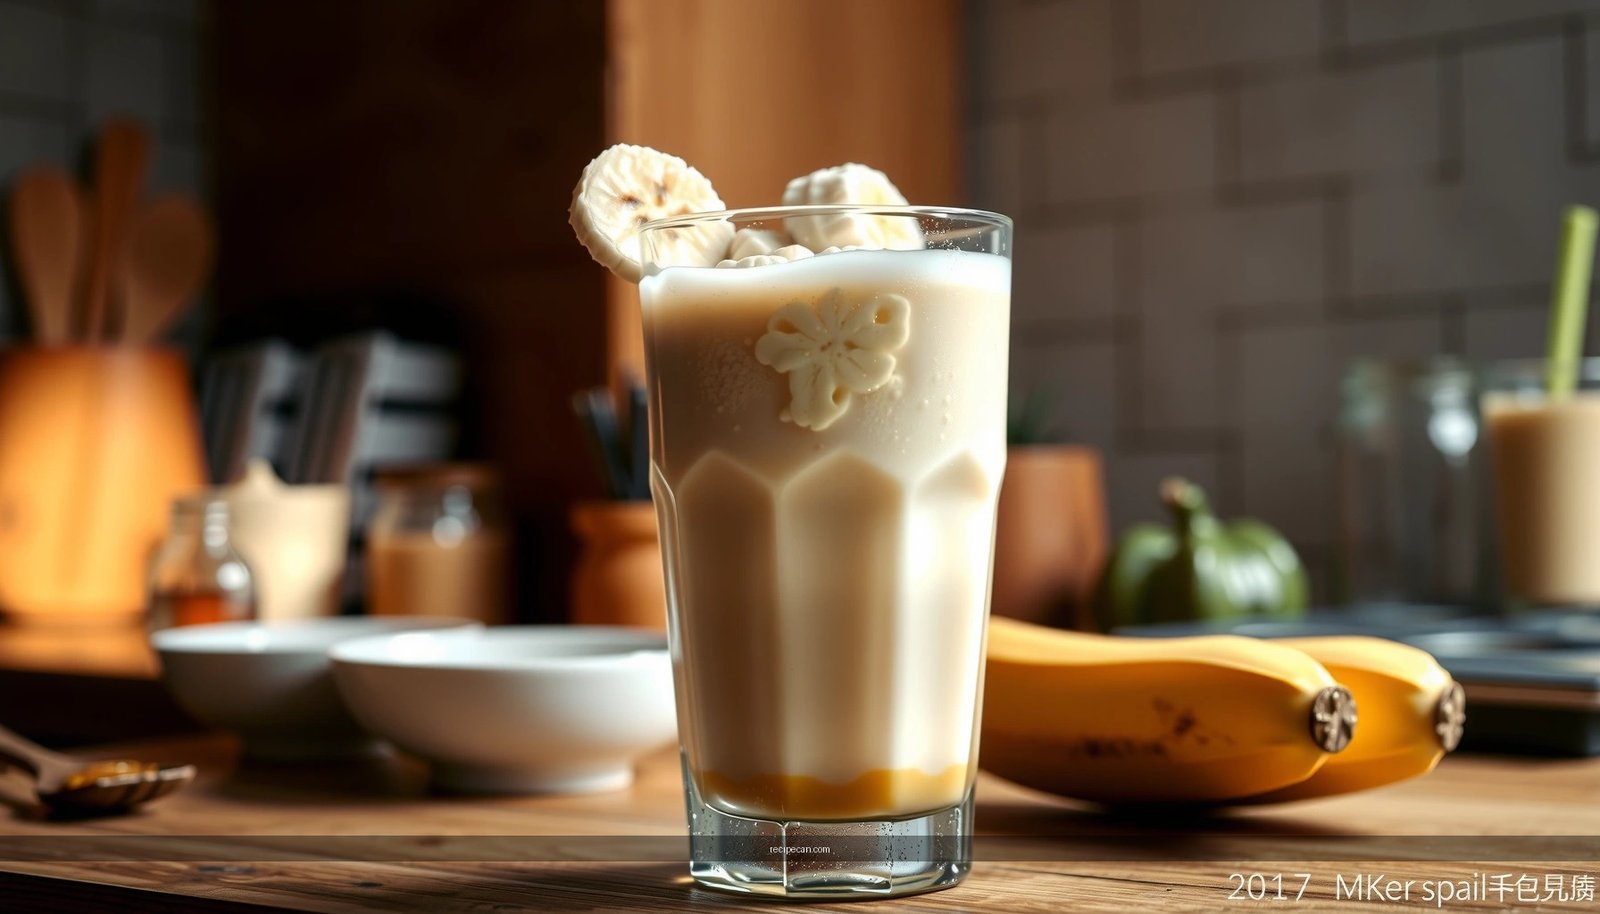
This good banana milkshake recipe delivers a thick, creamy shake with just a few simple ingredients and minimal effort. You’ll get the exact method to blend ripe bananas for maximum sweetness and a smooth, spoonable texture—no curdling, no grainy results. If you want the one banana milkshake that tastes homemade and holds up cold, this is your best bet.
Make a good banana milkshake by blending ripe bananas with cold milk until thick and smooth—then fine-tune consistency with a simple banana-to-milk ratio. This recipe is fast and reliable, and you can customize it with optional add-ins like Greek yogurt, ice cream, peanut butter, or cinnamon to match your exact taste.
A banana milkshake is one of the most forgiving homemade desserts because bananas do much of the work: they provide natural sweetness, body, and a creamy texture when blended properly. The difference between “watery” and “milkshake-quality” comes down to two factors: (1) how ripe your bananas are and (2) the blend ratio that controls thickness. Add-ins can then enhance richness, boost creaminess, or deepen flavor—without turning the process into a complicated recipe.
Choose Ripe Bananas for the Best Flavor
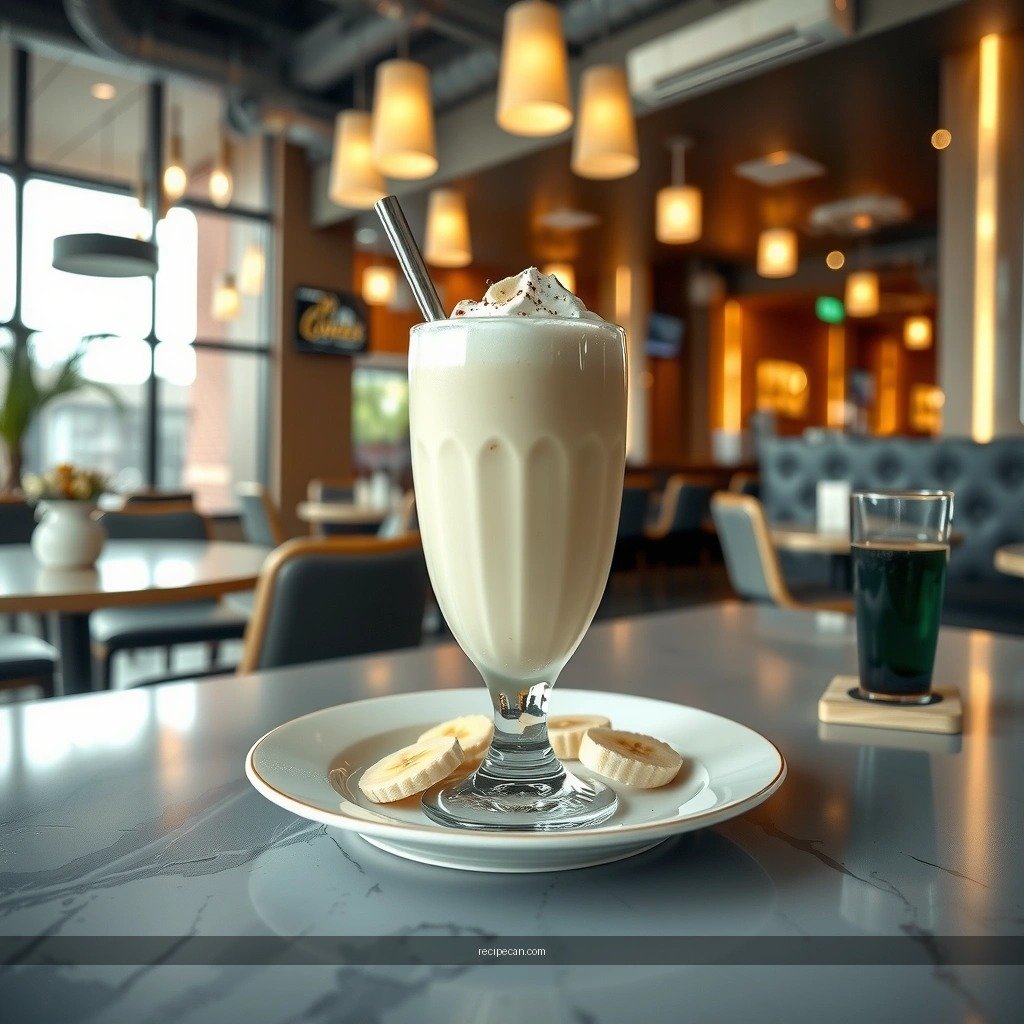
– Use very ripe bananas with lots of yellow spots for natural sweetness
– Fresher bananas give a lighter taste, while riper ones taste richer
If you want a thick, dessert-like banana milkshake, start with bananas that are fully ripe. As bananas ripen, their starches break down into sugars (and the fruit’s flavor becomes rounder and more caramel-like). That matters because your blender can’t “fix” under-ripe bananas—unripe fruit tends to taste grassy or tangy and yields a thinner, less flavorful blend.
What to look for
– High sweetness / best texture: yellow bananas covered with freckles or brown spots (often the ideal balance).
– Too green: light yellow with little to no speckling—usually less sweet, more acidic, and harder to blend into that classic creamy mouthfeel.
Practical tip for timing
If your bananas aren’t ready, you can speed ripening by baking them (skin-on) at 300°F / 150°C for about 15–20 minutes until the skins darken. Let them cool before blending. This is especially helpful when you want a banana milkshake on short notice.
Gather Simple Ingredients
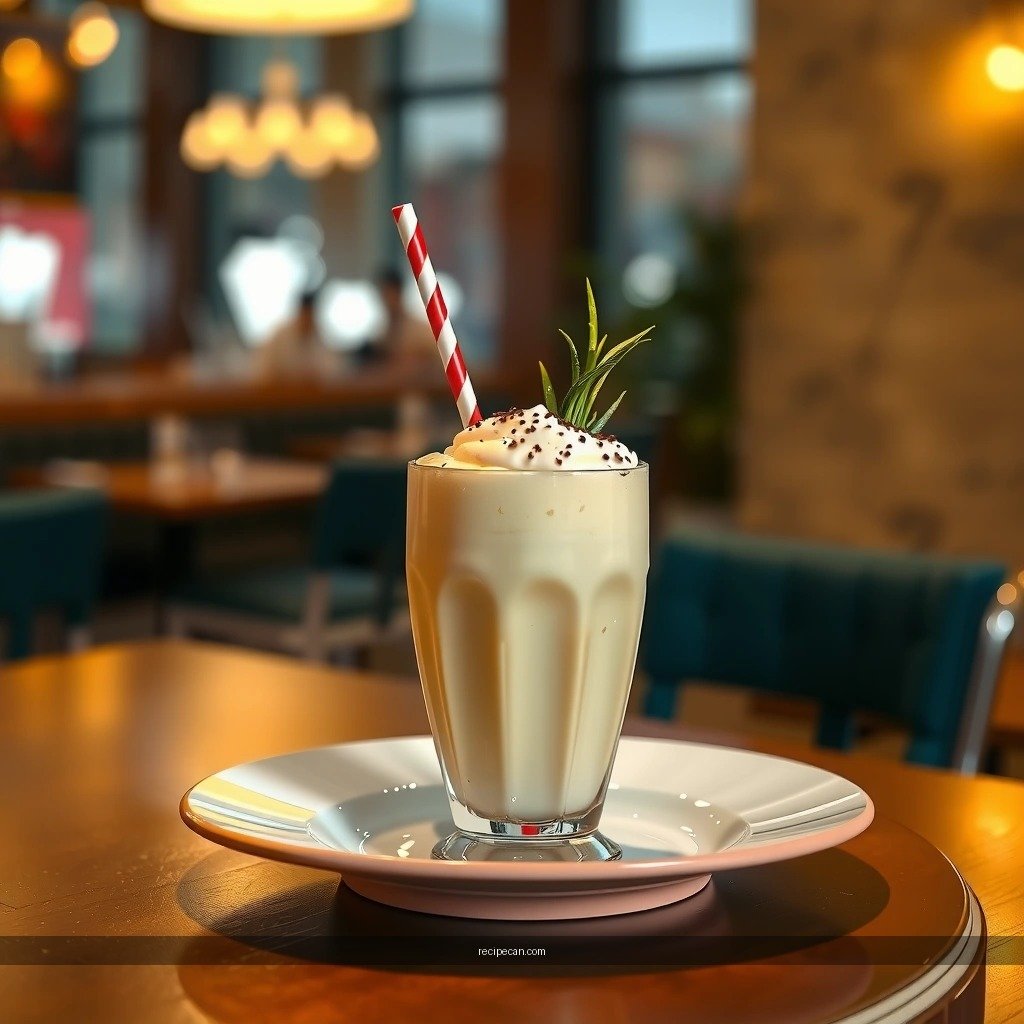
– Blend ripe banana, cold milk, and a sweetener option (optional)
– Add vanilla or cinnamon for extra flavor without complexity
The base banana milkshake formula is minimal, which is exactly why it works: banana + milk creates the structure; optional flavorings refine it.
– Ripe bananas: provides sweetness, thickness, and banana flavor
– Cold milk: controls texture and helps the blender create a smooth emulsion
– Vanilla (optional): elevates banana flavor and adds dessert-like aroma
– Cinnamon (optional): adds warmth and makes the shake taste “fuller” even without extra sugar
Optional sweetener
Many people don’t need extra sugar if their bananas are very ripe. If your bananas are only moderately ripe, you may add a small amount of:
– honey
– maple syrup
– or a banana-friendly alternative sweetener
To keep the shake tasting natural (not overly sweet), add sweetener in small increments—about 1 teaspoon at a time—and blend again before deciding if more is necessary.
Follow the Right Blend Ratio
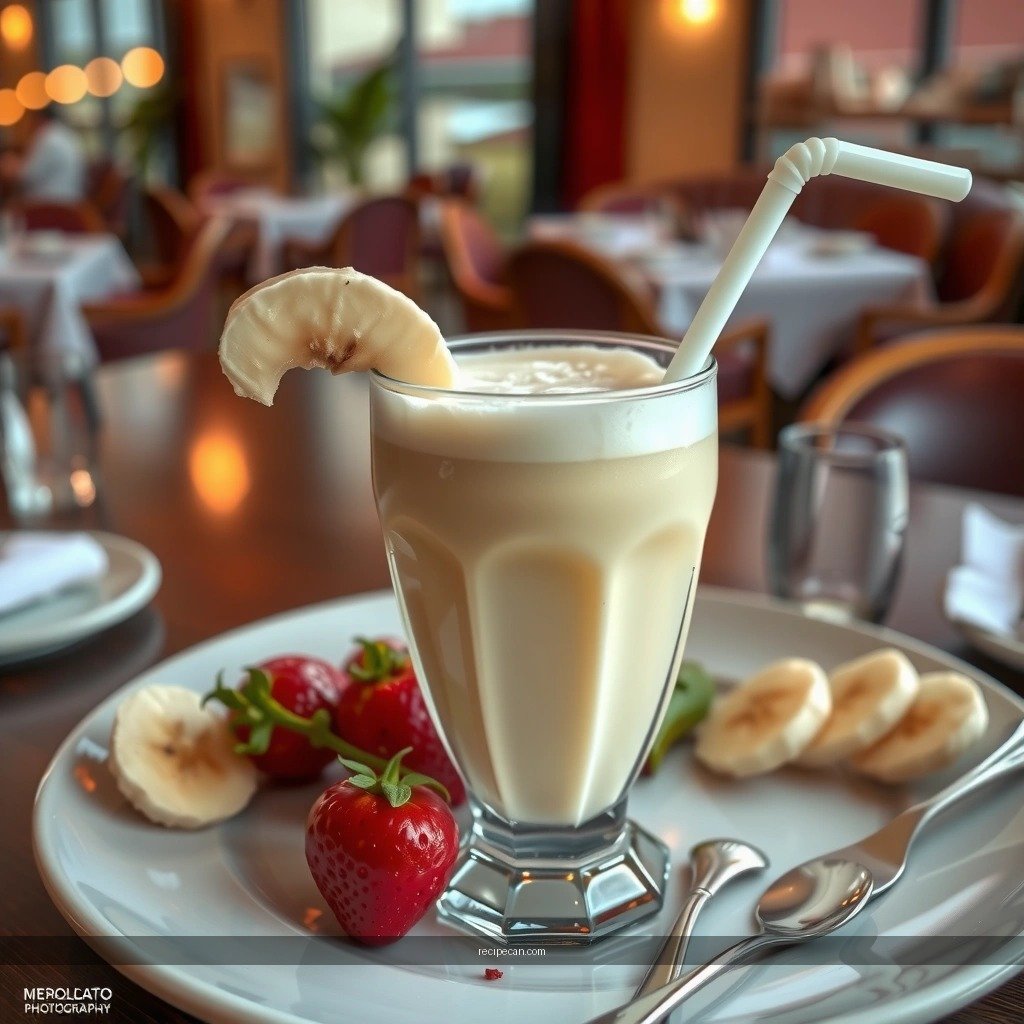
– Start with 1 banana to about 3/4 to 1 cup milk for thickness
– Blend 30–60 seconds, scraping the blender sides for an even mix
This is the most important technical step for a creamy banana milkshake that holds up to a straw. A good rule is to treat banana as the thickener and milk as the texture regulator.
Recommended starting ratio
– 1 medium ripe banana + 3/4 cup to 1 cup cold milk
– Use 3/4 cup for a thicker, “classic milkshake” consistency
– Use 1 cup for a slightly looser drinkable smoothie-like shake
Blend time and technique
– Blend for 30–60 seconds
– Stop once or twice to scrape the sides of the blender jar
– Continue blending until fully smooth (no banana chunks)
Why scraping matters: banana pulp can cling to the sides, and if it doesn’t get fully incorporated, your shake can taste uneven—sweet in one sip, bland or watery in another.
Below is a practical reference for how blend thickness changes as you adjust milk volume. Use it to dial in the exact mouthfeel you want.
Milk-to-Banana Ratio Targets for Banana Milkshake Thickness
| # | Banana (each) | Milk (cups) | Texture Goal | Creaminess Rating |
|---|---|---|---|---|
| 1 | 1 medium | 1/2 | Extra thick | ★★★★☆ |
| 2 | 1 medium | 3/4 | Classic milkshake thick | ★★★★★ |
| 3 | 1 medium | 7/8 | Thick but pourable | ★★★★☆ |
| 4 | 1 medium | 1 | Balanced thickness | ★★★★☆ |
| 5 | 1 medium | 1 1/8 | Drinkable, less “milkshake” | ★★★☆☆ |
| 6 | 2 medium | 1 | Very thick (serves 2) | ★★★★★ |
| 7 | 2 medium | 1 1/2 | Creamy smoothie-drink | ★★★☆☆ |
Make It Extra Creamy (Optional Upgrades)
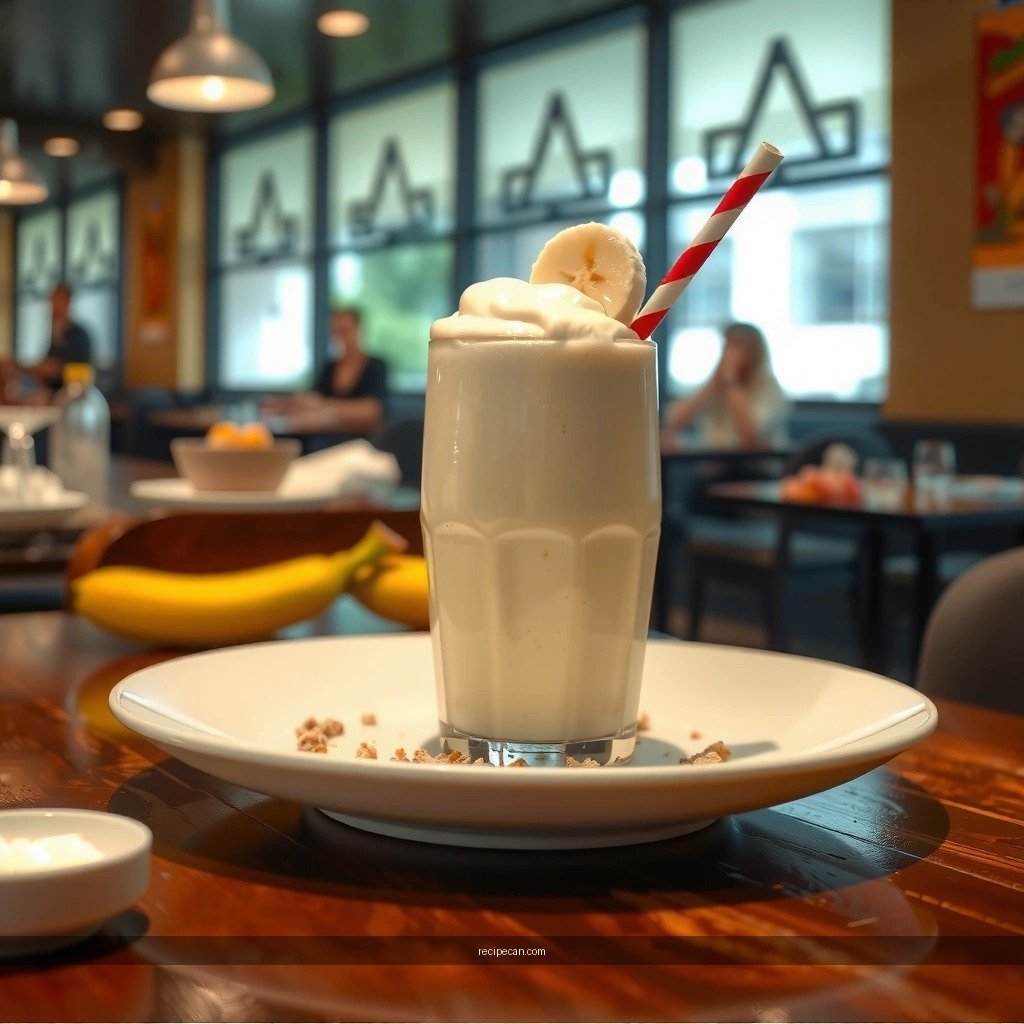
– Add Greek yogurt or a scoop of ice cream for a thicker milkshake
– For extra chill, blend with a few ice cubes or use very cold milk
Once your base ratio is right, upgrades let you fine-tune thickness and mouthfeel—especially if you’re serving kids, entertaining guests, or want a more “diner-style” milkshake.
Upgrade options (choose one)
– Greek yogurt (1/4 to 1/2 cup): adds tang and protein, increasing creaminess without needing much sugar.
– Ice cream (1/2 cup): boosts richness and provides a classic milkshake body. For best results, slightly soften the ice cream for 5 minutes so it blends evenly.
– More chill: add 3–5 ice cubes or use very cold milk. Ice creates additional volume and keeps the texture thick.
Avoid over-thickening
If you add yogurt/ice cream and use the lowest milk quantity, the shake can become hard to drink through a straw. Start with your recommended ratio (like 3/4 cup milk per banana) and increase only if needed.
Texture check
A high-quality banana milkshake should:
– look glossy and smooth
– move slowly when you tilt the cup
– have minimal foam or large banana flecks
If it’s too thick, add milk 1 tablespoon at a time and blend again for 10–15 seconds.
Customize Your Good Banana Milkshake
– Stir in peanut butter, chocolate syrup, or honey for different flavors
– Add oats or a pinch of salt to enhance body and taste
Customization is where a simple banana shake becomes a tailored treat. The key is to keep add-ins balanced: strong flavors should be added in small amounts so they don’t overpower the banana.
High-impact add-ins
– Peanut butter (1–2 tablespoons): thickens further while adding savory depth. For best texture, blend thoroughly so there are no gritty bits.
– Chocolate syrup (1–2 tablespoons): creates a banana-chocolate shake that tastes like a dessert.
– Honey (1–2 teaspoons): rounds out banana flavor and adds floral sweetness.
Secret enhancement
– Pinch of salt (tiny): surprisingly effective. A small amount intensifies banana notes and can make sweetness taste more “complete,” not sugary.
Add body
– Oats (2–3 tablespoons): makes the shake heartier and slightly more filling. Use quick oats for smoother blending, and blend a bit longer (around 45–60 seconds).
If you’re building toward a “flavor profile,” treat the banana like the base note:
– For nutty: banana + peanut butter (+ optional pinch of cinnamon)
– For dessert: banana + ice cream + chocolate syrup
– For warm-spiced: banana + vanilla + cinnamon (+ pinch of salt)
Serve and Store for Freshness
– Serve immediately with a straw and optional banana slice garnish
– If storing, refrigerate up to 24 hours and shake/blend briefly before drinking
A banana milkshake is best served right after blending. Freshly blended shakes hold their texture longer because the banana starches and milk fats remain evenly suspended.
Serving best practices
– Pour into a chilled glass if you want a colder experience.
– Garnish with a thin banana slice or a sprinkle of cinnamon.
– For presentation, drizzle a little chocolate syrup on the inside edge of the glass before filling (a small touch that boosts visual appeal).
Storage guidance
If you need to make it ahead:
– refrigerate in a sealed container for up to 24 hours
– expect some separation (natural for blended dairy + fruit)
– before drinking, shake the container or re-blend 10–15 seconds until smooth again
For best quality after storage, avoid leaving it at room temperature for extended periods—keep it cold to maintain flavor and texture.
A good banana milkshake is all about ripe bananas, the right blend ratio, and a quick blend to creamy perfection. Start with the simple base (banana + cold milk), hit the thickness target by using about 3/4 to 1 cup milk per banana, and then choose one upgrade—like Greek yogurt for tang and creaminess or ice cream for a classic dessert feel. Make it today: grab a ripe banana, blend, taste, and adjust until your thick, delicious banana milkshake is exactly right for you.
References
- Milkshake
https://en.wikipedia.org/wiki/Milkshake - Banana
https://en.wikipedia.org/wiki/Banana - Smoothie
https://en.wikipedia.org/wiki/Smoothie - https://www.britannica.com/topic/milkshake
https://www.britannica.com/topic/milkshake - https://pubmed.ncbi.nlm.nih.gov/?term=banana+milkshake
https://pubmed.ncbi.nlm.nih.gov/?term=banana+milkshake - https://www.hsph.harvard.edu/nutritionsource/food-features/bananas/
https://www.hsph.harvard.edu/nutritionsource/food-features/bananas/ - Healthy diet
https://www.who.int/news-room/fact-sheets/detail/healthy-diet - https://www.cdc.gov/nutrition/index.html
https://www.cdc.gov/nutrition/index.html - Google Scholar Google Scholar
https://scholar.google.com/scholar?q=banana+milkshake+recipe - Google Scholar Google Scholar
https://scholar.google.com/scholar?q=banana+milkshake+homemade+recipe+nutritional+analysis


