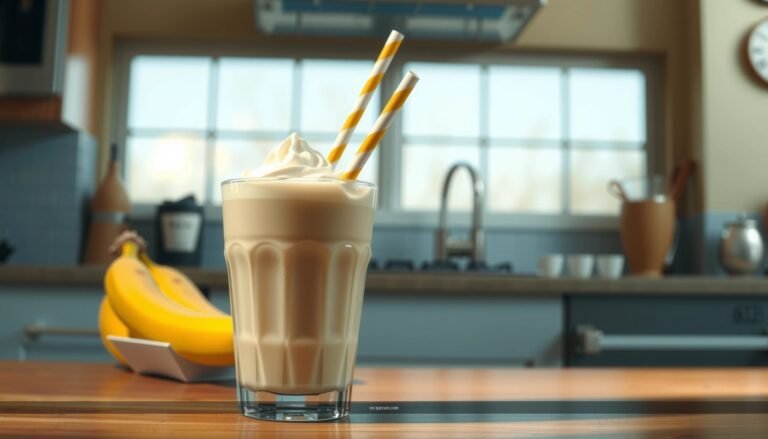
If you want a basic vanilla milkshake recipe that delivers a simple, creamy classic every time, this is the one. It walks you through the exact steps to blend vanilla ice cream with milk for the right thickness, plus quick tips to keep it smooth and scoopable. You’ll know what to make when you’re done—no guesswork, just a reliable shake that tastes like a diner.
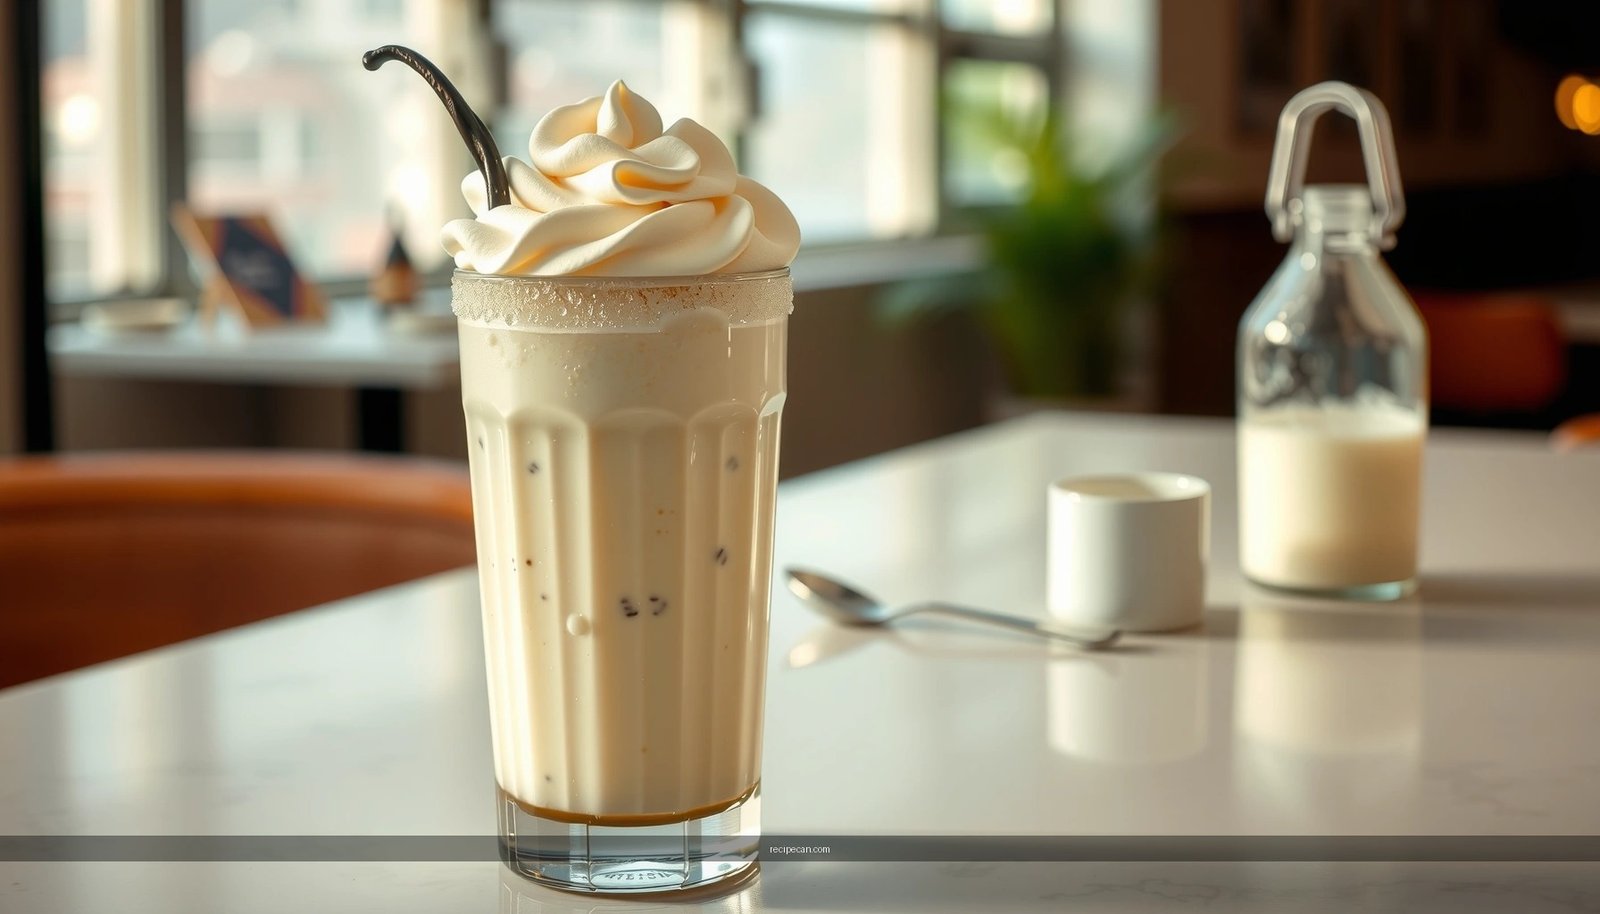
Make a basic vanilla milkshake by blending cold milk with vanilla ice cream (and optional vanilla extract) until smooth, then fine-tune the thickness to your preference. This straightforward classic approach delivers a thick, creamy texture every time—especially when you start with cold ingredients and adjust gradually during blending.
Ingredients for a Basic Vanilla Milkshake

– Use vanilla ice cream and cold milk as the main base
– Add a small amount of vanilla extract if you want extra flavor
– Optional: a pinch of salt to make the vanilla taste pop
A truly “classic” vanilla milkshake is less about complicated flavoring and more about the right ratios and ingredient quality. Vanilla ice cream provides the bulk of the sweetness, body, and vanilla notes, while cold milk controls fluidity and helps the shake blend smoothly without turning icy or grainy. If you want a stronger vanilla profile than what’s already in your ice cream, vanilla extract is the most direct upgrade—just don’t overdo it, or it can taste sharp.
Here’s a practical baseline for one to two thick servings (adjust as needed):
– Vanilla ice cream: ~3–4 cups (about 450–700 g, depending on your cup size)
– Cold milk: ~1–1½ cups (about 240–360 ml)
– Vanilla extract (optional): ½–1 teaspoon
– Pinch of salt (optional): 1 small pinch
Why the optional salt matters: a tiny amount can enhance perceived sweetness and deepen vanilla flavor without making the shake taste salty. For business-minded thinking, it’s a “flavor catalyst”—a minimal input that improves overall sensory quality.
Vanilla Milkshake Ingredient Decisions (Typical Outcomes)
| # | Decision Variable | Amount Range (Per 2 Servings) | Main Sensory Effect | Expected Impact |
|---|---|---|---|---|
| 1 | Ice Cream Base | 3–4 cups | Body + vanilla aroma | Improves thickness ★★★★☆ |
| 2 | Cold Milk Level | 1–1½ cups | Blendability + pourability | Controls consistency ★★★★☆ |
| 3 | Vanilla Extract | ½–1 tsp | Deeper vanilla flavor | Boosts aroma ★★★★☆ |
| 4 | Pinch of Salt | ~1 small pinch | Sweetness perception | Enhances vanilla ★★★☆☆ |
| 5 | Milk Temperature | Refrigerated (≈4–7°C) | Prevents icy texture | Smoother mouthfeel ★★★★☆ |
| 6 | Ice Cream Temperature | Directly from freezer | Thick, stable foam | Too soft → runny ★☆☆☆☆ |
| 7 | Blending Time | 20–45 seconds | Smoothness without dilution | Best texture window ★★★★☆ |
Simple Steps to Make a Vanilla Milkshake

– Blend ice cream and milk until thick and creamy
– Scrape down the sides and blend again for a smooth texture
– Adjust thickness by adding more milk (thinner) or more ice cream (thicker)
This process is fast, but execution matters. The goal is a uniform emulsion: cold ice cream meets cold milk, and the blender aerates the mixture while melting just enough to create a silky consistency.
Step-by-step approach:
1. Start with cold ice cream and cold milk. Add ice cream first, then pour in milk. This sequencing helps the blender pull ingredients into the blades more efficiently.
2. Blend until thick and creamy. Begin with short pulses or a medium speed to avoid dry chunks at the bottom.
3. Scrape down the sides. This is the difference between “almost smooth” and “classic smooth.” Ingredients often cling to the container wall and won’t fully incorporate unless you gather them.
4. Blend again briefly. Stop as soon as the shake looks consistent.
5. Adjust thickness carefully.
– If it’s too thick: add milk a tablespoon at a time, blend 5–10 seconds, then reassess.
– If it’s too thin: add a small scoop of ice cream, blend again, and check the texture.
For a thicker shake that holds a straw-like “resistance,” think in terms of ratio and timing: fewer tablespoons of milk, slightly longer blending within the 20–45 second window, and immediate serving. For a lighter shake, increase milk gradually while keeping the total blending time reasonable to preserve texture.
Getting the Right Consistency

– For a thick shake, use less milk and blend longer
– For a lighter shake, add milk gradually until you reach your preferred thickness
– Serve immediately for the best “classic” texture
Consistency is where most homemade vanilla milkshakes succeed or fail. The “classic” thickness isn’t just preference—it’s how the fat and sugar from ice cream suspend in the milk to create a stable, spoonable texture.
How to dial it in:
– Thick & spoonable (classic diner style):
– Start around 3 cups ice cream to 1 cup milk for a 2-serving batch.
– Blend until smooth, and if needed, add milk slowly—because too much milk makes thickness hard to recover.
– Lighter & more pourable:
– Start closer to 3 cups ice cream to 1½ cups milk.
– Add milk gradually, checking after each small addition.
Serving immediately matters because milkshakes begin to lose structure as fat separates slightly and ice crystals melt/reshape. If you must wait, keep the shake cold and stir gently before serving—but for the best experience, make and serve in the same flow.
Practical benchmark:
– If the shake is thick enough to coat a spoon and slowly ribbon back into the cup, you’re in classic territory.
– If it pours like a drink without any spoon coating, it’s likely too thin—add ice cream next time (or carefully thicken now with small scoops).
Flavor and Texture Tips

– Keep ingredients cold to prevent a runny shake
– Mix just until smooth to avoid over-mixing
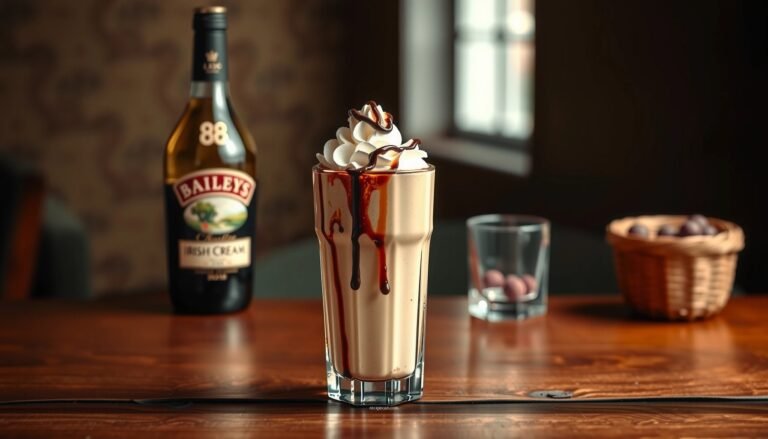
– Add toppings like whipped cream or a drizzle of caramel (optional)
Vanilla milkshake quality is driven by sensory cues: aroma, smoothness, and mouthfeel. Over-mixing can overheat the mixture slightly, which can reduce thickness and create a less luxurious texture.
Texture best practices:
– Chill everything: Keep ice cream in the freezer and milk in the fridge. Even brief softening can produce a thinner shake.
– Blend in the optimal range: Typically 20–45 seconds is enough for most blenders. If your blender struggles, it’s better to scrape and blend again than to keep running continuously.
– Avoid “over-aerating”: Too much blending can make the shake foamier than desired. Foam is not the same as creaminess.
Flavor upgrades that still taste classic:
– Vanilla extract: Use it sparingly for depth, especially if your ice cream has subtle vanilla notes.
– Pinch of salt: A minimal amount can make vanilla taste more rounded.
– Toppings:
– Whipped cream for a more dessert-like presentation
– Caramel drizzle for buttery sweetness
– Sprinkles or crushed cookies for texture contrast
If you’re aiming for consistency across multiple batches (for events, teams, or small gatherings), weigh your ingredients or use measured cups—small ratio deviations can shift thickness and perceived sweetness quickly.
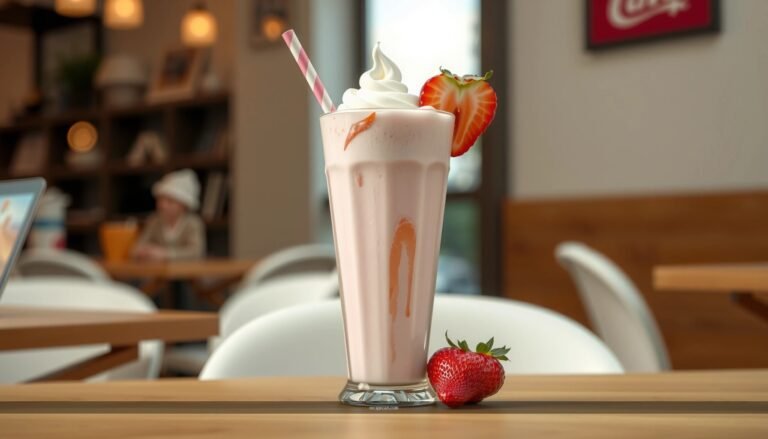
Serving Ideas and Pairings
– Serve in chilled glasses with a straw and spoon
– Top with sprinkles, chocolate syrup, or crushed cookies
– Pair with cookies, brownies, or a simple slice of cake
Presentation influences perceived taste, especially for a simple recipe. A chilled glass helps slow melting and maintains that thick, clean mouthfeel that defines a basic vanilla milkshake.
Serving recommendations:
– Use chilled glasses (or briefly chill them in the refrigerator before serving).
– Offer both straw and spoon—a thick vanilla milkshake is typically more fun and functional with both.
– Top strategically:
– Sprinkles for color and a light crunch
– Chocolate syrup for a vanilla-chocolate harmony
– Crushed cookies for a cookie-and-cream vibe without changing the base recipe
Pairings that work reliably:
– Cookies: sugar cookies or chocolate chip
– Brownies: fudgy brownies complement vanilla’s sweetness and creamy profile
– Simple cake: vanilla or butter cake amplifies the dessert experience without competing
For a more “menu-ready” approach, keep toppings modular so guests can customize without altering the integrity of the base shake.
Common Mistakes to Avoid
– Using warm milk or softened ice cream can make it too thin
– Adding too much liquid at once makes it harder to thicken
– Skipping a quick taste test before serving can lead to under-seasoned flavor
Even classic recipes have predictable failure points. Most issues come down to temperature, ratio, and finishing.
Avoid these pitfalls:
1. Warm milk / softened ice cream:
If ice cream is already melting before blending, the shake will be thinner and less stable. Always start cold.
2. Adding liquid too fast:
You can always add milk to thin a shake, but thickening after the fact takes more effort. Add milk gradually—tablespoon by tablespoon—especially in the final 15 seconds of blending.
3. Skipping flavor checks:
Vanilla extract and salt (optional) are subtle but meaningful. Taste after blending once it’s smooth, then adjust carefully—e.g., add a few drops of vanilla extract rather than “a lot,” which can overpower.
Recovery rule:
If your shake turns out too thin, your fastest fix is adding a small scoop of ice cream and blending again in short bursts. If it’s too thick, add milk gradually until spoon-coated consistency returns.
A basic vanilla milkshake is easiest when you blend cold milk with vanilla ice cream until thick and smooth, then fine-tune consistency to your liking. Gather your ingredients, follow the steps, and serve right away—then try one topping to make it your own.
To summarize, the dependable formula is simple: cold ingredients, correct ratios, short controlled blending, and immediate serving. With vanilla ice cream as the foundation and optional vanilla extract (plus a pinch of salt if you like), you can reliably produce a thick, creamy classic vanilla milkshake that tastes like it came from your favorite diner—every single time.
References
- Milkshake
https://en.wikipedia.org/wiki/Milkshake - https://www.britannica.com/food/milkshake
https://www.britannica.com/food/milkshake - Vanilla milkshake | Good Food
https://www.bbcgoodfood.com/recipes/vanilla-milkshake - https://www.bbc.com/food/recipes/vanilla_milkshake_72030
https://www.bbc.com/food/recipes/vanilla_milkshake_72030 - https://www.theguardian.com/food/wordofmouth/2012/jun/01/how-to-make-a-milkshake-recipe
https://www.theguardian.com/food/wordofmouth/2012/jun/01/how-to-make-a-milkshake-recipe - https://cooking.nytimes.com/recipes/1016300-vanilla-milkshake
https://cooking.nytimes.com/recipes/1016300-vanilla-milkshake - Google Scholar Google Scholar
https://scholar.google.com/scholar?q=basic+vanilla+milkshake+recipe - Google Scholar Google Scholar
https://scholar.google.com/scholar?q=milkshake+recipe+vanilla+ice+cream+milk - Google Scholar Google Scholar
https://scholar.google.com/scholar?q=homemade+vanilla+milkshake+technique+blend+whipped+cream - basic vanilla milkshake recipe – Search results
https://en.wikipedia.org/wiki/Special:Search?search=basic+vanilla+milkshake+recipe