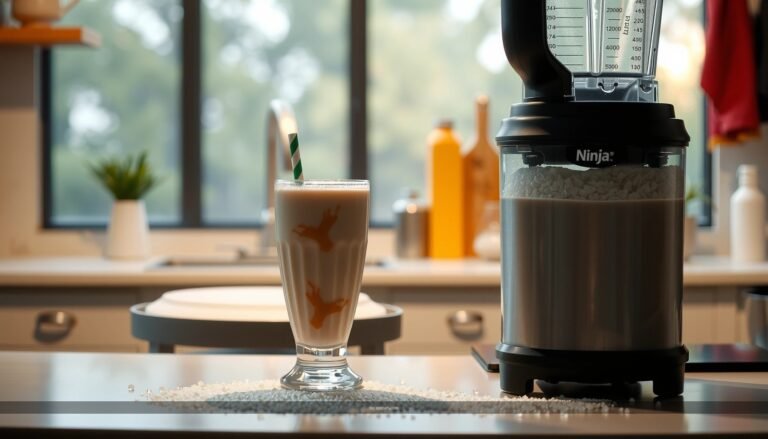
Find out how to make a Ninja Creami vanilla milkshake that’s genuinely creamy, smooth, and dairy-rich—without guesswork. This recipe delivers a clear, repeatable method for turning your Ninja Creami into a milkshake machine with the right blend, freeze time, and churn steps for the best scoopable texture. If you want the fastest path to a restaurant-style vanilla milkshake at home, this is the one.
Make a thick, smooth Ninja Creami vanilla milkshake by freezing the right ice-cream-to-milk ratio, churning with the proper texture setting, then blending until silky. With the exact measurements and settings below, you’ll reliably get the dense “milkshake scoop” texture instead of icy granules or thin, drinkable results.
What You’ll Need (Ingredients)

A classic Ninja Creami vanilla milkshake is built on three pillars: vanilla ice cream flavor, enough liquid to churn evenly, and (optionally) cream to boost richness and viscosity. Using dairy with consistent fat content also helps the machine form the thick, creamy mouthfeel you expect from premium milkshakes.
Core ingredients (the foundation)
– Vanilla ice cream as the base for a classic flavor
Choose a high-quality vanilla ice cream (or premium “French vanilla”) for stronger aroma and smoother finish. Since the Creami relies on frozen fat-water structure, ice cream with real dairy fat typically yields better body than low-fat versions.
– Milk (and optional heavy cream) to reach your preferred thickness
Milk controls how quickly the pint homogenizes during churning. If you want a thicker, spoonable shake, use less milk; for a more traditional pourable milkshake, increase milk slightly. Optional heavy cream increases richness and improves texture stability.
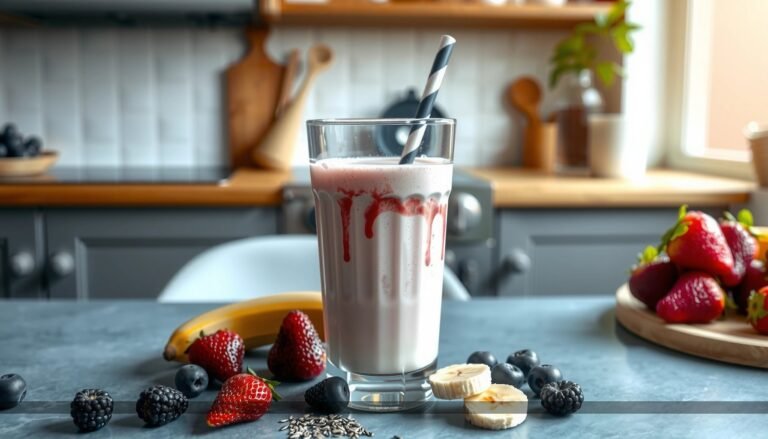
Optional add-ins (for later customization)
– Vanilla bean paste or vanilla extract (boosts aroma)
– Caramel sauce (sweet, custardy flavor)
– Fine salt (tightens sweetness and enhances vanilla notes)
> Tip: If you plan to add mix-ins (cookie crumbs, chocolate syrup swirls, or fruit purées), keep them measured and evenly distributed—too much particulate can interfere with smooth blending.
—
Best-Fit Liquid Additions for Ninja Creami Vanilla Milkshake (Per 16 oz Pint)
| # | Target Texture | Ice Cream | Milk | Heavy Cream | Result Rating |
|---|---|---|---|---|---|
| 1 | Spoonable “shake scoop” | 14 oz | 2 oz | 0 | ★★★★☆ |
| 2 | Classic thick milkshake | 13.5 oz | 2.5 oz | 0 | ★★★★★ |
| 3 | Smoother, pourable | 13 oz | 3 oz | 0 | ★★★★☆ |
| 4 | Extra rich vanilla custard | 12.5 oz | 2 oz | 1.5 oz | ★★★★★ |
| 5 | Milky (lighter mouthfeel) | 12 oz | 4 oz | 0 | ★★★☆☆ |
| 6 | Very thick (high-fat, low milk) | 14.5 oz | 1.5 oz | 0 | ★★★☆☆ |
| 7 | Balanced (no heavy cream) | 13.5 oz | 2.5 oz | 0 | ★★★★★ |
Ninja Creami Setup & Best Texture Tips

The Ninja Creami isn’t just blending—it’s controlled re-churning of a frozen base. Your success depends on two things: (1) how the pint freezes and (2) which texture mode you use first.
Choose the right pint composition
– Use a 16 oz pint and keep your total mix aligned with the cup’s fill line so the paddle can work efficiently.
– Start with minimal mix-ins for your first vanilla attempt. Vanilla is forgiving, but thick particles (cookie bits, nuts, or candy chunks) can lead to uneven texture unless chopped finely.
Freeze/chill correctly for milkshake body
– After combining ice cream + milk (and optional cream), freeze until fully firm—typically at least 24 hours for best results.
– If the pint isn’t cold enough, the machine may “smear” rather than churn, which can cause a thin or coarse result.
Texture-setting strategy (practical approach)
Because different Creami models and batch temperatures can vary, the best operational method is:
1. Churn first to break up and homogenize the base, then
2. Blend again only if needed to remove any icy edges.
A reliable starting point for vanilla milkshakes is:
– Initial churn: *Ice Cream* or *Ice Cream/Custard-style* (depending on your model’s menu wording)
– Remix/Blend: *Mix/Blend* (or the equivalent smoother finisher)
Quick handling tips for smooth results
– Scrape down the sides if your machine indicates a remix step (most pints benefit from it).
– Avoid overfilling syrups (caramel or chocolate sauce can add liquid that melts during processing, changing viscosity).
—
Step-by-Step: How to Make the Vanilla Milkshake

This method is designed to produce a classic, thick, spoonable vanilla milkshake with a smooth finish—using the Ninja Creami as intended.
Step 1: Measure and build the pint
For a “classic thick milkshake” target (recommended for most people):
– 13.5 oz vanilla ice cream
– 2.5 oz milk
Optional upgrade (for extra richness):
– Replace 0.5–1.5 oz of the milk with heavy cream, staying close to a 16 oz total.
Step 2: Combine evenly (before freezing)
– Stir the milk into softened ice cream just until uniform.
– Pour into the Ninja Creami pint.
– Smooth the top so the paddle contacts the base evenly.
Step 3: Freeze until firm
– Freeze at least 24 hours. Fully frozen structure creates the fine, scoopable texture that makes milkshakes feel “dense,” not icy.
Step 4: Churn
– Insert the pint into the machine.
– Select the appropriate churn program for your model (commonly the one labeled for ice cream/custard).
– Start the cycle and let it complete fully.
Step 5: Remix/blend for the smoothest finish
– After the first churn, you’ll often get excellent body but may still see tiny grainy zones.
– Use Remix/Mix once more (or the machine’s “smooth” finisher setting), and process until the vanilla looks uniform.
Best practice:
If your first finish shows any roughness near the edges, stop and scrape the sides, then run the next short cycle again. This small step frequently makes the difference between “good” and “milkshake-perfect.”
Step 6: Taste and adjust consistency (only if needed)
If it’s:
– Too thick: Add 1–2 teaspoons of milk, stir, then blend again for 10–30 seconds.
– Too thick repeatedly: Consider using the “Classic thick milkshake” ratio next time (slightly more milk).
– Too thin: Return to the freezer briefly (see troubleshooting below).
—
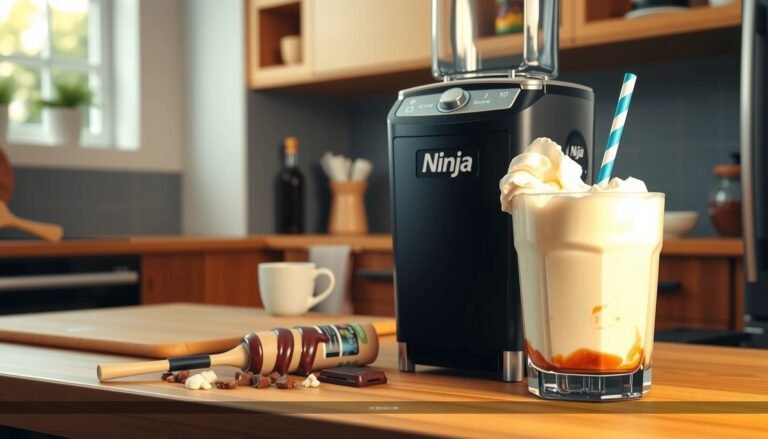
Customization Ideas (Classic to Extra Fancy)

Once your base recipe is dialed in, customization becomes easy because the vanilla structure behaves like a neutral custard—able to carry syrups, spices, and toppings without turning harsh.
Classic flavor upgrades
– Vanilla bean: Stir in 1–2 teaspoons vanilla bean paste (or 1 teaspoon vanilla extract) before freezing for deeper perfume.
– Caramel: Swirl in 1–2 tablespoons caramel sauce after the initial churn (or mix lightly into the base before freezing if your caramel is smooth and pourable). Blend again briefly so the caramel disperses evenly.
– Pinch of salt: Add a tiny pinch (not more than 1/8 teaspoon) to sharpen vanilla sweetness and make the flavor read more “dessert-like.”
“Extra fancy” but still low-risk
– Toasted vanilla: Add a drop of vanilla extract plus a small pinch of cinnamon (very light—vanilla already has warmth).
– Milkshake shop texture: After processing, top with whipped cream and a thin caramel drizzle rather than heavy syrup. This preserves texture instead of thinning it.
– Crunch elements: Only add sprinkles or very small candy bits at the end. Larger chunks should be minimized because they can prevent a perfectly smooth finish.
> Professional tip: For best results, do “flavor into base” (vanilla bean, salt) before freezing and do “topping finish” (sprinkles, whipped cream, drizzle) after the final blend.
—
Troubleshooting Common Issues
Even with the correct Ninja Creami vanilla milkshake settings, small variables—like freezer temperature or how soft your ice cream was before mixing—can affect texture. Use these targeted fixes.
Problem: It’s too thick or difficult to spoon
Why it happens: too much ice cream and too little milk, or the pint is extremely firm and chilled longer than usual.
Fix:
– Add a splash of milk (1–2 teaspoons at a time) and blend again.
– For next time, use the “Classic thick milkshake” ratio (13.5 oz ice cream / 2.5 oz milk) or slightly more milk.
Problem: It’s too thin or looks gritty
Why it happens: the pint wasn’t frozen long enough, or extra liquid was added via syrups.
Fix:
– Freeze the pint again for 30–90 minutes (small enough to avoid over-hardening).
– Churn again using the churn/mix cycle.
– If you added caramel/chocolate before freezing, reduce it to 1 tablespoon and try again.
Problem: It’s uneven (smooth in the center, rough on edges)
Why it happens: unmixed “cold bands” or a pint that needed scraping during the remix stage.
Fix:
– Scrape the sides thoroughly.
– Run the mix/blend step for a short second pass.
Problem: Vanilla tastes flat or icy
Why it happens: low-fat vanilla ice cream can taste muted when frozen, and ice crystals can make flavor seem sharper.
Fix:
– Increase richness slightly with a small amount of heavy cream next time.
– Add vanilla extract/bean (carefully) for stronger aroma.
—
Serving & Storage
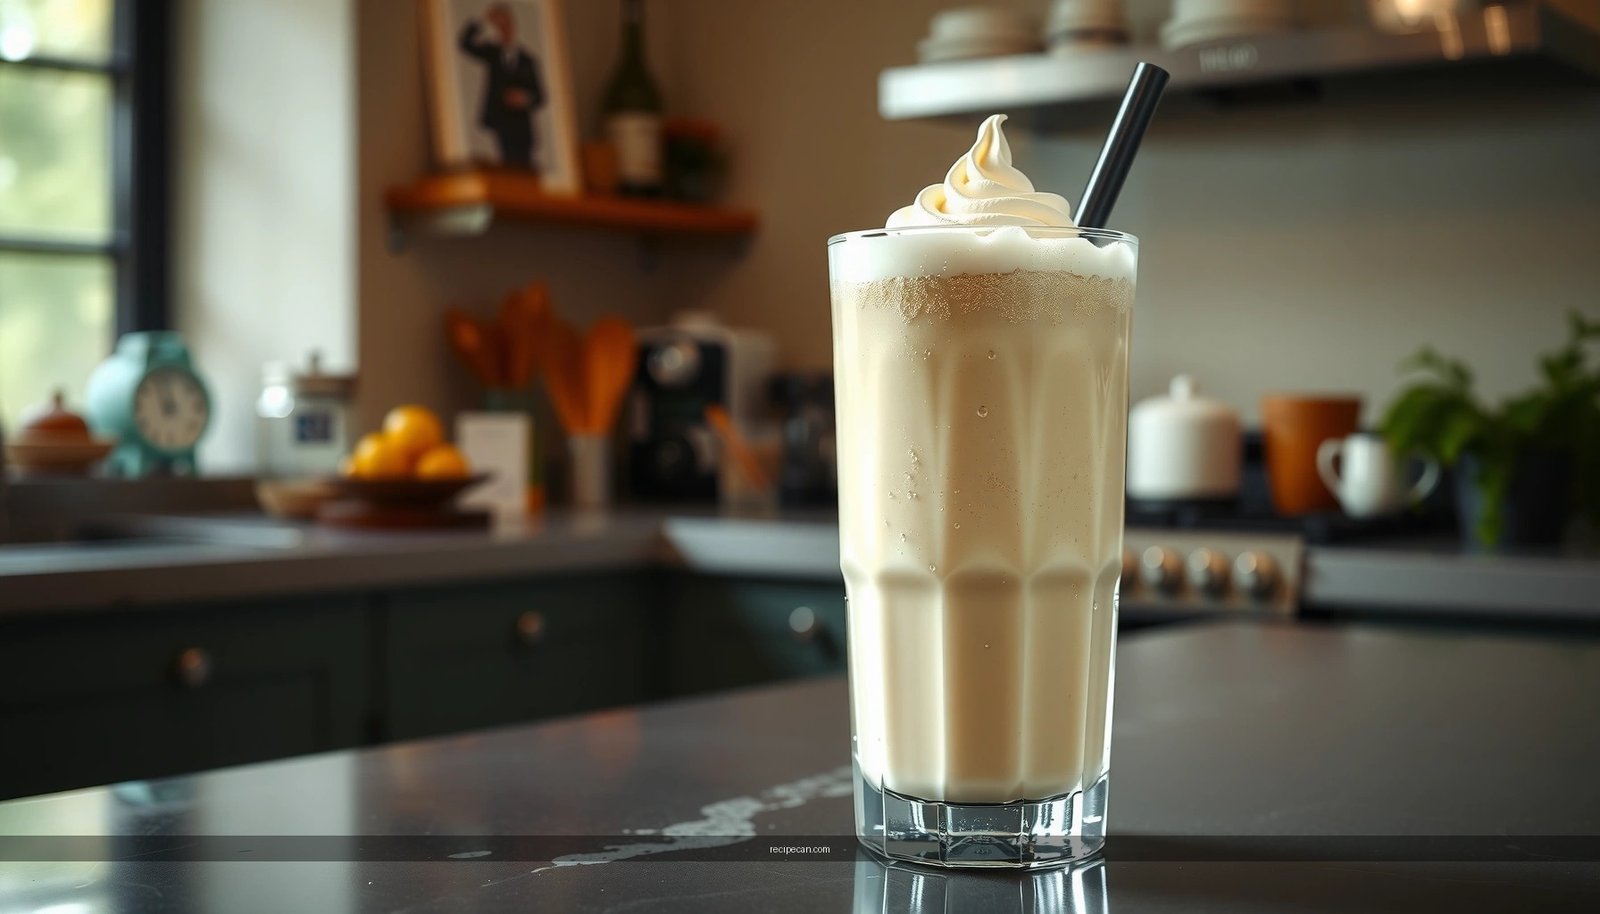
Vanilla milkshakes are best at a specific moment: right after the final blend—when the base is homogeneous, aerated just enough, and still at the right temperature.
Serve immediately for peak creaminess
– Pour or scoop into chilled glasses.
– Add whipped cream and a drizzle only at the end to keep the texture from breaking down.
Storage that preserves quality
– Store leftovers cold in a sealed container.
– For best texture, don’t expect it to be perfect after a full freezer reset. Instead:
– Refrigerate briefly to soften (10–15 minutes), or
– Reprocess lightly in the Ninja Creami for a short churn/blend pass to restore thickness.
Practical workflow:
If you make multiple pints for later, label them by texture preference (thick vs pourable) so you can reprocess consistently.
—
This Ninja Creami vanilla milkshake recipe is the fastest path to a thick, smooth, classic milkshake at home. Use the recommended ice cream-to-milk ratios, freeze until fully firm, churn first to break down the base, then remix/blend for a restaurant-style finish—and don’t hesitate to dial in sweetness and richness with small, controlled add-ins. Make it tonight, adjust once using the troubleshooting guide, and you’ll quickly land on your go-to vanilla variation.
References
- Google Scholar Google Scholar
https://scholar.google.com/scholar?q=Ninja+Creami+vanilla+milkshake+recipe - Google Scholar Google Scholar
https://scholar.google.com/scholar?q=Ninja+Creami+milkshake+recipe+vanilla+ice+cream+base - Google Scholar Google Scholar
https://scholar.google.com/scholar?q=ice+cream+milkshake+emulsion+stabilizers+freezing+point+science - Milkshake
https://en.wikipedia.org/wiki/Milkshake - Vanilla ice cream
https://en.wikipedia.org/wiki/Vanilla_ice_cream - Ice cream
https://en.wikipedia.org/wiki/Ice_cream - https://www.britannica.com/topic/milkshake
https://www.britannica.com/topic/milkshake - eCFR :: 21 CFR Part 135 — Frozen Desserts
https://www.ecfr.gov/current/title-21/chapter-I/subchapter-B/part-135 - https://www.fsis.usda.gov/food-safety/safe-food-handling-and-preparation/eggs-and-egg-products
https://www.fsis.usda.gov/food-safety/safe-food-handling-and-preparation/eggs-and-egg-products - https://pubmed.ncbi.nlm.nih.gov/?term=ice+cream+microstructure+ice+crystallization+review
https://pubmed.ncbi.nlm.nih.gov/?term=ice+cream+microstructure+ice+crystallization+review