Looking for a basic milkshake recipe that actually delivers a classic, thick texture? This guide gives you easy steps to mix milk, ice cream, and a simple flavor option into a diner-style milkshake with no guesswork. Follow the method and you’ll get consistent results every time, whether you prefer vanilla, chocolate, or something seasonal.
A basic milkshake is a simple, classic combination of milk and ice cream blended until thick and smooth—so the fastest path to success is getting the ratio right and blending just long enough. In the sections below, you’ll learn a reliable ingredient starting point, how to adjust texture on the fly, and several no-fuss flavor variations you can execute with the same technique.
Classic Basic Milkshake Ingredients

– Use vanilla ice cream and cold milk for the best classic flavor
– Optional add-ins: sugar, vanilla extract, chocolate syrup, or fruit
A classic milkshake delivers its signature experience through two variables: fat content (from ice cream) and liquid hydration (from milk). Vanilla ice cream is the most forgiving base because its flavor remains consistent even when you add toppings or alternate syrups later. For best results, use cold milk—it blends more predictably, helps the mixture thicken quickly, and reduces the risk of ending up with an overly thin drink.
Core ingredients (the essentials)
1. Vanilla ice cream: Provides body, sweetness, and a smooth mouthfeel. Softened ice cream is easier to blend, but don’t let it become fully melted; you want it scoopable.
2. Cold milk: Adjusts thickness and smoothness. Whole milk is a strong default for a classic, creamy profile, but lower-fat milk can work if you compensate with slightly more ice cream.
Optional flavor and sweetness boosters
– Sugar: Useful when your ice cream is less sweet or you’re using fruit that isn’t naturally sweet. Add in small increments so you don’t “overcorrect.”
– Vanilla extract: Enhances the classic flavor without changing the texture. Use sparingly—typically a few drops to 1/2 teaspoon for a standard serving.
– Chocolate syrup: Adds depth and color; it also slightly changes how quickly the milkshake thickens, so blend time and ratio matter.
– Fruit (fresh, frozen, or preserves): Use frozen fruit for thickness and structure. Preserves work well for a smoother sip with less seeding and pulp.
Practical ratio principle: Start thicker than you think you want. It’s easier to loosen a milkshake with a small splash of milk than it is to “re-thicken” without adding more ice cream (which resets the flavor balance).
To make the starting ratio operational (so teams and busy home cooks can reproduce it quickly), use the guide below:
Milkshake Starting Ratios by Serving Size (Classic Vanilla)
| # | Milkshake Size | Ice Cream | Cold Milk | Sweetness Boost | Blend Outcome | Prep Time | Consistency Reliability |
|---|---|---|---|---|---|---|---|
| 1 | Small (~10–12 oz / 300–355 ml) | 1 cup | 6 tbsp | 0–1 tsp | Thick & spoonable | 25–35 sec | 9.2 ★ |
| 2 | Single-serve (16 oz / ~475 ml) | 1.5 cups | 8 tbsp | 1–2 tsp | Classic “thick drink” | 30–45 sec | 9.6 ★ |
| 3 | Family Cup (~20 oz / ~590 ml) | 2 cups | 11 tbsp | 2–3 tsp | Smooth, thick pour | 40–55 sec | 8.9 ★ |
| 4 | Thick Style (shake shop feel) | 1.5 cups | 7 tbsp | 0–1 tsp | Spoon-first texture | 30–45 sec | 9.0 ★ |
| 5 | Slightly Thinner (wider straw) | 1.5 cups | 9 tbsp | 1–2 tsp | Pourable but still rich | 30–50 sec | 8.6 ★ |
| 6 | Overly Thin (common mistake) | 1.5 cups | 12 tbsp | 2–4 tsp | Runny, melts fast | 30–60 sec | 6.4 ★ |
| 7 | Too Thick (blade struggle) | 2 cups | 5 tbsp | 0–1 tsp | Lumpy risk | 45–75 sec | 6.8 ★ |
Simple Step-by-Step Instructions

– Blend ice cream and milk until smooth, starting with less milk
– Taste and adjust thickness by adding more milk or more ice cream
Making a basic milkshake is more technique than mystery. Your goal is to hydrate the ice cream just enough to break up crystals while maintaining the thick structure that defines a classic shake.
Step 1: Start with less milk than you think you need
Add ice cream to the blender first, then pour in cold milk gradually—especially if you’re using a thicker ice cream (some premium brands have higher solids). Starting low prevents thin, watery results.
Step 2: Blend in short pulses, then finish
– Blend for 15–20 seconds to start breaking down ice cream.
– Scrape down the sides if your blender tends to leave unmixed pockets.
– Blend another 10–20 seconds until the surface looks uniform and glossy.
Step 3: Taste immediately and correct
Before you add any large amounts of milk or syrup, do a quick taste test. If it’s:
– Too thick: Add milk 1 tablespoon at a time, blend 5–10 seconds, then retaste.
– Too thin: Add ice cream 1/4 cup at a time, blend 10–20 seconds.
Business-useful mindset: Think like quality control. You’re managing texture as a measurable outcome, not chasing a “perfect” number once. Adjust incrementally so you don’t overshoot.
Achieving the Perfect Texture

– Blend just long enough to remove lumps and keep it thick
– Serve immediately for the best consistency
Texture is where milkshakes succeed or fail. From a food science perspective, ice cream is a structured emulsion: air bubbles, fat, and ice crystals coexist. Over-blending can introduce excessive melting and aeration changes, especially when milkshake ingredients are warm or the blender runs too long.
What “perfect” looks like
– Thick but pourable: It should move smoothly in the glass, not like melted ice cream.
– No visible lumps: A few tiny particles are normal, but you shouldn’t see obvious chunks.
– Consistent color and sheen: Uniformity is a practical indicator of thorough blending.
How to protect thickness
1. Use cold milk and cold ice cream when possible. Even 5–10 minutes at room temperature can make blending behave differently.
2. Blend briefly and stop as soon as the mixture is smooth. If your blender is strong, you may need less time than you expect.
3. Serve immediately. Milkshakes are “high fluidity desserts.” Once melting accelerates, the texture shifts quickly.
If you must delay service
If the milkshake sits while toppings are prepared, you can:
– refrigerate briefly, then
– re-blend for 5–10 seconds to restore uniformity.
The re-blending works best when the milkshake hasn’t fully melted into a liquid.
Flavor Variations (No Extra Complication)

– Chocolate: add cocoa powder or chocolate syrup
– Strawberry: use strawberry preserves or fresh/frozen berries
– Coffee: mix in instant coffee or espresso (slightly cool it first)
Flavor variations are ideal because the base method stays the same. The key is to account for how add-ins affect thickness and sweetness.
Chocolate milkshake
Choose one approach:
– Cocoa powder (dry): Start with 1–2 teaspoons for a classic richness. Add slowly; cocoa can thicken slightly and may require a touch more milk for smoothness.
– Chocolate syrup (liquid): Start with 1–2 tablespoons. Because it’s mostly liquid and sweet, it can thin the mix; compensate with a small adjustment of ice cream if needed.
Strawberry milkshake
Strawberry is great because it provides both flavor and perceived “freshness.”
– Preserves: Use 1–2 tablespoons for an even, scoopable taste.
– Fresh/frozen berries: Blend a small handful with ice cream. Frozen berries often create a thicker texture but may require a slightly longer blend to eliminate ice fragments.
Tip: If seeds are a concern, blend gently and strain once for a smoother, more upscale result.
Coffee milkshake
Coffee adds aroma, but temperature matters.
– Instant coffee: Dissolve in 1–2 tablespoons of hot water, cool fully, then add. Using liquid coffee at room temperature helps keep the shake from separating.
– Espresso: Brew and cool slightly before blending.
Start conservative with coffee—coffee can dominate quickly. Add more only after tasting.
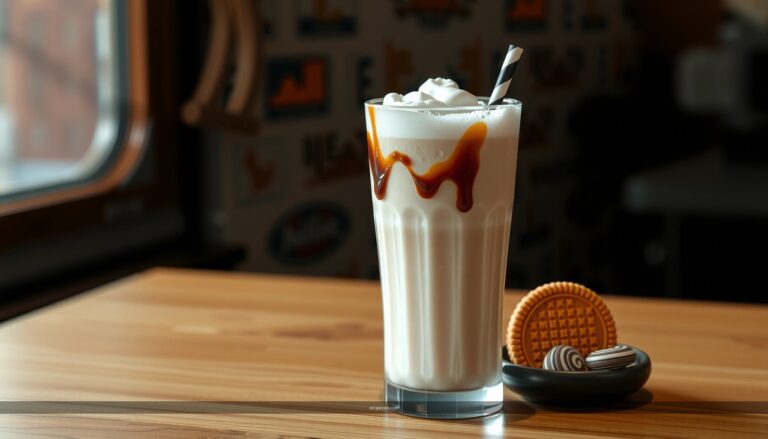
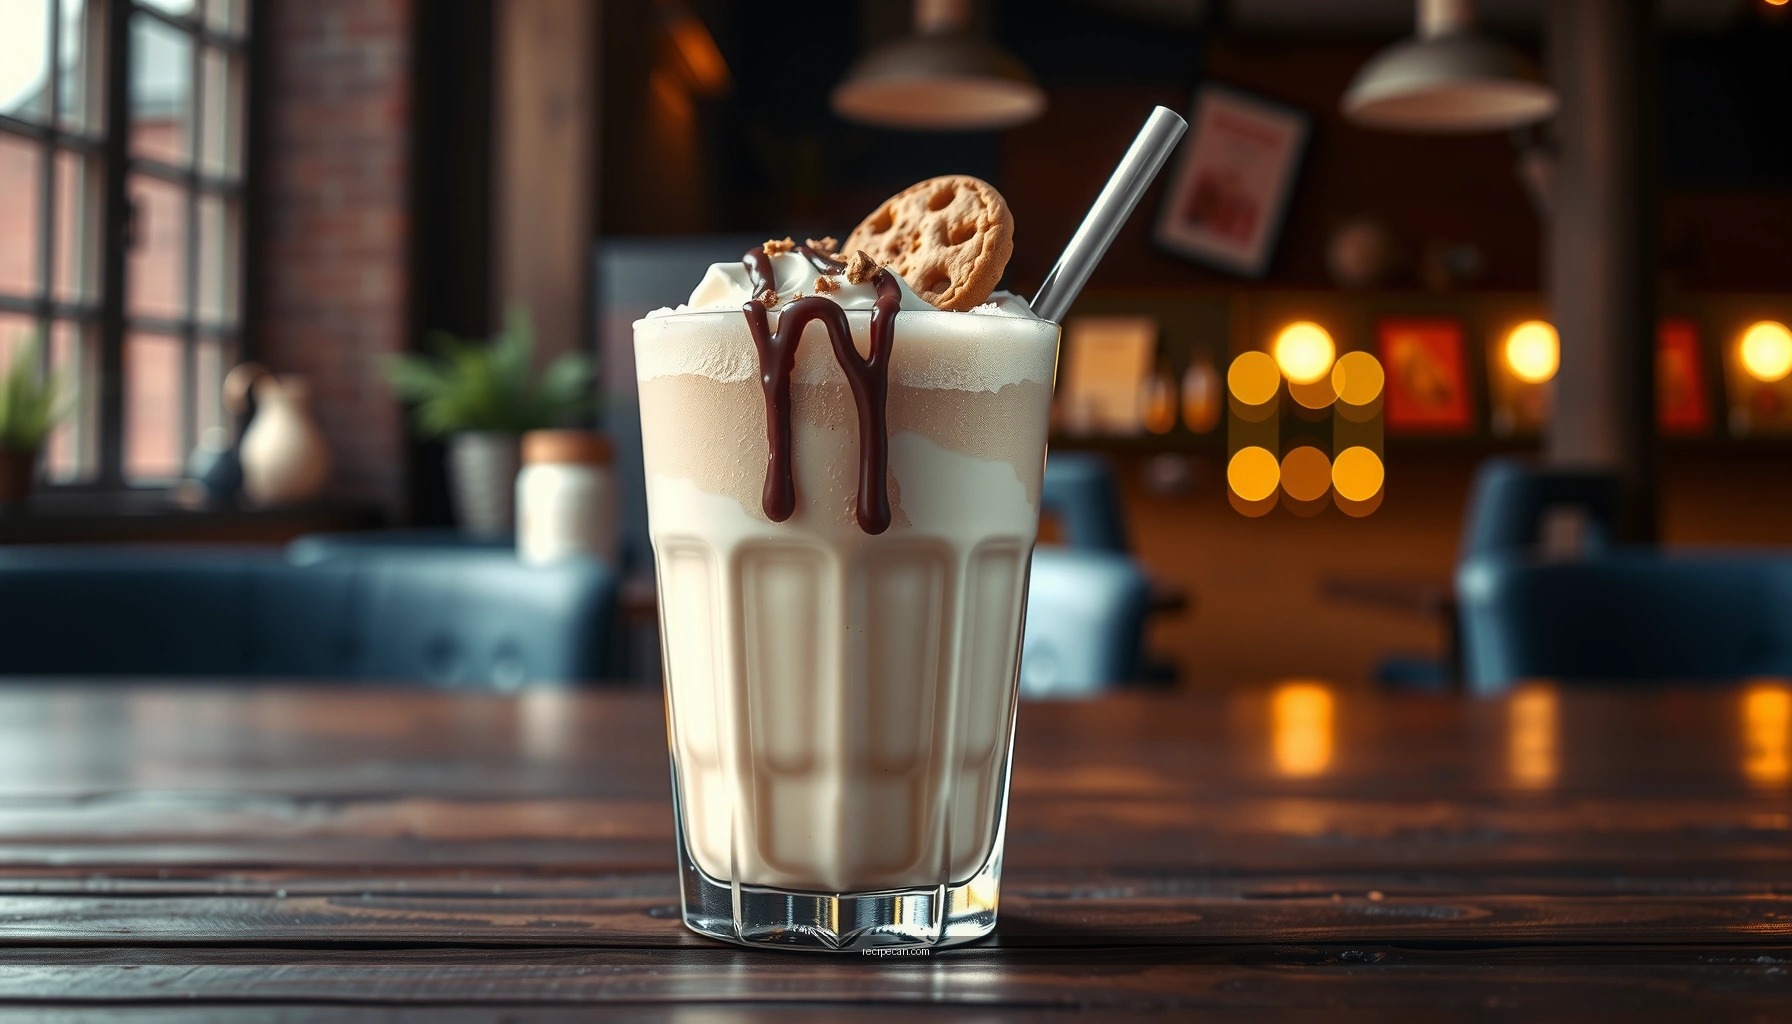
Serving Tips and Toppings
– Pour into a chilled glass to slow melting
– Top with whipped cream, sprinkles, or a drizzle of your choice
Serving presentation isn’t just visual—it influences the experience and even the perceived texture.
Chill your glass
A cold glass slows melting at the surface level. If you have time, place glasses in the freezer for 5–10 minutes. This small operational step makes the milkshake remain thick longer, especially in warm kitchens.
Choose toppings that match the flavor profile
– Whipped cream: Classic and stable; pairs well with chocolate, vanilla, and fruit.
– Sprinkles: Add texture contrast. Use them sparingly so they don’t sink too quickly.
– Drizzle: Chocolate syrup or caramel can be applied in thin lines for controlled sweetness.
Portion and timing
For best quality, pour and top within 1–2 minutes of blending. If you’re serving multiple shakes (home party or small team event), batch in waves rather than blending everything at once.
Storage and Make-Ahead Notes
– Best fresh—milkshakes melt quickly, so plan to serve right away
– If needed, refrigerate briefly and re-stir/blend before serving
Milkshakes are not ideal make-ahead desserts because their emulsion structure changes rapidly as melting progresses. That said, there are practical ways to handle preparation when timing is tight.
Best practice: blend to order
If quality is the priority—think “classic treat” consistency—plan to blend shortly before serving.
If you must hold for a short time
– Refrigerate briefly in a sealed container.
– When ready, re-stir and re-blend for 5–10 seconds until smooth again.
Why re-blending helps
Re-blending re-distributes partially melted components and breaks up any small icy or fat-separated pockets. It’s not identical to fresh blending, but it significantly improves mouthfeel.
Long storage note
Avoid storing milkshake base for extended periods; flavor can dull and texture can become grainy or separated.
A basic milkshake is easy because the method is consistent: use cold milk and vanilla ice cream, blend in controlled short bursts, and adjust thickness incrementally by tasting. If you remember two rules—start with less milk and serve immediately—you’ll produce a classic, thick, smooth shake every time. Add flavor variations (chocolate, strawberry, coffee) by incorporating your chosen add-ins in small amounts and retesting, and finish with chilled glasses and thoughtful toppings to maximize both texture and enjoyment.
References
- Milkshake
https://en.wikipedia.org/wiki/Milkshake - https://www.britannica.com/topic/milkshake
https://www.britannica.com/topic/milkshake - https://pubmed.ncbi.nlm.nih.gov/?term=milkshake
https://pubmed.ncbi.nlm.nih.gov/?term=milkshake - Google Scholar Google Scholar
https://scholar.google.com/scholar?q=basic+milkshake+recipe - Google Scholar Google Scholar
https://scholar.google.com/scholar?q=milkshake+formulation+ingredients+and+process - Google Scholar Google Scholar
https://scholar.google.com/scholar?q=milkshake+composition+fat+sugar+and+stabilizers - https://www.sciencedirect.com/search?qs=milkshake+recipe&show=25
https://www.sciencedirect.com/search?qs=milkshake+recipe&show=25 - https://www.bbc.co.uk/search?q=basic%20milkshake%20recipe
https://www.bbc.co.uk/search?q=basic%20milkshake%20recipe - https://www.theguardian.com/search?q=milkshake%20recipe
https://www.theguardian.com/search?q=milkshake%20recipe - https://www.nytimes.com/search?query=basic%20milkshake%20recipe
https://www.nytimes.com/search?query=basic%20milkshake%20recipe