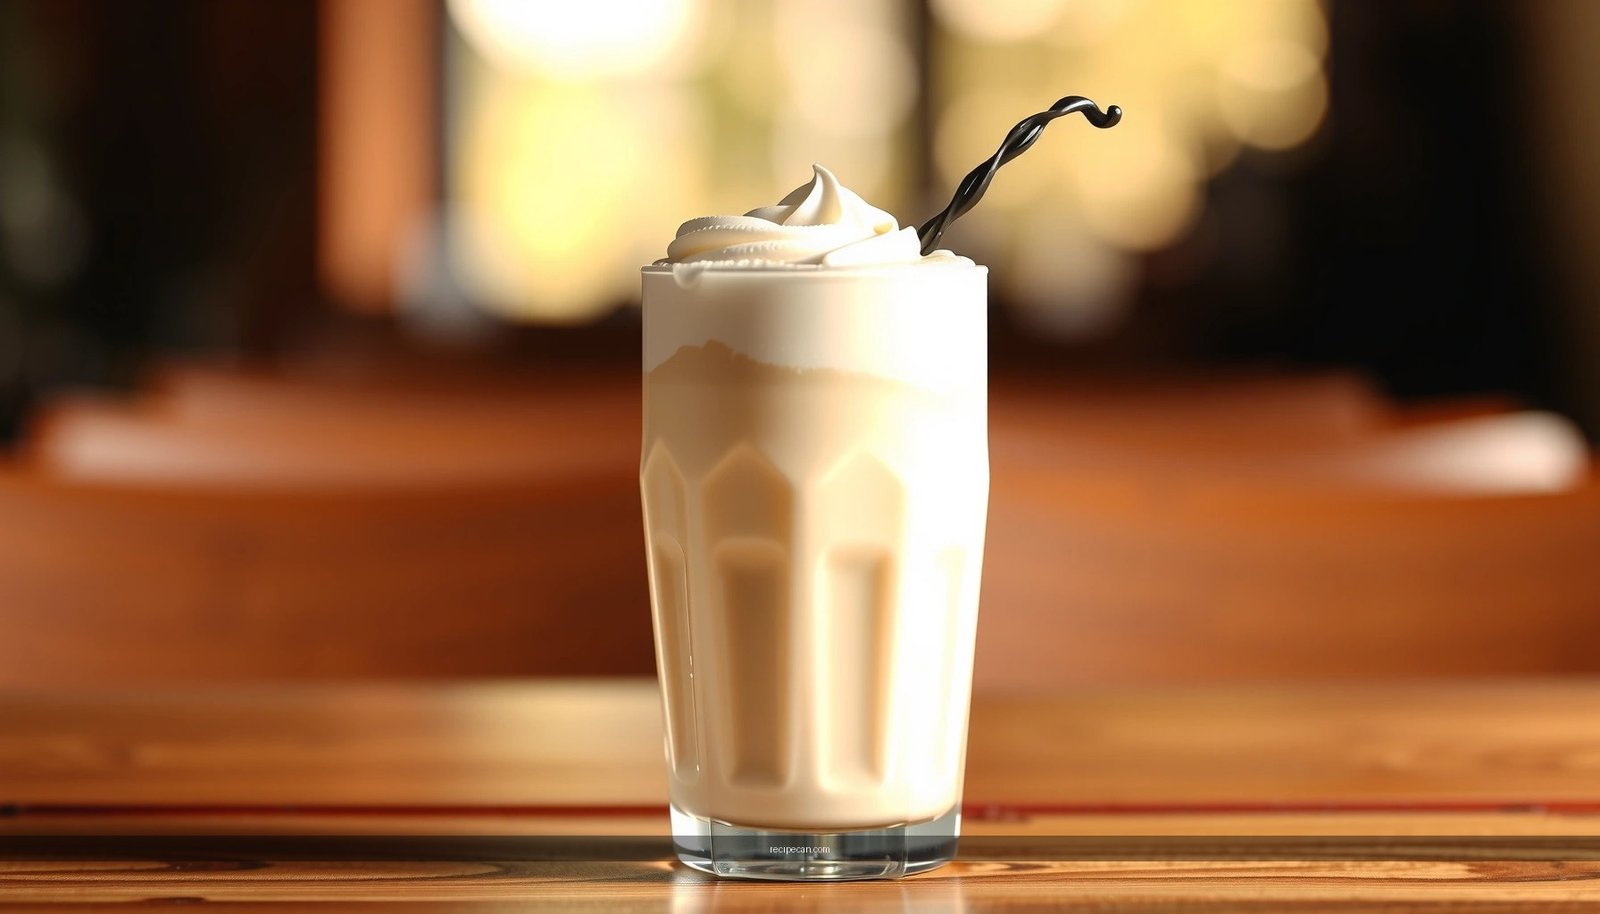
If you want a vanilla milkshake recipe that’s creamy, classic, and easy to make, this is the one to use—no complicated steps, just reliable results. It answers how to get the thick, spoonable texture and clean vanilla flavor every time, using simple ingredients you can grab quickly. Follow this method and you’ll serve a milkshake that tastes like the diner version, not a bland copy.
A classic vanilla milkshake is simply cold vanilla ice cream blended with milk until smooth, then sweetened to taste; get the thickness right with the ice cream-to-milk ratio. Below you’ll find dependable measurements, practical blending tips, and classic add-ins so your homemade vanilla shake comes out thick, creamy, and consistent every time.
Ingredients for a Classic Vanilla Milkshake

To make a true old-school vanilla milkshake, you want ingredients that preserve cold temperature and maximize creaminess rather than overcomplicating the formula.
– Use vanilla ice cream as the base and cold milk for best texture
Cold milk slows melting and helps the blender create a smoother, more stable emulsion. If your kitchen is warm, use straight-from-the-fridge milk.
– Add a pinch of salt and vanilla extract (optional) to boost flavor
Salt makes sweetness taste more “rounded,” not sharper. Vanilla extract is optional because quality vanilla ice cream already provides strong flavor, but a small amount can enhance aroma—especially with budget ice cream.
– Sweeten lightly if needed with sugar or extra syrup
Vanilla ice cream varies widely in sweetness. If your shake tastes flat, add sugar gradually (or add a small spoon of vanilla syrup or caramel syrup if you want a more dessert-forward profile).
What “classic” actually means
A classic vanilla milkshake is not a “soft-serve copy” or a whipped dessert—its signature is a thick, spoonable-drink texture with clean vanilla flavor. That means you’ll prioritize:
– a controlled ice cream-to-milk ratio,
– enough blending to smooth, and
– minimal additions that dilute the flavor.
Vanilla Milkshake Measurements (Perfect Ratios)

The fastest way to succeed with a vanilla milkshake recipe is to control the ratio. Think of ice cream as your body (fat + structure) and milk as your fluid (texture + pourability).
– Start with about 2–3 cups ice cream per 1 cup milk (adjust for thickness)
If you’re using a standard pint (about 2 cups), this ratio makes it easy to scale without guesswork.
– Blend until creamy; add milk 1 tablespoon at a time to thin
When troubleshooting thickness, micro-adjust. One tablespoon changes mouthfeel noticeably once you’re close.
– Use less milk for a thicker, more “sundae-like” shake
A thicker shake is more nostalgic—often what people expect from diners and classic malt shops.
Quick reference: how to calibrate in real time
1. Blend using your starting ratio.
2. Stop, check thickness visually and with a spoon test.
3. Adjust only in small increments: add milk 1 tablespoon at a time, then blend 5–10 seconds and re-check.
Vanilla Milkshake Ratio Guide (Ice Cream per 1 Cup Milk)
| # | Ice Cream (cups) | Milk (cups) | Target Texture | Pour Stability (sec) | Blend Time (sec) | Consistency Score |
|---|---|---|---|---|---|---|
| 1 | 1.5 | 1.0 | Light & drinkable | 2 | 20 | ★★★☆☆ |
| 2 | 1.8 | 1.0 | Slightly thinner | 3 | 18 | ★★★★☆ |
| 3 | 2.0 | 1.0 | Classic diner-style | 4 | 16 | ★★★★★ |
| 4 | 2.3 | 1.0 | Thick & spoonable | 5 | 15 | ★★★★★ |
| 5 | 2.5 | 1.0 | Sundae-like richness | 6 | 14 | ★★★★★ |
| 6 | 2.7 | 1.0 | Very thick (high body) | 7 | 14–16 | ★★★★☆ |
| 7 | 3.0 | 1.0 | Almost-mousse thickness | 8 | 16–20 | ★★★☆☆ |
Use this table as a starting “control panel.” If you want a classic vanilla milkshake that pours and tastes like a malt shop, the 2.0–2.5 cups ice cream per 1 cup milk range is the most reliable.
Step-by-Step: How to Make a Vanilla Milkshake

Once your ingredients are chilled and your ratio is selected, the process is quick. What matters most is blending enough to remove icy texture without over-diluting.
– Add ice cream and milk to a blender and blend until smooth
Use cold milk and scoop ice cream directly into the blender. Start at medium speed for 10 seconds, then increase speed to finish smoothing.
– Taste and adjust sweetness or vanilla, then blend briefly again
Add sugar in small increments. If you’re using vanilla extract, add it now (not earlier) so you can evaluate aroma before committing.
– Pour immediately into chilled glasses to keep it thick
Milkshakes thicken when cold and loosen as they warm. Pouring promptly preserves the thickness you worked to achieve.
Pro workflow for consistent results
– Chill your glasses for 5–10 minutes.
– Blend in short bursts and scrape down the sides once if your blender has trouble fully incorporating.
– Avoid blending for excessively long periods; extra time can warm the base and change texture.
Getting the Thickness Just Right

Thickness is where most homemade vanilla milkshakes succeed or fail. The good news: it’s easy to correct once you know what to look for.
– For thick milkshakes, use more ice cream and minimal milk
If the shake can hold peaks or slowly ribbons off a spoon, you’re in the sweet spot. Add little or no extra milk once you reach this stage.
– For thinner shakes, gradually increase milk while blending
Add milk 1 tablespoon at a time, blending 5–10 seconds between each adjustment. This prevents the “runaway thinning” effect.
– Serve right away for the best consistency and mouthfeel
Even a perfect blend will thin as the ice cream warms. If you’re serving multiple people, plan your timing: blend one batch, pour, and then repeat.
A simple “spoon test”
– Thick (good classic): spoon comes out coated; shake falls slowly in ribbons.
– Too thick: shake resists pouring; texture feels clumpy or aerated.
– Too thin: shake streams immediately and looks more like flavored milk.
Flavor Variations and Tasty Add-Ins
A classic vanilla milkshake recipe is a baseline—not a limitation. You can elevate flavor with ingredients that complement vanilla rather than overpower it.
– Try whipped cream, sprinkles, or a drizzle of caramel or chocolate syrup
Use toppings thoughtfully: whipped cream boosts richness, while syrup adds sweetness and aroma. Add syrup sparingly if you want the vanilla to remain the headline.
– Add crushed cookies or banana slices for extra flavor
Cookies create a “cookie-vanilla” profile when you fold in small amounts after blending. Banana works best when added in small pieces so the blender can emulsify smoothly.
– Experiment with espresso powder or cinnamon for a subtle twist
Espresso powder intensifies chocolate-like notes and deepens vanilla flavor. Cinnamon adds warmth without requiring additional sugar.
Practical add-in guidance
– For textured add-ins (cookies, chunks), blend lightly or fold in after blending to avoid turning your shake gritty.
– For flavor powders (espresso, cinnamon), mix in during the final seconds of blending so distribution is even.
Serving Tips and Storage
Milkshake presentation affects how it’s perceived—especially when you’re serving guests or making it for an event.
– Serve in tall glasses with a straw and optional garnish
A tall glass showcases thickness. Garnish with a small drizzle or a few sprinkles on top for visual appeal.
– For best results, drink immediately after blending
Flavor remains consistent, but texture changes as the mixture warms. For the most “creamy classic” mouthfeel, aim to serve right away.
– If storing, refrigerate briefly and stir before serving (texture may change)
Storage can partially stabilize the shake, but it will likely thicken unevenly. Stir thoroughly, then consider blending again for 5–10 seconds if your blender allows it.
Storage reality check
If you need to prepare in advance, consider freezing scoops of ice cream with the right ratio of milk (blending later), or blend and chill briefly, then re-blend quickly before serving.
A classic vanilla milkshake is all about the right ice cream-to-milk ratio and blending until perfectly smooth. Use the ratios above to dial in thickness, taste and adjust sweetness in small steps, and serve immediately for peak creaminess. With a pinch of salt, optional vanilla extract, and smart add-ins, you’ll be able to make a homemade vanilla milkshake that reliably tastes like a true classic every time.
References
- Milkshake
https://en.wikipedia.org/wiki/Milkshake - Vanilla
https://en.wikipedia.org/wiki/Vanilla - Ice cream
https://en.wikipedia.org/wiki/Ice_cream - https://www.britannica.com/topic/milkshake
https://www.britannica.com/topic/milkshake - Vanilla | Taxonomy, Physical Description, Processing, Uses, & Facts | Britannica
https://www.britannica.com/topic/vanilla - Google Scholar Google Scholar
https://scholar.google.com/scholar?q=vanilla+milkshake+recipe - Google Scholar Google Scholar
https://scholar.google.com/scholar?q=milkshake+formulation+emulsion+science - Google Scholar Google Scholar
https://scholar.google.com/scholar?q=vanilla+ice+cream+mixing+process+milkshake - https://pubmed.ncbi.nlm.nih.gov/?term=milkshake
https://pubmed.ncbi.nlm.nih.gov/?term=milkshake - https://www.sciencedirect.com/search?qs=milkshake+formulation
https://www.sciencedirect.com/search?qs=milkshake+formulation


