Want a bouncy ball recipe that reliably makes springy, squeeze-and-bounce balls at home? This guide gives you the exact materials and step-by-step method to turn simple household ingredients into a finished, bouncy ball with the right texture. You’ll get a clear winner process for consistently achieving that satisfying bounce without guesswork.
You can make bouncy balls at home with a simple glue-and-activator (slime-style) mix, then fine-tune the texture until it springs back instead of collapsing. This bouncy ball recipe provides exact ingredient ranges and step-by-step mixing, plus practical fixes for the most common problems like sticky batches or overly hard results.
Gather Ingredients for Your Bouncy Ball Recipe
A reliable bouncy ball starts with the right ingredients and, just as importantly, the right form of activator. Most “glue-and-slime-style” bouncy ball recipes use school-style white glue and an activator such as saline/contact solution (often sodium chloride in a buffered base). The glue provides polymer structure; the activator helps cross-link the polymers so the ball traps elastic energy and rebounds.
Core ingredients you’ll need:
– White PVA glue (school glue): Provides the stretchy polymer network.
– Saline/contact solution (activator): Used gradually to reduce stickiness and increase elasticity.
– Optional food coloring: For a colorful bouncy ball; also helpful for spotting uneven mixing.
Optional but useful supplies:
– Measuring spoons or a kitchen scale: Consistency improves your bounce every batch.
– Mixing bowl(s) and spoon
– Gloves (recommended): Improves handling cleanliness if your activator is strong.
– A small cup of water (optional): Useful for minor “runny fix” adjustments.
Clear vs. colored bouncy balls (choose intentionally):
– Clearer look: Use clear school glue if available, and skip heavy coloring (a drop or two).
– Vivid color: Use white glue plus 2–6 drops food coloring. More color doesn’t necessarily increase bounce, but it can help you see whether the mixture fully homogenizes.
Bouncy batch performance guide (ingredient-to-result reality check):
Typical Results by Glue Base & Activator Range (Home Bouncy Balls)
| # | Glue Type | Food Coloring | Activator Added (per 4 oz glue) | Bounce Outcome | Handling Stability |
|---|---|---|---|---|---|
| 1 | White PVA (school glue) | 0–2 drops | 3–5 mL | ★★★★☆ (good spring) | High |
| 2 | White PVA | 3–6 drops | 4–6 mL | ★★★★☆ (color stays even) | High |
| 3 | Clear PVA (if available) | 0–2 drops | 3–6 mL | ★★★☆☆ (softer rebound) | Medium–High |
| 4 | White PVA | 6–10 drops | 3–5 mL | ★★★☆☆ (bounce varies) | Medium |
| 5 | White PVA | 0–2 drops | 1–3 mL | ★★☆☆☆ (too sticky) | Low |
| 6 | White PVA | 0–2 drops | 6–9 mL | ★★☆☆☆ (too hard) | Medium–Low |
| 7 | White PVA | 2–4 drops | 5–7 mL | ★★★★★ (consistent spring) | High |
Use this as a starting benchmark: most home batches land in the ~4–6 mL activator per 4 oz glue window (by volume), but brands and formulas vary—so your “fine-tune” step is essential.
Mix the Base for Bounce and Texture
Mixing is where you convert “liquid glue” into an elastic, springy polymer network. If you add activator too quickly, you can form uneven clumps and get inconsistent bounce. If you add too little, the material stays sticky and won’t rebound.
Step-by-step base mix (practical and repeatable):
1. Measure your glue into a bowl. A common home batch is 4 oz (about 120 mL) white PVA glue.
2. Add optional food coloring (if using). Stir for 30–60 seconds until uniform.
3. Start adding activator gradually. Add a small splash (around 1 mL at a time for a 4 oz glue batch), then mix thoroughly before adding more.
4. Keep stirring until the glue thickens and starts to pull away from the bowl edges.
Knead to unlock elasticity:
– Transfer the mixture to a clean surface (or keep it in the bowl if it’s manageable).
– Knead for 2–5 minutes. You’re looking for a texture that stretches without turning stringy like wet glue.
– A good bouncy ball mixture should feel firm but elastic, with minimal residue on your hands.
Why kneading matters (quick, analytical perspective):
Cross-linking doesn’t always finish during the initial mixing. Kneading helps distribute activator evenly, promoting a more uniform elastic network—so your ball compresses and rebounds rather than flattening permanently.
Adjust for the Perfect Bounce
After kneading, you’re in the “calibration” stage. The goal is to reach the sweet spot where the ball stores elastic energy when compressed and releases it during rebound.
If your mixture is too runny or won’t bounce
– Add small amounts of activator (think 0.5–1 mL at a time for a 4 oz glue batch).
– Mix, then knead again for 30–60 seconds to redistribute.
– Re-check bounce readiness by compressing a small pinch: it should spring back more than it stays deformed.
Analytical note: runny mixtures usually indicate insufficient cross-link density—there’s not enough polymer network to hold shape during impact.
If it’s too stiff or dry
– Add a tiny amount of water (or use less activator next time). Start with 0.25–0.5 mL.
– Knead thoroughly—overcorrecting too aggressively can overshoot you from “hard” to “sticky.”
Analytical note: too much activator can over-cross-link, which increases rigidity and reduces the overall rebound “feel” (the ball may behave more like a gel or a brittle mass).
Your “micro-adjustment” rule
Make adjustments in small increments, then knead and rest briefly. Large swings in activator or water usually produce inconsistent bouncy balls within the same batch.
Shape and Set Your Bouncy Balls
Shaping doesn’t just create a ball—it helps the polymer network relax and evenly redistribute stress.
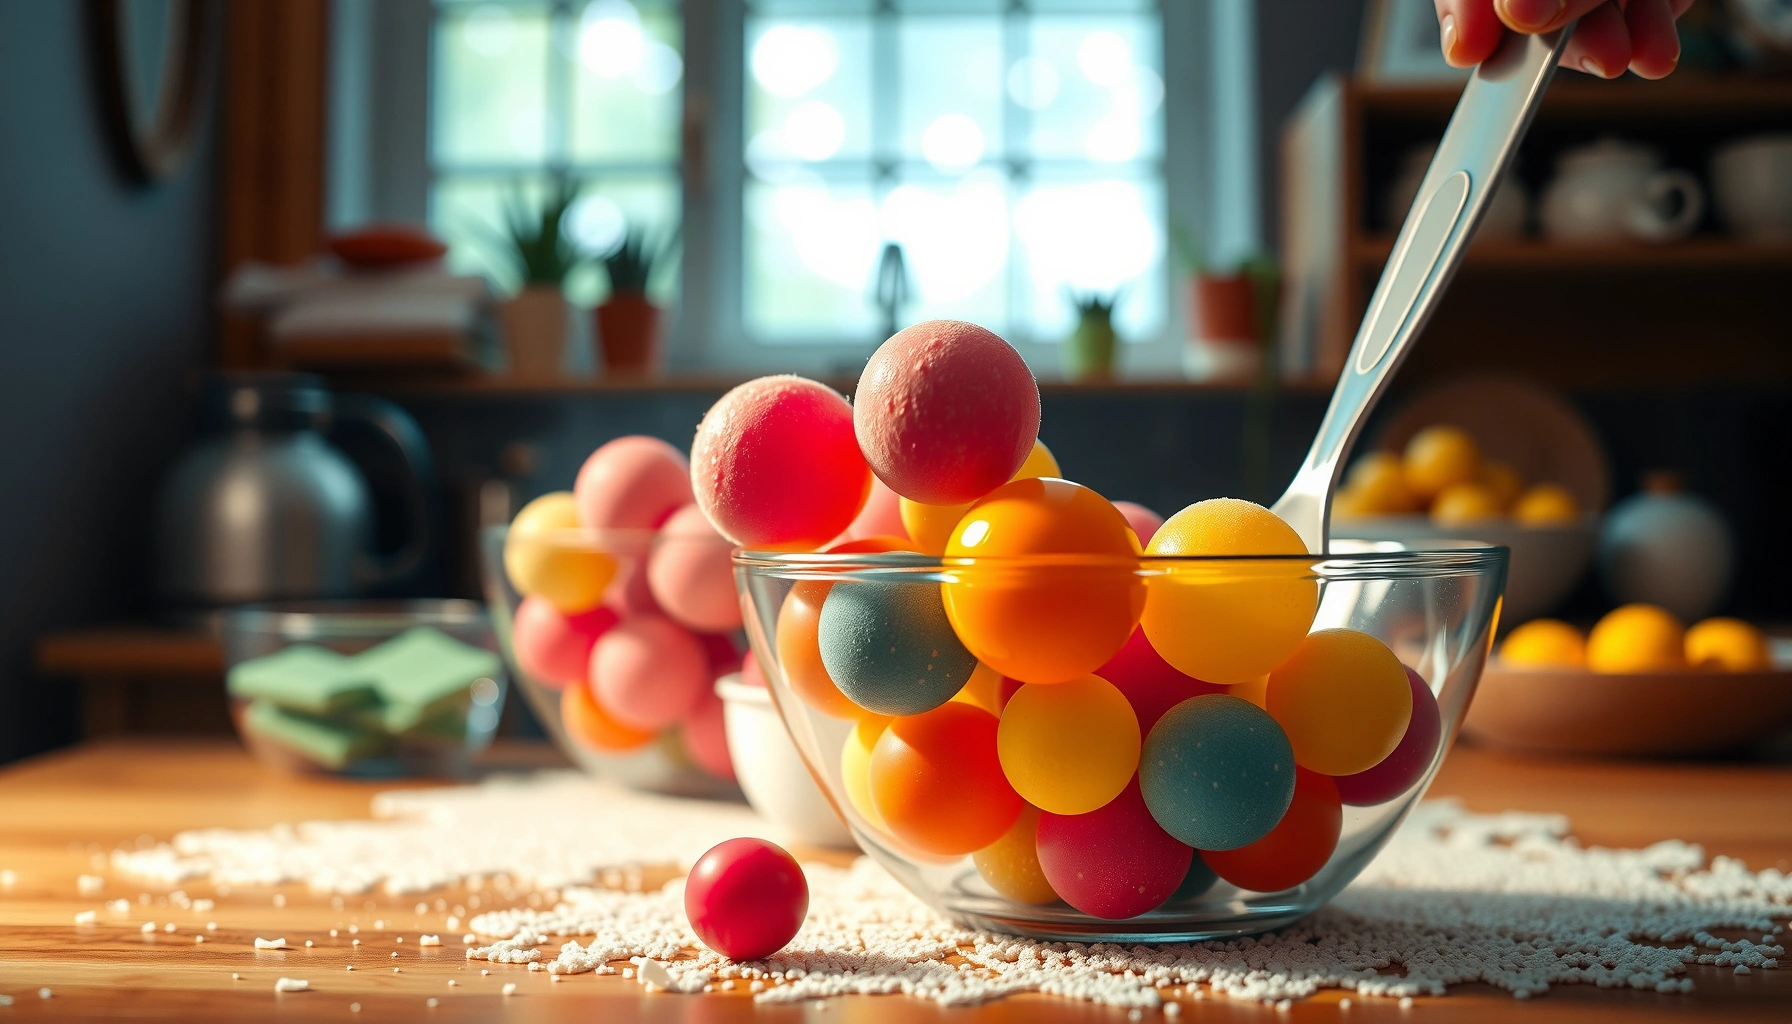
1. Portion the mixture into equal pieces. For consistent bounce, keep sizes similar (for example, ~1.5–2 tbsp per ball).
2. Roll between your palms into smooth spheres.
3. If the surface is tacky, use light kneading time or a brief rest rather than adding more activator immediately.
Let them set briefly (don’t skip it):
– Rest the formed balls for 10–20 minutes.
– This period lets remaining moisture and polymer structure stabilize, improving the first “test bounce” results.
Testing method that avoids misleading outcomes:
– Bounce each ball on the same surface and at the same height.
– Use a floor with some protection (see handling tips below).
– Evaluate: does it rebound quickly, and does it keep its round shape after compression?
Troubleshooting Common Bouncy Ball Issues
Even with a solid process, home batches vary due to brand differences, activator formula strength, humidity, and mixing habits. Use these targeted fixes to restore the correct bounce and consistency.
Too sticky
Symptoms: balls smear, leave residue, feel wet or tacky after rolling.
Fix:
– Add a little more activator (0.5–1 mL) and knead thoroughly.
– If you over-tune and get too hard afterward, you can soften with a tiny water addition (see below).
Not bouncy enough
Symptoms: balls compress and stay flattened; rebound feels weak.
Fix:
– Knead longer first—sometimes the mixture just needs more uniform cross-linking.
– Then check activator amounts: if the mixture was under-activated, add small increments and reassess.
Too hard
Symptoms: balls feel rigid, rebound like a stiff gel, and may crack slightly at corners.
Fix:
– Soften with a small water adjustment (0.25–0.5 mL) and knead.
– Rest again for 10–15 minutes before testing, since hydration and network relaxation take time.
Operational mindset:
Treat bounce quality like a controlled material process. Your activator addition is essentially changing the “network density,” and kneading plus rest time controls the network’s uniformity.
Storage and Handling Tips
A bouncy ball’s performance depends on moisture retention and cleanliness. Proper storage helps your elastic network stay intact and prevents drying-out, which can make balls feel harder and less springy.
Storage best practices:
– Store in an airtight container to keep them from drying out.
– If they start to stiffen, it’s often due to moisture loss—next batch, slightly reduce activator or increase conditioning time, and consider a gentle rehydration only if your texture is close to correct (avoid soaking, which can weaken structure).
Handling guidance for better results:
– Keep away from carpets and rough surfaces. Bouncy balls can pick up fibers or scuffs that damage the smooth surface and reduce consistent rebound.
– For testing, use a smooth, washable surface like a tile floor.
– Wash hands after play if you used contact-solution activator and food coloring—safety and cleanliness matter.
Productivity tip (if you’re making multiple batches):
Label your containers by activator brand and approximate added volume. This turns troubleshooting into a repeatable optimization loop.
Bouncy balls are a quick win for at-home fun and hands-on learning, but they work best when treated like a tunable material. After you follow this bouncy ball recipe, you’ll have elastic, springy balls with the right feel for play—start with the base mix, fine-tune the texture with small adjustments, and let them set before testing. Try making a first batch, then tweak ingredient amounts to match your ideal softness and spring.
References
- Google Scholar Google Scholar
https://scholar.google.com/scholar?q=bouncy+ball+recipe - Google Scholar Google Scholar
https://scholar.google.com/scholar?q=polyvinyl+alcohol+borate+hydrogel+bouncy+ball - Google Scholar Google Scholar
https://scholar.google.com/scholar?q=viscoelastic+hydrogel+stress+ball+polymer - Hydrogel
https://en.wikipedia.org/wiki/Hydrogel - https://en.wikipedia.org/wiki/Poly(vinyl_alcohol
https://en.wikipedia.org/wiki/Poly(vinyl_alcohol - Borax
https://en.wikipedia.org/wiki/Borax - Viscoelasticity
https://en.wikipedia.org/wiki/Viscoelasticity - Non-Newtonian fluid
https://en.wikipedia.org/wiki/Non-Newtonian_fluid - Stress ball
https://en.wikipedia.org/wiki/Stress_ball - https://en.wikipedia.org/wiki/Cross-linking_(chemistry
https://en.wikipedia.org/wiki/Cross-linking_(chemistry