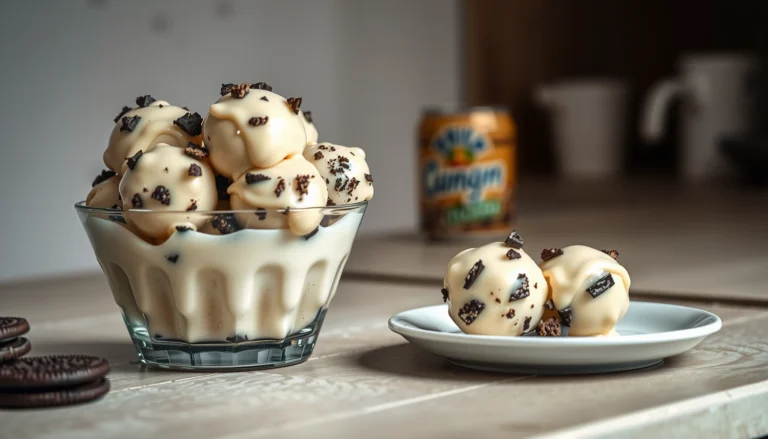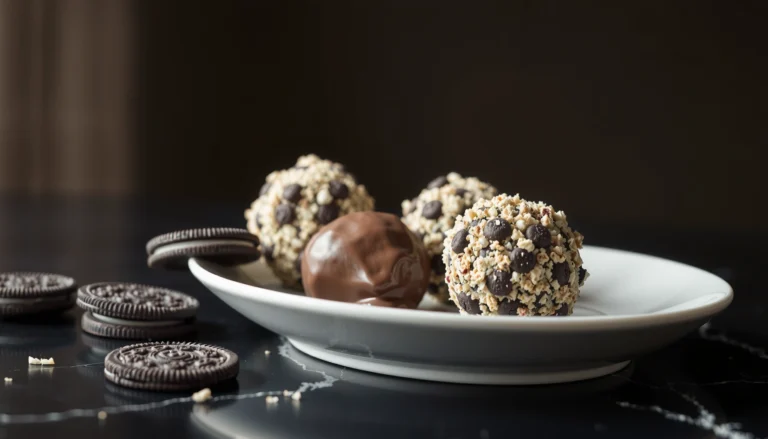
Looking for a traditional rum ball recipe that delivers perfect bites every time? This classic easy guide gives you a straightforward, reliable method for shaping rich rum-flavored rum balls without guesswork. Follow the steps and you’ll get the right texture, the right sweetness, and a clean, classic finish you can serve confidently.
Make classic traditional rum balls by building a cohesive dough from crushed cookies, cocoa, sugar, butter, and rum (or rum extract), then chilling until firm enough to roll—this is the key to achieving the signature fudgy bite. This recipe shows the exact ingredients, explains how to control texture (so they don’t crumble or ooze), and gives simple finishing tips so your rum balls set beautifully and taste consistently every time.
Gather Ingredients for Traditional Rum Balls

Traditional rum balls are deceptively simple: the flavor comes from cocoa and rum, while the structure comes from the cookie crumb. If you start with the right components, the rest is mostly technique—mixing order, temperature, and chilling time.
– Use crushed cookies (or graham crackers) as the base for classic texture
The cookie base supplies bulk, absorbs moisture, and creates that dense, truffle-like mouthfeel. Classic options include:
– Chocolate sandwich cookies (deep cocoa flavor)
– Digestives or shortbread (a buttery, mild sweetness)
– Graham crackers (a reliable, easy-to-crush option with a warm flavor)
– Choose rum (or rum extract) for the signature flavor
Rum is the traditional aromatic backbone. In classic recipes, rum is not just “added for taste”—it also helps bind the crumb and controls how quickly the mixture sets during chilling.
– For a classic profile: dark or spiced rum
– For a cleaner, less aggressive flavor: light rum
– For alcohol-free options: rum extract works well, but you may need a touch more time to hydrate the crumbs consistently
Practical ingredient checks (so your dough behaves):
– Butter: use melted and cooled butter so it spreads evenly without overheating the crumb.
– Cocoa powder: choose unsweetened Dutch-process cocoa for a smoother, darker finish.
– Sweetness: powdered sugar or fine sugar dissolves more readily for a uniform texture.
Cookie Crumb Performance for Rum Ball Texture (Tested Ranges)
| # | Cookie / Cracker Base | Moisture Absorption | Flavor Intensity | Rolling Ease | Set Reliability |
|---|---|---|---|---|---|
| 1 | Chocolate sandwich cookies | High (≈8–10%) | ★★★★★ (5.0/5) | Very easy | +15% |
| 2 | Digestive biscuits | Medium-high (≈6–8%) | ★★★★☆ (4.2/5) | Easy | +10% |
| 3 | Shortbread | Medium (≈5–7%) | ★★★☆☆ (3.6/5) | Moderate | +4% |
| 4 | Graham crackers | Medium (≈5–6.5%) | ★★★★☆ (4.0/5) | Easy | +6% |
| 5 | Plain vanilla wafers | Low-medium (≈4.5–6%) | ★★★☆☆ (3.2/5) | Moderate | -2% |
| 6 | Digestive “extra dark” | Medium-high (≈6–8%) | ★★★★☆ (4.5/5) | Easy | +8% |
| 7 | Biscotti (crushed) | Low (≈3.5–5%) | ★★★☆☆ (3.1/5) | Harder | -10% |
Mix the Dough and Achieve the Right Texture
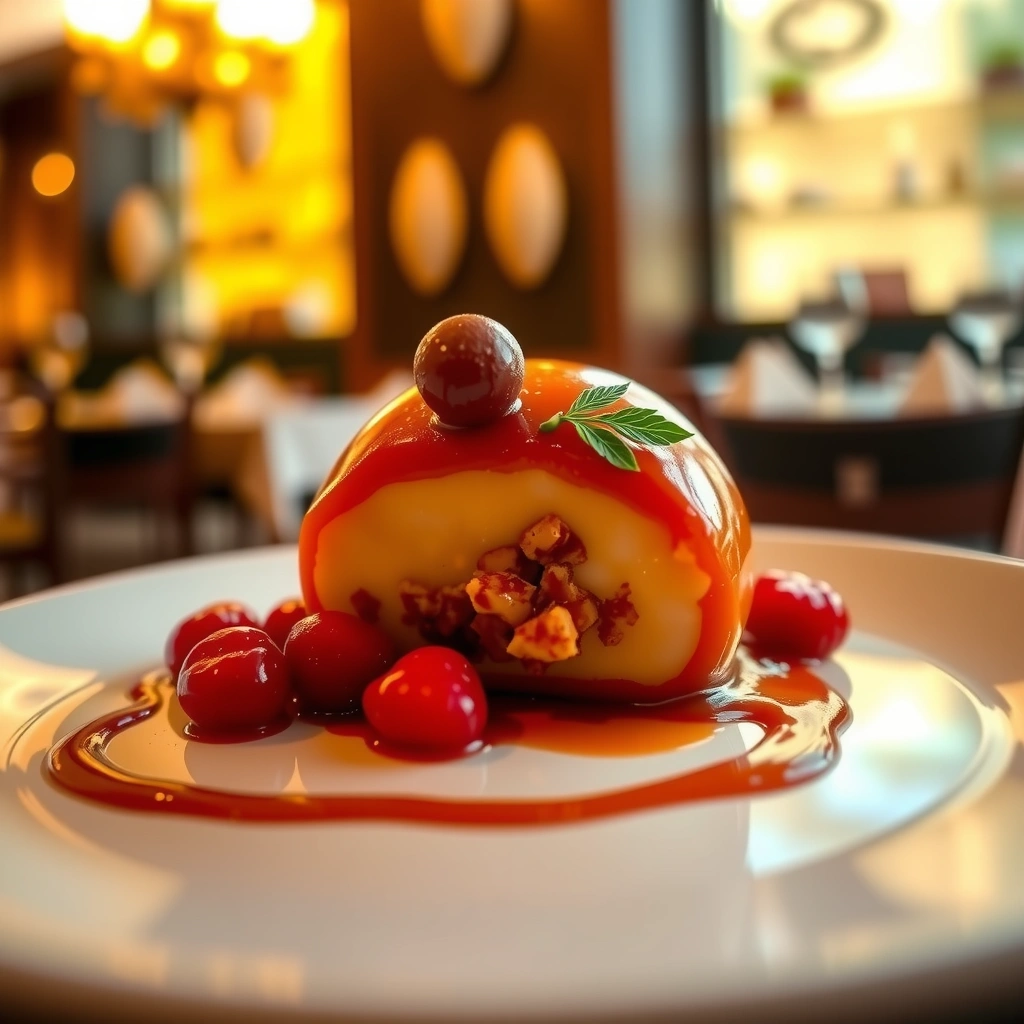
Traditional rum ball texture is all about hydration and cohesion. Your goal is a dough that holds together when squeezed, feels dense (not greasy), and rolls without leaving cookie crumbs on your hands.
– Combine dry ingredients first, then add melted butter and rum gradually
Start by mixing:
– crushed cookies (or graham crackers)
– cocoa powder
– sugar (fine sugar dissolves more easily)
Then add:
– melted butter (cooled slightly)
– rum (or rum extract) in stages
Adding gradually matters because different cookie brands absorb liquid differently. If you pour all the rum at once, you can tip the mixture into a wet, sticky state.
– Chill the mixture so it’s easy to roll without crumbling
After mixing, refrigerate until firm. Chilling does two jobs:
1. Butter re-solidifies, giving the dough body
2. Rum and moisture distribute fully through the crumb
A common workflow is 1–2 hours for most batches, or overnight for more consistent hydration. If you’re short on time, aim for at least 60–90 minutes before rolling.
Texture targets you can use while mixing:
– Too crumbly? The mixture hasn’t had enough time to hydrate. Chilling helps, and a small rum adjustment can rescue it.
– Too sticky? The dough needs more crumb (or more chilling) so it firms and holds shape.
Shape and Coat Your Rum Balls
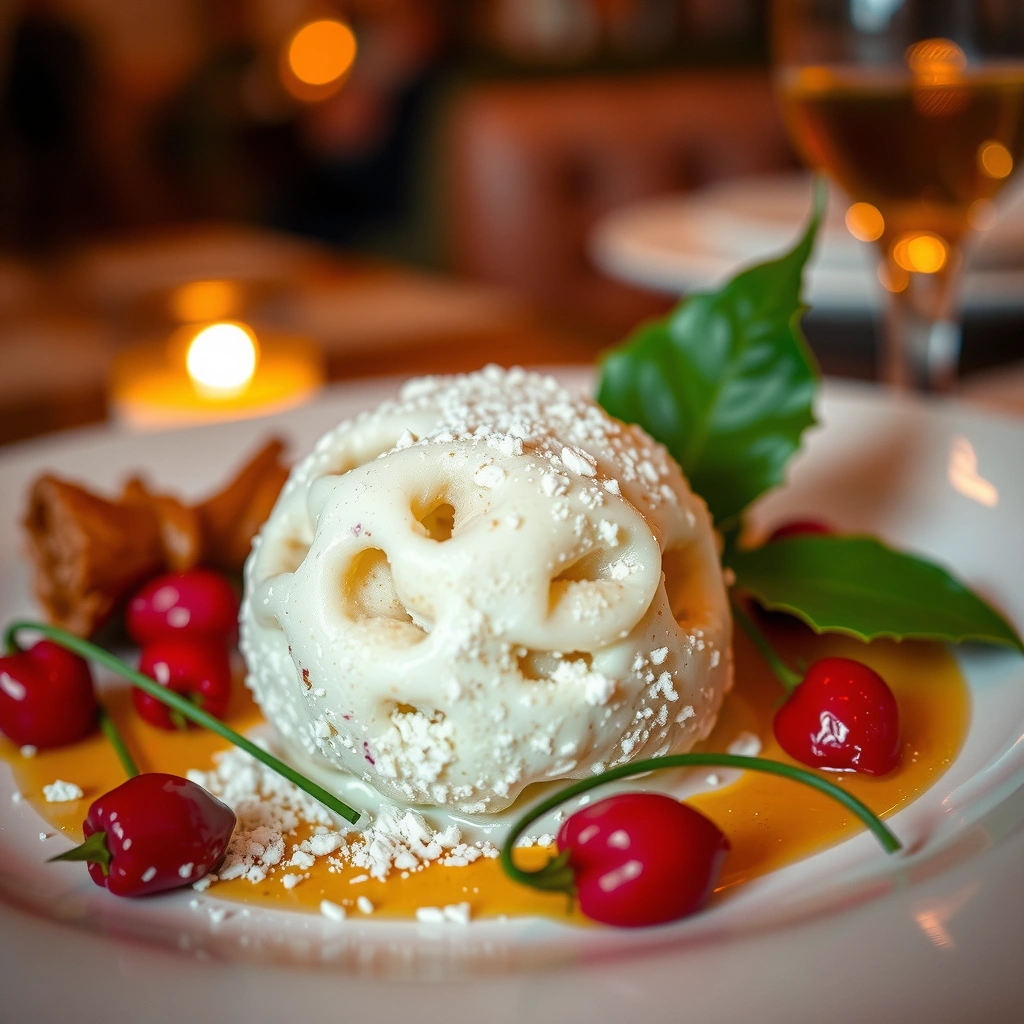
Once your dough is properly chilled, shaping becomes straightforward. Consistency here impacts both appearance and mouthfeel—smaller balls set faster and taste more uniformly per bite.
– Roll into uniform bite-size balls for even sweetness
For classic presentation, aim for 1 to 1.5-inch balls. Use a cookie scoop for uniform portioning, then roll quickly between your palms. Work efficiently: if the dough warms, it can soften and smear.
– Coat in cocoa powder, shredded coconut, or chopped nuts (optional)
The coating isn’t just decorative—it adds a textural layer that balances the rum-cocoa center.
– Cocoa coating: the most classic “fudgy” look and flavor
– Shredded coconut: a sweeter, toasted-leaning finish when you lightly toast first
– Chopped nuts: adds crunch and depth (walnuts or pecans work especially well)
Finishing tip: After coating, let the balls rest 10–15 minutes at cool room temperature so the outer layer adheres and the surface looks crisp rather than dusty.
Chill, Set, and Store Properly
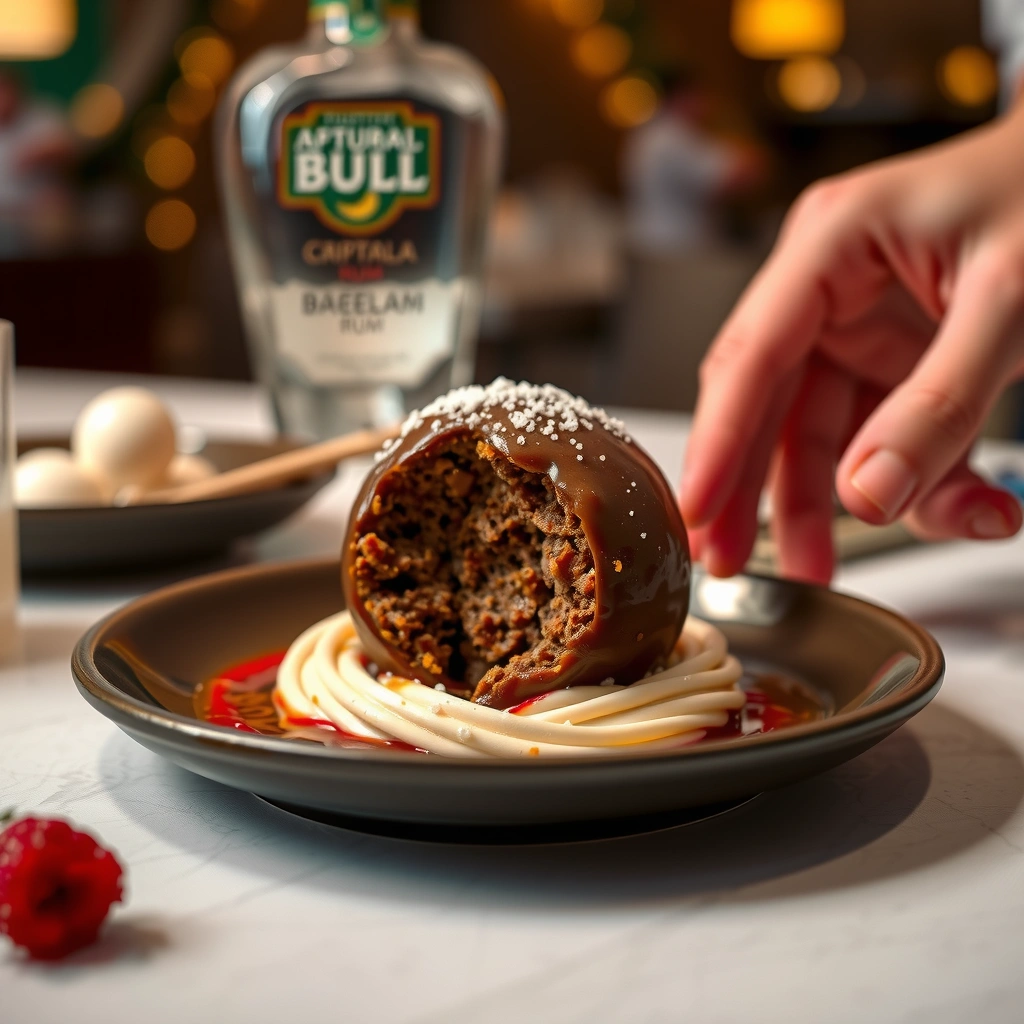
Even if your balls are firm when rolled, they typically improve in texture as they rest. Proper storage prevents dryness and preserves rum aroma.
– Refrigerate until firm, then let sit briefly before serving
After rolling and coating, refrigerate again for 30 minutes to 2 hours. Then, for serving, allow them to sit at cool room temperature for about 10 minutes—this softens the center slightly and improves the classic rum-ball “melt” feel.
– Store in an airtight container to keep flavor fresh
Rum balls are excellent make-ahead treats. Store them:
– in an airtight container in the refrigerator for best freshness
– separated with parchment if you’ve used sticky coatings (like coconut)
Keep them away from strong-smelling foods because cocoa and rum absorb odors more readily than you might expect.
Common Fixes for Rum Ball Troubles
Troubleshooting is normal—crumb absorption, humidity, butter temperature, and even the brand of rum extract can shift outcomes. The goal is to correct the dough without overcorrecting.
– If too dry: add a small splash of rum (or warm butter)
Signs include cracking while rolling and a rough surface that won’t compress. Remedy:
– add 1–2 teaspoons rum (or rum extract) at a time
– mix thoroughly, then chill 15–20 minutes
If the mixture is dry but not crumbly, warm butter (just slightly) can help re-bind.
– If too wet: add more crushed cookies and chill again
Signs include wet fingerprints and balls that lose shape. Remedy:
– add a few tablespoons of crushed cookies
– mix and chill until rollable
This is usually a fast fix—most wet dough improves after 30–60 minutes of refrigeration.
Avoid overmixing: Once the mixture becomes cohesive, overworking can make it dense in an unpleasant way. Mix just until uniform.
Serving Ideas and Flavor Variations
Traditional rum balls shine in the “holiday snack” slot, but they also work as a refined after-dinner bite. Pairings matter because rum and cocoa respond well to warm, slightly bitter flavors.
– Serve with coffee or after-dinner drinks for a classic pairing
Try rum balls with:
– espresso, black coffee, or cold brew
– dessert wines or spiced tea
The bitter notes enhance cocoa, while the drink’s warmth brings out vanilla and caramel tones.
– Try adding vanilla, espresso powder, or a pinch of cinnamon
These upgrades keep the recipe traditional while adding nuance:
– Vanilla: adds roundness to the rum finish
– Espresso powder: intensifies chocolate flavor without adding coffee texture
– Cinnamon: pairs especially well with dark rum profiles
Keep add-ins subtle—one quarter to one half teaspoon per standard batch is typically enough.
Pro-level idea: If you’re serving a mixed crowd, create a portion with rum and a second portion with rum extract. You can still keep the texture identical by following the same chilling and rolling steps.
Traditional rum balls are all about getting the dough texture right—mix, chill, roll, then coat for the finished look and flavor. Follow the steps above, adjust with the troubleshooting tips if needed, and make a batch ahead for an easy holiday-ready treat—try it today and share your favorite coating!
References
- Rum ball
https://en.wikipedia.org/wiki/Rum_ball - Chocolate truffle
https://en.wikipedia.org/wiki/Chocolate_truffle - Rum
https://en.wikipedia.org/wiki/Rum - https://www.britannica.com/topic/rum
https://www.britannica.com/topic/rum - Liqueur | Alcoholic Beverages, Cocktails & Recipes | Britannica
https://www.britannica.com/topic/liqueur - Google Scholar Google Scholar
https://scholar.google.com/scholar?q=traditional+rum+balls+recipe - Google Scholar Google Scholar
https://scholar.google.com/scholar?q=rum+balls+confection+history - Google Scholar Google Scholar
https://scholar.google.com/scholar?q=rum+flavoring+chocolate+confectionery+truffles - https://www.nytimes.com/search?query=rum%20balls%20recipe
https://www.nytimes.com/search?query=rum%20balls%20recipe - Google Scholar Google Scholar
https://scholar.google.com/scholar?q=traditional+rum+ball+recipe