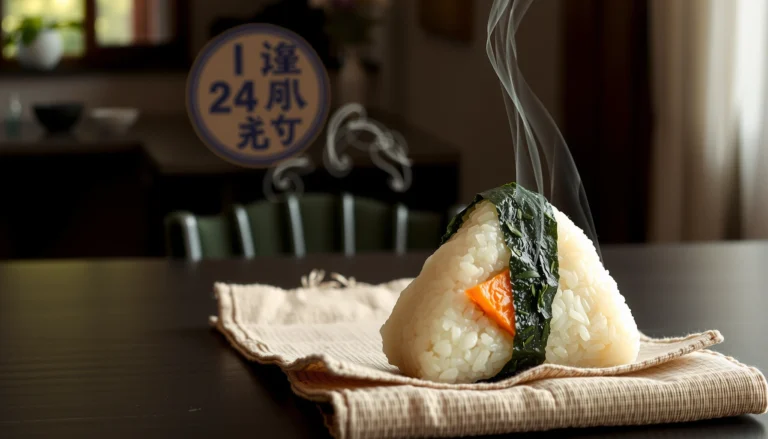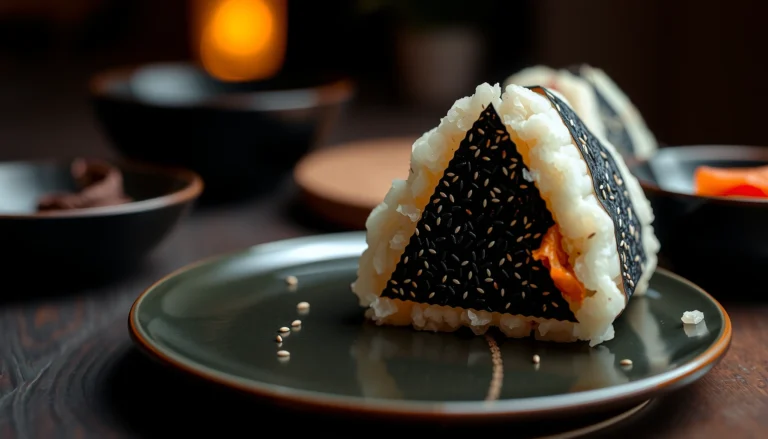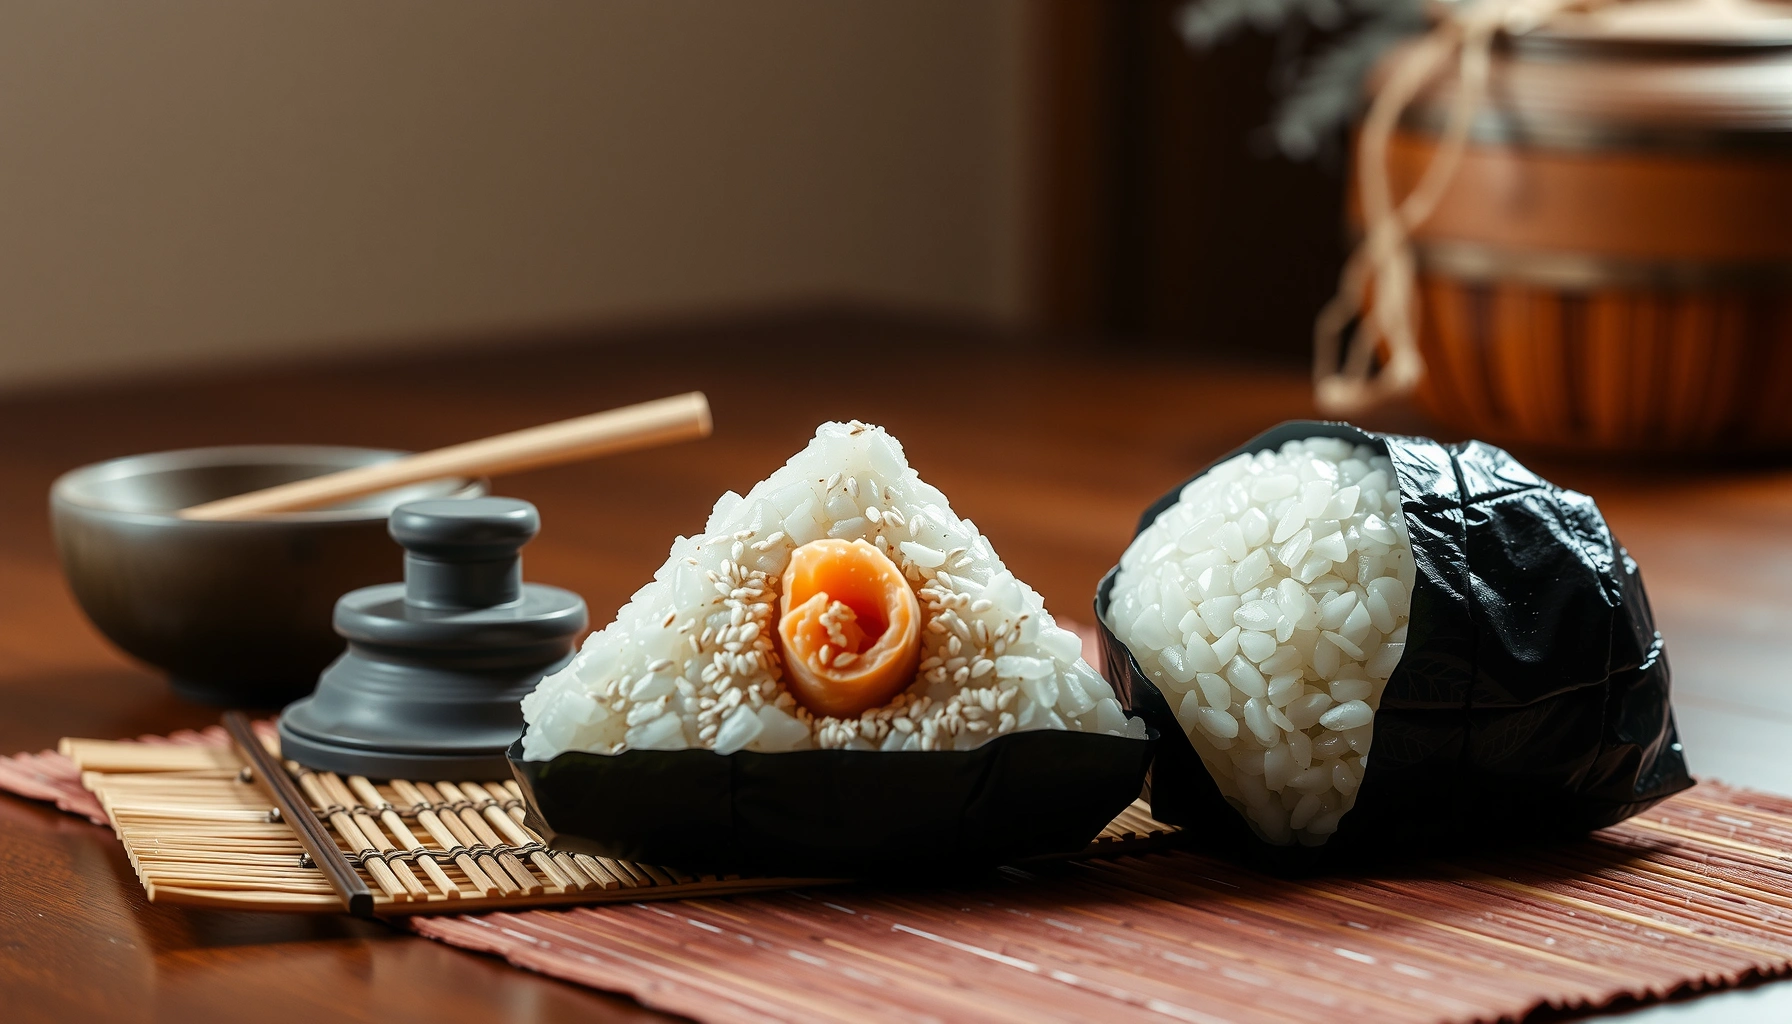
Want a rice balls recipe Japanese style for onigiri that actually works every time? Follow these step-by-step instructions to shape tender, properly seasoned Japanese rice balls and fill them cleanly without falling apart. You’ll get the exact method and timing for the right texture—from steaming the rice to wrapping, pressing, and serving.
Japanese rice balls (onigiri) are easy to make at home by shaping warm, seasoned short-grain rice into triangles or ovals and adding a simple filling like salmon, tuna mayo, or pickled plum. If you follow the step-by-step process below—especially the right rice texture and the “wet hands” technique—you’ll get onigiri that holds together cleanly and tastes like it came from a Japanese bento box.
Onigiri is deceptively simple: it’s essentially seasoned rice + (optional) filling + careful shaping, finished with nori right before eating. The “secret” isn’t fancy equipment—it’s controlling moisture, temperature, and salt so the rice is moldable without turning sticky or mushy.
—
What You Need for a Japanese Rice Balls Recipe
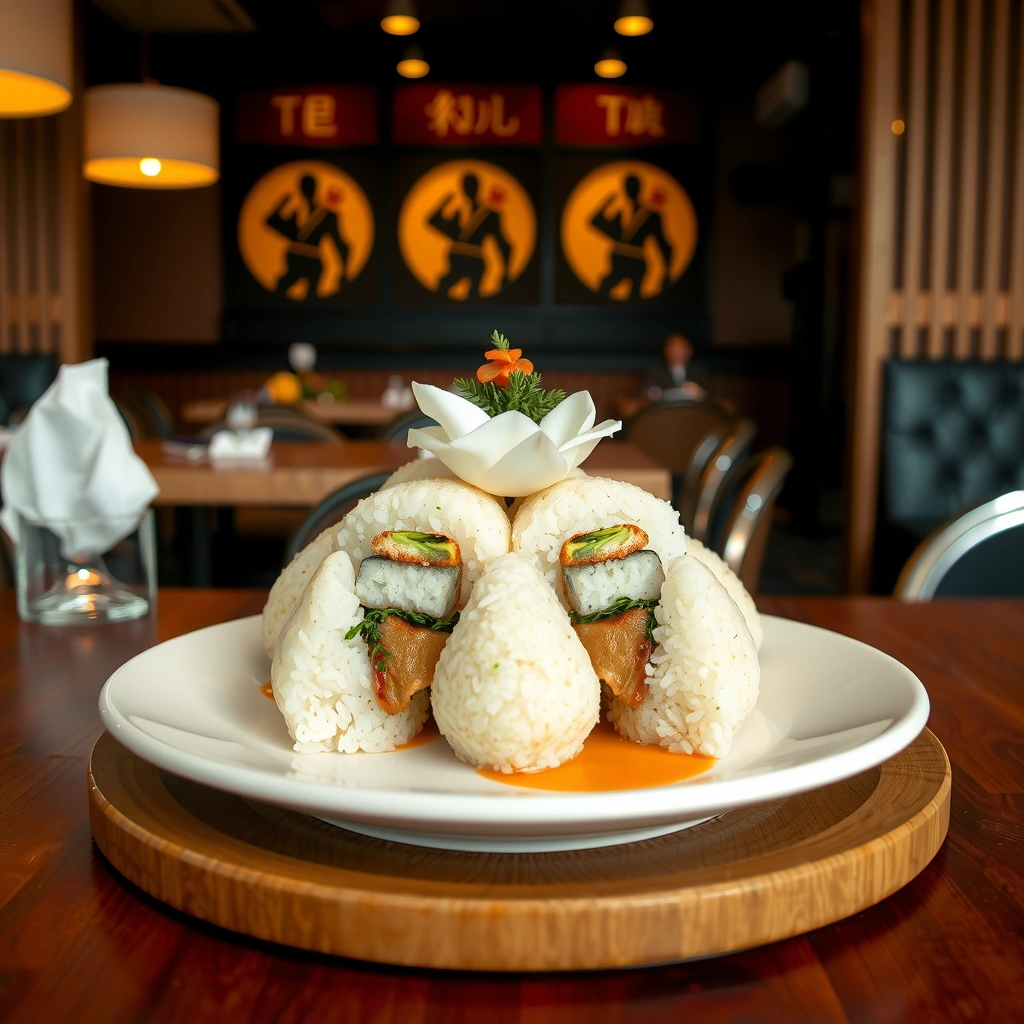
For consistent results, use ingredients that match onigiri’s core texture: sticky, tender rice that you can press into a shape without breaking.
– Short-grain Japanese rice (or sushi rice) works best for stickiness
Look for rice labeled “Japanese short-grain” or “sushi rice.” This grain releases enough surface starch to bind when pressed.
– Nori sheets, salt, and your choice of filling (e.g., salmon, umeboshi)
Nori adds a clean sea flavor and helps the outer layer feel “set” when eaten. For seasonings, plain salt is the most traditional—especially for classic umeboshi (pickled plum) onigiri.
Recommended optional add-ons (for a more “restaurant-like” finish):
– Rice vinegar (only if you prefer a mild tang; not required)
– Mayonnaise for tuna mayo fillings
– Sesame seeds for aroma and texture
– Bamboo mat or plastic rice-shaping tool (optional, not necessary)
Salt Levels for Onigiri Rice (Practical Home Ranges)
| # | Rice Amount | Salt (Total) | Best For | Taste Impact |
|---|---|---|---|---|
| 1 | 1 cup (185 g) uncooked | ~1/4 tsp | Salt-only onigiri | Balanced |
| 2 | 2 cups (370 g) uncooked | ~1/2 tsp | Most fillings (salmon/tuna) | Enhances flavor |
| 3 | 3 cups (555 g) uncooked | ~3/4 tsp | Meal prep batch | Even seasoning |
| 4 | 1 cup (185 g) uncooked | ~3/8 tsp | Umeboshi (needs lift) | More “bright” taste |
| 5 | 2 cups (370 g) uncooked | ~2/3 tsp | For salty fish fillings | Can feel intense if overdone |
| 6 | 2 cups (370 g) uncooked | ~1/3 tsp | Low-sodium preference | Flavor may be muted |
| 7 | 1 cup (185 g) uncooked | ~1/8 tsp | When filling is already salty | Under-seasoning risk |
Use these ranges as a starting point. If your filling is very salty (like seasoned mackerel), reduce the salt in the rice; if your filling is mild (like mushrooms), season the rice slightly more.
—
How to Cook and Season the Rice
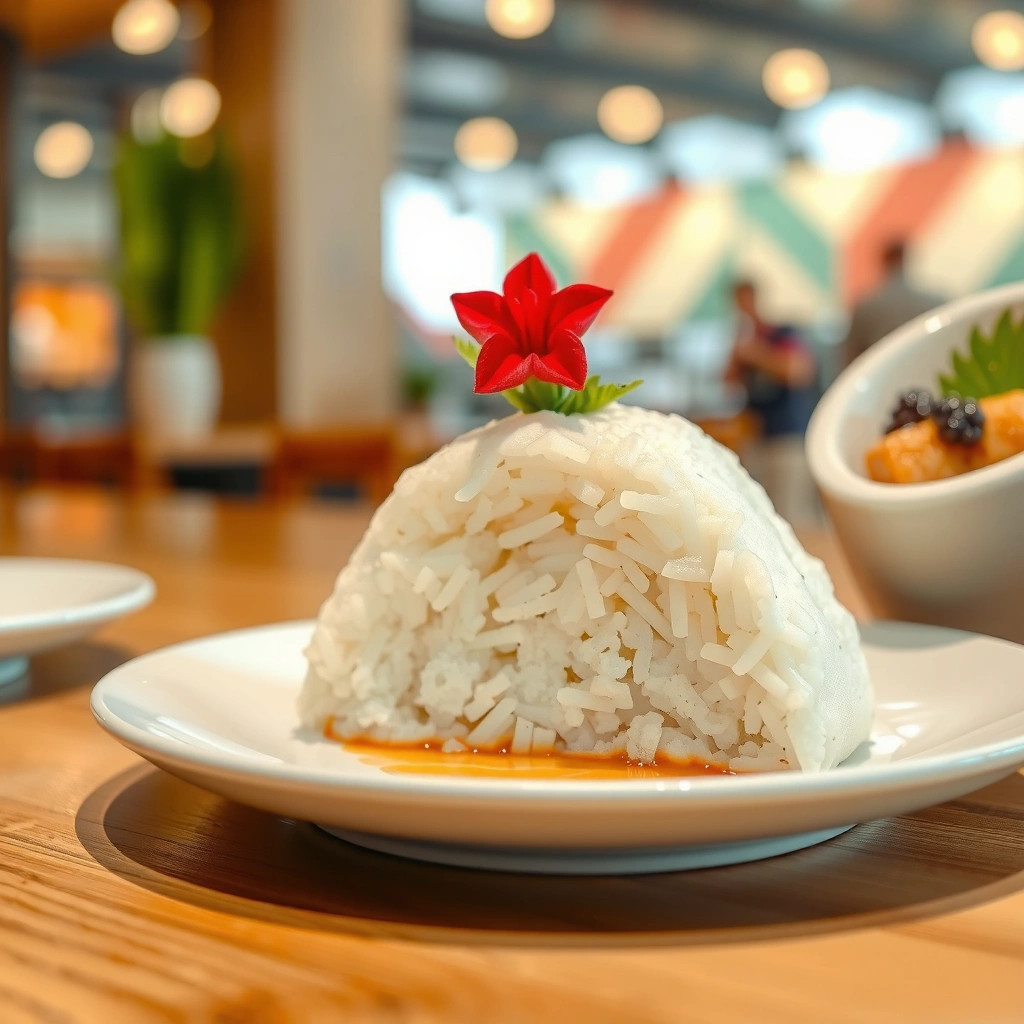
Onigiri success starts with rice texture—sticky enough to hold shape, tender enough not to crack when molded.
– Cook rice until tender, then keep it warm for shaping
After cooking, rest the rice for a few minutes (lid on) so moisture distributes evenly. Then keep it warm—warm rice is far easier to shape than rice that has cooled and dried.
– Season with salt or a light rice seasoning to enhance flavor
The most traditional approach is simple: fold in salt (or sprinkle, then gently mix) while the rice is still hot. If you prefer a slightly more “bento” profile, you can add a very light seasoning such as rice vinegar + sugar (used sparingly) for mild tang.
Key analytical point:
Even if you add filling, plain rice still needs salt presence. Otherwise, you end up with a delicious filling wrapped in bland starch—an issue many first-time onigiri makers experience.
Practical method (simple and consistent):
1. Cook and rest short-grain rice.
2. While hot, sprinkle in salt gradually.
3. Fold gently so seasoning disperses without crushing grains.
4. Cover with a damp cloth to prevent drying while you shape.
—
Step-by-Step Onigiri (Rice Balls) Shaping
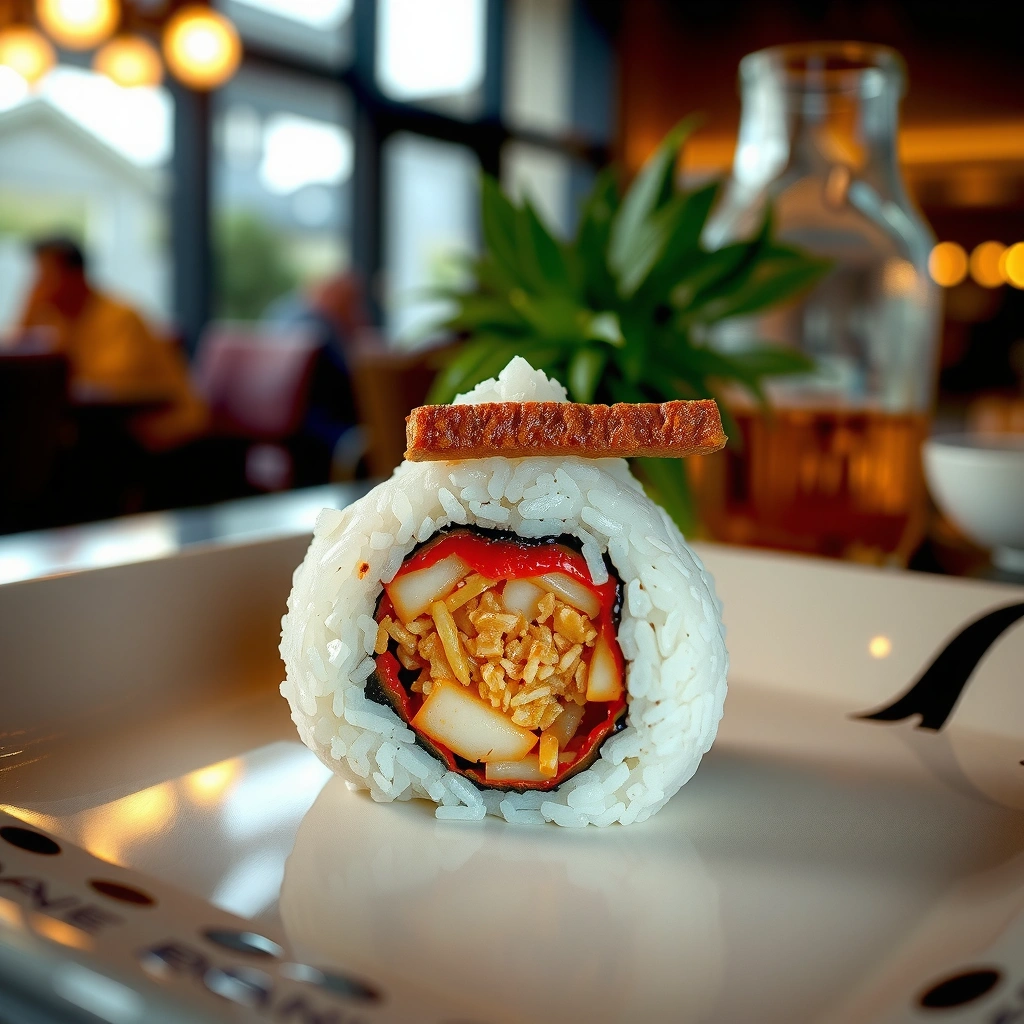
Shaping is where most people struggle—but it’s also where a few technique choices make a major difference.
– Wet hands, scoop warm rice, and form a tight triangle or oval
Wet hands prevent adhesion. Use clean water and optionally a pinch of salt in the water for extra control. Scoop a portion of rice, then press—don’t mash aggressively.
– Make a small indent, add filling, then seal and shape firmly
Create a shallow well in the center of the rice, add your filling, and cover with rice. Seal by pressing the edges together. Finally, shape into a triangle (most iconic) or oval (often easier for beginners).
Triangle vs. Oval: what to choose
– Triangle: More classic, convenient for gripping, packs well in bento.
– Oval: Slightly more forgiving—good if your rice is a bit wetter or your shaping is inconsistent.
Workflow tip for efficiency:
Shape in batches—keep remaining rice covered with a damp towel so it stays warm and workable.
—
Popular Fillings for Japanese Rice Balls
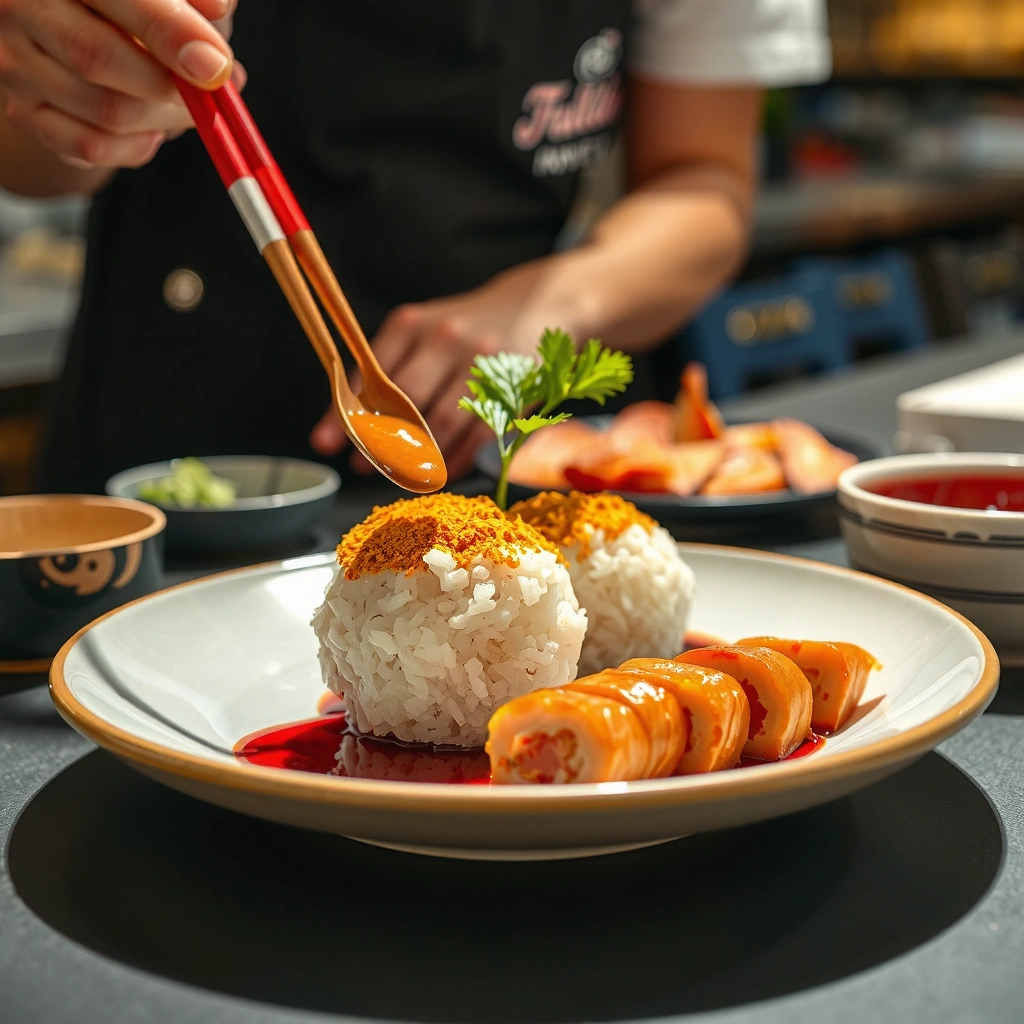
Onigiri is highly customizable. The best filling for a beginner is one that stays cohesive (not runny) and has strong flavor so the rice-to-filling ratio stays satisfying.
– Classic options: salted salmon, tuna mayo, or pickled plum (umeboshi)
These pair naturally with simple rice seasoning. Salmon works especially well because it’s savory and oily enough to stay pleasant even after chilling. Umeboshi offers a bright, tangy saltiness that cuts through plain rice.
– Vegetarian ideas: sautéed mushrooms, seasoned edamame, or kombu
For vegetarian onigiri, aim for fillings with moisture controlled and flavor concentrated. Season mushrooms thoroughly, and consider a light soy-based glaze so the mixture doesn’t leak out when you press.
Pro pairing ideas (rice + filling balance):
– Umeboshi + slightly heavier rice salt (the plum is intense; rice should support, not compete)
– Tuna mayo + minimal extra salt (mayo is usually salty enough)
– Mushroom + light sesame + a touch of soy (adds depth to otherwise neutral rice)
Onigiri Filling Suitability (Beginner-Friendly)
| Rank | Filling | Prep Time | Shape Stability | Flavor Strength |
|---|---|---|---|---|
| 1 | Salted salmon | 10 min | High | ★★★★★ |
| 2 | Tuna mayo | 8 min | Medium-High | ★★★★☆ |
| 3 | Umeboshi (pickled plum) | 5 min | Medium | ★★★★★ |
| 4 | Seasoned edamame | 12 min | Medium | ★★★★☆ |
| 5 | Sautéed mushrooms | 18 min | High (if cooked dry) | ★★★☆☆ |
| 6 | Kombu (savory seaweed) | 15 min | High | ★★★★☆ |
| 7 | Spicy tuna (careful) | 10 min | Low-Medium (can loosen) | ★★★☆☆ |
—
Tips to Prevent Sticky Hands and Broken Rice Balls
Even seasoned cooks encounter sticking—especially with hot rice. The fix is process-based, not force-based.
– Keep a bowl of water and a pinch of salt for quick, easy handling
Refresh water as needed. If hands start feeling tacky, re-wet them before continuing shaping.
– Press gently but firmly so the onigiri holds its shape
Over-mashing breaks grains and can turn the outside into paste. Under-pressing causes gaps where filling leaks or the triangle falls apart.
Troubleshooting (fast fixes)
– Rice sticks too much: rice may be too wet or your hands not wet enough—add a light wetting and pause 10–20 seconds between presses.
– Onigiri cracks: rice is cooling—keep the rest covered with a damp cloth and shape sooner.
– Filling leaks: the indent may be too deep or filling too watery—use thicker fillings and seal edges more carefully.
—
Storing and Serving Suggestions
Onigiri is best fresh, but you can absolutely prepare ahead if you plan for texture.
– Wrap with nori right before eating to keep it crisp
Nori softens when exposed to moisture. If you need to pack onigiri, consider wrapping rice portions first and adding nori at the last moment.
– Serve with miso soup, soy sauce, or a side of pickles
Classic pairings balance the rice’s mildness with savory and salty notes. Miso soup is particularly effective because its warmth and saltiness complement the cool, compact bite.Storage guidance (general):
– Short term (same day): store cool and covered; consume within a few hours for best texture.
– Reheating: onigiri can be refreshed by warming gently, but avoid adding moisture afterward. For best results, use dry heat (microwave briefly or warm in a steamer with caution).
—
Onigiri is a straightforward Japanese rice balls recipe you can customize with your favorite fillings and seasonings. Follow the steps for warm, well-seasoned rice, shape confidently, and finish with nori for best texture—then try your first batch today and experiment with one new filling next time.
References
- Onigiri
https://en.wikipedia.org/wiki/Onigiri - Onigiri
https://en.wikipedia.org/wiki/Omusubi - Bento
https://en.wikipedia.org/wiki/Bento - Japanese cuisine
https://en.wikipedia.org/wiki/Japanese_cuisine - Sushi
https://en.wikipedia.org/wiki/Sushi - Nori
https://en.wikipedia.org/wiki/Nori - Rice
https://en.wikipedia.org/wiki/Rice - Google Scholar Google Scholar
https://scholar.google.com/scholar?q=onigiri+recipe+japanese - Google Scholar Google Scholar
https://scholar.google.com/scholar?q=omusubi+rice+ball+recipe - Google Scholar Google Scholar
https://scholar.google.com/scholar?q=japanese+rice+ball+techniques+forming+onigiri