Looking for the easiest rice ball recipes Japanese can make at home? This guide picks the best onigiri ideas that deliver classic flavor with minimal prep—so you’ll know exactly which fillings work when you’re short on time. Expect straightforward shaping tips and foolproof combinations like savory salmon, tangy umeboshi, and crispy tuna mayo that hold up on the go.
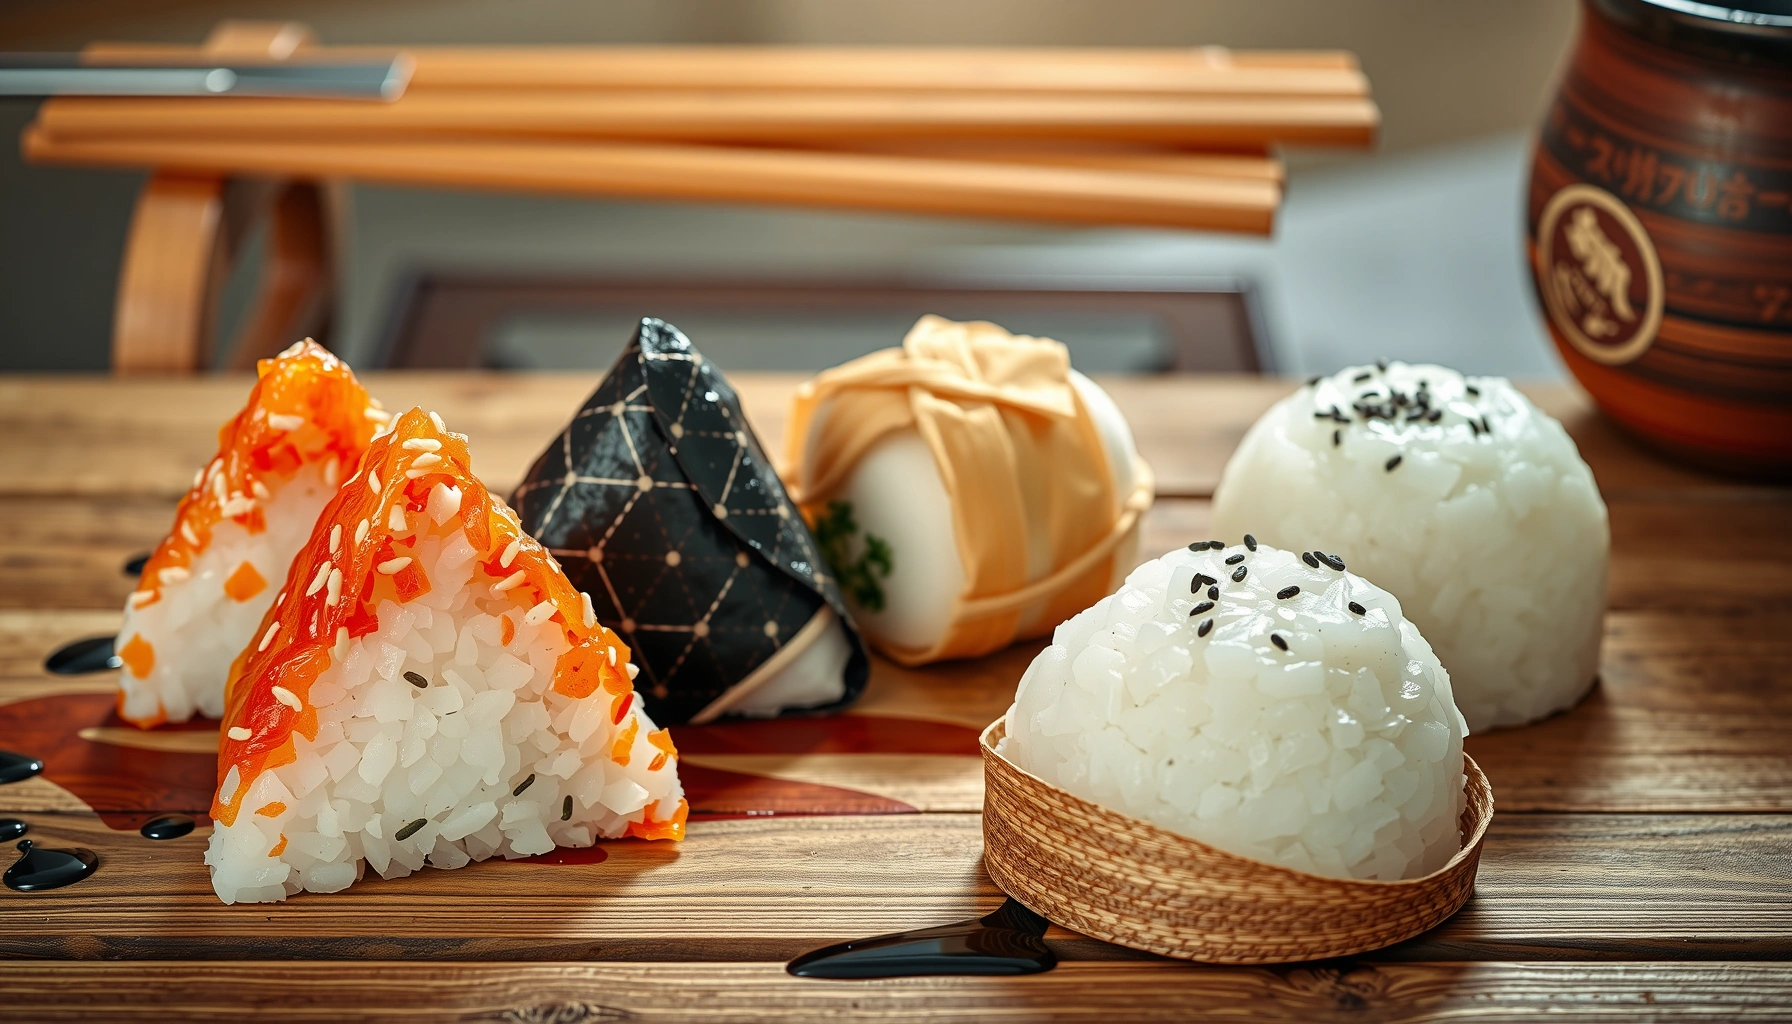
Japanese rice balls (onigiri) are easy: cook rice, season it lightly, shape it into triangles or spheres, then wrap with nori and add a quick filling like salted salmon or tuna. With the right rice-to-salt ratio and a few practical shaping techniques, you can make consistent, restaurant-style onigiri at home—fast and with minimal equipment.
Essential Ingredients for Japanese Rice Balls
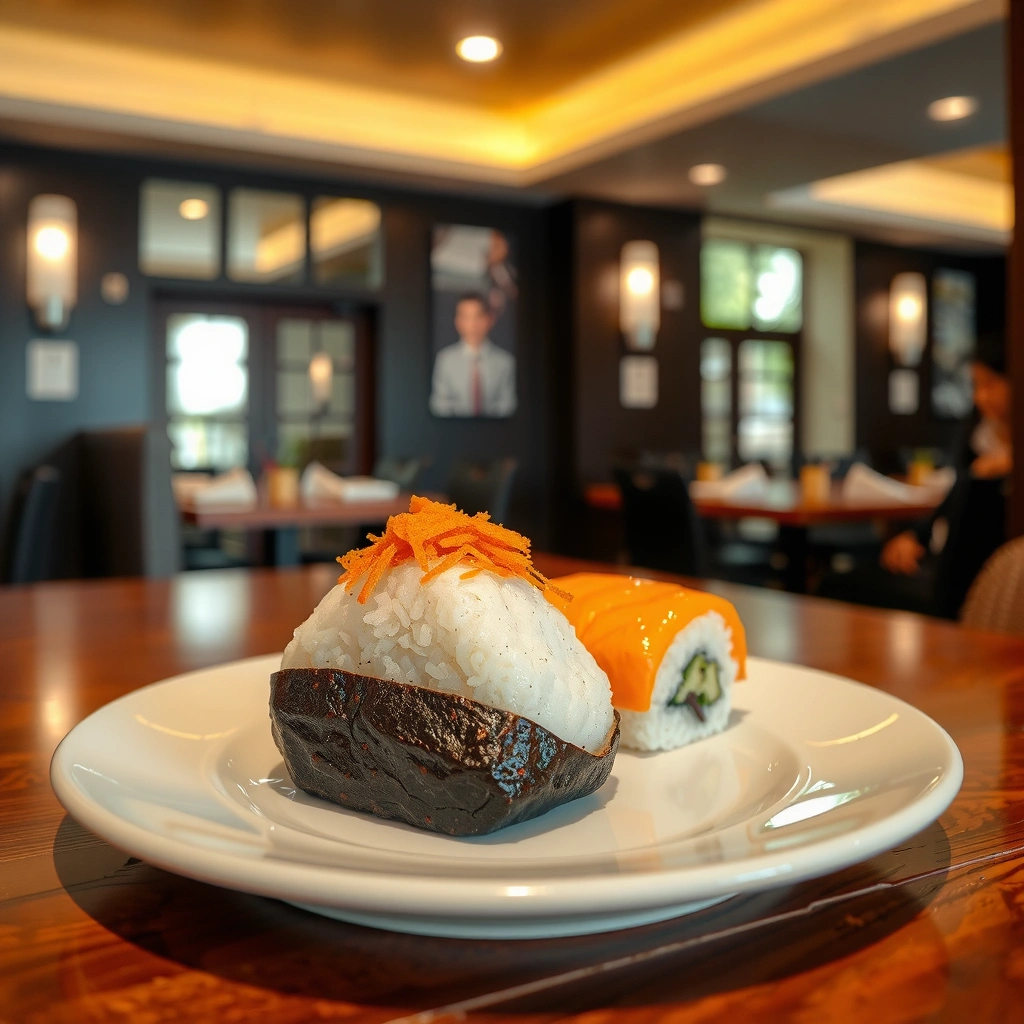
Onigiri succeed because of one thing: texture. The rice must be sticky enough to hold a shape, seasoned enough to taste complete, and complemented by a filling that’s flavorful but not watery. Start with ingredients that behave well together.
– Use short- or medium-grain Japanese rice for the best stickiness
Short- and medium-grain rice (often labeled “Japanese rice” or “koshihikari-style”) has higher starch content than long-grain varieties. That starch is what lets you form clean triangles/spheres without your rice falling apart or feeling gritty.
– Choose classic fillings like salted salmon, tuna mayo, or umeboshi
Traditional onigiri fillings tend to be compact and bold:
– Salted salmon (shio-sake): savory, salty, and easy to portion.
– Tuna mayo: creamy, kid-friendly, and forgiving.
– Umeboshi (pickled plum): bright, tangy, and intensely flavorful—small amounts go a long way.
– Keep nori sheets ready for wrapping
Nori’s role isn’t just taste—it’s structure and aroma. For best crunch, keep nori dry until serving. If you’re making onigiri ahead, consider keeping nori separate and wrapping right before eating.
Practical note: Don’t try to build onigiri with watery fillings (e.g., raw grated vegetables without pressing). Excess moisture makes rice clump and can break the shape during packing.
Best Rice Choice for Onigiri Texture (Typical Outcomes)
| # | Rice Type | Stickiness Rating | Shape Hold (Triangles) | Water Absorption (Cooked %) | Onigiri Suitability |
|---|---|---|---|---|---|
| 1 | Japanese short-grain (high-starch) | ★★★★★ | Excellent | ~200–210% | Best choice |
| 2 | Japanese medium-grain | ★★★★☆ | Very good | ~195–205% | Great backup |
| 3 | Calrose-style short/medium-grain | ★★★★☆ | Very good | ~198–208% | Solid option |
| 4 | Jasmine rice (long-grain) | ★★★☆☆ | Fair (often crumbly) | ~170–185% | Use only in a pinch |
| 5 | Basmati rice (long-grain) | ★★☆☆☆ | Poor (doesn’t bind) | ~160–175% | Not recommended |
| 6 | Brown Japanese rice (short-grain) | ★★★☆☆ | Good with added firmness | ~185–195% | Workable for meal prep |
| 7 | Sticky rice / glutinous rice | ★★★★☆ | Very good (but different chew) | ~210–220% | Possible alternative |
How to Season the Rice for Onigiri
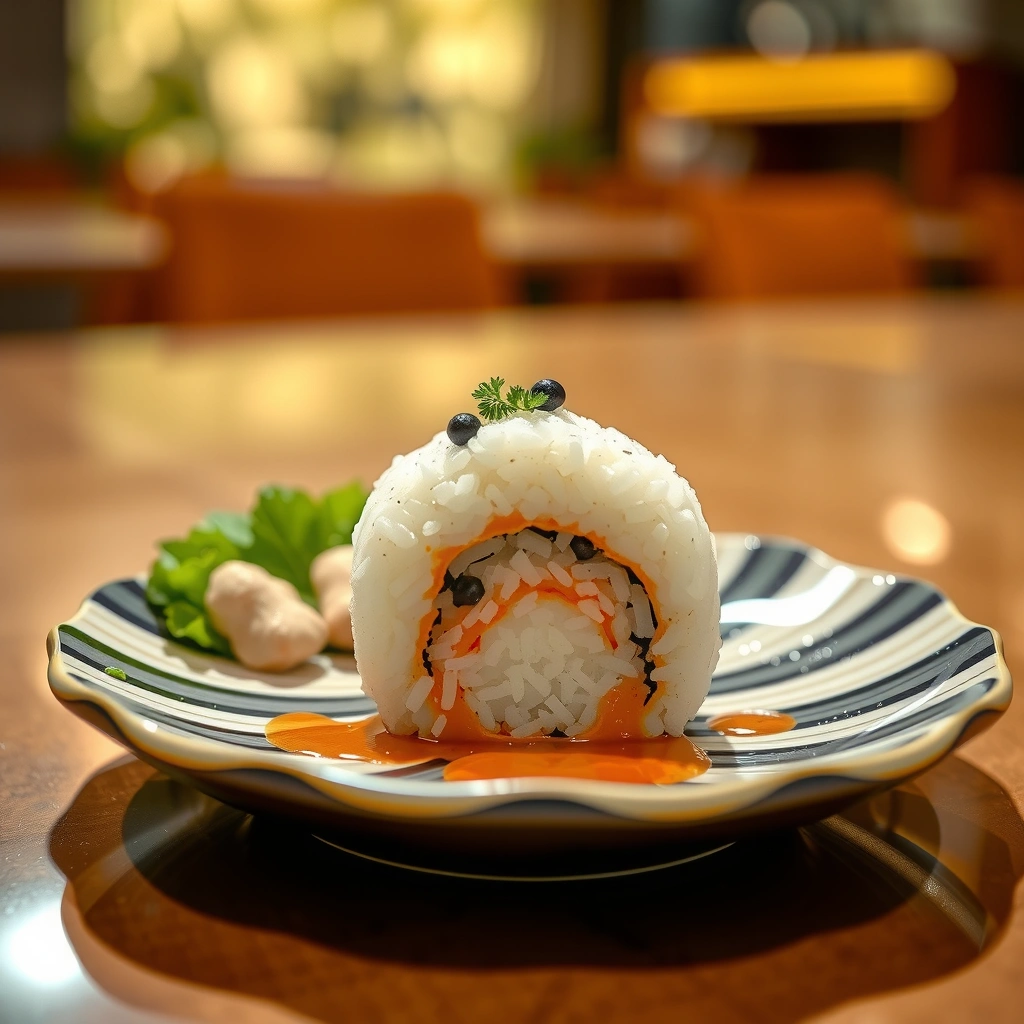
Seasoning is where onigiri move from “rice with filling” to a cohesive bite. The goal is to flavor every grain without making the rice salty or dry.
– Mix warm rice with salt (or furikake) for even flavor
When the rice is freshly cooked, it still holds heat and absorbs seasoning more uniformly. Many home cooks use plain salt, while others prefer furikake (a Japanese seasoning blend). If you’re using furikake, reduce added salt—furikake often already contains salt.
– Adjust seasoning to match your filling’s saltiness
A simple rule:
– If your filling is already salty (salted salmon, shio-sake), season the rice mildly.
– If your filling is mild/creamy (tuna mayo), season the rice a bit more for balance.
– Let rice cool slightly so it shapes without getting mushy
Onigiri shaping is easiest when rice is warm but not piping hot. If it’s too hot, it can turn overly sticky and compact; if it’s too cool, it may crumble. Aim for a “comfortable warmth” that holds together when pressed.
Actionable baseline (works for most fillings):
– Start with a small batch and tune salt gradually. Many cooks find they prefer light seasoning on the outside plus a flavorful filling rather than aggressively salty rice throughout.
Popular Onigiri Fillings and Flavor Combos
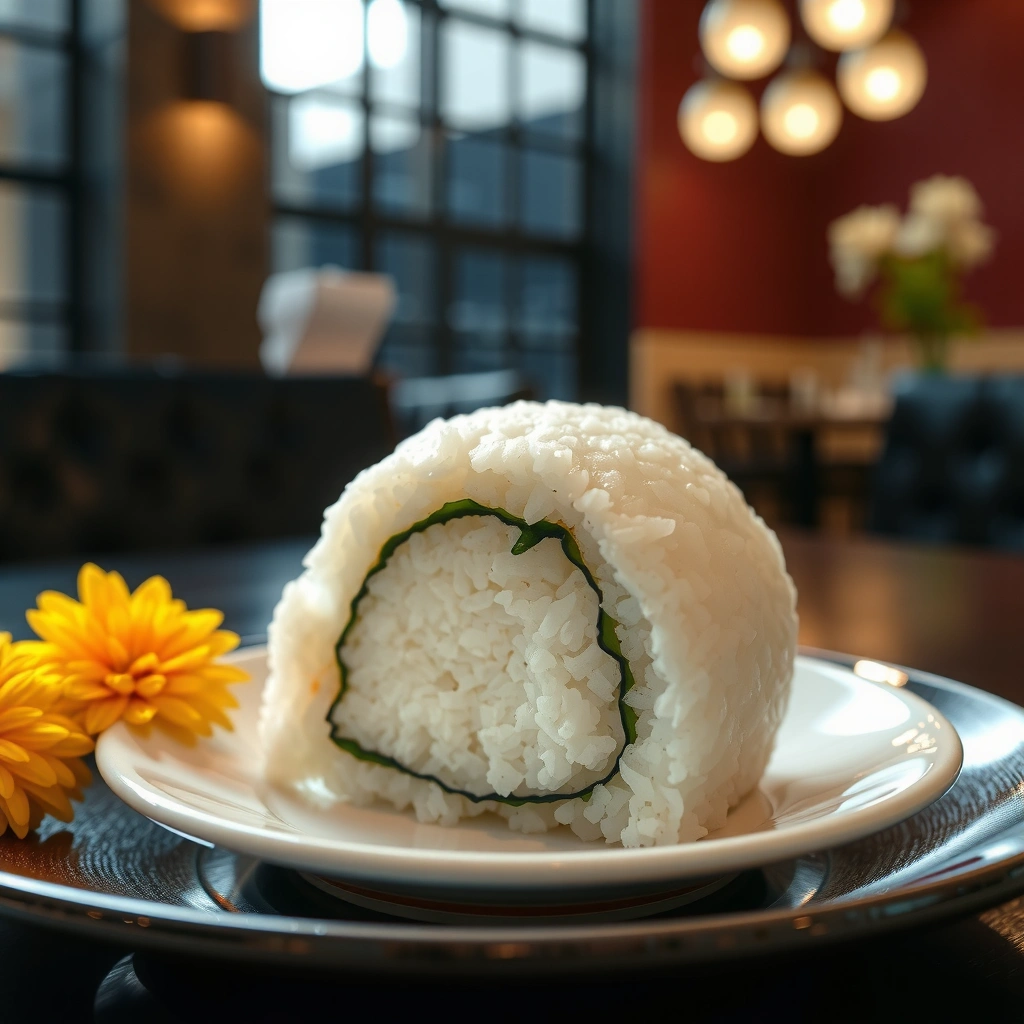
Fillings create variety—onigiri can be lunch, snack, or a light meal. The best combos align with one of three flavor styles: savory, creamy, or tangy.
– Try salmon flakes with a squeeze of mayo or soy
Salmon flakes are classic because they stay intact in the rice. Add a small squeeze of mayo for richness, or a dash of soy for a deeper umami profile. Keep the mixture thick so it doesn’t leak.
– Use tuna mayo for a creamy, kid-friendly option
Tuna mayo is forgiving and blends well with rice. For a more “bento-style” taste, add finely chopped cucumber (well-drained) or a touch of mayonnaise plus Japanese mustard. This improves texture and keeps the filling from feeling one-note.
– Add umeboshi (plum) for a tangy, traditional bite
Umeboshi is intense; it’s typically used sparingly. The acid and salt cut through the starchy sweetness of rice, making each bite feel clean and refreshing. If you’re using umeboshi paste, mix it briefly and keep the filling compact.
Pro-level consistency tip: When mixing fillings, aim for a paste-like texture. If it looks loose, add a binder (a little mayo) or reduce liquid ingredients.
Step-by-Step: Shaping and Wrapping
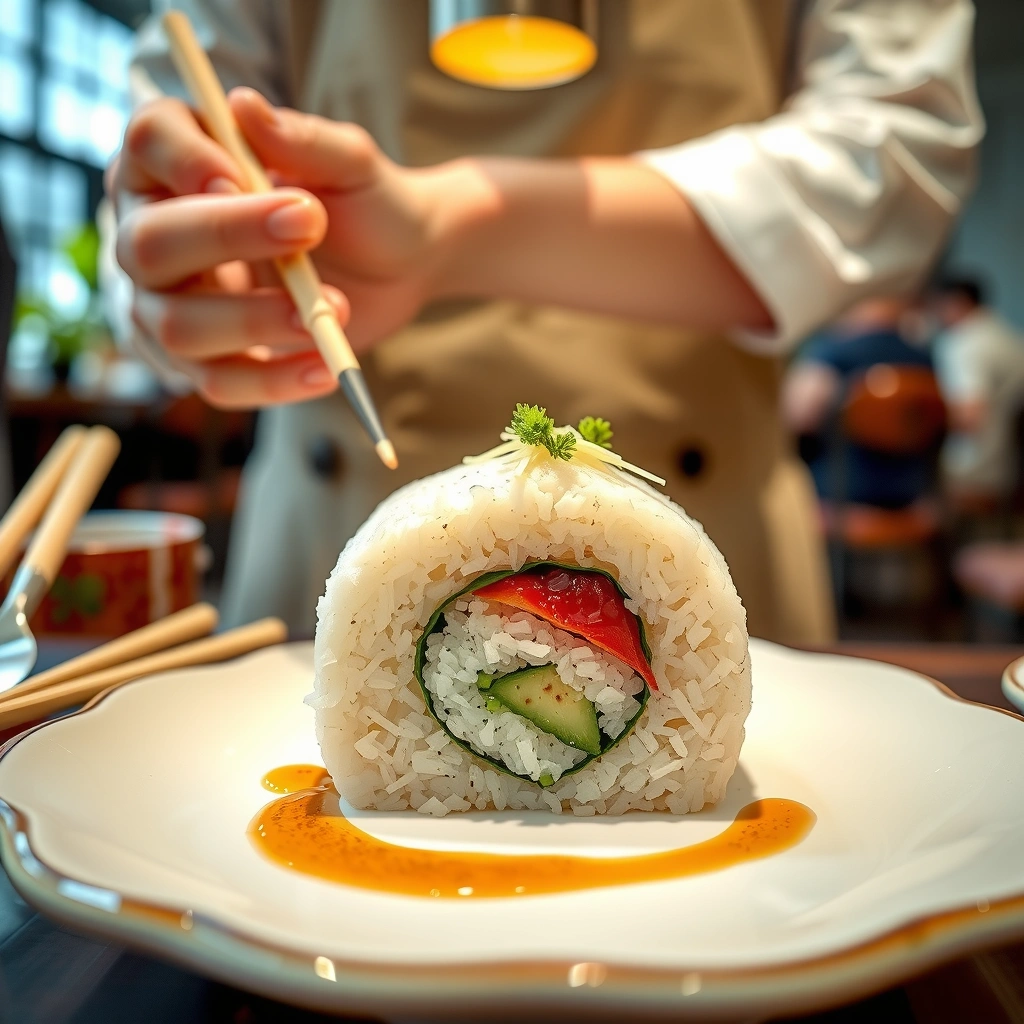
Shaping onigiri is mostly about hand moisture control and pressure technique. You don’t want to squish the rice into paste—you want it to compress just enough to hold.
– Wet your hands to prevent sticking and form clean shapes
Keep a small bowl of water nearby and dip fingertips as needed. Excess water can make rice clump, so use it sparingly—your hands should feel slightly damp, not wet.
– Create a pocket for filling, then seal the rice firmly
Place a portion of rice on your palm, form it into a base, then press lightly to create a shallow indentation. Add filling, then bring rice up and around it. Seal by pressing gently but consistently at the seams.
– Wrap immediately with nori or add it just before eating
For triangles, nori wrapping works best when the rice surface isn’t damp. If you’re packing for later, wrap with nori right before eating to preserve crispness.
Triangle vs. sphere (which to choose?):
– Triangles (most iconic): easier to control with firm seams; ideal for lunch packing.
– Spheres (maruboshi): slightly more forgiving for beginners; best if you want a softer “biteable” shape.
Easy Cooking Tips and Common Mistakes
Even simple recipes benefit from small process improvements. These are the issues that most often affect texture, flavor, and appearance.
– Don’t overpack—gentle pressure helps keep the texture light
Over-compressing squeezes out the rice’s natural tenderness and can make onigiri feel dense. Use firm, controlled pressure to set the shape—then stop.
– Avoid watery hands to prevent rice from clumping oddly
Watery hands can cause rice to stick in lumps or create uneven surfaces. If you notice wet patches forming, dry your fingertips briefly and re-wet only as needed.
– Store properly: keep nori separate if making ahead
Nori absorbs moisture quickly. If you’re preparing onigiri for later, store rice balls in an airtight container and wrap with nori when ready to eat. This preserves flavor and crunch.
Quality troubleshooting:
– Rice falls apart: likely under-seasoned or under-compressed. Ensure the rice is warm and stickiness is adequate (use Japanese short/medium grain).
– Rice feels gummy: rice may be too hot or over-handled. Let it cool slightly before shaping.
– Filling leaks: it’s too wet or too large. Use smaller portions and thicker mixtures.
Serving Ideas and Storage for Japanese Rice Balls
Onigiri are naturally “bento-friendly,” meaning they pair well with sides that balance salt, fat, and freshness. Serving also affects how enjoyable the nori and rice textures are.
– Pair with miso soup, edamame, or pickles for a complete meal
– Miso soup: warm and comforting; complements savory fillings.
– Edamame: adds protein and a clean, slightly sweet taste.
– Pickles (tsukemono): brighten rich flavors and refresh the palate—especially with tuna mayo or salmon.
– Pack for lunch using an airtight container
Use parchment or a light barrier between layers if stacking. Keep the rice stable and avoid crushing. If transporting longer distances, consider keeping a separate small packet for nori.
– Eat nori-wrapped onigiri soon for best crunch and flavor
Nori is at its peak when it stays crisp. Once moistened, it becomes softer—still tasty, but less “snack-like.” If you’re building a take-away meal, wrap just before serving.
Storage timeline (practical guidance):
– Best flavor and texture: same day or within a short window.
– For next-day eating: rewarm rice gently (microwave in short bursts) and wrap with fresh nori if possible.
You now have a complete framework for making Japanese rice balls at home: choose the right rice for binding, season the rice thoughtfully, pick fillings that match the flavor profile you want, and shape with controlled pressure. Master these basics, and onigiri becomes a reliable go-to—whether you’re building bento-style lunches, preparing quick snacks, or serving something authentically Japanese with your own creative combinations.
References
- Google Scholar Google Scholar
https://scholar.google.com/scholar?q=Japanese+rice+ball+onigiri+recipe - Google Scholar Google Scholar
https://scholar.google.com/scholar?q=onigiri+handmade+rice+ball+technique - Google Scholar Google Scholar
https://scholar.google.com/scholar?q=furikake+onigiri+nori+seasoning+study - https://pubmed.ncbi.nlm.nih.gov/?term=onigiri
https://pubmed.ncbi.nlm.nih.gov/?term=onigiri - https://pubmed.ncbi.nlm.nih.gov/?term=%22Japanese+rice+ball%22
https://pubmed.ncbi.nlm.nih.gov/?term=%22Japanese+rice+ball%22 - Onigiri
https://en.wikipedia.org/wiki/Onigiri - Rice ball
https://en.wikipedia.org/wiki/Rice_ball - Bento
https://en.wikipedia.org/wiki/Bento - Furikake
https://en.wikipedia.org/wiki/Furikake - Nori
https://en.wikipedia.org/wiki/Nori