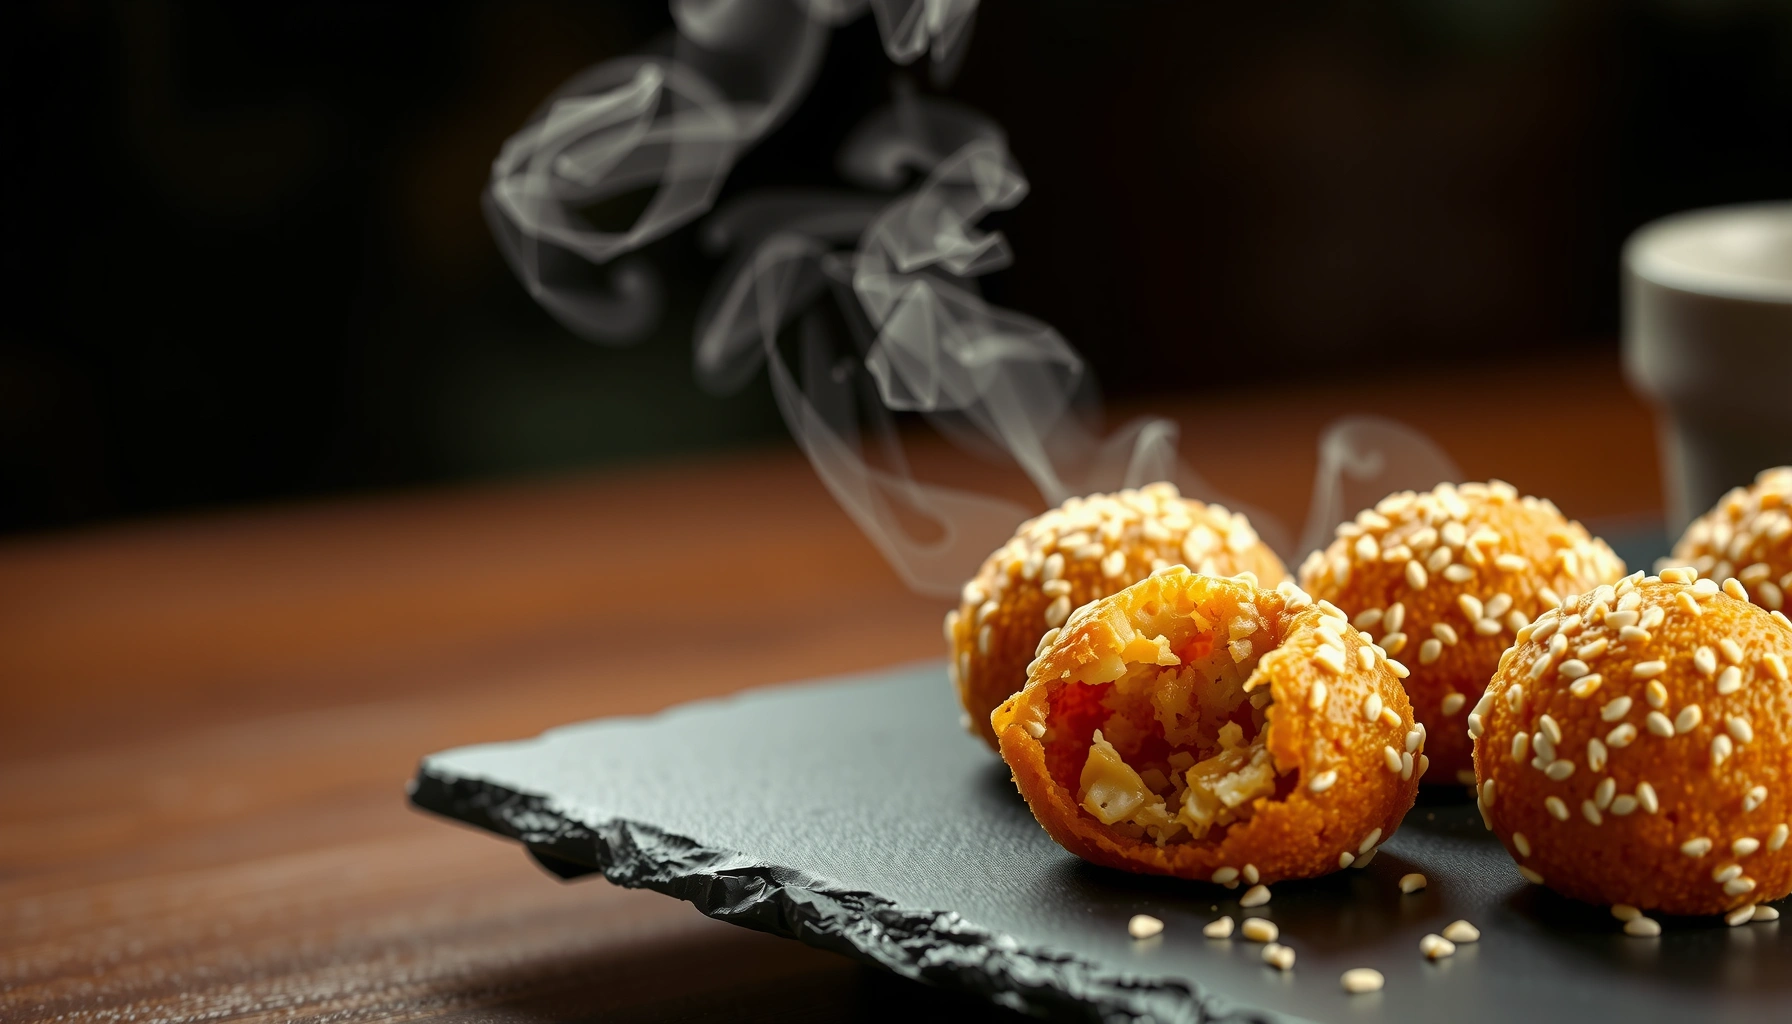
This sesame balls recipe delivers the easy, crispy, sweet sesame balls you want—without guesswork. You’ll get a reliable method for forming the dough, frying to a deep golden crunch, and coating in toasted sesame for maximum flavor. If your goal is bakery-style sesame balls with a crisp shell and tender center, this is the winning approach.
Make sesame balls at home with a simple glutinous dough, a sealed sweet filling, and a generous sesame coating—then fry for maximum crunch or bake for a lighter finish. With the right dough consistency, tight shaping, and properly controlled heat, you’ll get round, golden sesame balls that stay crisp even after cooling.
Ingredients for Sesame Balls
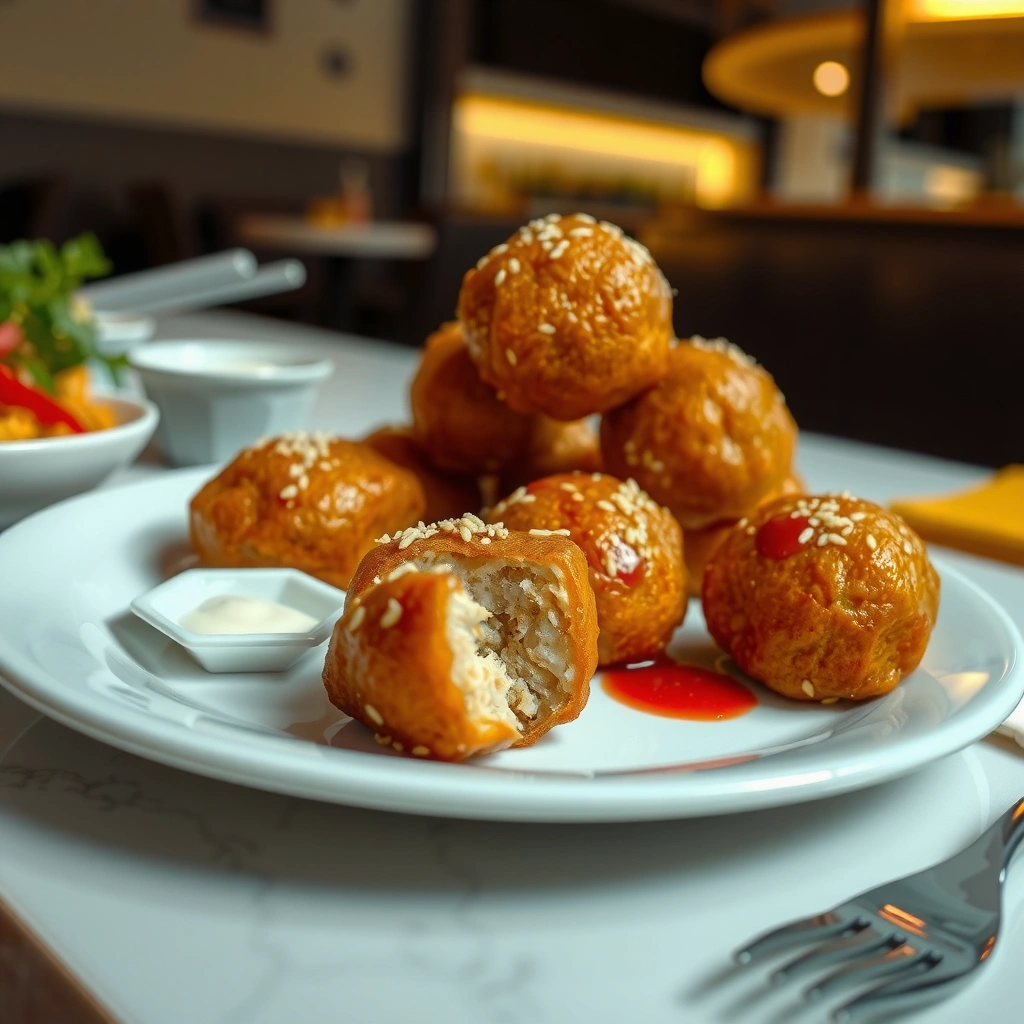
Sesame balls (also commonly called jian dui in some regions) rely on a small set of pantry staples—then elevate them with sesame aroma and a sweet, cooked filling. For the most consistent results, measure carefully and use ingredients with predictable behavior in hot oil.
– Glutinous rice flour (key for chew and crisp shell): This is the structural base. Unlike regular wheat flour, it forms a dough that puffs slightly and crisps nicely.
– Sugar: Adds sweetness and helps with browning. You can use white sugar for neutral sweetness or brown sugar for a deeper caramel note.
– Water or coconut milk (liquid binder): Water keeps flavor clean and traditional; coconut milk adds subtle richness and can improve flavor depth.
– Sesame seeds (coat and crunch): Use toasted sesame seeds if you want a stronger nutty aroma; otherwise, toast plain seeds briefly in a dry pan.
– Sweet filling (choose one):
– Sweet red bean paste (classic)
– Peanut filling (nutty and rich)
– Lotus paste (smooth, gently sweet)
– Pinch of salt: Balances sweetness and makes the filling taste brighter rather than flat.
Practical ingredient guidance (so the dough behaves):
– If you live in a humid climate, you may need slightly less liquid to prevent sogginess.
– If you prefer a more “bakery-style” bite, keep the dough on the firmer side rather than loose—this helps the sesame balls maintain shape and crispness.
Sesame Ball Filling & Texture Fit (Home Batch Scenarios)
| # | Filling | Best Dough Wrap | Flavor Profile | Crisp Shell Impact | Overall Suitability |
|---|---|---|---|---|---|
| 1 | Red bean paste | Firm, spoonable | Classic sweet | ★ ★ ★ ★ ☆ | 9.4/10 |
| 2 | Peanut filling | Slightly oily, cohesive | Nutty & rich | ★ ★ ★ ★ ☆ | 9.1/10 |
| 3 | Lotus paste | Smooth, spreadable | Gentle sweetness | ★ ★ ★ ☆ ☆ | 8.7/10 |
| 4 | Black sesame paste | Thick, not runny | Deep, toasted | ★ ★ ★ ★ ☆ | 9.2/10 |
| 5 | Custard-style paste | Very firm, chilled | Creamy sweet | ★ ★ ★ ☆ ☆ | 7.9/10 |
| 6 | Mango jam (thick) | Chilled & dense | Fruity sweet | ★ ★ ☆ ☆ ☆ | 6.8/10 |
| 7 | Matcha red bean | Firm, cohesive | Sweet + grassy | ★ ★ ★ ★ ☆ | 8.9/10 |
Make the Sesame Ball Dough
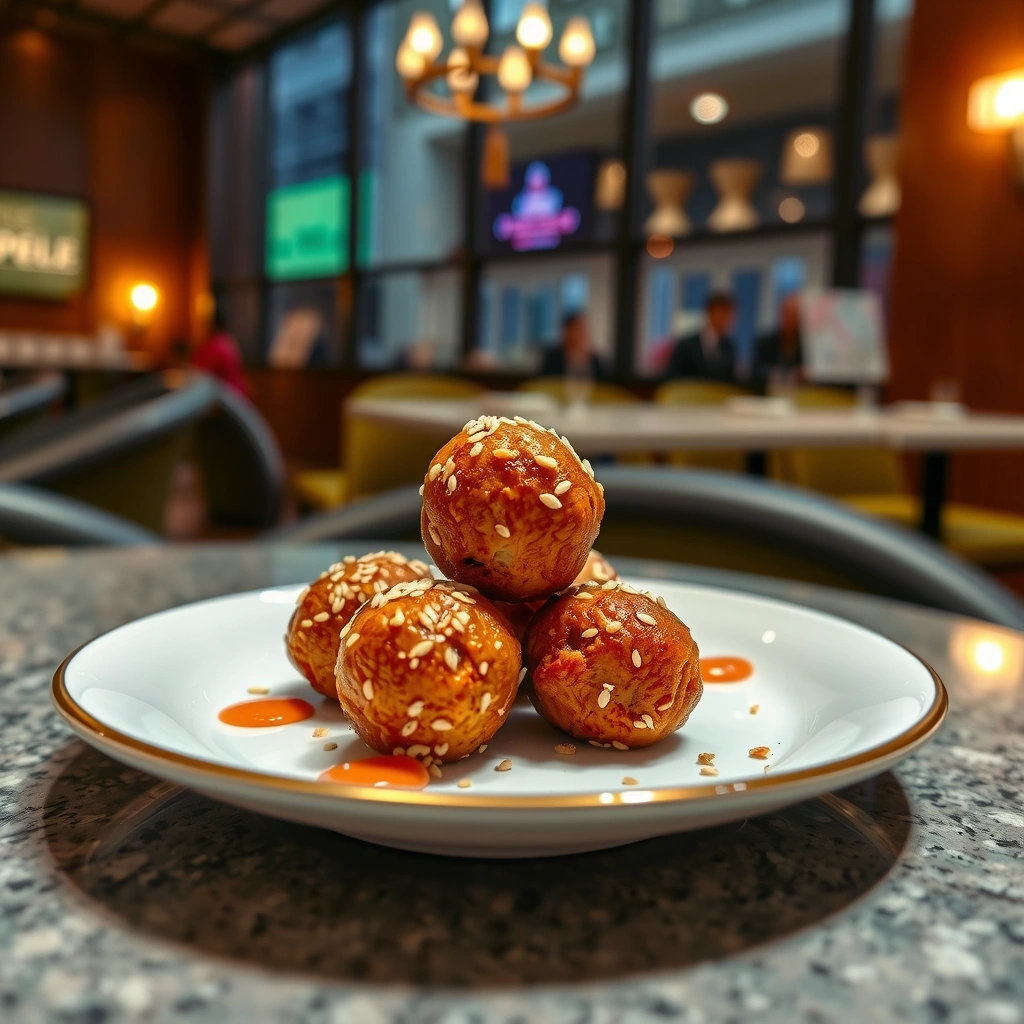
The dough is where success is won or lost. Sesame balls depend on glutinous rice flour for elasticity and a crisp exterior; the wrong hydration level can cause either cracking (too dry) or softness (too wet).
Step-by-step dough approach:
1. Mix dry ingredients: Combine glutinous rice flour, sugar, and a pinch of salt in a bowl.
2. Add liquid gradually: Pour in water (or coconut milk) in small increments while stirring. Aim for a dough that’s smooth and cohesive, not sticky soup.
3. Adjust consistency:
– If it looks dry and won’t form: add liquid by the teaspoon.
– If it feels overly tacky: add a tablespoon of flour and knead briefly.
4. Knead for uniform texture: Knead until the dough looks satin-smooth. This helps ensure even cooking—no dense pockets inside.
5. Rest the dough briefly: Let it rest for 10–15 minutes covered. Resting hydrates flour fully and makes portioning easier, which improves roundness and sealing.
Portioning for even cooking:
– Use a scale if you want “professional” consistency. For a typical batch, portion dough into roughly 18–22 g each (depending on ball size).
– Keep portions covered with a damp cloth to prevent the surface from drying.
Add the Filling and Shape
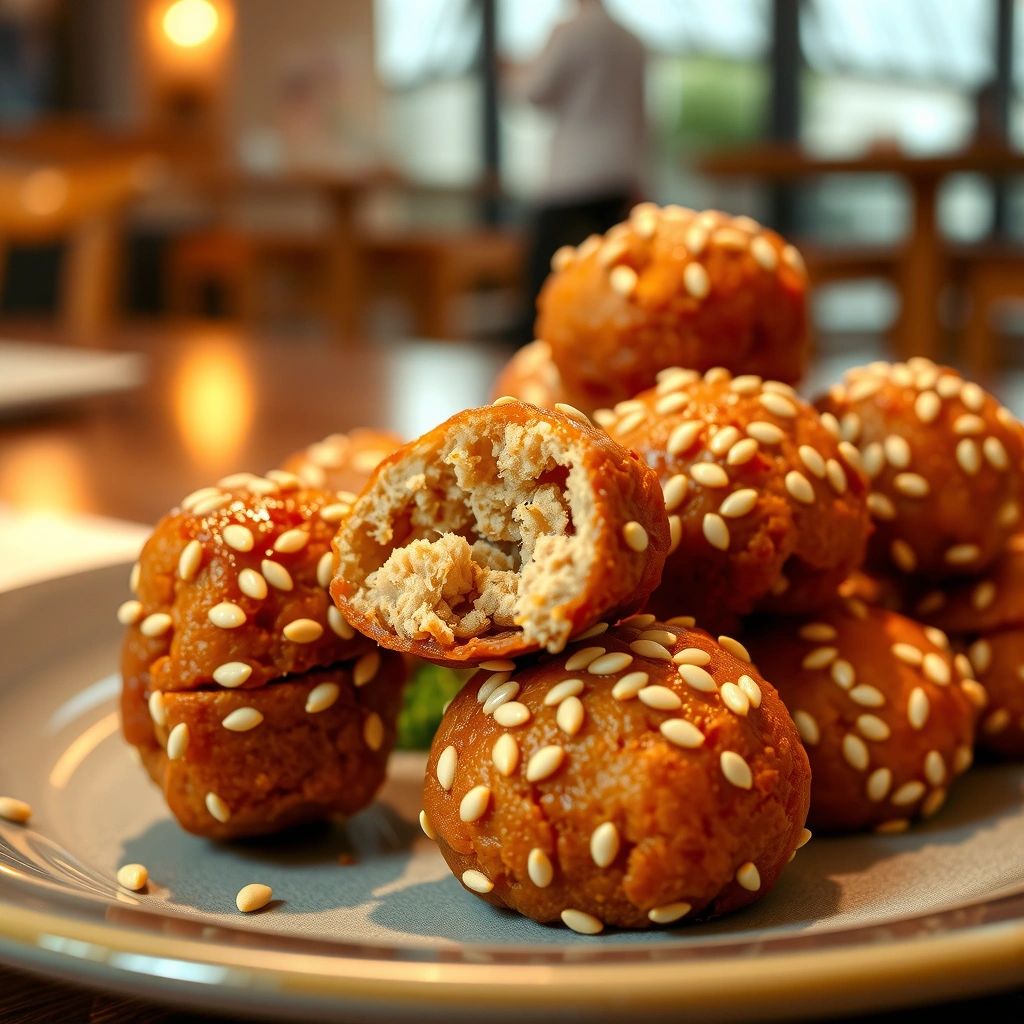
Shaping determines whether your sesame balls are perfectly round, filled cleanly, and crisp rather than compromised by leaking filling.
Core technique: seal first, coat second
1. Flatten each dough portion: Use your palm to gently press into a thick disc.
2. Add filling carefully: Place a small ball of filling (typically 10–12 g) in the center. Too much filling stretches the dough and increases leak risk.
3. Seal tightly: Pinch and press the edges together until you don’t see seams. Then gently smooth the surface with your fingertips.
4. Roll into a smooth round: Roll between your palms lightly to remove wrinkles and create even thickness.
5. Coat with sesame seeds: Press sesame seeds onto the surface so they adhere. Rotate the ball to cover fully.
How to prevent sesame loss and filling leaks:
– Sesame seeds should be pressed, not merely sprinkled.
– If your dough feels too soft, briefly refrigerate dough balls for 5–10 minutes before frying or baking.
– Use a slightly thicker dough “skin” over the seam area; seams are the most common leak points.
Cooking Methods: Frying vs Baking
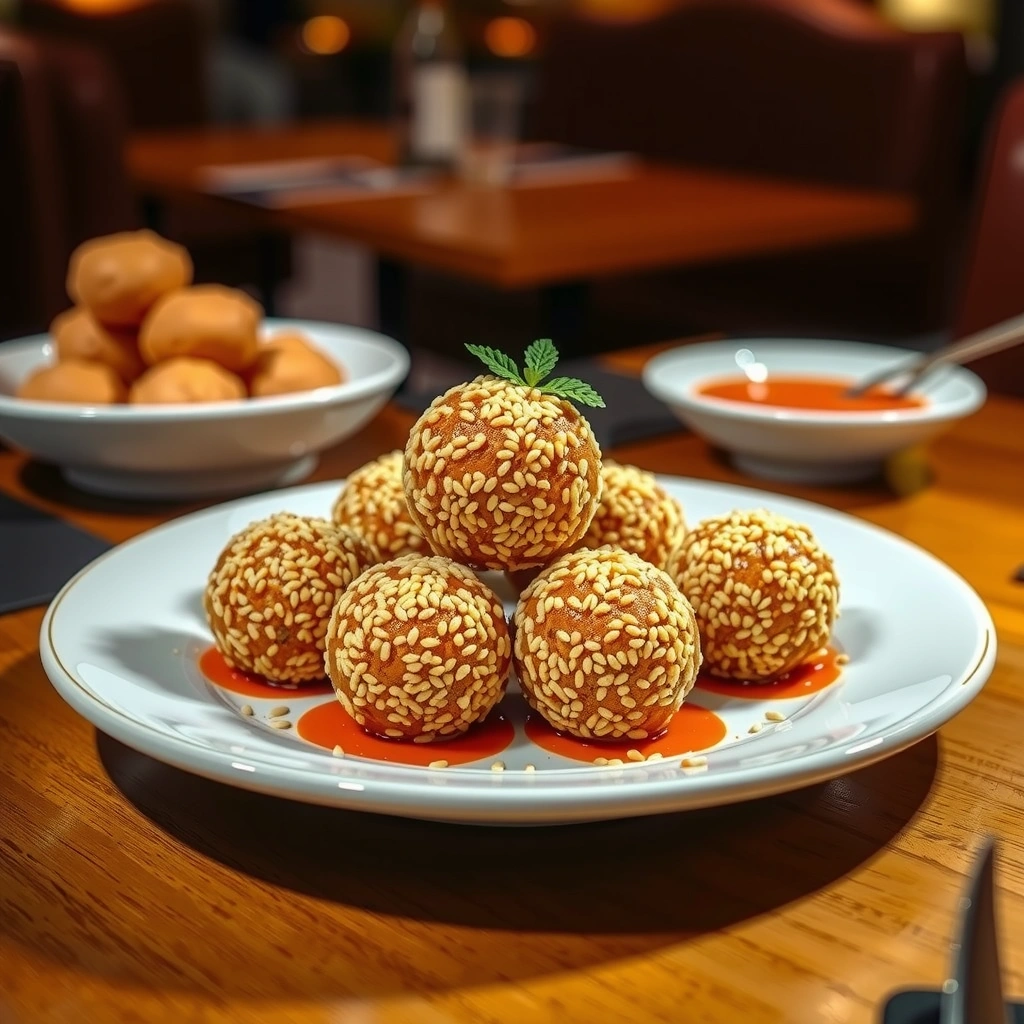
Both frying and baking can produce excellent sesame balls, but they deliver different textures and timelines.
Frying (maximum crunch and classic look)
– Heat level: Fry at medium heat (about 170–180°C / 340–360°F).
– Cooking time: Typically 3–5 minutes, depending on size and oil temperature.
– What to watch: Balls should expand slightly and turn deep golden. If they brown too fast, reduce heat; if pale, increase heat slightly.
Baking (lighter, less oil—still crisp with proper method)
– Preheat: Heat oven to 190–200°C / 375–400°F.
– Tray setup: Line a baking sheet and lightly oil or use parchment that won’t stick.
– Cook time: Usually 15–22 minutes, flipping once at the halfway mark.
– For best browning: Brush lightly with oil or spray before baking.
Flip/rotate halfway for even color
– Fried sesame balls: gently turn once during browning to avoid one-sided darkening.
– Baked sesame balls: flip carefully at the halfway point so both sides crisp evenly.
Tips for Crispy, Even Sesame Balls
If you want consistently crisp, golden sesame balls—especially in repeated batches—optimize three variables: dough hydration, seed adhesion, and heat control.
– Keep dough not too wet:
– Wet dough spreads during cooking and can create a chewy, soggy exterior.
– Aim for dough that holds shape when rolled and doesn’t leave wet streaks on your fingers.
– Press sesame seeds lightly but firmly:
– Too much pressure can tear dough surface.
– Too little pressure causes seeds to fall off, reducing crust texture.
– Keep ball size uniform:
– Use the same dough weight per ball.
– Uneven sizes cook at different rates—smaller balls overbrown while larger ones stay pale.
– Control oil temperature (frying):
– Temperature drops when you add balls. Fry in small batches so the oil returns to target heat quickly.
– Avoid overcrowding:
– Overcrowding cools oil, increases absorption, and can lead to uneven crispness.
Quality benchmark:
Golden sesame balls should sound slightly crisp when tapped, and the outside should feel dry to the touch—not leathery or sticky.
Storage and Reheating
Sesame balls are best fresh, but proper storage and reheating can restore much of the crunch—particularly when you re-crisp them using dry heat.
– Store cooled sesame balls in an airtight container:
– Let them cool fully first; trapping steam creates soft exteriors.
– Reheat in an oven or air fryer:
– Air fryer: about 4–7 minutes at 160–180°C / 320–360°F
– Oven: about 8–12 minutes at 180–190°C / 350–375°F
– Avoid microwaving if you want crisp texture.
– Freeze for later:
– Freeze shaped (uncooked) balls on a tray first, then transfer to a freezer bag.
– For cooked leftovers, freeze after fully cooling for best texture control.
Freezing best practice:
When frying from frozen, allow a slightly longer cook time and use medium heat to avoid exterior burning before the interior sets.
Sesame balls are all about the right dough consistency, sealed filling, and proper cooking until golden and crisp. Follow the shaping steps carefully, choose frying for maximum crunch or baking for a lighter treat, and reheat in the oven/air fryer to bring back the texture—then try your favorite filling next!
If you’d like, tell me your preferred filling and whether you want fried or baked results, and I can tailor the dough hydration and cook times to your exact batch size.
References
- Jian dui
https://en.wikipedia.org/wiki/Jiandui - Jian dui
https://en.wikipedia.org/wiki/Sesame_ball - Tangyuan
https://en.wikipedia.org/wiki/Tangyuan - Glutinous rice
https://en.wikipedia.org/wiki/Glutinous_rice_flour - Sesame
https://en.wikipedia.org/wiki/Sesame_seeds - Google Scholar Google Scholar
https://scholar.google.com/scholar?q=sesame+balls+jian+dui+recipe - Google Scholar Google Scholar
https://scholar.google.com/scholar?q=sesame+ball+deep+fried+dough+glutinous+rice+flour - Google Scholar Google Scholar
https://scholar.google.com/scholar?q=sesame+paste+filling+jian+dui+food+science - https://pubmed.ncbi.nlm.nih.gov/?term=sesame+oil+antioxidant
https://pubmed.ncbi.nlm.nih.gov/?term=sesame+oil+antioxidant - https://www.britannica.com/topic/sesame
https://www.britannica.com/topic/sesame