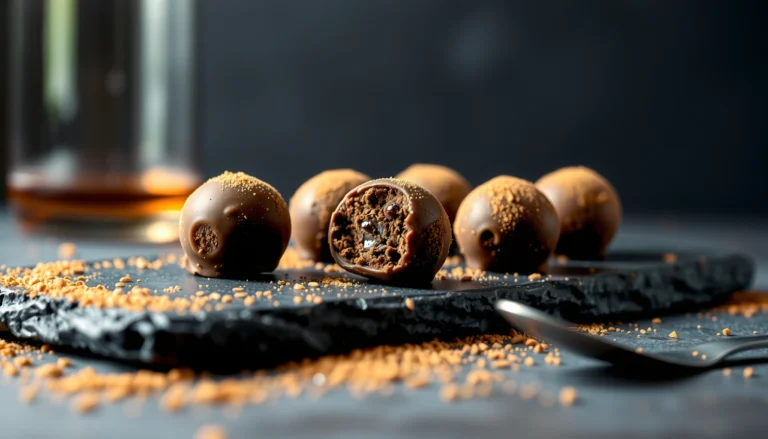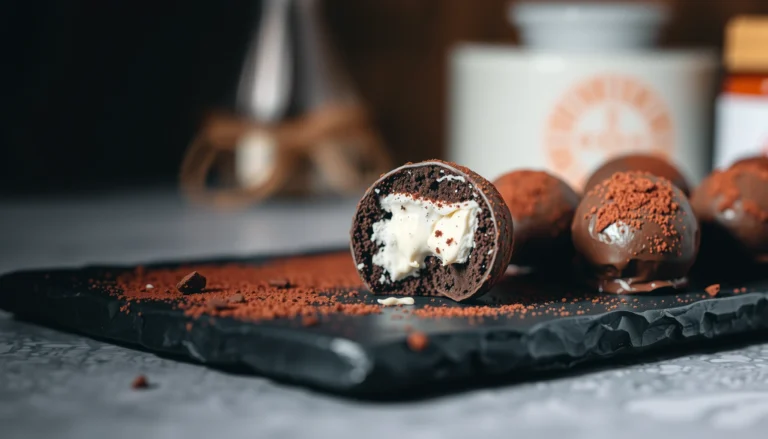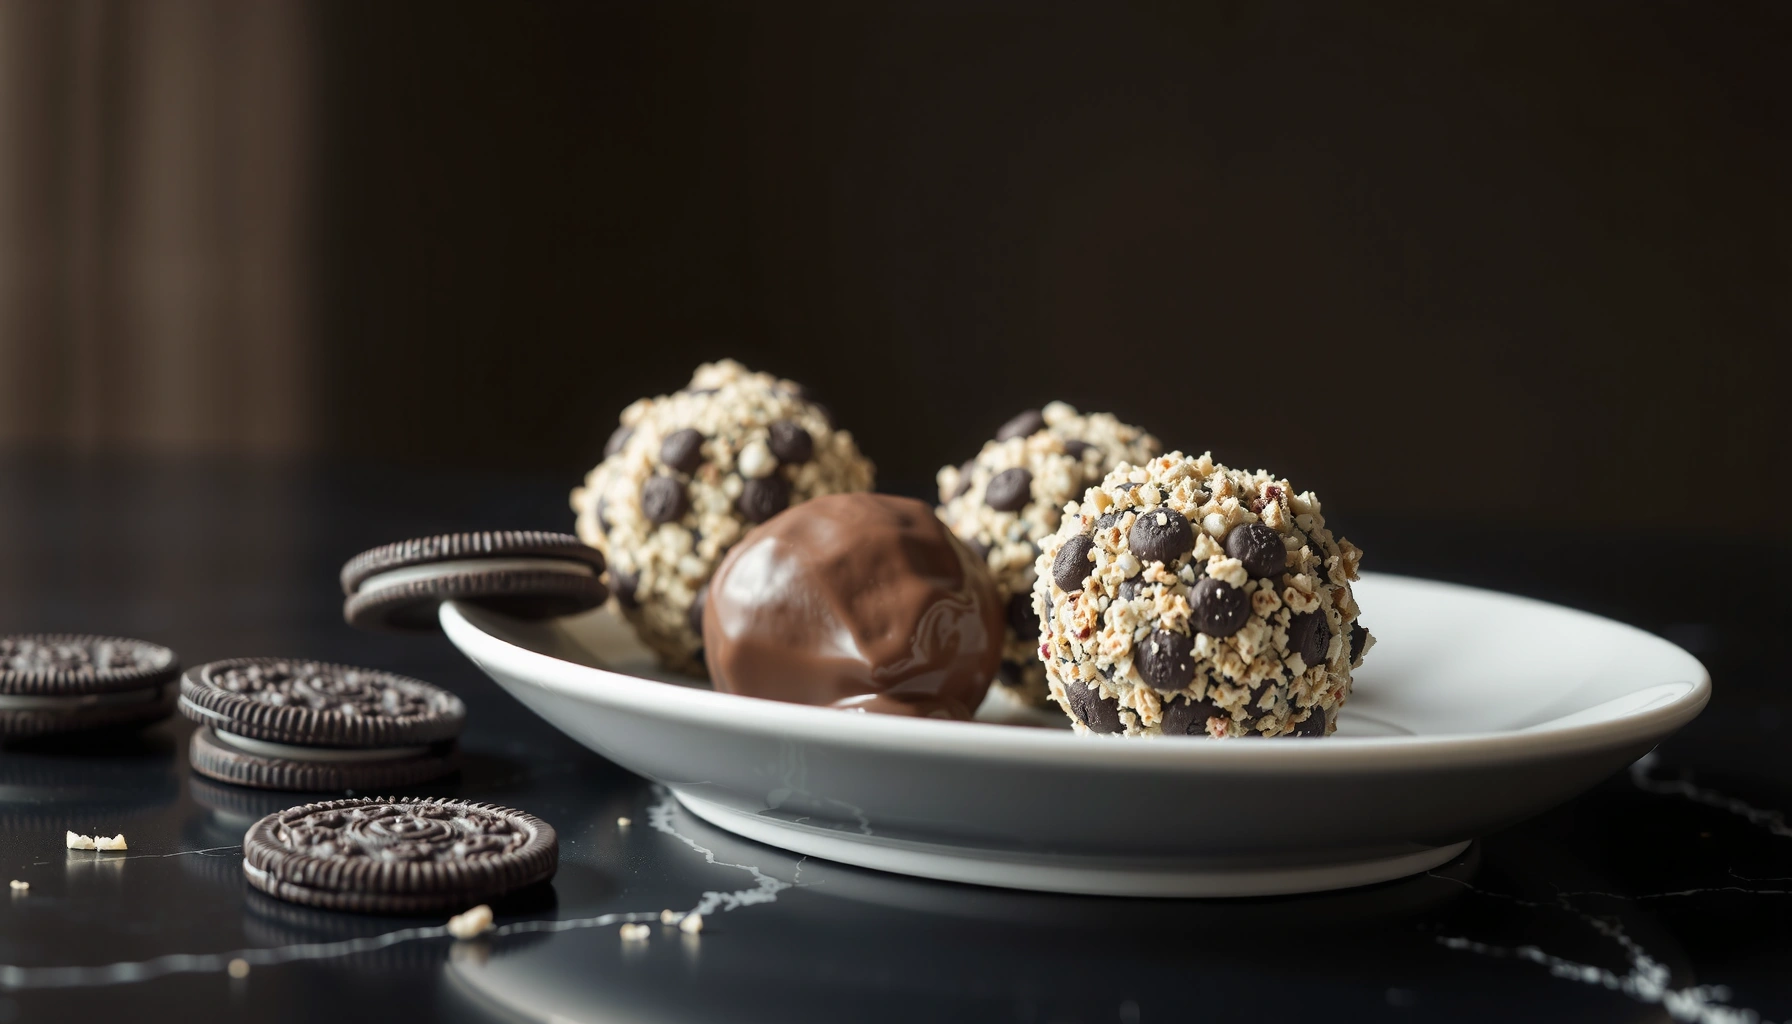
Looking for an easy Oreo ball recipe that delivers fast, no-bake results? This quick method turns crushed Oreo cookies and a simple binder into bite-sized Oreo balls you can chill and serve in minimal time. If you want the quickest way to get classic Oreo flavor without turning on the oven, this is the winner.
If you want an Oreo ball recipe easy, you can make them in minutes with crushed Oreos, cream cheese, and a quick chill—no baking needed. With the right ratio for a workable dough and smart coating techniques, you can consistently produce Oreo balls that hold their shape, melt pleasantly on the tongue, and look great with minimal mess.
This guide breaks down an efficient, no-bake workflow—from ingredient selection and texture control to coating options and storage—so you can execute reliable Oreo balls for parties, office snacks, or last-minute hosting without stress.
Ingredients You Need
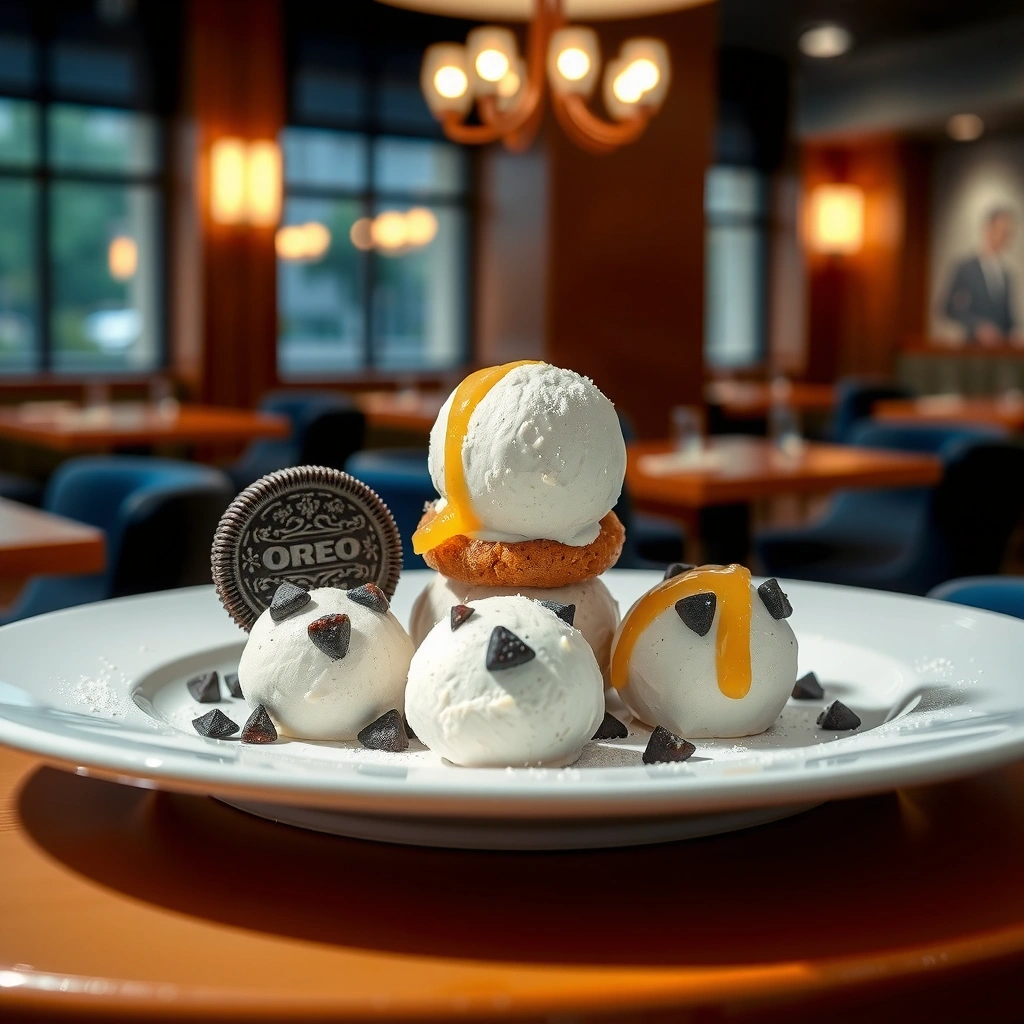
Building great Oreo balls starts with using ingredients that behave predictably: cookie crumbs that bind well and cream cheese that softens the texture without making it greasy or crumbly.
– Crushed Oreo cookies and softened cream cheese are the base
Use finely crushed Oreos (including the filling) for a smoother, denser bite. Softened cream cheese is what turns dry crumbs into a cohesive mixture that can be rolled without cracks or crumbling.
– Optional add-ins: vanilla extract or a pinch of salt for flavor
These are small upgrades that improve perceived flavor. A small splash of vanilla rounds out sweetness, while a pinch of salt sharpens the chocolate-and-cream profile so the Oreo taste feels more “complete” instead of flat.
– Coatings: chocolate, sprinkles, or powdered sugar
Choose a coating based on the finish you want:
– Melted chocolate for a classic, bakery-style exterior
– Sprinkles for a fun, event-ready look
– Powdered sugar for an easy, no-melt option that still tastes great
To make portions consistent (and reduce trial-and-error), here are practical “typical batch” outputs based on common ingredient amounts.
Oreo Ball Yield vs. Common Ingredient Batches
| # | Batch Style | Oreos (about) | Cream Cheese | Estimated Oreo Balls | Texture Reliability |
|---|---|---|---|---|---|
| 1 | Small Snack Batch | 20 Oreos | 4 oz (113 g) | 18–22 | High ★★★★★ |
| 2 | Office Treats | 24 Oreos | 8 oz (226 g) | 24–28 | High ★★★★★ |
| 3 | Party Starter | 36 Oreos | 12 oz (340 g) | 36–42 | Very High ★★★★★ |
| 4 | Family Weekend | 48 Oreos | 16 oz (454 g) | 48–58 | High ★★★★☆ |
| 5 | Double-Crust Style (extra crumbs) | 50 Oreos | 14 oz (397 g) | 50–60 | High ★★★★☆ |
| 6 | Low-Heat Workflow (slightly firmer) | 30 Oreos | 6 oz (170 g) | 27–33 | Very High ★★★★★ |
| 7 | Experimental (more cream cheese) | 20 Oreos | 6 oz (170 g) | 16–20 | Lower ★★★☆☆ |
Simple Step-by-Step Method
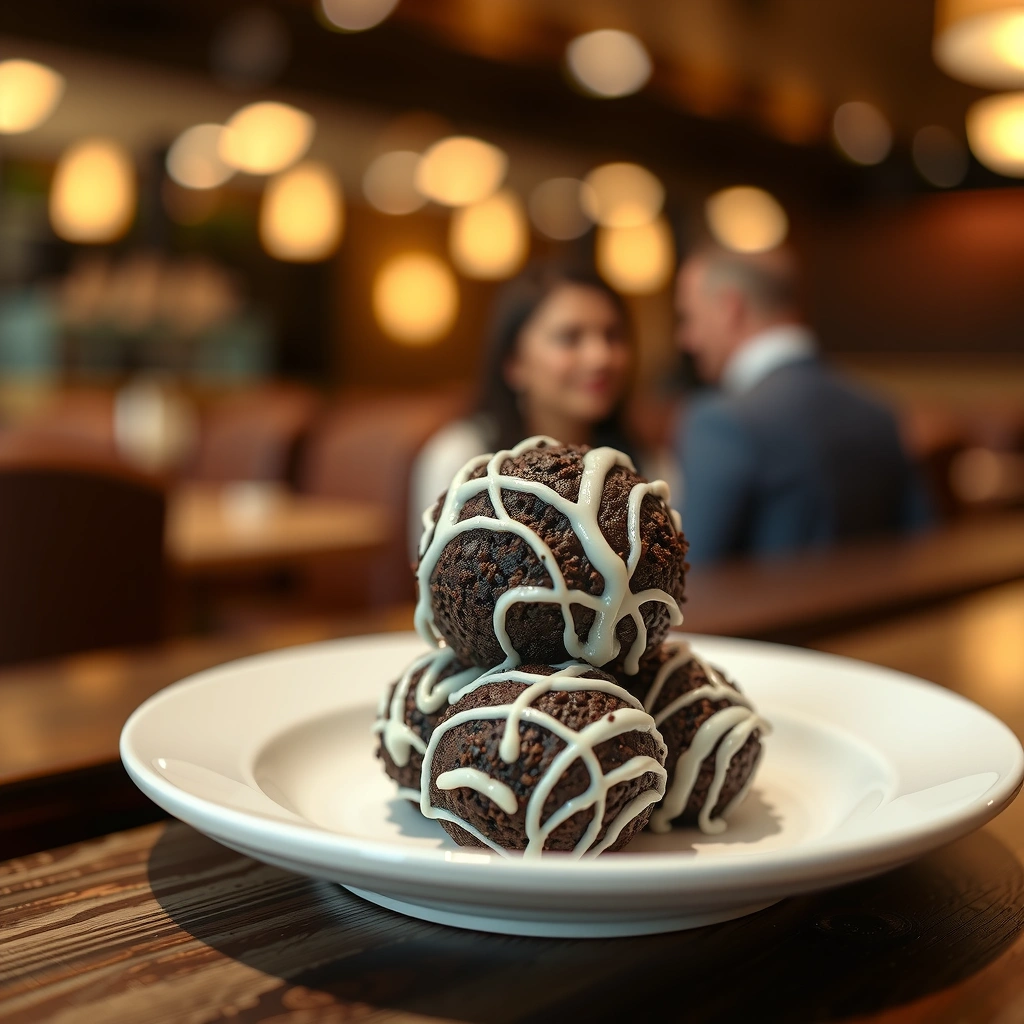
This section focuses on the core Oreo ball recipe easy process. The workflow is designed to be repeatable whether you’re making 18 balls for a quick snack or 50 balls for a team meeting.
– Mix crushed Oreos and cream cheese until fully combined
Start by crushing Oreos until the texture is consistently fine—small crumbs are ideal because they distribute evenly through the cream cheese. Add softened cream cheese and mix until the mixture looks uniform (no dry pockets).
Analytical note: The more uniform the mixture, the less likely you are to get ball formation failures (crumbly edges or gaps) during rolling.
– Scoop and roll into bite-size balls, then chill briefly
Scoop with a spoon or cookie scoop for consistent sizing. Roll quickly between your palms; if it starts warming up too much and sticking, that’s your cue to pause and chill again.
– Coat and set so the outer layer sticks well
For chocolate-coated Oreo balls, coat while the centers are firm (not rock-hard). This helps the coating adhere without smearing. Place coated balls on parchment and chill until the outer layer sets.
A practical baseline: chill 10–20 minutes for structure before coating, then 15–30 minutes after coating.
Best Tips for Easy, No-Mess Results
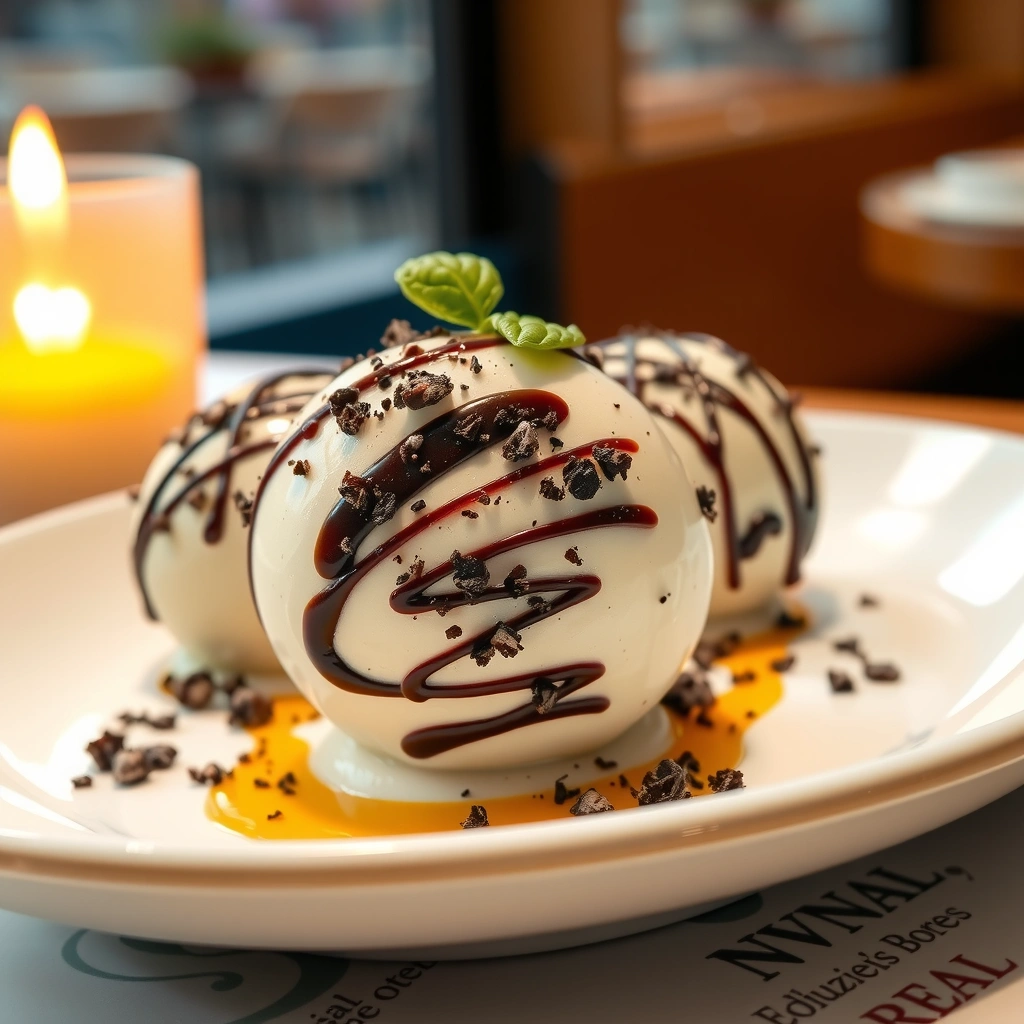
No-bake desserts can get messy when hands, tools, or mixture temperatures are working against you. These tips are specifically aimed at “easy Oreo balls with minimal cleanup.”
– Use softened cream cheese to avoid dry, crumbly filling
If your cream cheese is too cold, you’ll struggle to combine it evenly, and the mixture can become dry. If it’s too warm, it becomes overly soft and spreads. Softened usually means: still cool, but easily pliable.
– Chill the mixture before rolling if it feels too sticky
Sticky dough is a temperature problem more than a “recipe” problem. If your mixture is tacky, refrigerate it briefly, then resume rolling.
– Line a tray with parchment for easy cleanup
Parchment prevents sticking and lets you lift the set balls cleanly. If you plan to do multiple batches or coatings, chilling on parchment is the fastest route to neat results.
Optional but effective: lightly dust your hands with a tiny amount of cocoa powder or powdered sugar before rolling. It creates friction without changing flavor.
How to Coat Oreo Balls (Choose Your Style)

Coating is where Oreo balls go from “tasty” to “presentable.” Pick one style, or offer two for variety at the table.
– Dip in melted chocolate for classic chocolate-covered balls
Melt chocolate gently (microwave in short bursts or use a double boiler). If chocolate thickens as it cools, rewarm briefly rather than adding water. Dip, tap off excess, and set on parchment.
– Roll in crushed Oreos for extra cookie crunch
This is a coating that also forgives imperfections. After dipping or after chilling the balls, roll them in extra Oreo crumbs for texture and a bakery-style finish.
– Add sprinkles or drizzle for a fun, festive look
Use sprinkles immediately after coating so they adhere. For drizzle, melt a contrasting chocolate (or use a white coating) and drizzle in thin lines for a decorative effect without heavy coverage.
Efficiency tip: If you want both “crunch + chocolate,” you can do a quick technique—chocolate coat first, then a light roll in crumbs while the outer layer is still tacky.
Storage and Make-Ahead Options
Oreo balls are particularly well-suited for advance prep because their texture stabilizes after chilling. Planning ahead also helps you serve at optimal quality during events.
– Store in an airtight container in the refrigerator
Once set, keep them sealed to prevent the refrigerator’s odors and to maintain coating crispness (especially for chocolate).
– They usually taste best after chilling for a few hours
Many recipes taste “good” right away, but the classic Oreo ball texture—firm exterior, creamy interior, cohesive bite—often peaks after a short rest in the fridge.
– Freeze for longer storage; thaw in the fridge before serving
Freeze in a single layer on parchment, then transfer to a sealed bag/container. Thaw in the refrigerator to reduce condensation, which can dull chocolate coatings.
If you’re catering or bringing these to an office, freeze ahead and thaw overnight for a consistent serve-time.
Common Problems and Quick Fixes
Even with an Oreo ball recipe easy, variations in ingredient temperature, humidity, and crushing texture can lead to predictable issues. Here are the fastest corrective actions.
– If the mixture is too soft, chill longer before rolling
Extend chilling in short intervals (5–10 minutes). Avoid adding extra cream cheese, which tends to worsen softness.
– If balls won’t hold shape, add a bit more crushed Oreo
Add crumbs gradually until the mixture gains firmness. This increases structural integrity without changing the flavor profile.
– If coating is uneven, chill coated balls before serving
Uneven coating can come from centers being too warm or chocolate being too thick. Next time, you can refine temperature. For current batch: chill the coated balls until the surface sets, then check visually—many uneven spots become cleaner once fully firm.
A reliable “quality control” habit: after the first batch sets, taste one ball to confirm interior texture before coating the remainder.
Oreo balls are an easy no-bake dessert: mix, roll, chill, and coat for a quick sweet treat. Follow the tips for texture and coating, then make a batch ahead for easy snacking—grab your Oreos and cream cheese and try the recipe today.
In the end, the secret to great Oreo ball recipe easy results is consistency: fine Oreo crumbs, properly softened cream cheese, brief chilling to control stickiness, and coating techniques that match your desired look. When you follow the steps and use the quick fixes for common issues, you’ll get Oreo balls that hold their shape, taste rich and creamy, and look polished—every time.
References
- Oreo
https://en.wikipedia.org/wiki/Oreo - Chocolate truffle
https://en.wikipedia.org/wiki/Chocolate_truffle - Ganache
https://en.wikipedia.org/wiki/Ganache - Confectionery
https://en.wikipedia.org/wiki/Confectionery - Cream cheese
https://en.wikipedia.org/wiki/Cream_cheese - Powdered sugar
https://en.wikipedia.org/wiki/Powdered_sugar - Tempered chocolate
https://en.wikipedia.org/wiki/Chocolate_tempering - Google Scholar Google Scholar
https://scholar.google.com/scholar?q=Oreo+balls+recipe - Google Scholar Google Scholar
https://scholar.google.com/scholar?q=Oreo+cookie+truffles+cream+cheese - Google Scholar Google Scholar
https://scholar.google.com/scholar?q=cookie+crumble+confection+truffle+science+ganache