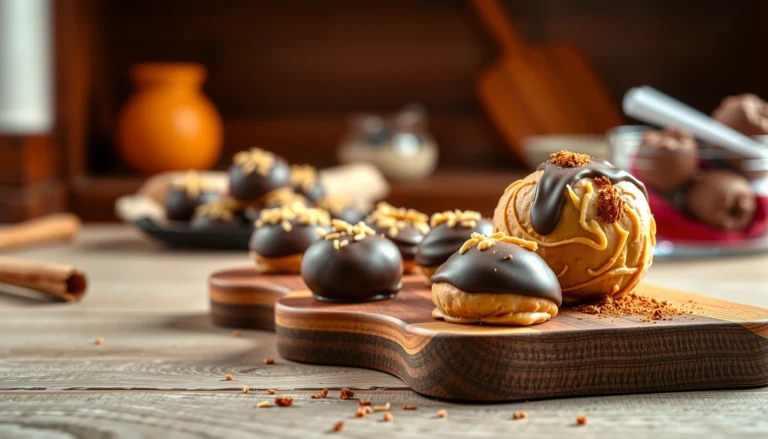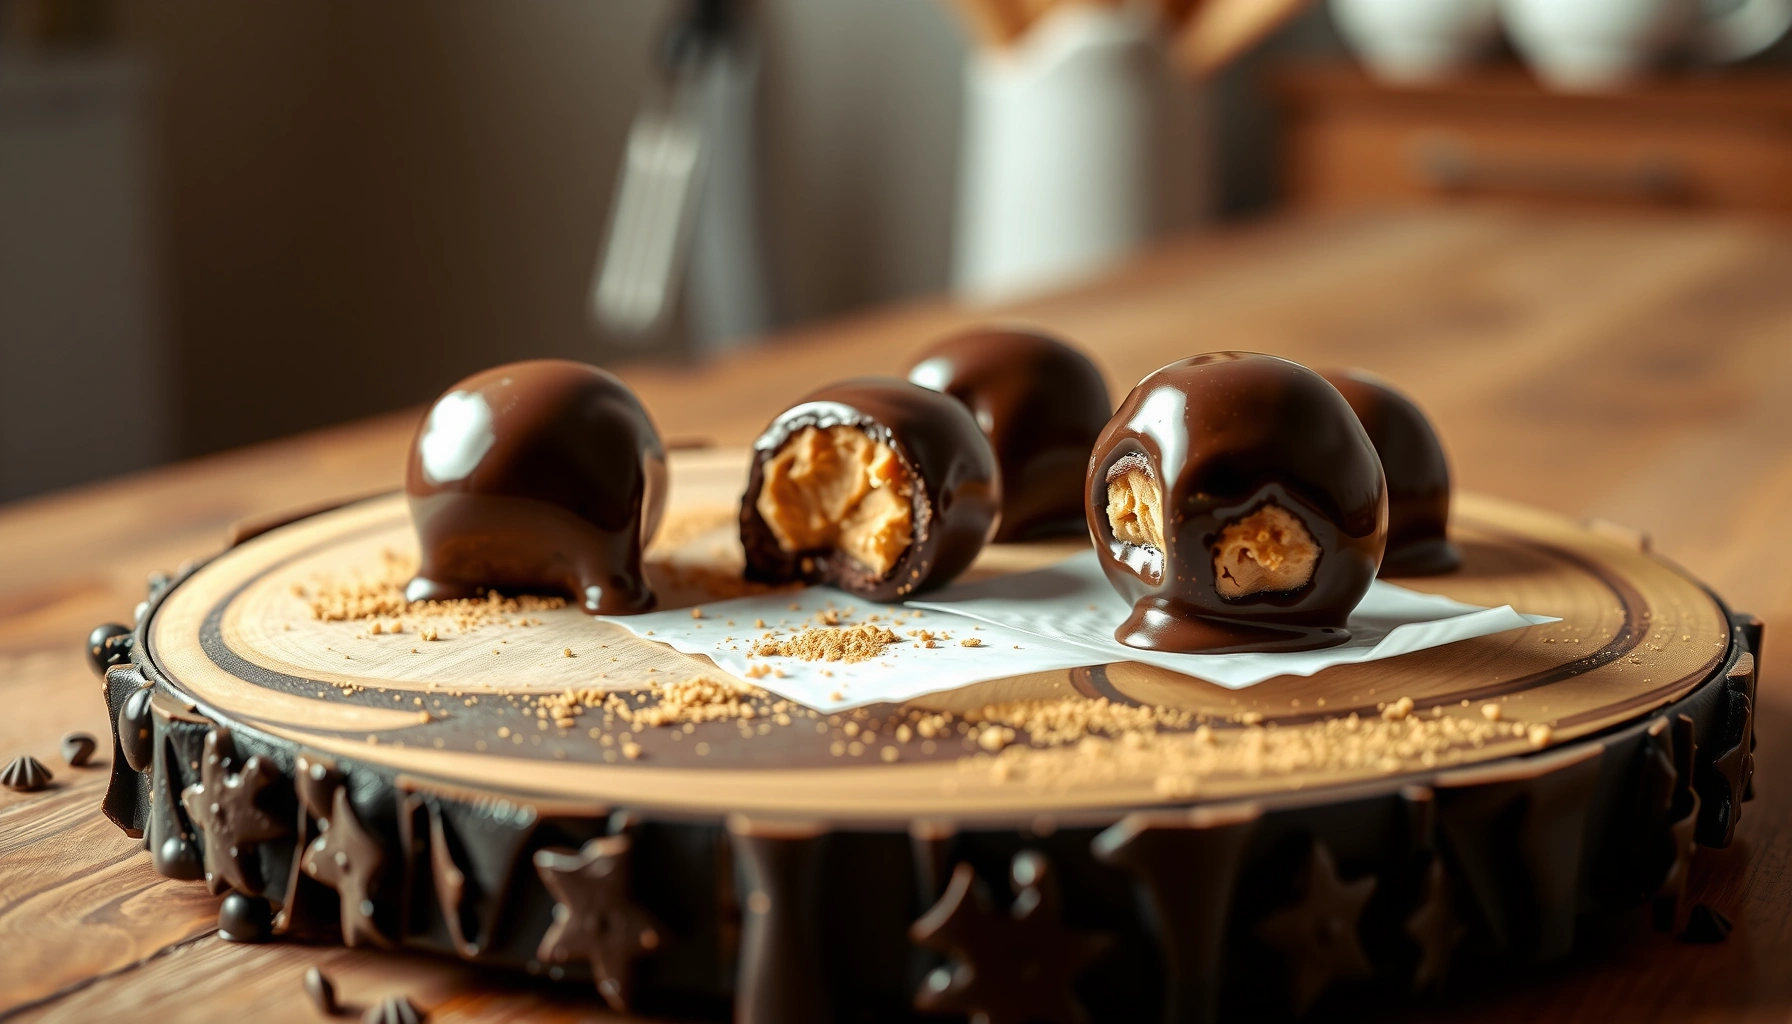
This easy no-bake recipe for chocolate peanut butter balls delivers rich, scoopable bites in under an hour—no oven required. It answers whether you can make classic peanut-butter-and-chocolate flavor fast, using simple pantry ingredients and a quick rolling process. If you want a guaranteed, crowd-pleasing dessert with minimal effort, this is the winning method.
Make chocolate peanut butter balls fast by mixing peanut butter with a simple binder, rolling into bite-size portions, and chilling until firm—no baking required. With a short list of ingredients and straightforward steps, you can reliably produce creamy centers and a smooth chocolate coating for snacks, party trays, or gift-ready treats.
Ingredients You’ll Need
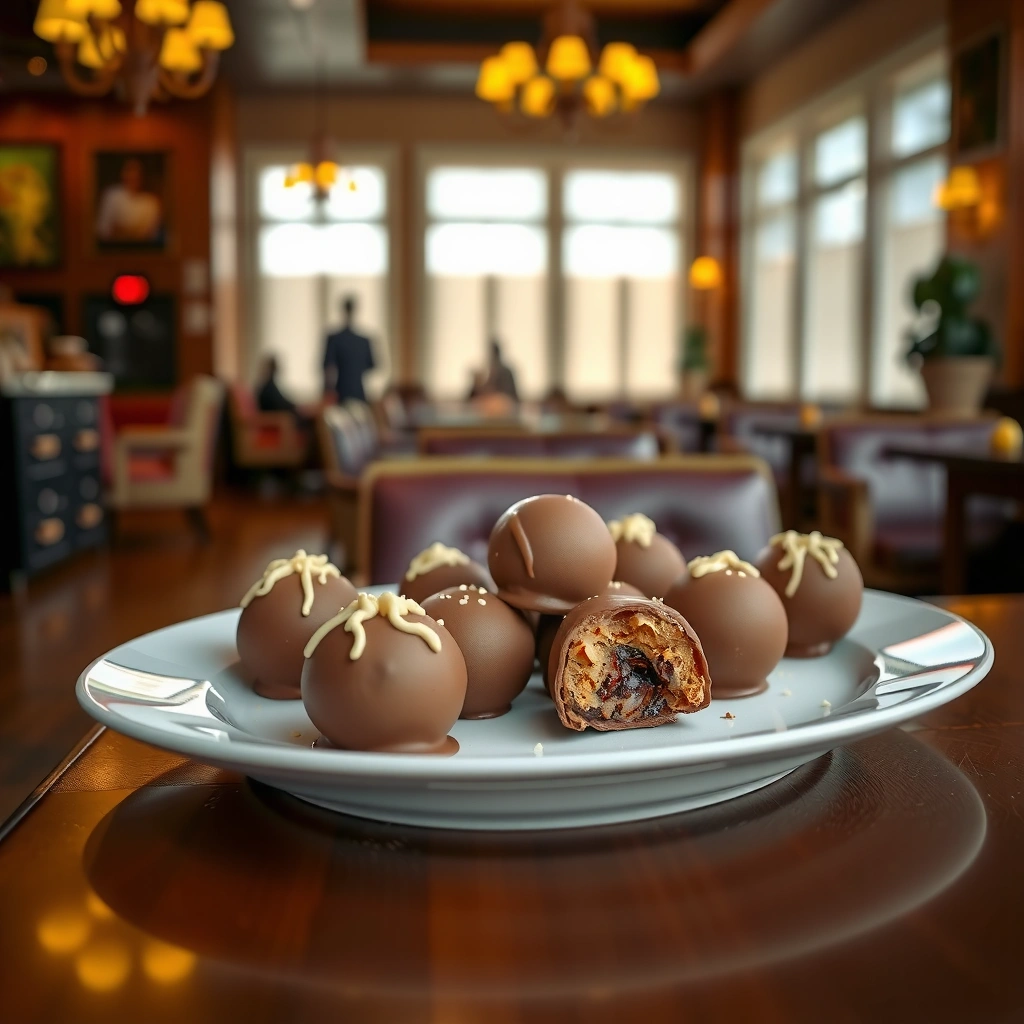
To make no-bake chocolate peanut butter balls that hold their shape and taste rich, focus on three functional roles: fat/flavor (peanut butter), structure (binder), and coating (chocolate). Once those are aligned, the process becomes repeatable even if you’re making the recipe for the first time.
– Peanut butter: Use creamy peanut butter for the smoothest texture; chunky works too, but you may need slightly more chilling time.
– Chocolate chips: Semi-sweet chocolate chips melt easily and create a consistent shell. If you prefer a deeper chocolate taste, choose dark chocolate chips.
– Binder (choose one):
– Powdered sugar for a classic “dough-like” consistency and mild sweetness, or
– Graham cracker crumbs for a slightly toasted, cookie-like flavor and a firmer bite.
Optional add-ins let you tailor flavor and performance:
– Vanilla extract (about 1/2 to 1 teaspoon) to round out the peanut butter flavor.
– A pinch of salt to intensify chocolate and reduce “flat” sweetness.
– Drizzle of melted chocolate if you want a lighter coating or a marbled look instead of full dipping.
Practical formulation note: peanut butter brands vary in oiliness, which affects how much binder you need. If your mixture feels loose, add binder 1 tablespoon at a time. If it feels dry, warm it briefly (10–15 seconds) and stir until workable.
Quick Reference: What Makes This Recipe “No-Bake”
Batch Consistency Factors for Chocolate Peanut Butter Balls
| # | Ingredient Variable | Typical Effect | Best Use | Ease Score |
|---|---|---|---|---|
| 1 | Creamy peanut butter | Smoother rolling; even texture | Dipping & gifting | ★★★★★ |
| 2 | Natural peanut butter (stirred) | More oil separation; may need extra binder | Flavor-forward batches | ★★★☆☆ |
| 3 | Powdered sugar binder | Classic sweetness; holds shape | Balanced, crowd-pleasing taste | ★★★★★ |
| 4 | Graham cracker crumb binder | Drier structure; cookie-note flavor | People who like “crisp” texture | ★★★★☆ |
| 5 | Semi-sweet chocolate chips | Reliable melt and set | Uniform chocolate coating | ★★★★★ |
| 6 | Short microwave melt intervals | Less scorching; smoother coating | Weeknight prep | ★★★★☆ |
| 7 | Pre-chilling the balls | Cleaner dipping; better set | High-volume batches | ★★★★★ |
Step-by-Step Instructions
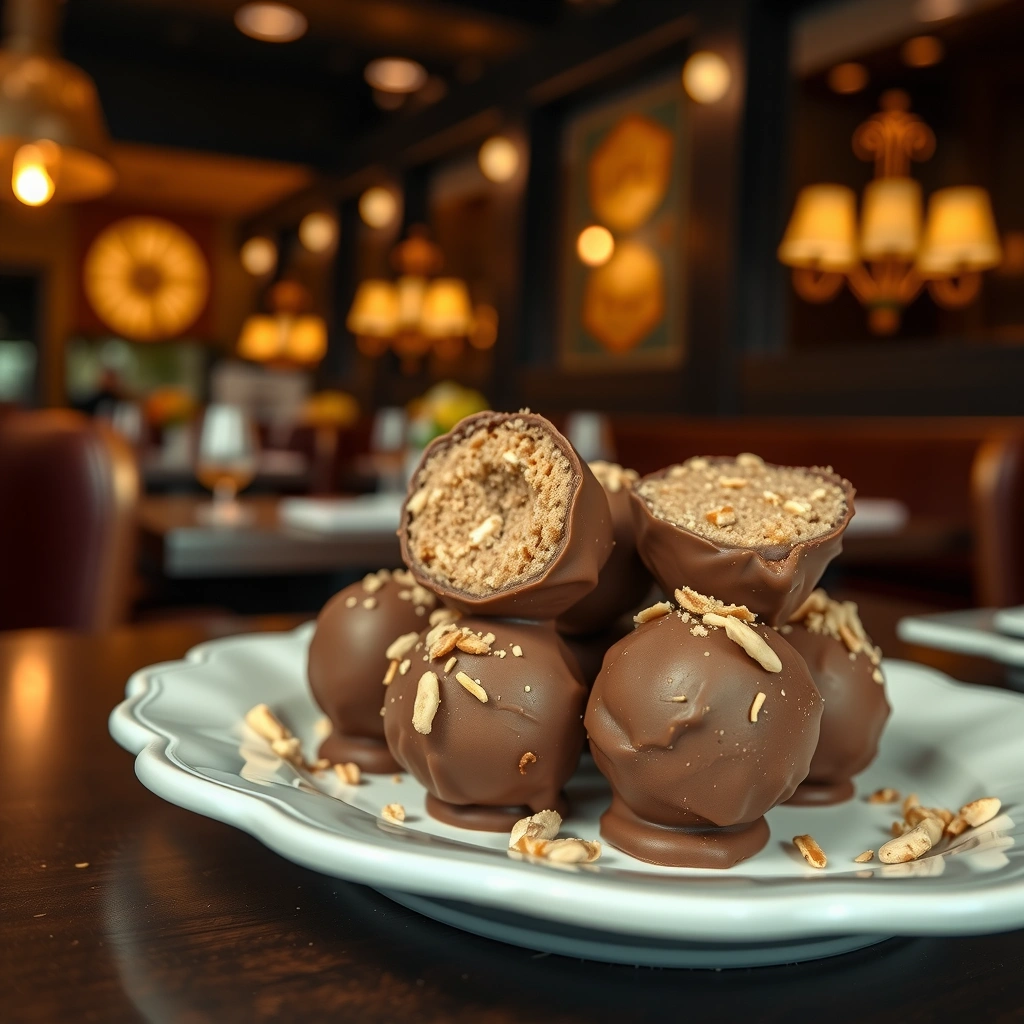
This is the part where you turn ingredients into a consistent “dough” that can be rolled without sticking. The goal is not just taste—it’s structure. When the mixture is thick enough to roll, you’ll get uniform balls that chill evenly and coat cleanly.
1. Combine the peanut butter mixture until it’s thick enough to roll.
– In a mixing bowl, combine peanut butter with your chosen binder (powdered sugar or graham cracker crumbs).
– Stir until the mixture becomes cohesive, glossy, and thick. If it’s too soft, add binder gradually; if it’s crumbly, briefly warm the bowl in a warm spot and mix again, or add 1–2 teaspoons more peanut butter.
– Let it sit for 2–3 minutes—this short rest helps hydrate the binder and improves rollability.
2. Scoop, roll into balls, and place on a lined tray.
– Line a baking sheet with parchment paper (or a silicone mat) for easy release.
– Use a cookie scoop or spoon to portion the mixture into even sizes—roughly 1 tablespoon each for bite-size balls.
– Roll quickly with clean hands. If the mixture clings to your palms, lightly dust your hands with powdered sugar or rub a tiny amount of neutral oil (just enough to prevent sticking, not enough to change the recipe).
Operational tip for consistency: aim for uniform ball size so all balls reach the same firmness at the same time, which is critical when you’re dipping in chocolate.
How to Coat Them in Chocolate
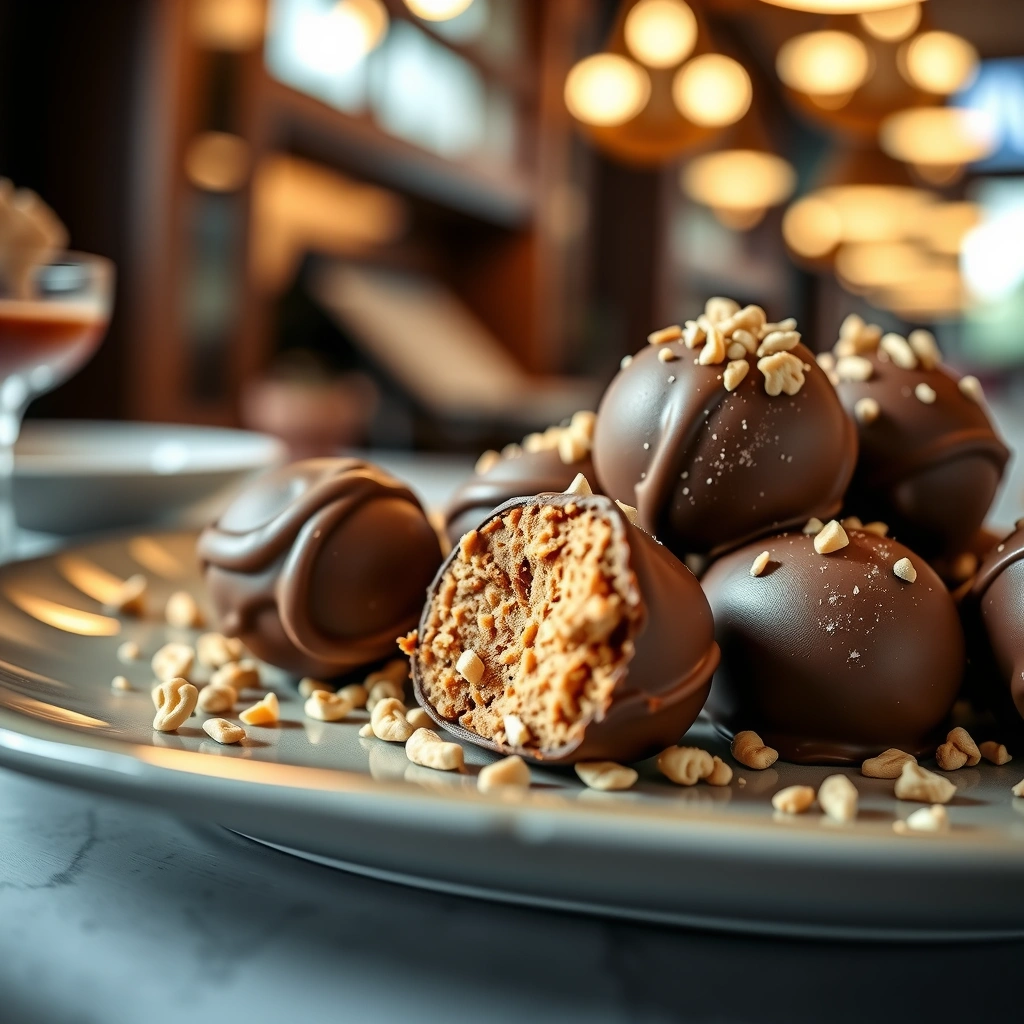
The coating step is where quality differences show up—melt smoothness, dip technique, and how quickly the chocolate sets. You have two good options: full dipping or drizzle.
– Melt chocolate (microwave in short bursts or use a double boiler).
Microwave method: heat chocolate chips in 15–30 second intervals, stirring each time until smooth.
Double boiler method: gently melt over simmering water, stirring until glossy.
– Dip or drizzle, then return to the tray for setting.
Dip method: use a fork or dipping tool to submerge each chilled ball partially or fully, then lift and let excess chocolate drip back into the bowl.
Drizzle method: place balls back on the tray and spoon melted chocolate over top for a lighter look.
Process optimization:
If chocolate starts to thicken while you work, re-warm it for 5–10 seconds rather than adding water. Water can cause chocolate to seize, resulting in a grainy coating.
Quality note: A slightly warm chocolate that still flows is ideal. If your chocolate is too hot, it can soften the peanut butter center and make coating messy—pre-chilling helps prevent that.
Chilling and Setting Tips
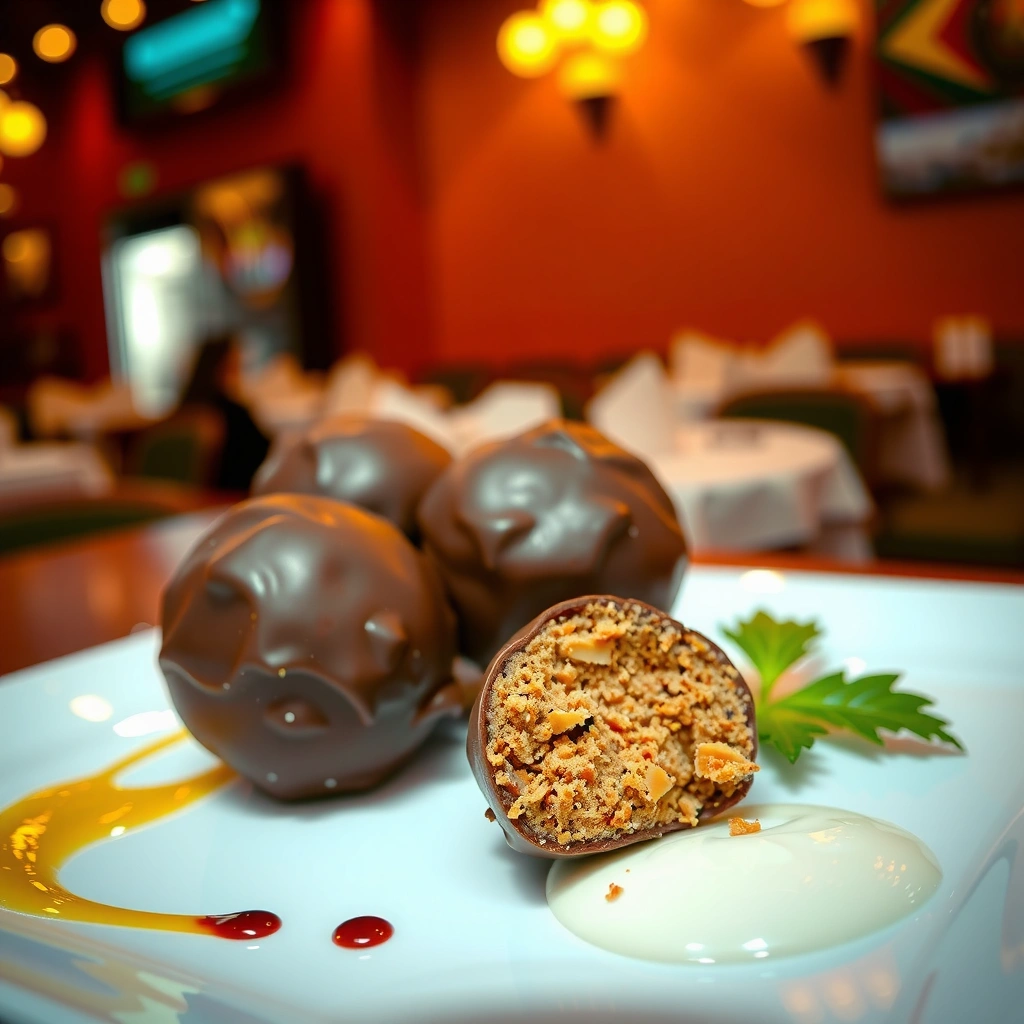
Chilling is not optional—it’s what turns a sticky mixture into stable, sliceable (or biteable) no-bake chocolate peanut butter balls.
– Refrigerate until firm, usually 20–60 minutes depending on your temperature.
In warmer kitchens, plan closer to 45–60 minutes. In cooler environments, 20–30 minutes may be enough. The right target is firm enough that the balls hold their shape when dipped.
– For cleaner coating, chill the balls before dipping.
Even if the filling feels “okay” at the touch, dipping requires extra firmness. Balls that are slightly too soft can crumble or create bare patches where chocolate doesn’t adhere well.
Setting targets you can feel (quick checklist)
– The surface should feel matte or slightly tacky—not wet or greasy.
– When lifted, the ball should resist deformation.
– After dipping, the chocolate should set within a few minutes at fridge temperature.
If you’re working at scale (parties, events, gifting):
Chill in batches—keep half the balls in the fridge while you dip the first half. This keeps dipping efficient and improves coating uniformity.
Storage and Make-Ahead Options
One advantage of an easy recipe for chocolate peanut butter balls is how well it supports planning. You can prep in advance, portion for sharing, and store for consistent texture.
– Store in an airtight container in the fridge for up to about a week.
Place parchment between layers if needed to prevent chocolate surfaces from sticking.
– Freeze for longer storage; thaw in the fridge before serving.
Freeze in a single layer until firm, then transfer to a freezer-safe container or bag. Thaw in the fridge for best texture and coating integrity. Avoid thawing at room temperature, which can soften peanut butter and blur the chocolate finish.
Service strategy for events:
For best visual appeal, freeze or chill until the last moment, then plate close to serving time. Chocolate coatings look best when they’re firm and glossy, not softened by warm air.
Troubleshooting Common Issues
Even with a straightforward no-bake process, a few variables can affect results. Here are practical fixes that preserve flavor while improving texture.
– If the mixture is too sticky, add a bit more powdered sugar or crumbs.
Sticky typically means the binder ratio is low relative to the oil content in your peanut butter. Add binder 1 tablespoon at a time, then re-check rollability. Also consider chilling the mixture 10–15 minutes before rolling.
– If chocolate won’t coat smoothly, let it cool slightly and stir well before dipping.
Grainy chocolate can come from overheating or incomplete melting. Stop heating, stir thoroughly, and let it sit briefly. If it’s seized, you’ll usually need to start over with fresh melted chocolate (water is a common culprit).
– If balls crack or chocolate flakes:
This usually indicates either the balls were too warm during dipping or the chocolate set too quickly before adhesion. Next time, pre-chill longer and work in smaller batches.
– If the coating is too thick or looks uneven:
Try slightly thinner drizzling coverage, or dip quickly and allow excess chocolate to drip back before setting.
When you follow an easy recipe for chocolate peanut butter balls, you’ll get a reliable no-fuss, no-bake treat with a creamy center and a chocolate finish. The keys are achieving the right binder-to-peanut-butter thickness for rollability, pre-chilling for clean dipping, and melting chocolate gently for a smooth, glossy coating. Make a batch today, chill for the best texture, and share them—or save them—for quick dessert satisfaction whenever cravings hit.
References
- Google Scholar Google Scholar
https://scholar.google.com/scholar?q=easy+chocolate+peanut+butter+balls+recipe - Google Scholar Google Scholar
https://scholar.google.com/scholar?q=no-bake+peanut+butter+truffles+chocolate+recipe - Google Scholar Google Scholar
https://scholar.google.com/scholar?q=peanut+butter+chocolate+truffle+formulation+rolling+coating - Chocolate truffle
https://en.wikipedia.org/wiki/Chocolate_truffle - Peanut butter
https://en.wikipedia.org/wiki/Peanut_butter - Chocolate
https://en.wikipedia.org/wiki/Chocolate - https://en.wikipedia.org/wiki/Confectionery
https://en.wikipedia.org/wiki/Confectionery - https://www.fda.gov/food/food-allergens/labeling-food-allergens
https://www.fda.gov/food/food-allergens/labeling-food-allergens - https://www.fda.gov/food/foodborneillnesscontaminants/food-safety-basics
https://www.fda.gov/food/foodborneillnesscontaminants/food-safety-basics - Allergen
https://en.wikipedia.org/wiki/Allergen