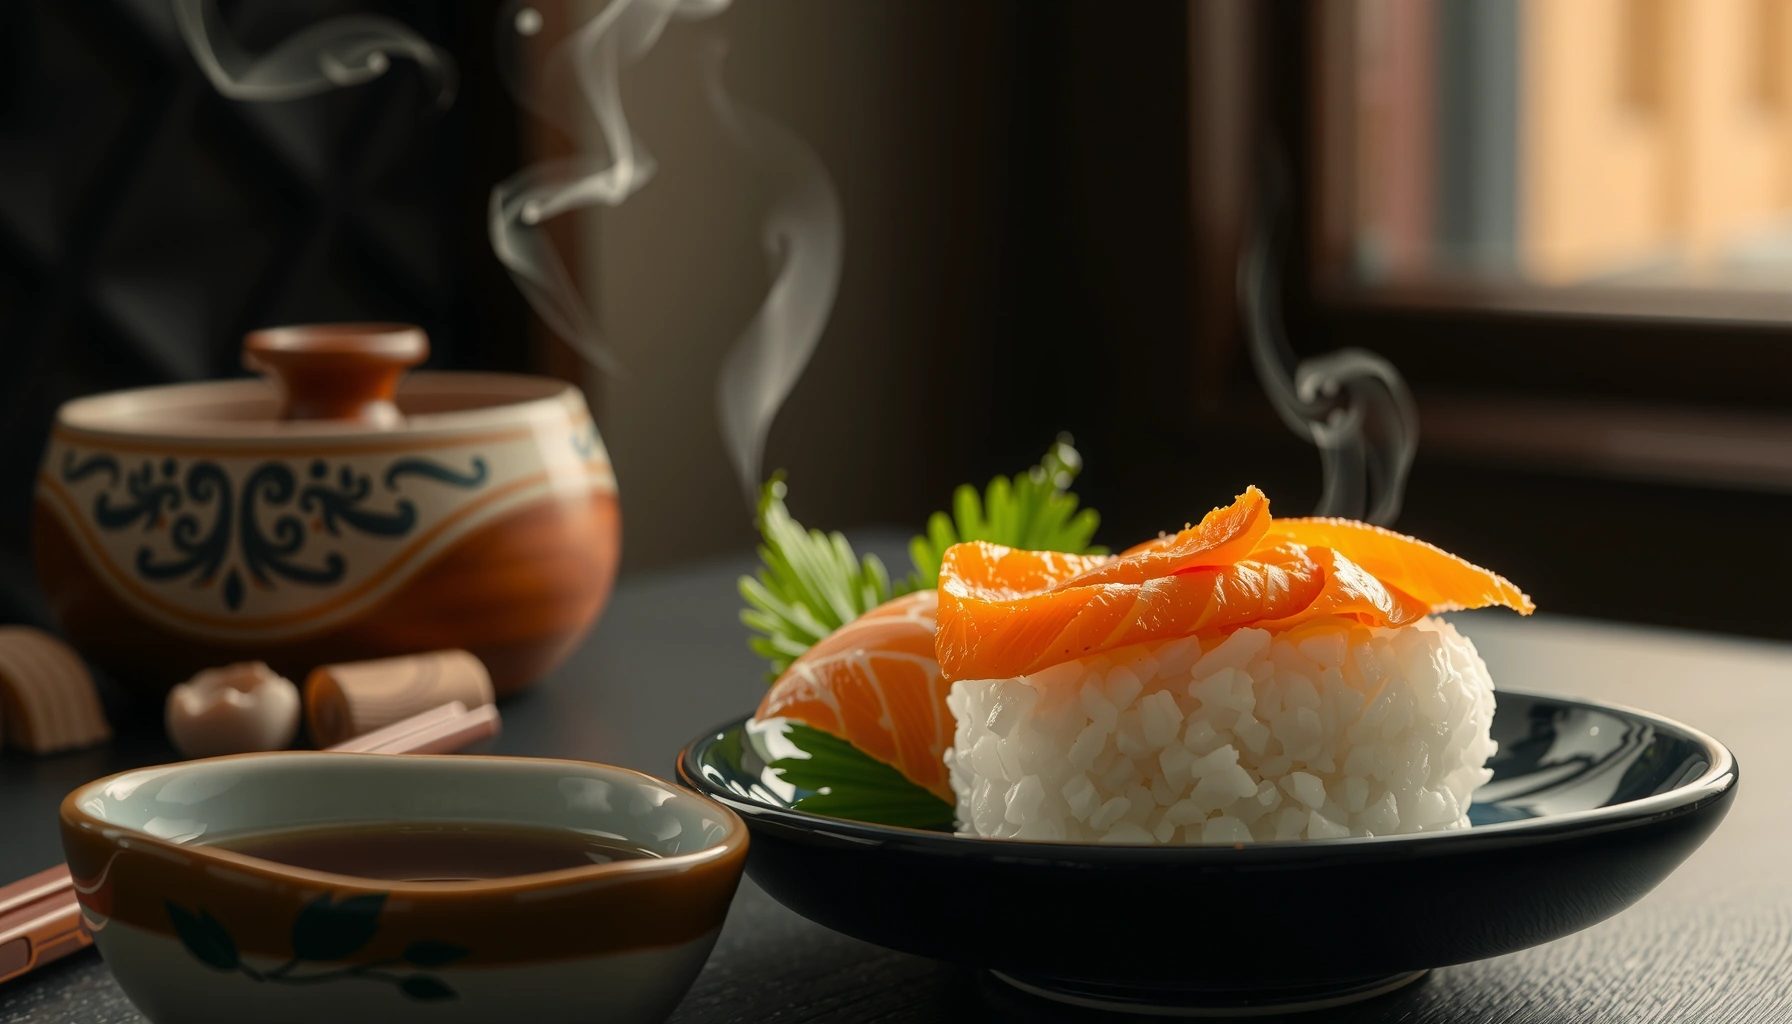
Want a salmon rice ball recipe that actually delivers perfect onigiri on the first try? This easy method uses flaky salmon to make bold, savory rice balls with clean edges and satisfying bite—no complicated shaping required. If you’re after quick, restaurant-style onigiri flavor at home, this is the clear winner.
Make salmon rice balls (onigiri) by shaping warm rice around seasoned salmon, then forming neat triangles or circles—this method is reliable, easy, and produces onigiri that hold together. With the right rice, a small amount of seasoning, and firm pressure while shaping, you’ll get a cohesive bite every time, plus filling flavors that range from classic mayo-rich to spicy or sesame-forward.
This is one of the most practical “beginner to repeat” recipes in Japanese home cooking: you don’t need complicated equipment, and you can use canned salmon or leftover cooked salmon. The key isn’t only what you put inside—it’s temperature (warm, not scalding), cohesion (proper rice stickiness), and technique (firm shaping and smart sealing).
What You Need for Salmon Rice Ball Recipe
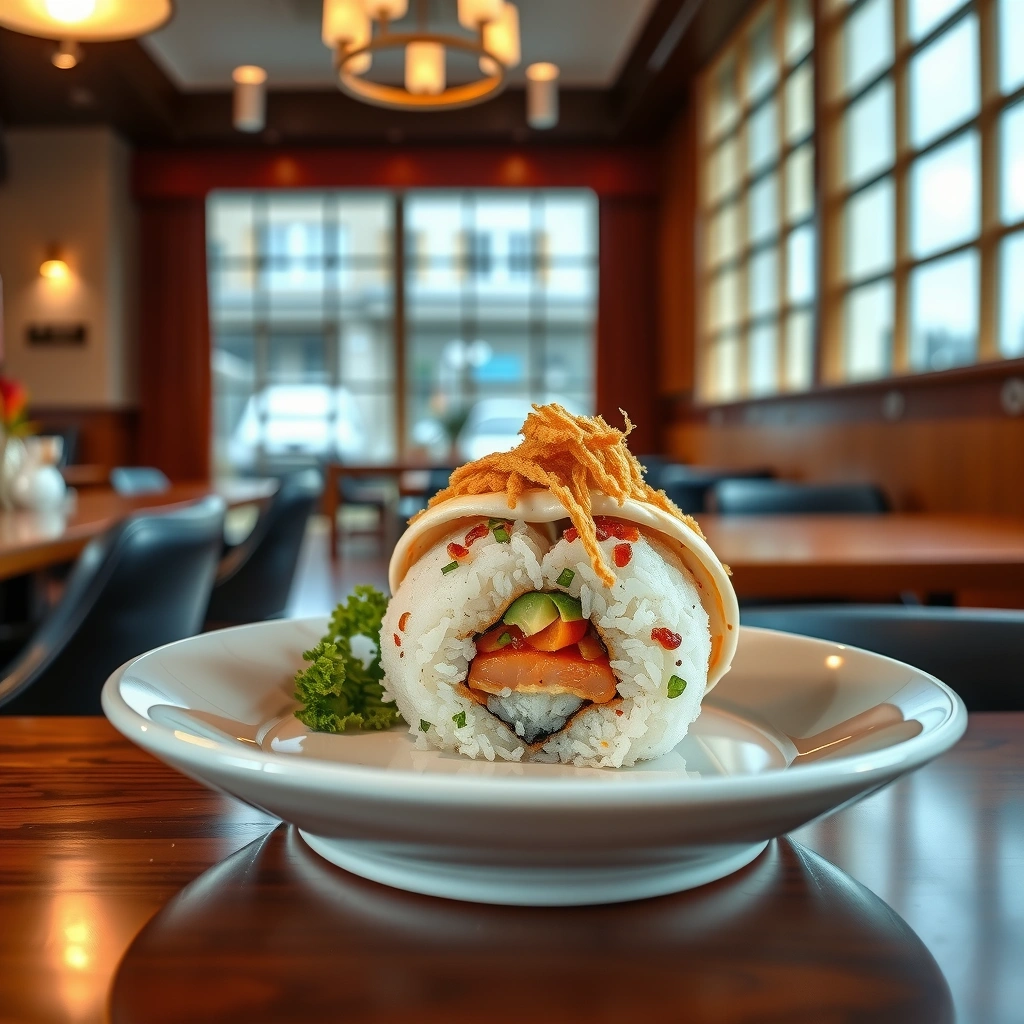
– Use short-grain Japanese rice for best sticking and texture
– Prepare salmon (canned or cooked) and essential seasonings like salt or soy sauce
– Optional tools: nori sheet, rice paddle, and a bowl of water for shaping
To get onigiri that don’t crumble, start with the right base. Short-grain Japanese rice (often labeled as “sushi rice”) contains more surface starch than long-grain varieties, which is what helps the grains fuse when warm. When you cook it, aim for slightly tender grains—not mushy—so the rice can compress without becoming gummy.
Ingredients (for about 8–10 onigiri)
– Rice: 2 cups uncooked short-grain Japanese rice
– Water: per package instructions (commonly ~2:1 by volume)
– Salt: 1–2 tsp (for salting hands and/or the rice)
– Salmon filling:
– 1 (5–7 oz / 140–200 g) can salmon (drained) or 1–1¼ cups cooked flaked salmon
– 1–3 tbsp mayonnaise (optional depending on filling style)
– 1–2 tsp soy sauce or 1 tsp salt (to taste)
– Optional: furikake (for rice flavor and extra grip)
Optional “high success” add-ons
– Nori strips for wrapping (add aroma and structure)
– Furikake for seasoning consistency
– Lemon zest or rice vinegar (a small splash can brighten salmon without making it watery)
Quick quality check
If your rice seems dry after cooling, the grains won’t bind well; if it’s too hot, it becomes sticky and gummy and can fall apart once you handle it. You’re targeting “warm and moldable,” not “steaming.”
Onigiri Success Factors: What Most Affects Hold & Texture
| # | Factor | Impact Score (1–10) | Typical Mistake | Effect |
|---|---|---|---|---|
| 1 | Rice variety (short-grain) | 10 | Using long-grain rice | Prevents crumbling |
| 2 | Rice temperature while shaping | 9 | Too hot or fully cooled | Improves compression |
| 3 | Firm pressure during shaping | 9 | Gentle handling | Locks structure |
| 4 | Hand moisture/soaping (water + salt) | 8 | Rice sticking to fingers | Smooth shaping |
| 5 | Salmon moisture level | 7 | Overly wet filling | Reduces leakage |
| 6 | Rice seasoning (salt/furikake) | 6 | Flavor only in filling | Balances taste |
| 7 | Nori timing (wrap last) | 5 | Wrapping too early | Can soften nori |
Step-by-Step: How to Make Salmon Rice Balls
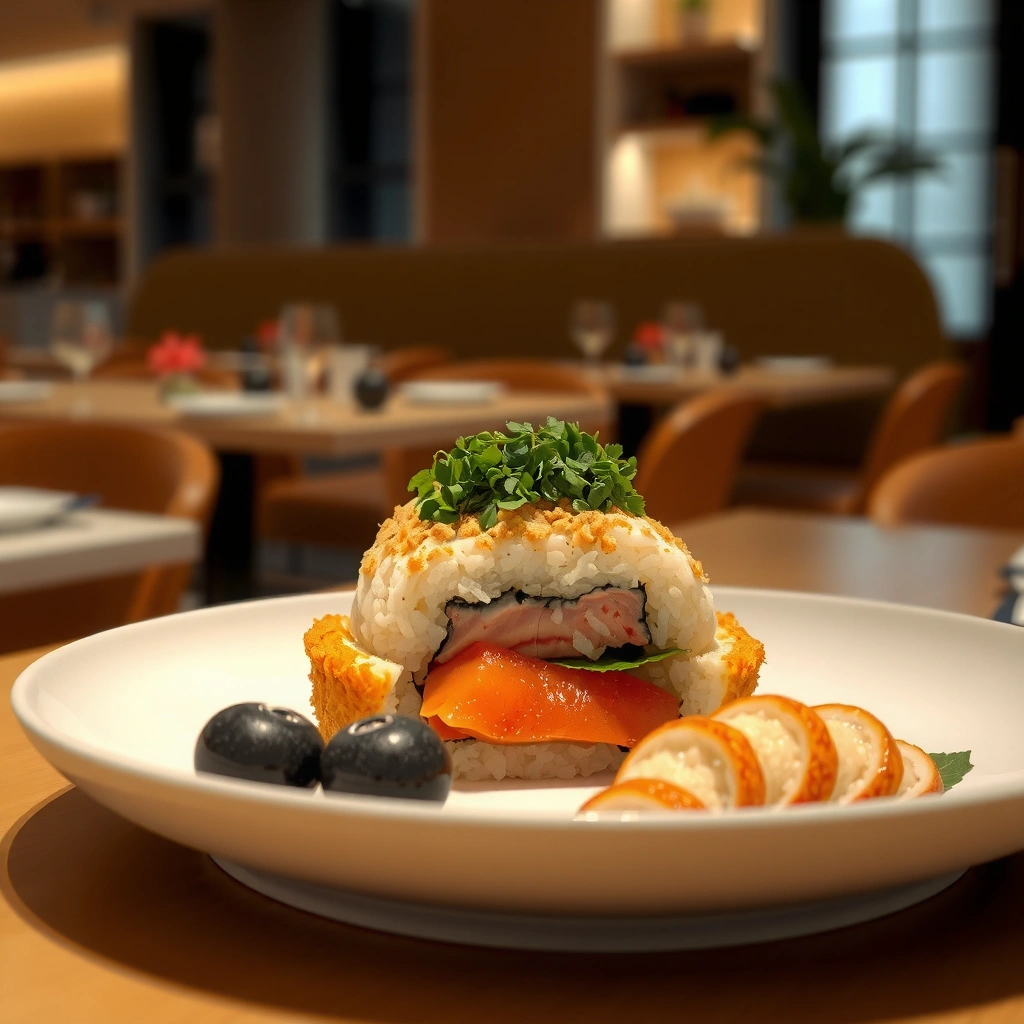
– Cook rice and let it cool slightly so it’s moldable but not too hot
– Season the salmon and mix briefly, then portion it for the center
– Shape rice firmly into triangles (or circles) and wrap with nori if desired
This is the part where technique matters as much as ingredients. Onigiri is not “just rice”—it’s rice that has been engineered by starch chemistry and handling. Follow these steps closely and you’ll get consistent results, even if it’s your first time.
1) Cook the rice correctly
– Rinse your Japanese rice until the water runs mostly clear (removes excess surface starch).
– Cook according to your rice cooker or stovetop instructions.
– After cooking, let it rest covered for 10 minutes. This helps the grains settle and reduces clumping.
2) Cool to the right temperature
Let the rice cool until it’s comfortably warm to handle—typically about 15–25 minutes after cooking (timing varies with room temperature). If the rice is too hot, it can turn paste-like and stick to your fingers uncontrollably. If it’s too cool, it won’t bind.
3) Prepare the salmon filling
Drain canned salmon well. Then:
– Flake it thoroughly with a fork.
– Mix in your chosen seasonings (examples in the next section).
– Taste and adjust. Salmon fillings often need a slightly bolder punch than you expect because rice will mellow the flavors.
A practical approach: portion the filling into small mounds (about 1–2 tablespoons each). This prevents overfilling and reduces the chance of leakage.
4) Shape triangle (classic) or circle (easy)
Triangle method (most classic):
1. Wet your hands with water and lightly salt them.
2. Place a base layer of rice in your palm and press gently but firmly.
3. Make an indentation, add salmon filling, and cover with more rice.
4. Press the edges inward, then shape into a triangle using firm, controlled pressure.
5. Wrap with nori right before serving if you want the best texture.
Circle method (faster and beginner-friendly):
1. Scoop rice into a hand-sized portion.
2. Flatten slightly, add filling, close like a “rice sandwich.”
3. Roll and press into a tight ball or oval.
4. Wrap with nori only when ready to eat.
5) Handle in batches to maintain temperature
Because rice cools quickly, shape in short batches. If the rice starts to stiffen, warm it slightly (covered) or work faster with another bowl of warm rice. Consistency comes from maintaining that “moldable” window.
Best Salmon Filling Ideas
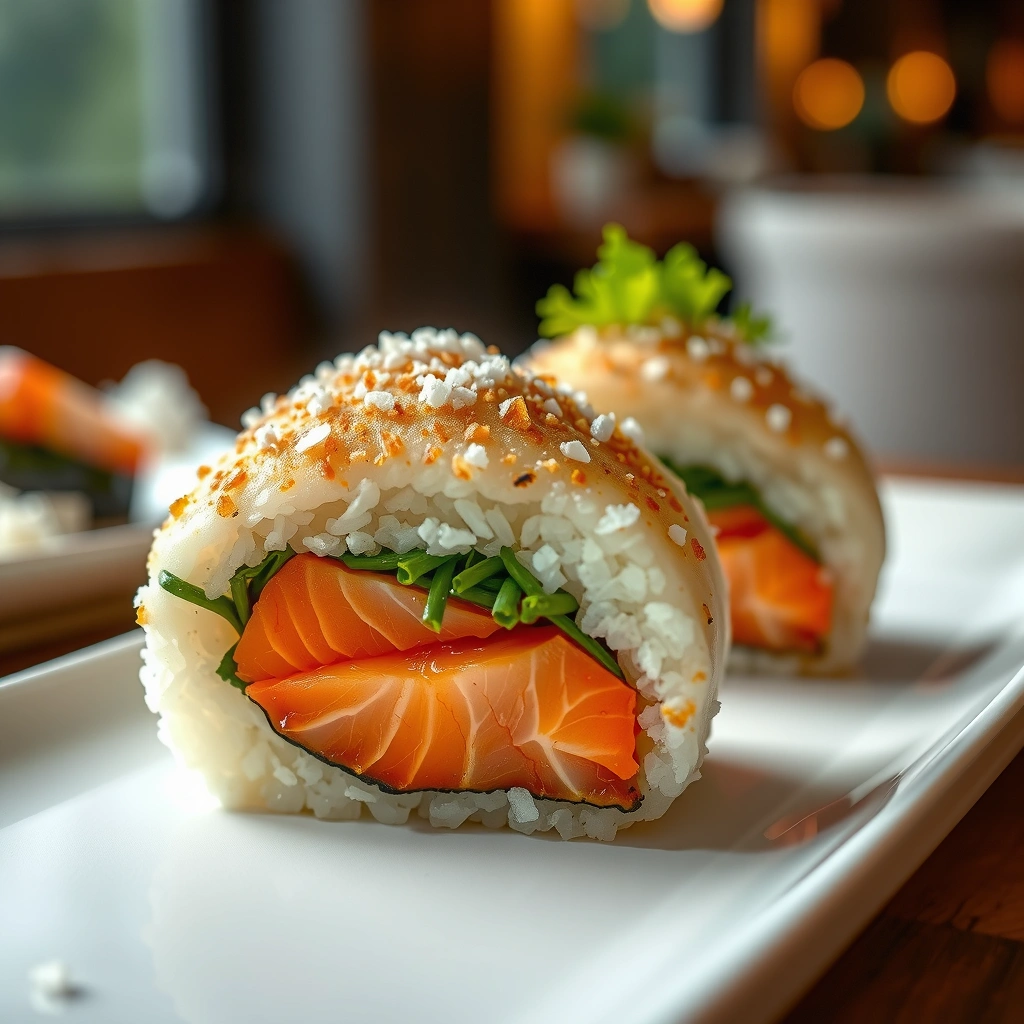
– Classic: flaked salmon with mayo and a little soy sauce for richness
– Spicy: salmon + mayo + sriracha or chili flakes
– Light: salmon + sesame oil + soy sauce for a cleaner taste
Your filling is where you can turn onigiri from “good” to “habit-forming.” The main analytical point: salmon fillings differ in fat content and moisture. Higher-fat fillings like mayo tend to hold together better and feel creamy, but can soften nori if wrapped too early. Lighter fillings can be fresher, but must be portioned carefully to prevent the center from being too wet.
Classic (creamy and crowd-pleasing)
– Salmon + mayo (about 1–2 tbsp per 1 can/drained salmon)
– 1 tsp soy sauce for depth
– Optional: pinch of sugar to round out saltiness (especially if your salmon is very salty)
Why it works: mayonnaise adds fat that coats rice grains and improves cohesion.
Spicy (for heat without overpowering)
– Salmon + mayo
– 1–2 tsp sriracha (or chili flakes to taste)
– Optional: a drop of soy sauce to keep flavor balanced
Why it works: heat is distributed evenly when the filling is well mixed and portion-controlled.
Light (clean flavor with nutty aroma)
– Salmon
– 1–2 tsp sesame oil (use sparingly)
– 1 tsp soy sauce (or a small pinch of salt)
– Optional: finely chopped scallion for freshness
Why it works: sesame oil brings aroma; soy adds salt structure. Keep it modest to avoid grease.
How to Season and Prevent Rice from Falling Apart
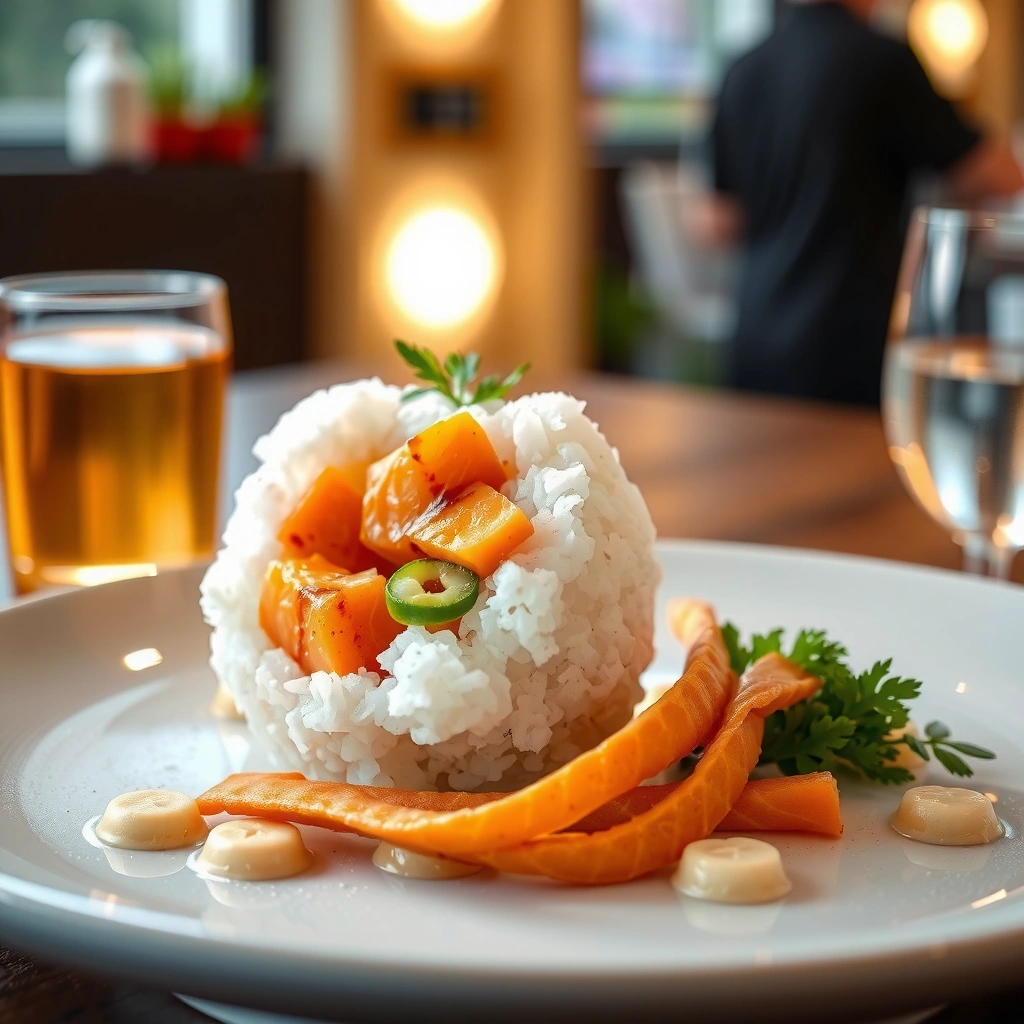
– Salt your hands and press rice firmly to help it set
– Add a small amount of furikake or seasoning to the rice for extra flavor
– Keep rice warm while shaping, and use water to prevent sticking
Even the best filling can fail if the rice is handled incorrectly. Onigiri stability is a combination of starch adhesion, moisture control, and mechanical pressure.
Step-by-step anti-fall-apart technique
1. Salt your hands: A light salt layer reduces sticking and helps you maintain consistent pressure.
2. Press firmly: Think “compress,” not “squeeze randomly.” Use steady, even pressure around the edges.
3. Use water strategically: Keep a bowl of water nearby. Wetting your hands (not soaking them) prevents rice from tearing when you shape.
4. Season rice lightly: If you only season the salmon, the rice can taste flat once it cools. Add:
– a pinch of salt to the rice, and/or
– furikake (start with 1–2 tbsp per batch)
Furikake use (best practice)
Furikake adds flavor and can improve perceived cohesion because it distributes seasonings across the rice surface. Use it moderately so it doesn’t make the rice too wet or heavy.
Temperature rule of thumb
If your onigiri is:
– Cracking and falling apart: rice is likely too cool or you’re using too little pressure.
– Gummy and hard to shape: rice is likely too hot or too wet.
Serving, Storing, and Reheating Tips
– Serve right away for best texture and flavor
– Store in the fridge in an airtight container for up to 2–3 days
– Reheat gently (or enjoy cold) and rewrap with nori if it softens
Onigiri is best fresh, but it’s also practical for meal prep. The primary variable is moisture—rice hardens in the fridge and softens when reheated, and nori becomes chewy when exposed to steam.
Serve (best results)
– Wrap with nori last for crispness.
– If transporting, keep them wrapped and protected from heat.
Store
– Cool any rice filling slightly before packing (warm filling can create condensation).
– Store in an airtight container in the fridge for up to 2–3 days.
Reheat gently
– Microwave in short intervals with a light paper towel to manage moisture.
– Alternatively, enjoy cold—many people prefer the chilled texture for salmon onigiri.
Nori handling
– If the nori has softened, simply rewrap with fresh nori right before eating (this is the easiest “restaurant-quality” upgrade).
Troubleshooting Common Issues
– If rice is too sticky or loose, adjust by cooling the rice more or pressing harder
– If filling leaks, reduce the amount and seal the edges firmly
– If flavor is bland, season the salmon and add a light touch of seasoning to the rice
Onigiri troubleshooting is mostly about identifying which “system” failed: rice cohesion, filling moisture, or seasoning balance.
Problem: Rice is too sticky
Likely cause: rice is too hot or hands aren’t managed well.
Fix: cool the rice a bit more next time; wet and salt your hands consistently.
Problem: Rice is loose and won’t hold
Likely cause: rice is too cool, or pressure is insufficient.
Fix: shape with firmer compression and work while rice is warm and moldable.
Problem: Filling leaks
Likely cause: filling portion is too large or not sealed.
Fix: use less filling, and ensure the rice fully covers the edges before forming the final shape.
Problem: Bland flavor
Likely cause: salmon is under-seasoned or rice has no seasoning.
Fix: season the salmon more assertively (but taste first), and add a light touch of salt or furikake to the rice.
Problem: Nori turns soggy
Likely cause: nori is wrapped too early or sits in steam/moisture.
Fix: wrap right before serving and keep storage containers sealed but not overly steamy.
You’ll get perfect salmon rice balls by using the right short-grain rice, pressing firmly while shaping, and choosing a filling that matches your preferred flavor style. Start with the classic salmon mayo version, then branch into spicy or sesame-style fillings—once your technique clicks, you’ll be able to make easy onigiri on demand.
Whether you’re packing lunch, preparing a quick snack, or serving a Japanese-inspired appetizer, these salmon rice balls deliver satisfying texture and reliable structure. Make a batch today, and you’ll see why onigiri remains one of the most beloved, practical rice recipes in home kitchens.
References
- Onigiri
https://en.wikipedia.org/wiki/Onigiri - Sushi
https://en.wikipedia.org/wiki/Sushi - Sushi
https://en.wikipedia.org/wiki/Sushi_rice - Salmon
https://en.wikipedia.org/wiki/Salmon - Nori
https://en.wikipedia.org/wiki/Nori - Japanese cuisine
https://en.wikipedia.org/wiki/Japanese_cuisine - Sushi | Definition, Description, & Facts | Britannica
https://www.britannica.com/topic/sushi - https://www.fda.gov/food/people-risk-raw-fish-and-shellfish
https://www.fda.gov/food/people-risk-raw-fish-and-shellfish - Google Scholar Google Scholar
https://scholar.google.com/scholar?q=salmon+rice+ball+recipe+onigiri - Google Scholar Google Scholar
https://scholar.google.com/scholar?q=onigiri+salmon+filling+recipe