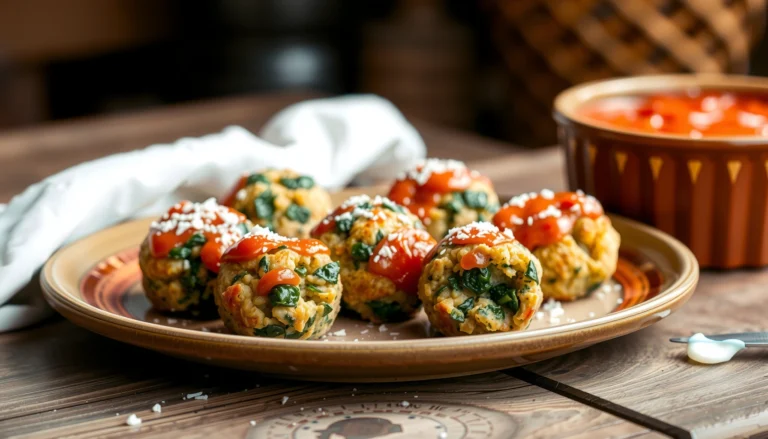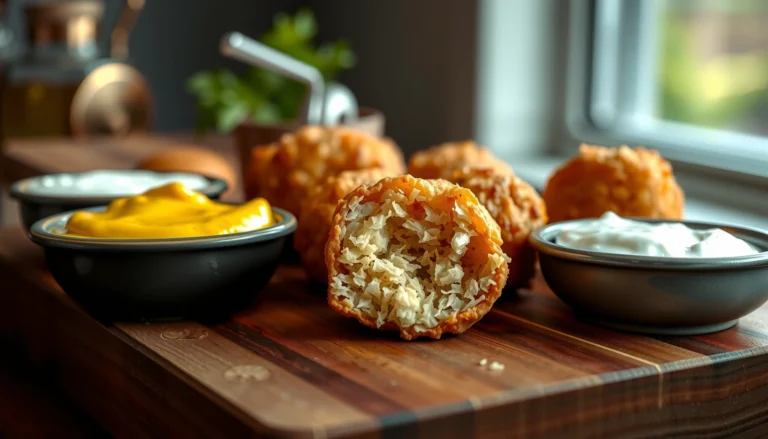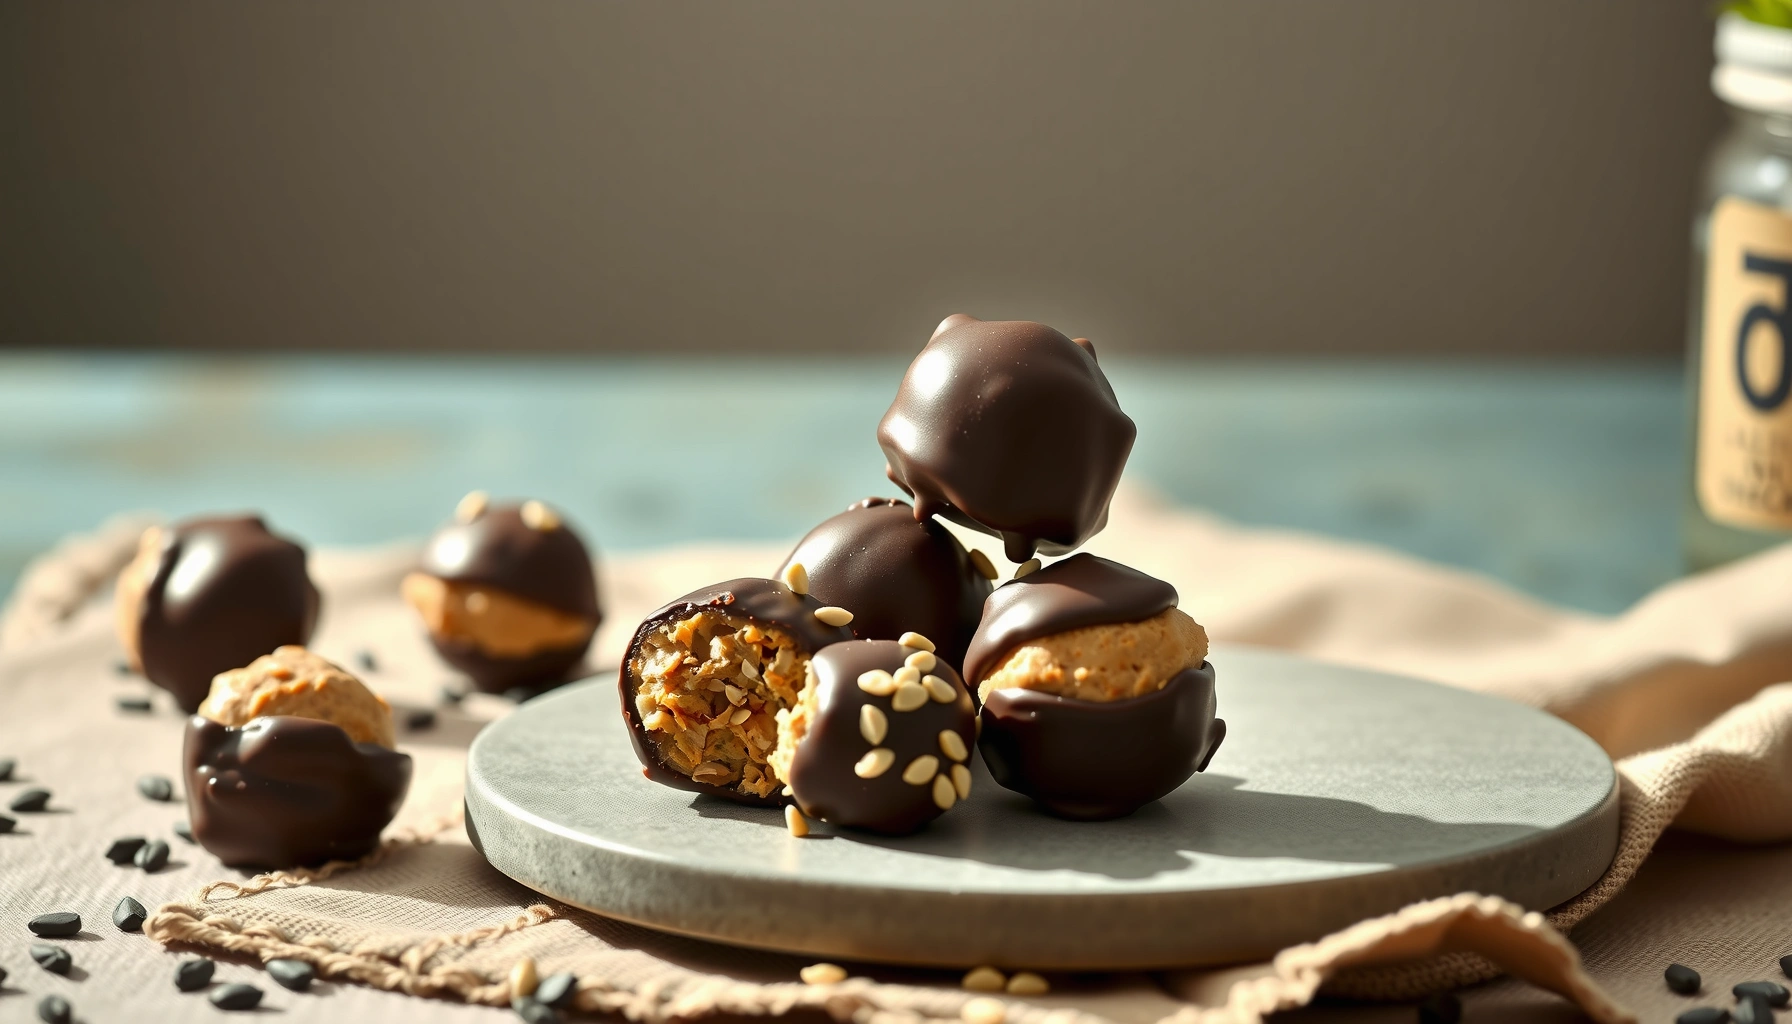
Looking for a protein power balls recipe that you can make fast with no-bake steps? This easy, go-to energy bites formula delivers high-protein power balls with the right mix of sweetness, chew, and melt-in-your-mouth texture in minutes. If you want a reliable snack for busy days—no oven, no fuss—this is the winner.
Protein power balls are an easy, no-bake way to create high-protein snacks using a simple mix-and-chill method—typically in under 15 minutes. You’ll get the best results by balancing a protein source (like whey or plant protein) with a binding base (such as nut butter or oats), then chilling long enough to set the texture for clean, satisfying bites.
Protein Power Ball Targets by Protein Source (per 1 ball, ~25–30g)
| # | Protein Source in the Ball | Estimated Protein (g) | Texture Rating | Ease of Binding |
|---|---|---|---|---|
| 1 | Whey Protein Powder | 8–10g | ★★★★☆ | High |
| 2 | Plant Protein Powder (Pea/Rice Blend) | 7–9g | ★★★☆☆ | Medium |
| 3 | Casein Protein Powder | 9–11g | ★★★★☆ | High |
| 4 | Nut Butter + Oats (Protein Support) | 5–7g | ★★★☆☆ | High |
| 5 | Greek Yogurt (No-Bake Binder Option) | 6–8g | ★★☆☆☆ | Low–Med |
| 6 | Skyr Powder (Protein + Dryness) | 8–10g | ★★★★☆ | Medium |
| 7 | Collagen (Supplemental, Not a Full Protein) | 4–6g | ★★★☆☆ | Low |
Protein Power Balls: What You’ll Need
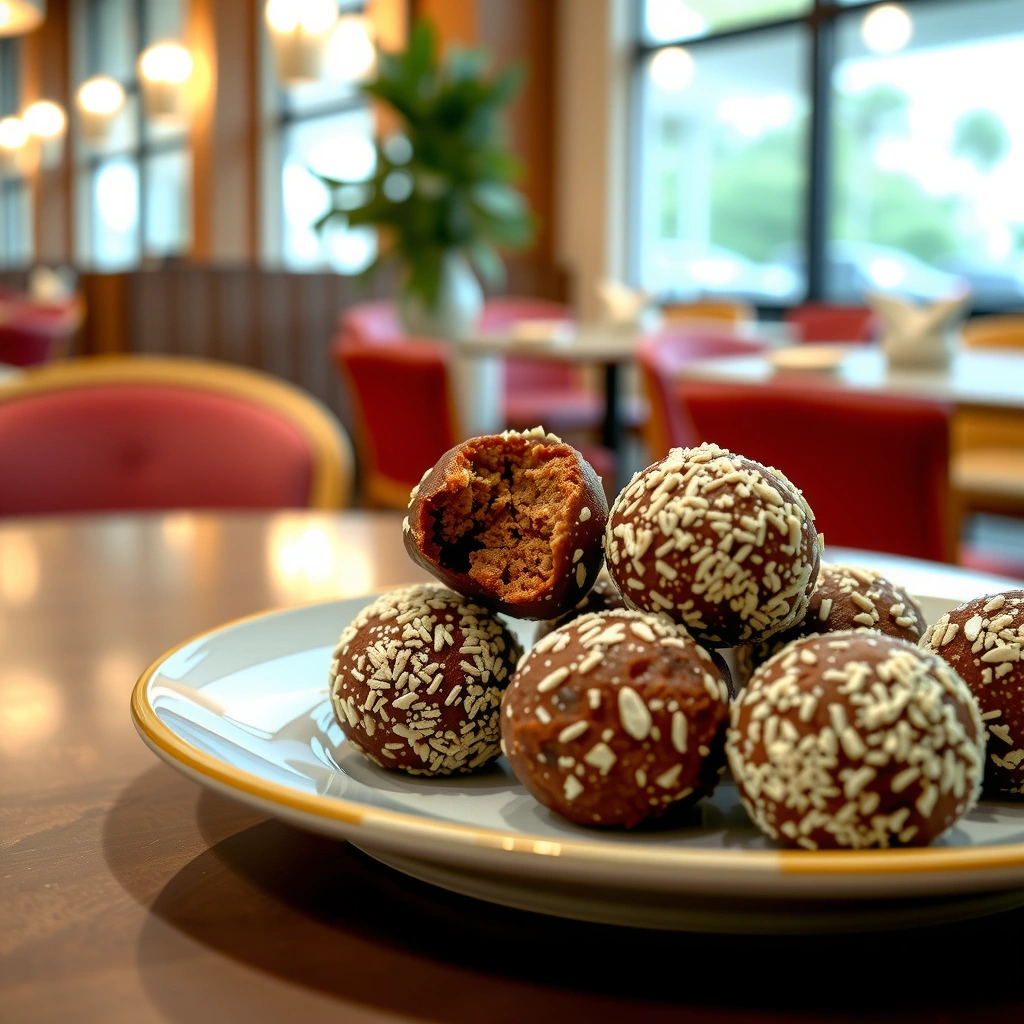
To make protein power balls that hold their shape and taste like a real snack (not dry “diet food”), you need three components: a protein contributor, a binder, and optional flavor/texture add-ins.
1) Choose your base (structure + protein function)
– Protein powder (best for true “high-protein” bites): Whey, casein, or plant protein powder provide the protein density and help the mixture firm up after chilling.
– Nut butter (best for stickiness + flavor): Peanut butter, almond butter, or sunflower seed butter are strong binders because their fats and viscosity hold the ball together.
– Oats or oat flour (best for bulk + chew): Rolled oats add thickness and improve mouthfeel. For smoother results, pulse oats briefly into oat flour.
2) Gather add-ins (flavor + micro-texture)
– Sweetener/adhesion boosters: honey or maple syrup adds moisture that helps protein powder hydrate and bind.
– Fiber and thickness: chia or ground flax improves cohesion and adds a “thicker” bite.
– Mix-ins: chocolate chips, chopped nuts, dried fruit, or shredded coconut make the recipe feel customized rather than generic.
Practical tip: If you’re optimizing for meal prep, pick mix-ins that won’t go stale quickly (nuts and coconut can be great; berries can be better in smaller amounts).
Ingredients Ratio for the Perfect Bite
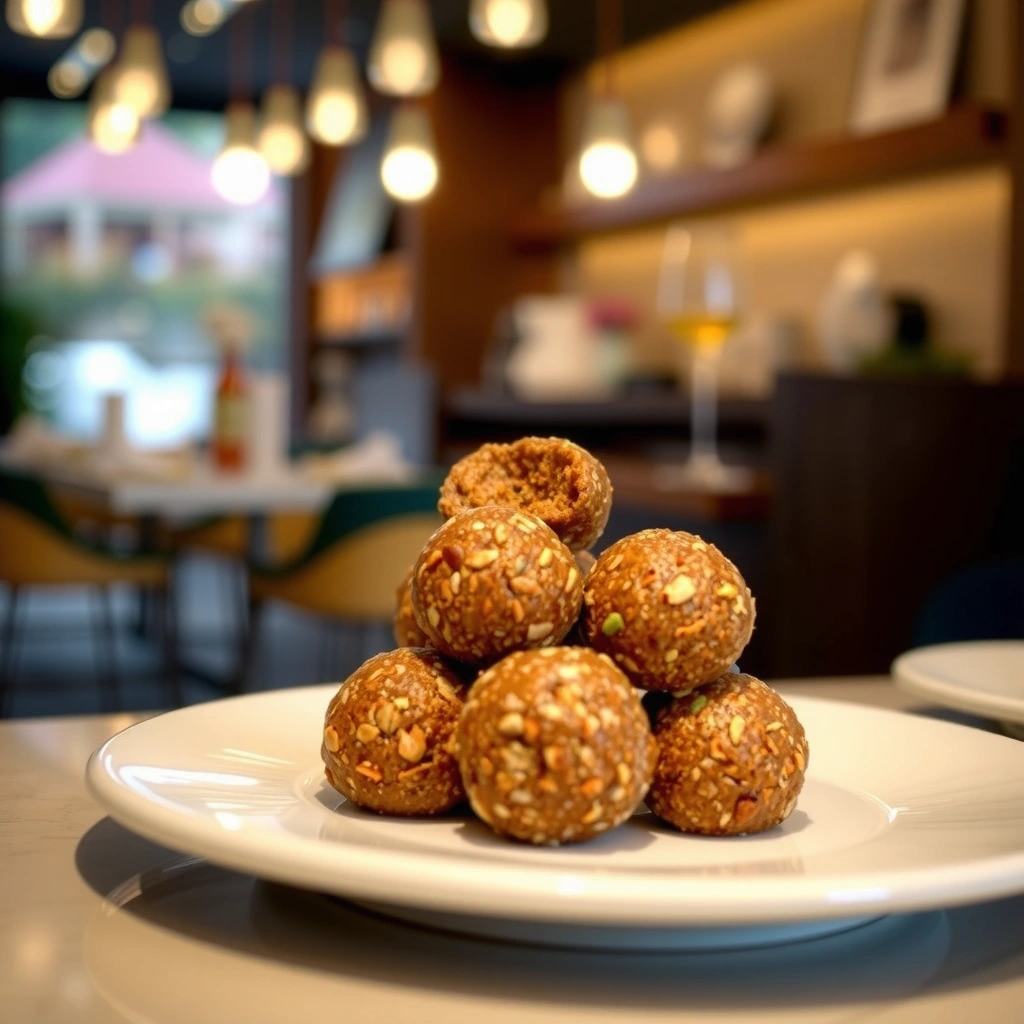
Great protein power balls come down to ratios—especially the balance between dry matter (protein + oats) and binder (nut butter + a little sweetener).
A reliable framework:
– Protein powder + oats (dry base): provides body and protein density.
– Nut butter or oats (binder role): creates a cohesive paste you can roll.
– Liquid sweetener (hydration, not flooding): add only enough to reach a rollable consistency.
A practical ratio approach (works across flavors)
– Aim for ~1 part sweetener or nut butter binder per 2–3 parts dry mix, then adjust.
– Use chia or flax in small quantities (often 1–2 tablespoons per batch)—they thicken as they absorb liquid.
– Keep liquid additions conservative: protein powder can clump if over-hydrated early, making the mixture hard to control.
Texture logic (why it works)
– Protein powders vary in absorbency. Whey and casein often hydrate differently than plant blends, so the “right” amount of honey/maple can shift slightly.
– Oats introduce starches that gel when chilled, improving firmness and reducing stickiness.
If you want your first batch to succeed reliably, measure and start slightly drier than you think. You can always adjust with small increments, one teaspoon at a time.
Step-by-Step: How to Make Protein Power Balls
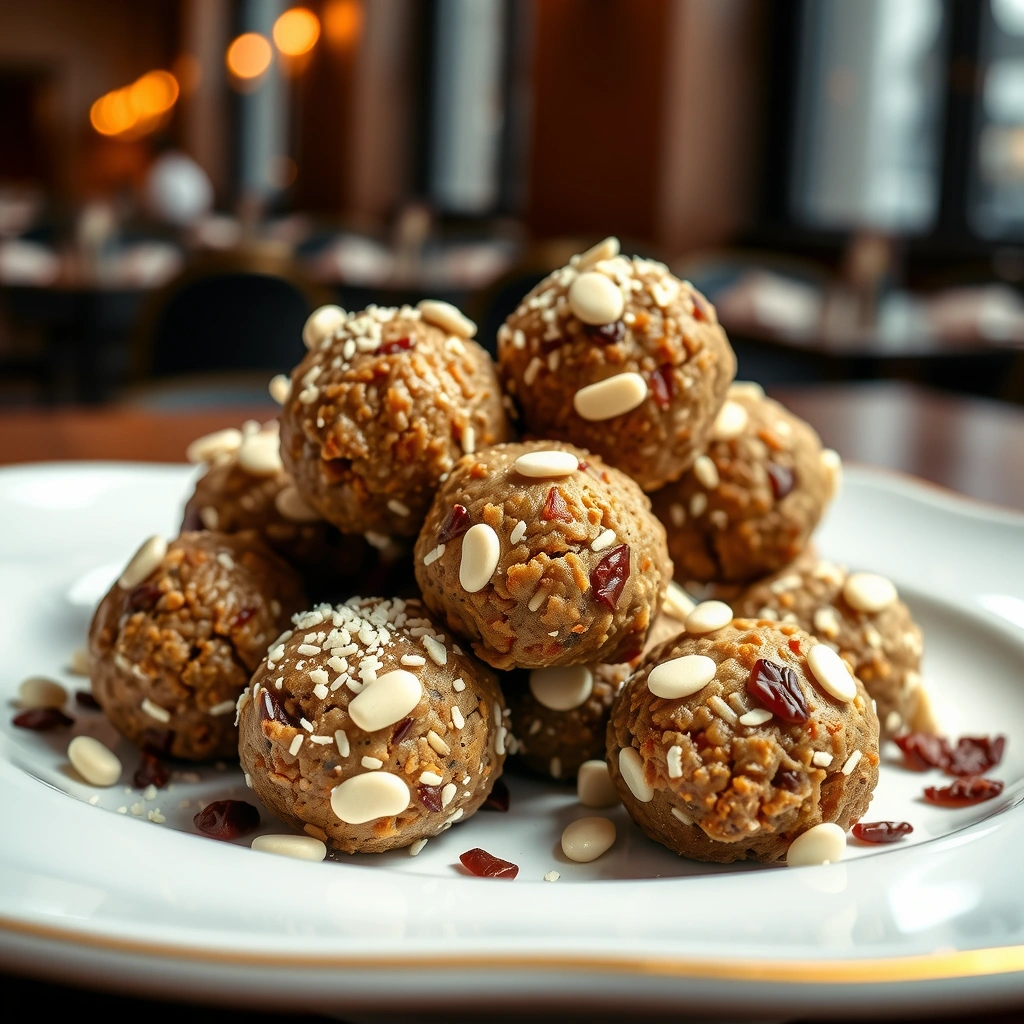
This process is designed for consistency and speed: mix, roll, chill. The ordering matters because you want to fully hydrate protein powder before shaping.
1) Mix dry ingredients first
Combine:
– protein powder
– oats (if using)
– chia or flax
– any dry mix-ins (cocoa powder, cinnamon, shredded coconut)
Stir thoroughly so the protein powder doesn’t create invisible dry pockets.
2) Stir in wet ingredients until fully combined
Add:
– nut butter
– honey or maple syrup
– vanilla extract or other liquid flavorings (if using)
Mix until you get a uniform, scoopable dough. If it crumbles, it likely needs a bit more binder (nut butter) or a small amount of sweetener.
3) Roll into balls
Use a spoon or cookie scoop for consistent sizing. Roll quickly—this mixture firms as it warms.
4) Chill to set before eating
Chill at least 30–60 minutes. For meal prep texture (less tackiness, more “bite”), 1–2 hours is ideal. During chilling, fats firm up and starches/protein hydrate properly, producing a cleaner texture.
Serving and handling
– If the balls feel too firm right out of the fridge, let them sit at room temperature 5–10 minutes before eating.
– For a softer bite, chill for the minimum time; for firmer meal prep, chill longer.
Flavor Variations to Keep It Interesting
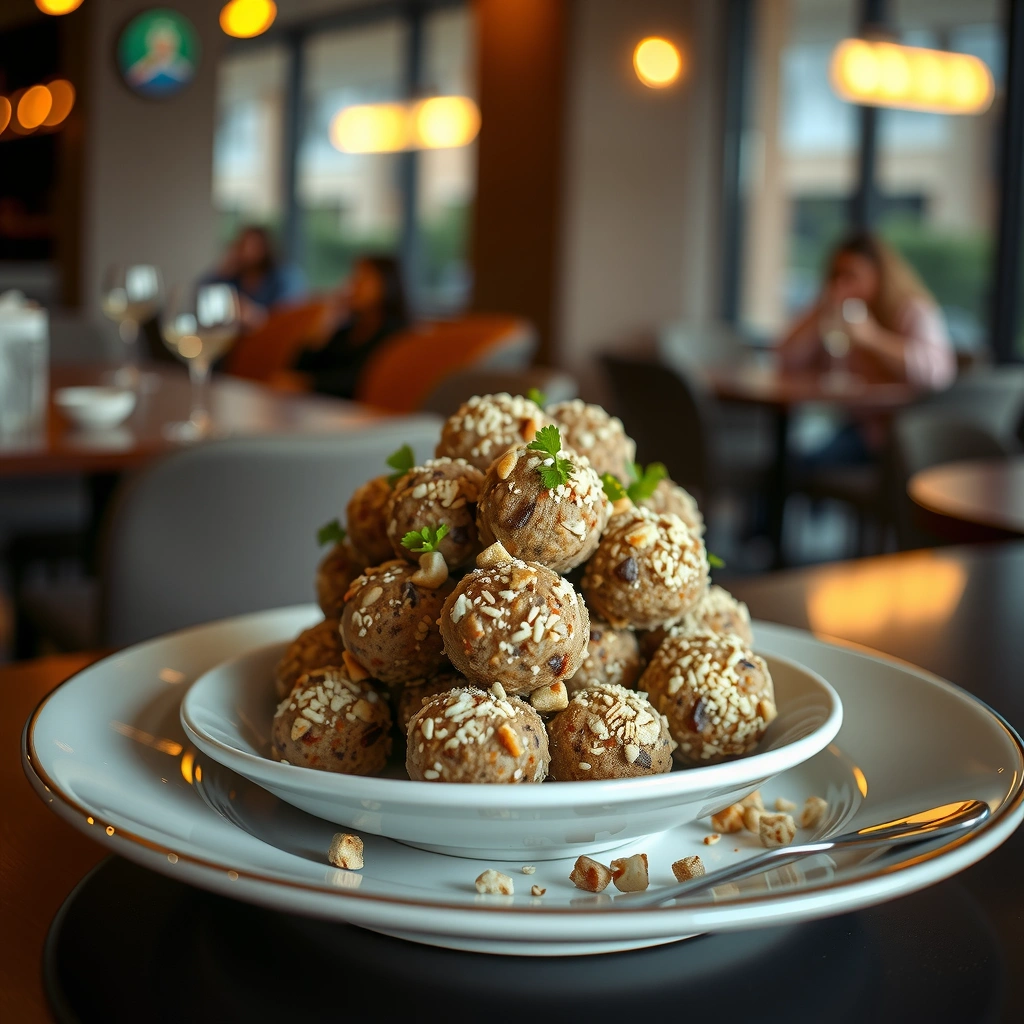
The core technique stays the same—only the flavor system changes. That’s what makes protein power balls a repeatable “platform recipe” for high-protein snacking.
Try these proven combinations
– Chocolate peanut butter: cocoa powder + peanut butter base, plus chocolate chips or chopped dark chocolate.
– Cinnamon vanilla: cinnamon + vanilla extract, optionally add a small pinch of nutmeg and chopped almonds.
– Lemon-berry: lemon zest + vanilla, add freeze-dried berries or finely chopped dried cranberries.
Toppings that elevate texture
– Cocoa coating: a quick cocoa dust makes the outside less sticky.
– Shredded coconut: adds chew and helps mask dryness if your mixture is slightly on the firm side.
– Chopped nuts: boost crunch and provide a “bakery-style” finish.
Customization strategy (so you don’t disrupt texture)
– Keep “wet” flavors (like citrus juice) minimal—citrus liquids can throw off the hydration balance. Use zest instead of juice when possible.
– If you add extra dry mix-ins (like cocoa or protein-rich powders), counterbalance with a touch more binder to maintain rollability.
Storage Tips (So They Stay Fresh)
Protein power balls are ideal for weekly planning because they hold up well in the fridge and can be portioned efficiently.
– Fridge storage: keep in an airtight container for up to about 7 days. The cold temperature maintains firmness and slows flavor changes from nut butter.
– Freezing for longer meal prep: freeze in a freezer-safe container for up to about 2 months (texture may soften slightly after thawing, which many people actually prefer).
Thawing guidance
– Thaw in the fridge overnight for best texture, or eat directly from the freezer for a firmer, “fudge-like” bite.
– If you’re tracking intake, label containers by batch and approximate ball count. This helps maintain consistent protein targets across the week.
Common Troubleshooting
Even with strong ratios, real-world brands of protein powder and nut butter can behave differently. Use these adjustment rules to fix the mixture quickly—before it becomes frustrating.
If too dry (won’t roll, cracks when shaped)
– Add 1–2 teaspoons of binder (nut butter or honey) and mix thoroughly.
– Let it sit 5 minutes to allow protein powder to hydrate before deciding if more is needed.
If too sticky (balls won’t hold shape cleanly)
– Add oats or extra protein powder 1 tablespoon at a time, mixing well between additions.
– Chill 10–15 minutes after each adjustment. Cold temp often resolves stickiness without over-correcting.
If balls taste chalky or uneven
– You likely need more thorough mixing or slightly more hydration. Mix until uniform, then chill longer. Protein powders often smooth out as they hydrate in the fridge.
If balls are too firm
– Let them soften at room temperature for 5–10 minutes before eating.
– Next batch, reduce chilling time or slightly reduce binder firmness (use a less thick nut butter or add a tiny bit more sweetener to keep the dough more pliable).
Mix, roll, and chill—this protein power balls recipe makes fast, customizable high-protein snacks you can meal prep for the week. Make a batch today, try one flavor variation, and adjust ingredients until they’re perfectly “your” bite.
References
- https://en.wikipedia.org/wiki/Energy_ball
https://en.wikipedia.org/wiki/Energy_ball - https://ods.od.nih.gov/factsheets/Protein-HealthProfessional/
https://ods.od.nih.gov/factsheets/Protein-HealthProfessional/ - https://www.myplate.gov/eat-healthy/protein
https://www.myplate.gov/eat-healthy/protein - Dietary Guidelines for Americans
https://www.dietaryguidelines.gov/ - https://www.mayoclinic.org/healthy-lifestyle/nutrition-and-healthy-eating/in-depth/protein/art-20047468
https://www.mayoclinic.org/healthy-lifestyle/nutrition-and-healthy-eating/in-depth/protein/art-20047468 - https://www.health.harvard.edu/staying-healthy/your-guide-to-protein
https://www.health.harvard.edu/staying-healthy/your-guide-to-protein - https://pubmed.ncbi.nlm.nih.gov/?term=high-protein+snack+satiety+randomized+trial
https://pubmed.ncbi.nlm.nih.gov/?term=high-protein+snack+satiety+randomized+trial - Google Scholar Google Scholar
https://scholar.google.com/scholar?q=protein+power+balls+recipe - Google Scholar Google Scholar
https://scholar.google.com/scholar?q=energy+balls+protein+nutrition - Google Scholar Google Scholar
https://scholar.google.com/scholar?q=high-protein+snacks+appetite+satiety+study