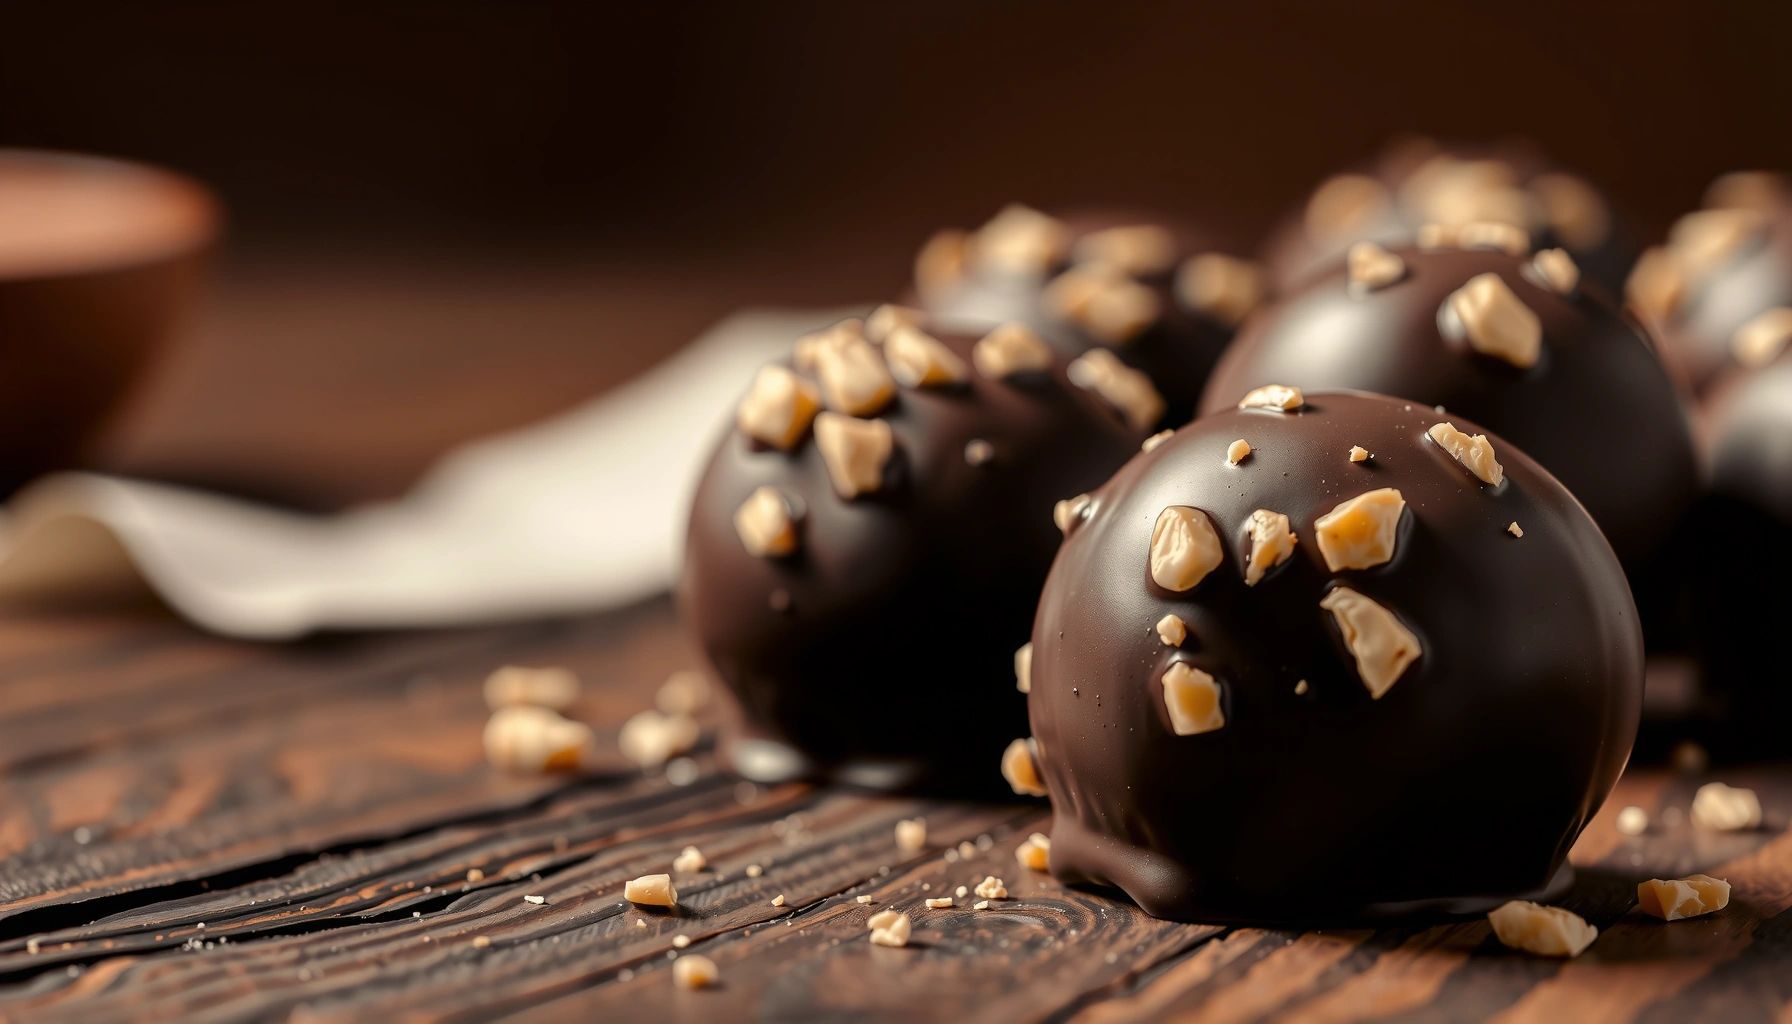
Get a fail-proof chocolate covered peanut butter balls recipe with the exact ingredient ratios and steps for ultra-creamy centers and a smooth, snappy chocolate shell. This method answers whether you should melt, temper, or simply dip—so your coating sets cleanly without turning waxy or streaky. Follow it once and you’ll get bite-size truffles that hold their shape, taste rich, and look bakery-level.
Make chocolate covered peanut butter balls by mixing peanut butter with a sweetener and a binder, rolling into bite-size portions, then chilling and dipping in melted chocolate. This method delivers a classic no-bake flavor with a smooth, professional-looking shell when you control mixture thickness, rolling speed, and chocolate tempering-by-gentle-melting.
The technique is straightforward, but the details matter: the peanut butter base needs enough structure to roll cleanly, the balls must be firm before dipping, and the chocolate should be melted evenly so it coats without streaks. Below is a step-by-step guide that focuses on repeatable results—whether you’re making a small batch for home or preparing a larger batch for events.
Ingredients for Chocolate Covered Peanut Butter Balls
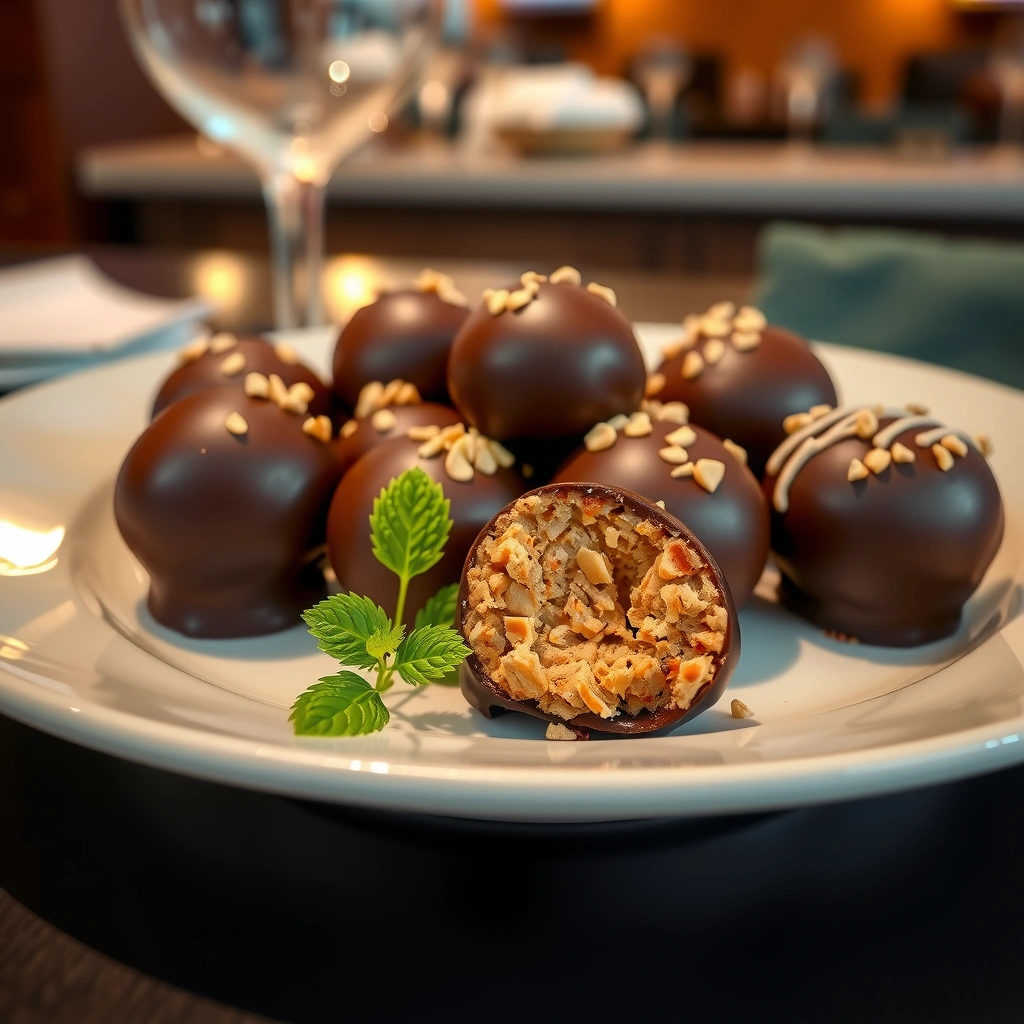
– Peanut butter, sweetener (powdered sugar or a powdered alternative), and a binder like butter or honey to create a thick, rollable consistency
– Chocolate chips (or melting chocolate) and optional salt/vanilla to refine flavor
A reliable flavor profile depends on balancing sweetness with peanut butter depth. Peanut butter brings richness and saltiness; powdered sugar (or another powdered sweetener) adds sweetness and also improves texture by absorbing moisture. For the binder, melted butter tends to give a firmer set, while honey can make the mix slightly more pliable—helpful in warm kitchens. If you prefer a “store-bought” taste, use a standard creamy peanut butter and keep salt modest but intentional.
Sweetener & Texture Outcomes in Peanut Butter Ball Mixtures
| # | Sweetener choice | Typical texture | Coating smoothness | Dip readiness |
|---|---|---|---|---|
| 1 | Powdered sugar (regular) | Firm, easy rolling | ★★★★★ | High |
| 2 | Powdered erythritol blend | Slightly softer | ★★★★☆ | Medium-High |
| 3 | Powdered monk fruit blend | Firm with quick chill | ★★★☆☆ | Medium |
| 4 | Honey (not powdered) | Sticky without extra chill | ★★☆☆☆ | Low |
| 5 | Brown sugar (crumbly) | Moist, prone to smearing | ★★★☆☆ | Low-Medium |
| 6 | Granulated sweetener (not powdered) | Grainy base | ★★☆☆☆ | Low |
| 7 | Powdered sugar + pinch of salt | Balanced, roll-friendly | ★★★★★ | High |
Make the Peanut Butter Ball Mixture
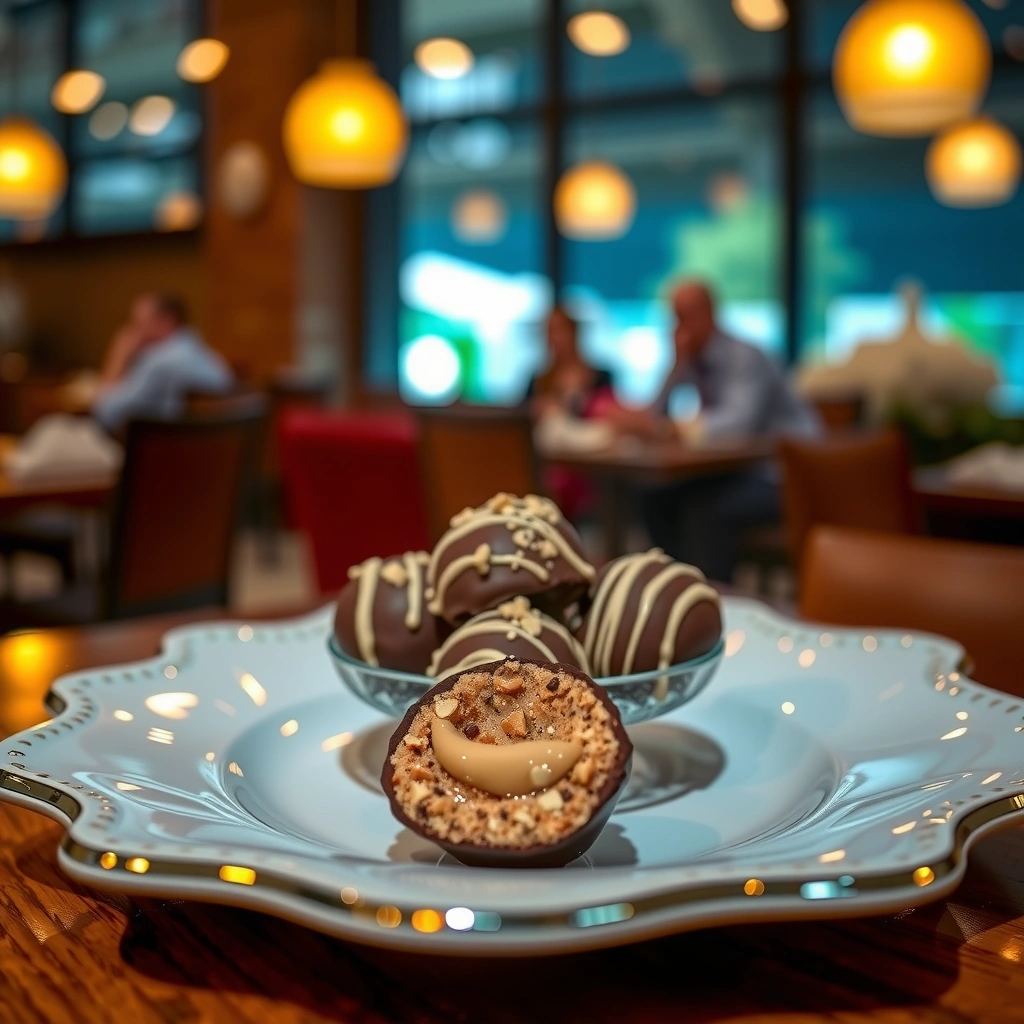
– Mix until thick, smooth, and easy to roll without sticking
– Chill briefly if the mixture feels too soft or sticky
Start with peanut butter as your foundation, then add powdered sugar in stages. Mixing gradually helps avoid dry pockets and creates a consistent blend that rolls cleanly. Add your binder (butter or honey) after the peanut butter and sweetener begin to thicken—this helps the mix achieve a cohesive “dough-like” feel instead of a greasy paste.
Target consistency: when you press a small amount between your fingers, it should hold together and feel slightly tacky but not wet. If it’s too soft, chill it 10–15 minutes; if it’s too dry and won’t form a ball, add a small spoon of peanut butter or a few drops of honey (then remix and chill again briefly).
Proven adjustment strategies
– Too sticky: add 1–2 tablespoons more powdered sugar, then chill.
– Too crumbly: add 1 teaspoon peanut butter or a small amount of softened butter; chill to re-firm.
– Greasy separation: chill immediately and remix—overheating during binder melting can destabilize texture.
Roll and Portion the Peanut Butter Balls
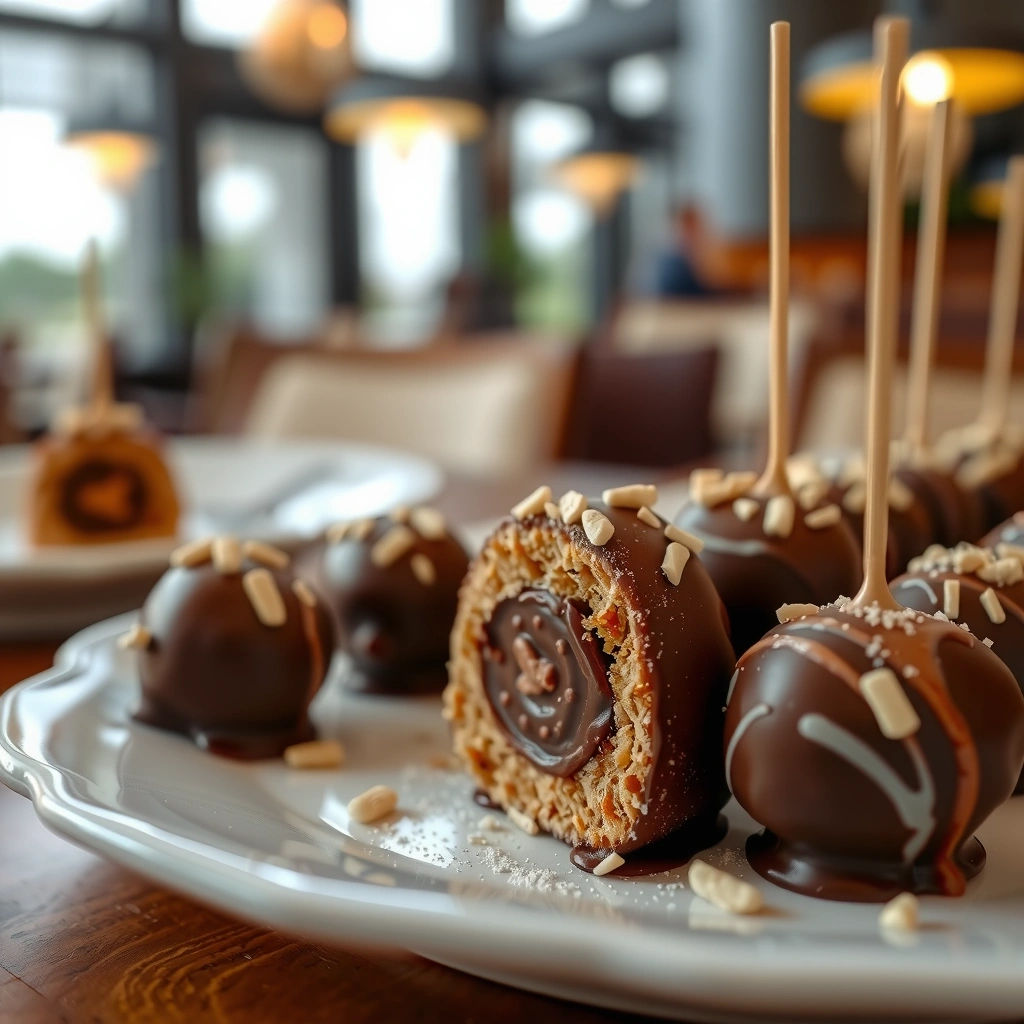
– Use a spoon or cookie scoop for even sizes
– Roll quickly to keep shapes neat, and place on a lined tray
Even sizing improves both aesthetics and performance. Bite-size balls also cool faster, which reduces melt risk during dipping. Use a cookie scoop for consistency, then roll between your palms briefly—just enough to smooth the surface.
If you notice sticking:
– Lightly coat your hands with a thin layer of neutral oil or dust fingertips with powdered sugar.
– Work in short batches: roll 10–12 balls, then dip; don’t leave a large group sitting at room temperature.
Tray setup matters: place balls on a parchment-lined baking sheet. Parchement prevents sticking and makes transferring to the dip station easier.
Practical time control
For best results, keep the balls cold until chocolate meets them. The peanut butter base softens quickly, so treat rolling as a time-bound process rather than a leisurely one.
Melt and Dip in Chocolate
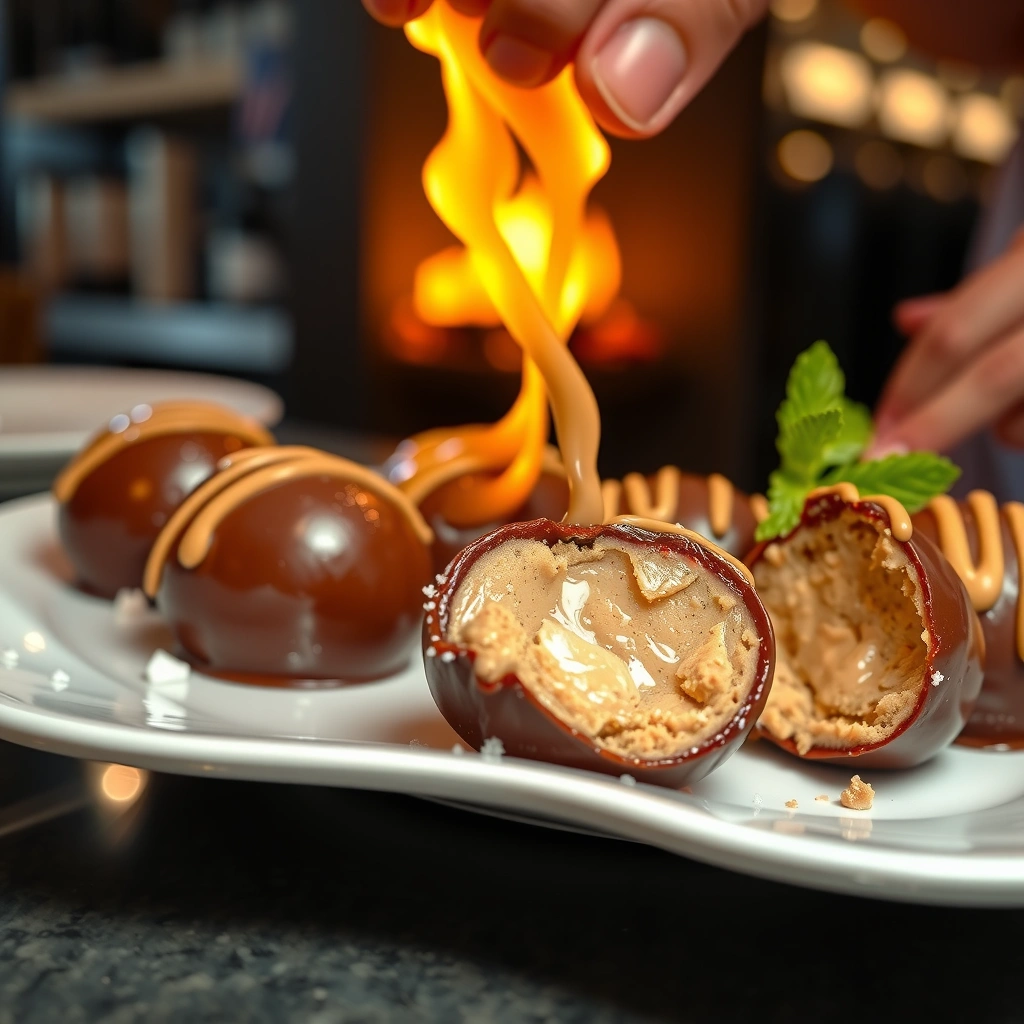
– Melt chocolate gently (microwave in short bursts or double boiler)
– Dip or spoon-coat each ball, letting excess drip off cleanly
Chocolate dipping succeeds when the chocolate is smooth, not scorched. For microwave melting, use short 15–30 second bursts, stirring after each round. For stovetop melting, a double boiler gives you gentle heat control and reduces the risk of grainy texture.
How to coat for a clean, smooth shell
1. Hold or place a cold peanut butter ball on a fork, spoon, or dipping tool.
2. Spoon chocolate over it and roll the ball gently until coated—or dip quickly and lift.
3. Allow excess chocolate to drip back into the bowl for 2–5 seconds.
4. Place on a parchment-lined tray to set.
Avoid over-handling: dragging a ball around can smear the surface and create thin spots.
Optional “pro” finishing
– Add a pinch of salt to the chocolate if you want a more bakery-style contrast with peanut butter.
– If you like a deeper flavor, use melting chocolate (candy coating or couverture-style chips). Chips will work, but melting chocolate usually sets more consistently.
Set and Chill for the Best Coating
– Refrigerate until firm, typically 20–40 minutes
– Avoid covering too early to prevent smudging or condensation
After dipping, the goal is a stable chocolate shell that doesn’t smear. Refrigeration speeds setting, but you need a cooling plan that prevents condensation from forming on the chocolate surface.
Best practice:
– Let the chocolate cool in the fridge uncovered for the first 15–20 minutes.
– Once the coating is firm to the touch, you can cover the tray loosely or transfer to a container.
Troubleshooting common coating issues
– Bumpy or dull chocolate: chocolate may have been overheated or moisture entered the bowl.
– Smudges on fingers or plate: balls were likely dipped too warm or moved too early.
– Bloom (grayish streaks): usually caused by temperature swings—keep storage consistent.
Food safety note
Even though this is a no-bake recipe, keep the balls refrigerated until serving, especially if your kitchen is warm.
Storage and Make-Ahead Tips
– Store in an airtight container in the fridge for freshness
– Freeze in a single layer, then transfer to a container for longer storage
Chocolate covered peanut butter balls are ideal for make-ahead planning because the structure holds up well to cold storage. For best quality:
– Refrigerate in an airtight container to prevent flavor transfer (peanut butter can pick up fridge aromas).
– Layer with parchment if stacking to reduce scuffing the chocolate.
Freezing method for peak texture
1. Freeze balls in a single layer on parchment-lined trays until solid.
2. Transfer to a freezer-safe container or bag, removing as much air as possible.
3. For serving, thaw in the refrigerator for a few hours—room-temperature thawing can create condensation and affect the shell’s appearance.
Shelf expectations (quality, not safety):
– Fridge: typically several days for best texture and shine.
– Freezer: longer-term storage while maintaining flavor; dip quality may slightly soften after extended freezing.
Serving recommendations
Let balls sit at cool room temperature for 5–10 minutes before serving if you want a slightly softer center. For events, keep them chilled and plate in small batches to maintain the chocolate shell integrity.
After you mix, roll, dip, and chill, your chocolate covered peanut butter balls should come out firm with a smooth chocolate shell. Make a batch ahead, dip in your preferred chocolate, and store or freeze for quick treats—then fine-tune sweetness next time using powdered sugar or a powdered sweetener blend. Try the recipe this week and adjust vanilla or salt to dial in your perfect bite.
References
- Google Scholar Google Scholar
https://scholar.google.com/scholar?q=chocolate+covered+peanut+butter+balls+recipe - Google Scholar Google Scholar
https://scholar.google.com/scholar?q=peanut+butter+balls+recipe+chocolate+coating - https://scholar.google.com/scholar?q=no-bake+peanut+butter+balls+chocolate Google Scholar
https://scholar.google.com/scholar?q=no-bake+peanut+butter+balls+chocolate - Chocolate truffle
https://en.wikipedia.org/wiki/Chocolate_truffle - Chocolate
https://en.wikipedia.org/wiki/Chocolate - Peanut butter
https://en.wikipedia.org/wiki/Peanut_butter - Confectionery
https://en.wikipedia.org/wiki/Confectionery - Candy
https://en.wikipedia.org/wiki/Candy - Peanut
https://en.wikipedia.org/wiki/Peanut - https://en.wikipedia.org/wiki/Tempering_(chocolate
https://en.wikipedia.org/wiki/Tempering_(chocolate