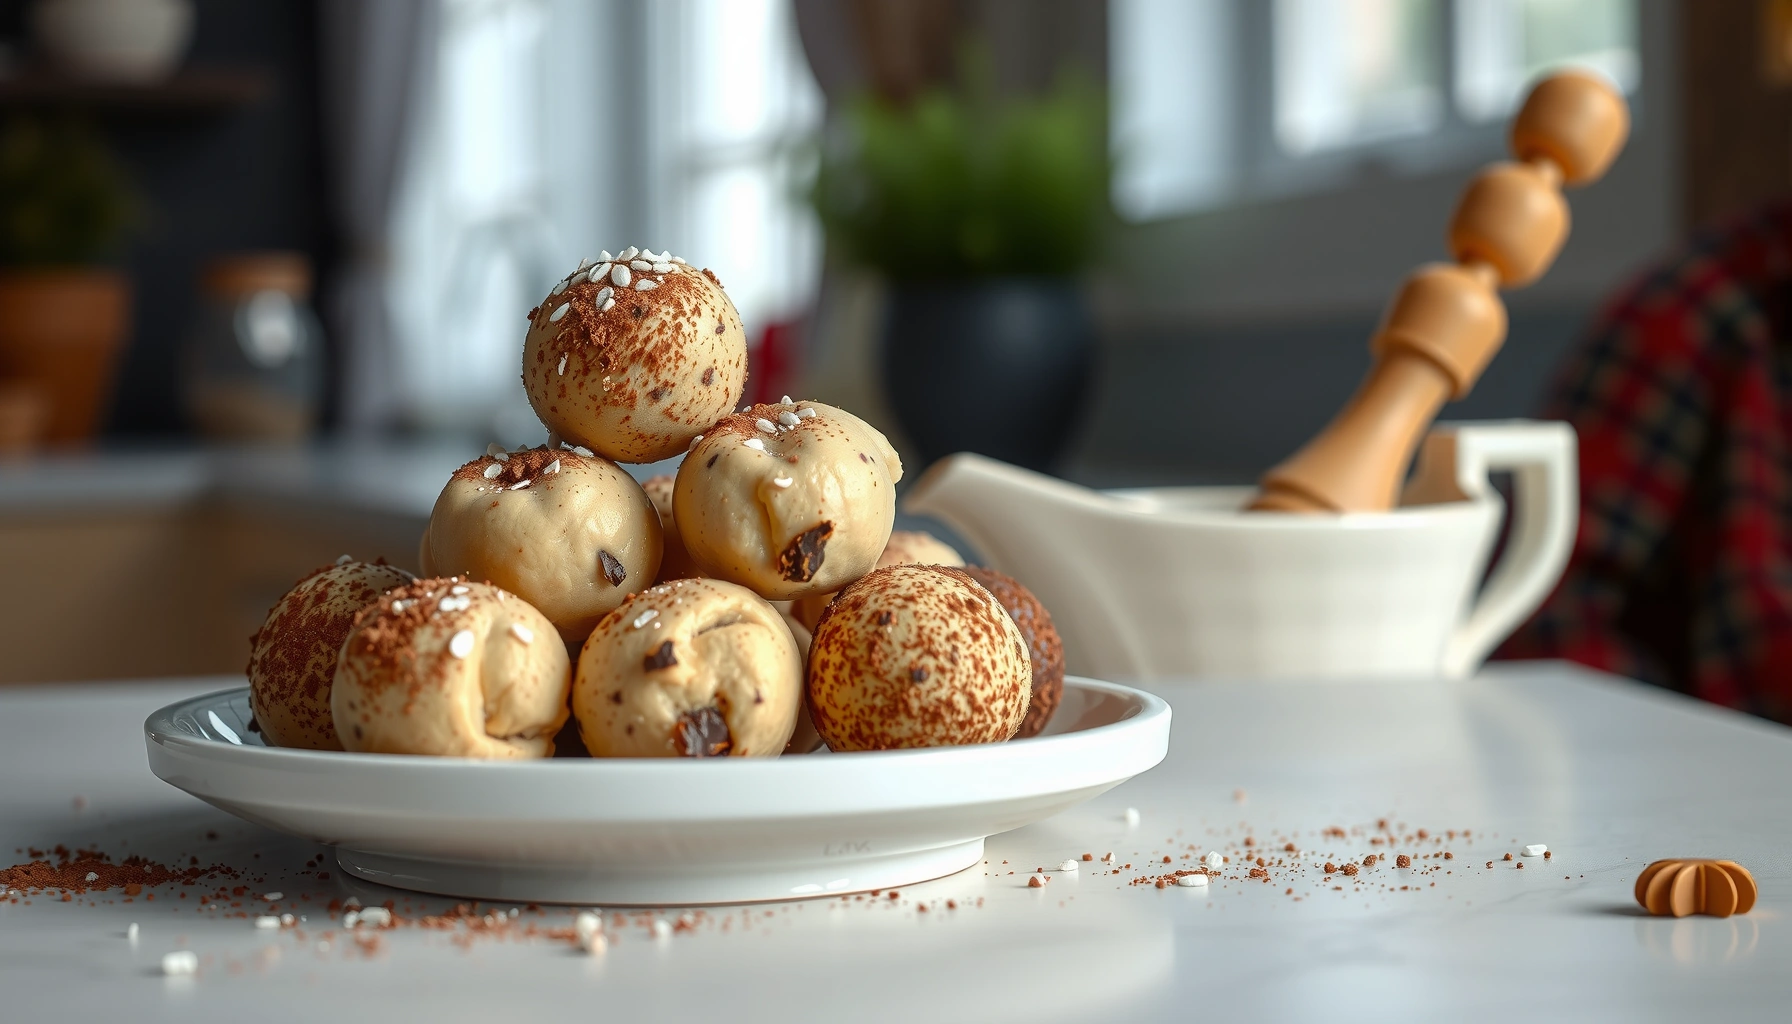
This cake ball recipe with cake mix is the fastest route to flawless, no-fuss cake pops—no baking from scratch required. You’ll get a simple mixing, rolling, and dipping process that turns boxed cake into bite-size treats with minimal mess and maximum flavor. It’s the clear choice when you want an easy cake ball method that actually works the first time.
Make cake balls from cake mix by baking the mix, crumbling it, mixing with frosting, chilling until scoopable, then rolling and dipping in melted chocolate—no special equipment required. This guide gives you the exact, repeatable process (plus texture and coating fixes) so your cake balls come out tender, uniform, and crowd-ready.
Ingredients You’ll Need
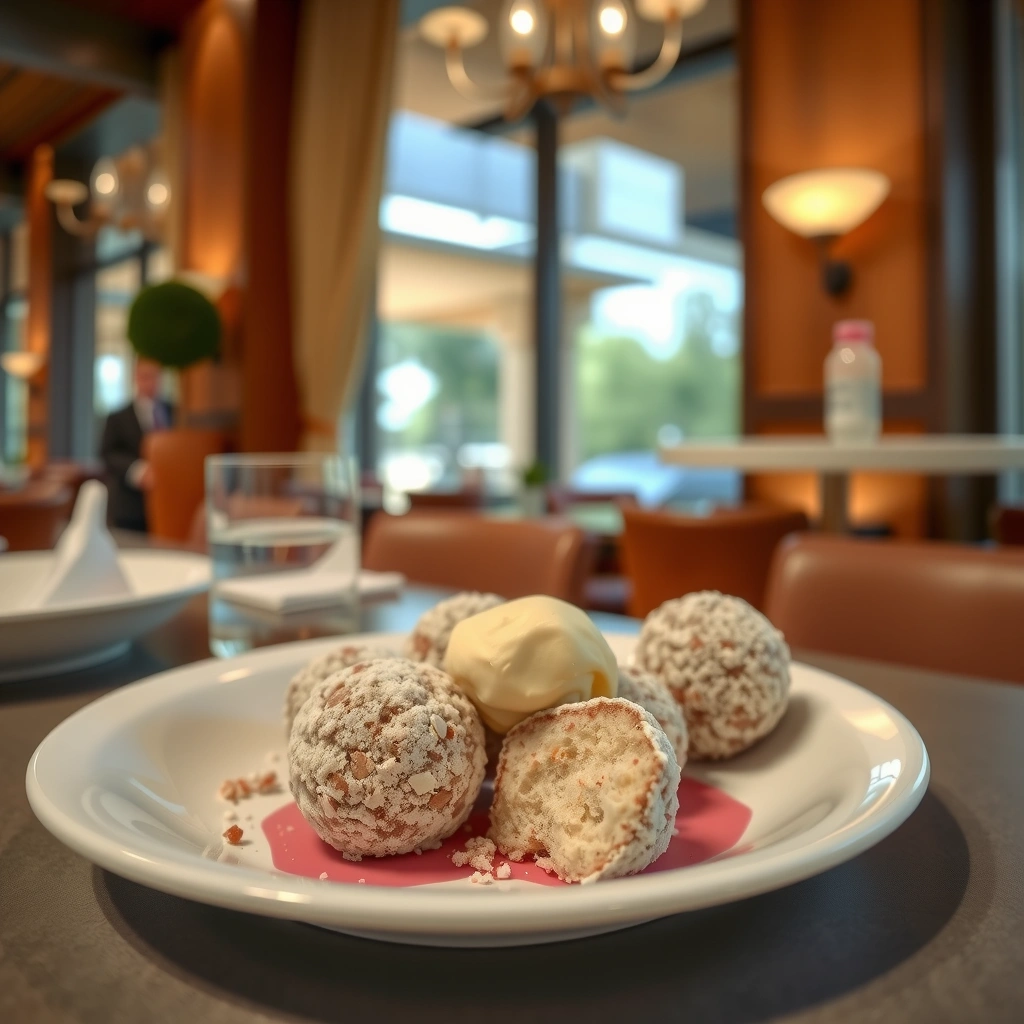
– Cake mix (your favorite flavor) and eggs/oil called for on the box
– Frosting (vanilla or matching flavor) to bind the crumbs
– Chocolate chips or candy melts for coating
To keep results consistent—especially when you’re making cake pops-style “cake ball” portions for events—use the amounts that correspond to your cake mix size. Most standard boxes bake into a 9×13-inch cake (or a comparable thickness), which is ideal for crumb-to-frosting ratios. If you’re working from a smaller mix (or a thinner bake), you may need to adjust frosting slightly to reach a “rollable” texture rather than a greasy or overly dry crumble.
You can also think of cake balls as two systems: structure (the cake crumb + frosting) and shell (the chocolate coating). Choosing ingredients that support both systems makes the method much more forgiving.
How to Make Cake Balls with Cake Mix
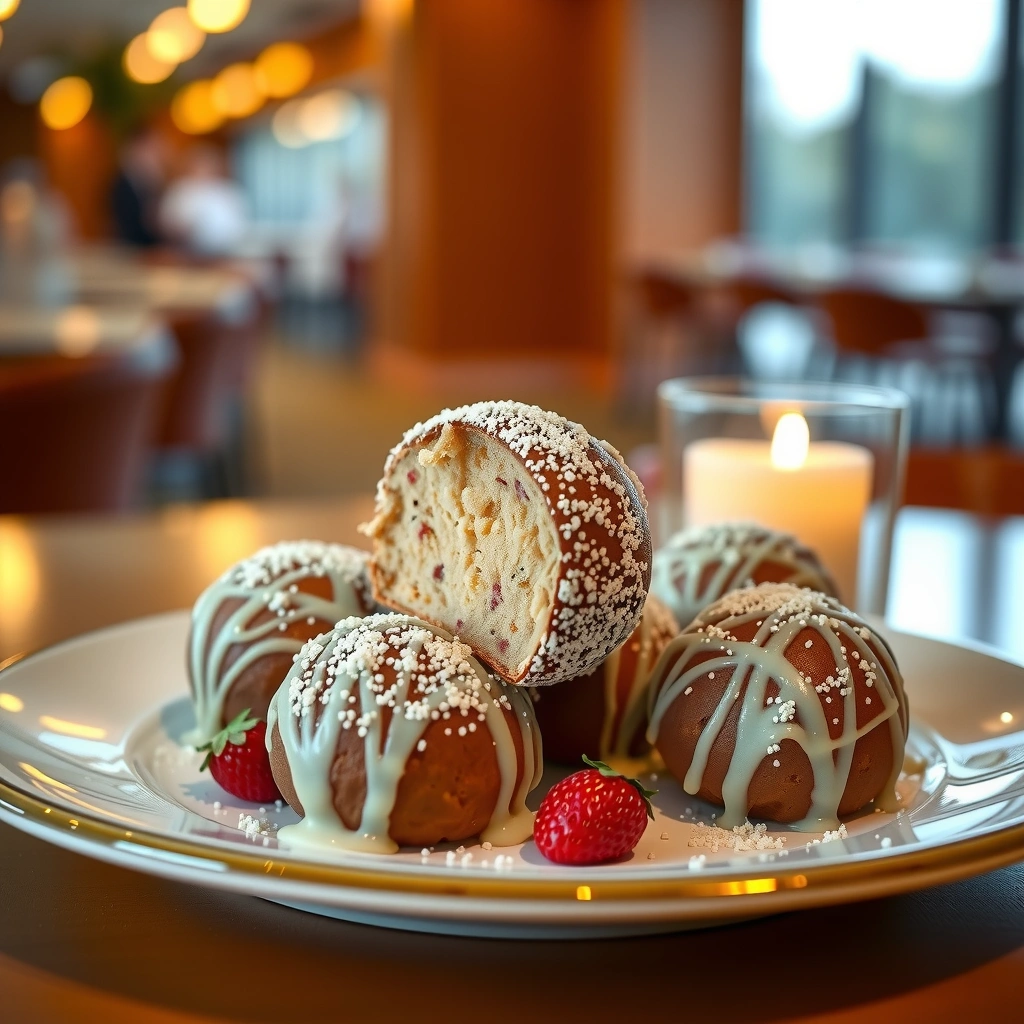
– Bake the cake mix according to package directions, then cool completely
– Crumble the cake finely into a bowl
– Mix in frosting gradually until the mixture holds together when pressed
1. Bake and cool completely (non-negotiable for texture).
Bake your cake mix exactly as directed. After baking, let it cool to room temperature before you crumble. Warm cake releases moisture and can turn your mixture sticky and hard to portion. If you’re short on time, you can bake a day ahead and refrigerate the cooled cake—just bring it back close to room temp before crumbling for easier mixing.
2. Crumble finely for smoother, better-shaped cake balls.
Use your hands or a food processor pulse to break the cake into small crumbs. The goal is mostly uniform texture so each bite has a consistent cake-to-frosting ratio. Large chunks lead to uneven cake balls that may crumble or show gaps after dipping.
3. Mix frosting in gradually until it “presses and rolls.”
Add frosting a few tablespoons at a time. Start with less than you think you’ll need—too much frosting makes the mixture smear and collapse, especially during rolling. Stop when the mixture holds together when pressed firmly and can be rolled into a ball without cracking.
4. Chill so the mixture firms up for clean rolling.
Refrigeration is what turns a soft mix into a workable dough. Chill until firm enough to scoop and roll without sticking to your hands.
5. Roll evenly and place on parchment for easy dipping.
6. Dip and set the coating for a professional finish.
Melt chocolate chips or candy melts until smooth. Dip each cake ball, let excess drip off, and place on parchment. For a cleaner finish, chill the tray briefly after dipping so the shell firms rapidly before you decorate.
Practical “batch math” (so you know what to expect)
A standard box cake mix typically yields 20–35 cake balls depending on how large you roll them. If you’re planning for an event, make a quick decision: smaller balls are easier to serve and dip, while larger ones are more indulgent and need a slightly thicker chocolate shell.
Cake Ball Batch Planning Guide (Typical Outcomes)
| # | Cake Mix Size | Typical Cake Ball Count | Recommended Chill Time | Portion Strategy |
|---|---|---|---|---|
| 1 | 15.25–16 oz (1 standard box) | 24–32 | 20–30 min | Smaller balls for easier serving |
| 2 | 13–14 oz (smaller box) | 18–24 | 25–35 min | Roll slightly smaller for stability |
| 3 | Two-layer bake (increase thickness) | 28–40 | 30–40 min | Aim for 1.5–2 inch balls |
| 4 | No-sour cream frosting (thicker) | 24–30 | 20–30 min | Often needs slightly less frosting |
| 5 | Lighter/whipped frosting | 22–28 | 25–35 min | May require more chill to roll cleanly |
| 6 | Fridge cold cake (crumbs pressed) | 26–34 | 15–25 min | Faster rolling, fewer sticking issues |
| 7 | Extra-firm coating preference | 24–32 | 10–15 min after dipping | Brief chill improves shell snap |
Tips for Perfect Texture
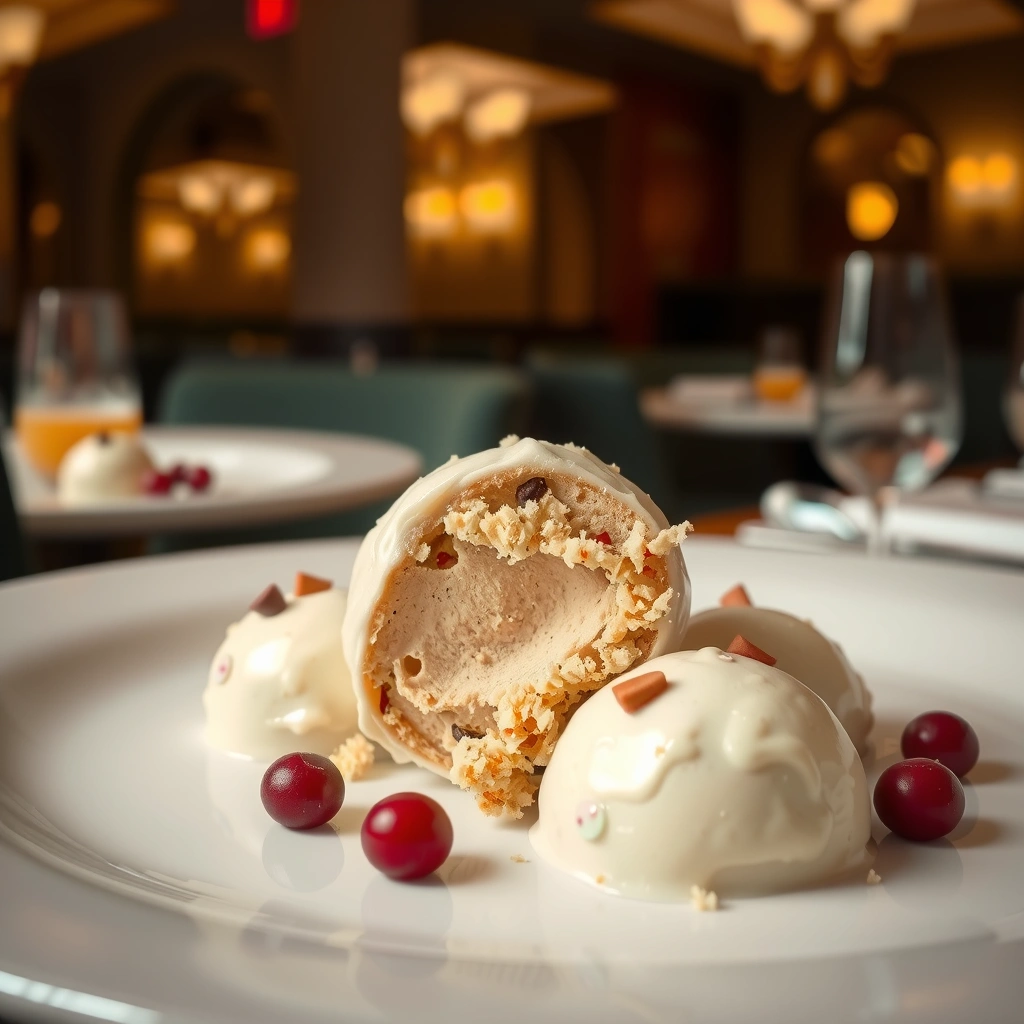
– Chill the mixture 20–30 minutes to make rolling easier
– Add a little more frosting if it’s too dry, or more crumbs if too sticky
– Roll evenly for consistent size and even coating
Cake ball texture is all about balance: crumb dryness versus frosting binding power. Think of the mixture like a dough; it should be cohesive without being wet. If your cake balls are breaking or cracking, your mixture is under-bound. If they’re smearing, your mixture is over-bound or too warm.
Troubleshooting (quick fixes that work):
– Too dry / crumbly: Add frosting 1 tablespoon at a time. Mix just until it disappears.
– Too sticky / won’t hold shape: Add cake crumbs (from the same cake) or a small spoonful of cocoa-free cake crumbs if you’ve already finished baking. Alternatively, chill longer—sometimes the mixture is fine but warmed.
– Cracking on the surface: Usually means the ball is too cold (hard) or the crumb mix is too coarse. Let the mixture sit at room temperature for 2–3 minutes, then re-roll.
– Soft centers after dipping: Chill the rolled balls longer before coating, or dip directly after rolling to prevent warmth buildup.
Chilling strategy for dependable results:
If you’re rolling a lot of cake balls, work in batches. Keep the rest chilled while you finish rolling. This reduces softening and keeps your chocolate coating consistent.
Consistency tip for best presentation:
Evenly sized cake balls create predictable dipping times and coverage. A cookie scoop helps, but if you roll by hand, aim for the same squeeze pressure and ball diameter each time.
Coating and Decorating Ideas
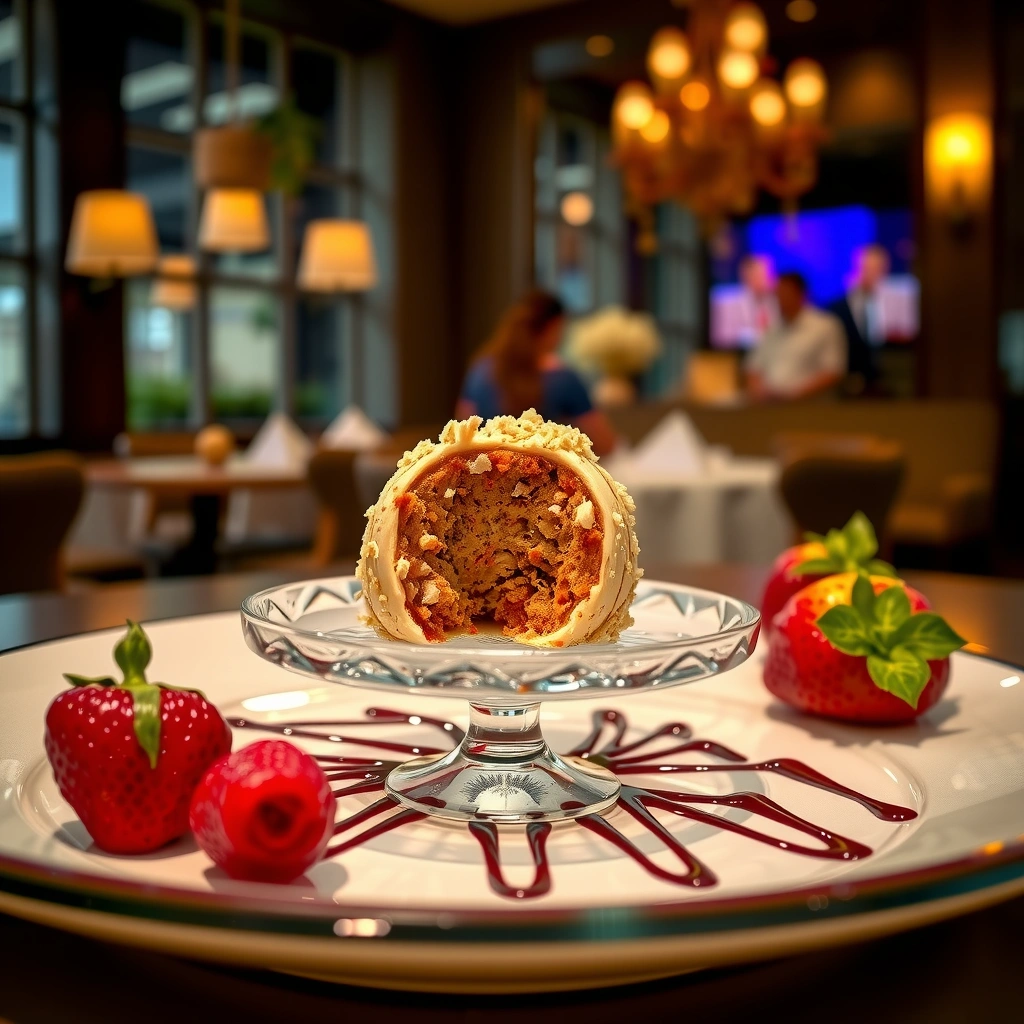
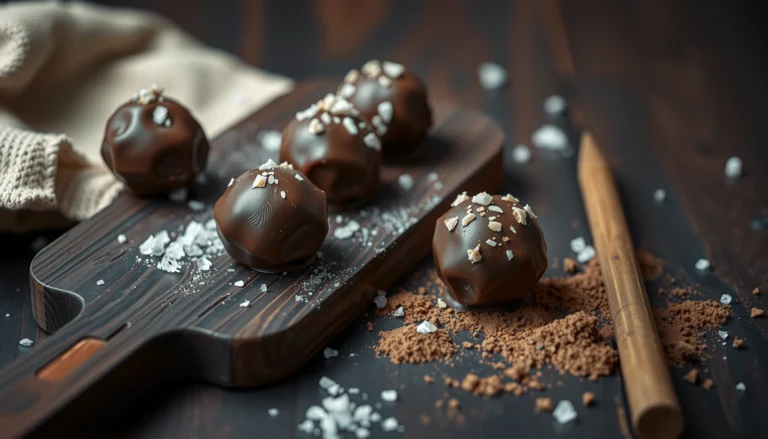
– Dip balls in melted chocolate or candy melts, then place on parchment
– Add sprinkles, crushed nuts, or drizzle with contrasting chocolate
– Let coated cake balls set until firm before serving
For a professional-looking shell, choose your coating method based on your timeline.
– Candy melts: Great for smooth coatings and faster setting. They melt evenly and tend to be more forgiving for first-timers.
– Chocolate chips: Still totally workable, but use gentle heat and stir frequently. Chocolate can thicken as it cools—re-warm in short intervals.
Best practice for clean dipping:
After rolling, place cake balls on parchment lined trays. Keep your tray in the fridge while you melt the chocolate. When you dip, rotate the ball so the coating covers evenly, then tap lightly to remove excess. This prevents heavy bottoms and reduces drips.
Decoration options that scale well for events:
– Sprinkles: Add immediately after dipping—too late and they won’t adhere.
– Crushed nuts or cookie crumbs: Press gently onto the wet chocolate for texture.
– Drizzles: Use a spoon or fork to drizzle contrasting chocolate after the base coating sets. This provides a “finished” look without extra mess.
Setting and serving timing:
Let dipped cake balls rest until the chocolate is firm. For peak texture, serve at room temperature after chilling—cold cake balls can feel slightly firmer, especially with thicker shells.
Storage and Make-Ahead Options
– Store in an airtight container in the fridge for up to about 1 week
– Freeze (well wrapped) for up to 2–3 months, then thaw overnight in the fridge
– Serve at room temperature for best flavor and texture
Cake balls are ideal for planning because they can be prepared ahead with excellent quality retention.
Refrigeration:
Store in an airtight container, separating layers with parchment if needed. In the fridge, flavors tend to meld, and the texture becomes more uniform. Aim to consume within about a week for best taste and coating integrity.
Freezing:
Freeze cake balls either:
– Before coating (best for clean, consistent dipping later), or
– After coating (best when you want maximum convenience on event day).
If freezing after coating, wrap well to reduce exposure to air and odors. Thaw in the fridge overnight, then bring to room temperature before serving to restore softness and flavor.
Food-safety and handling note (especially for catered events):
Use clean utensils when dipping and avoid returning leftover chocolate to the melting pot. Even in home kitchens, this improves consistency and reduces risk of contamination.
If you’re producing for a group, build a simple workflow: bake (or use pre-baked cake), crumb + mix + chill, roll + chill, dip + set, then package. This keeps production smooth and prevents the mixture from getting too warm while you work.
This cake ball recipe with cake mix is simple: bake, crumble, mix with frosting, chill, roll, and dip in chocolate. With the texture and coating tips above, you’ll get perfectly bite-sized treats every time. Make a batch today, try your favorite cake flavor, and share how they turned out!
References
- Cake pop
https://en.wikipedia.org/wiki/Cake_pop - Baking mix
https://en.wikipedia.org/wiki/Cake_mix - https://en.wikipedia.org/wiki/Cake_truffle
https://en.wikipedia.org/wiki/Cake_truffle - https://en.wikipedia.org/wiki/Truffle_(confectionery
https://en.wikipedia.org/wiki/Truffle_(confectionery - Google Scholar Google Scholar
https://scholar.google.com/scholar?q=cake+balls+with+cake+mix+recipe - Google Scholar Google Scholar
https://scholar.google.com/scholar?q=cake+pops+cake+mix+technique+study - Google Scholar Google Scholar
https://scholar.google.com/scholar?q=confectionery+truffles+made+from+crumb+cake+mix - Search recipes – BBC Food
https://www.bbc.co.uk/food/search?q=cake%20pops - https://www.theguardian.com/search?q=cake%20pops
https://www.theguardian.com/search?q=cake%20pops - https://www.nytimes.com/search?query=cake%20pops
https://www.nytimes.com/search?query=cake%20pops