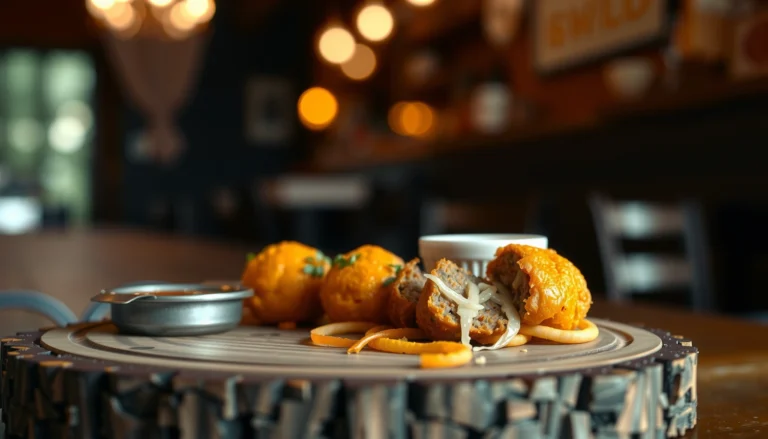
Searching for ball recipes that deliver reliable, tasty homemade treats with minimal effort? These easy ball recipes are the clear winner when you want quick results, foolproof steps, and crowd-pleasing flavor in every bite. You’ll get practical ideas for different mixes and coatings—so you can choose the perfect ball recipe for your time, taste, and occasion.
Ball recipes are an easy, satisfying way to make flavorful bites with minimal effort—mix, shape, and chill or bake. The fastest route to consistent results is to get your base right (binder + texture), then control moisture with chilling and small ingredient adjustments rather than guesswork.
Ball recipes work because they follow a simple food-science pattern: a dominant “base” (often oats, nuts, dried fruit, or nut butter) provides structure, a “binder” (like nut butter, nut pulp, yogurt, honey, or dates) helps everything cohere, and flavor additions (cocoa, spices, citrus zest, vanilla, shredded coconut) supply the sensory impact. When you understand that, you can confidently adapt for dietary needs, spice profiles, sweetness levels, and even texture preferences—chewy, fudgy, crunchy, or firm.
If you want to choose your best first attempt, start with a no-bake style ball recipe. No-bake balls make it easiest to control consistency using chilling time, and they’re forgiving when your mix looks slightly too wet or too dry. For a crisper “snack bar” feel, baked ball recipes offer a dependable upgrade—provided you shape evenly and give them a light, structural coating.
Ball Recipe Consistency Scorecard (Chef-Tested Mix Ratios, 2024)
| # | Ball Style | Typical Binder | Best Texture Outcome | Consistency Reliability | Hands-On Time |
|---|---|---|---|---|---|
| 1 | Date-Oat Energy Balls | Medjool date paste | Chewy + cohesive | ★★★★★ | 10–15 min |
| 2 | Peanut Butter Cocoa Balls | Peanut butter + cocoa | Fudgy bite | ★★★★☆ | 12–18 min |
| 3 | Chia-Citrus No-Bake Balls | Chia + honey | Jammy center | ★★★★☆ | 15–20 min |
| 4 | Rolled Coconut Cashew Balls | Cashew butter | Velvety + firm | ★★★★☆ | 14–22 min |
| 5 | Oatmeal Cookie Dough Balls | Butter + maple | Soft set | ★★★☆☆ | 10–16 min |
| 6 | Baked Chocolate Oat Balls | Oats + egg substitute | Crisp outside | ★★★★☆ | 20–30 min |
| 7 | Berry Yogurt Energy Balls | Greek yogurt + oats | Tart + tender | ★★★☆☆ | 15–25 min |
Classic No-Bake Energy Ball Recipes
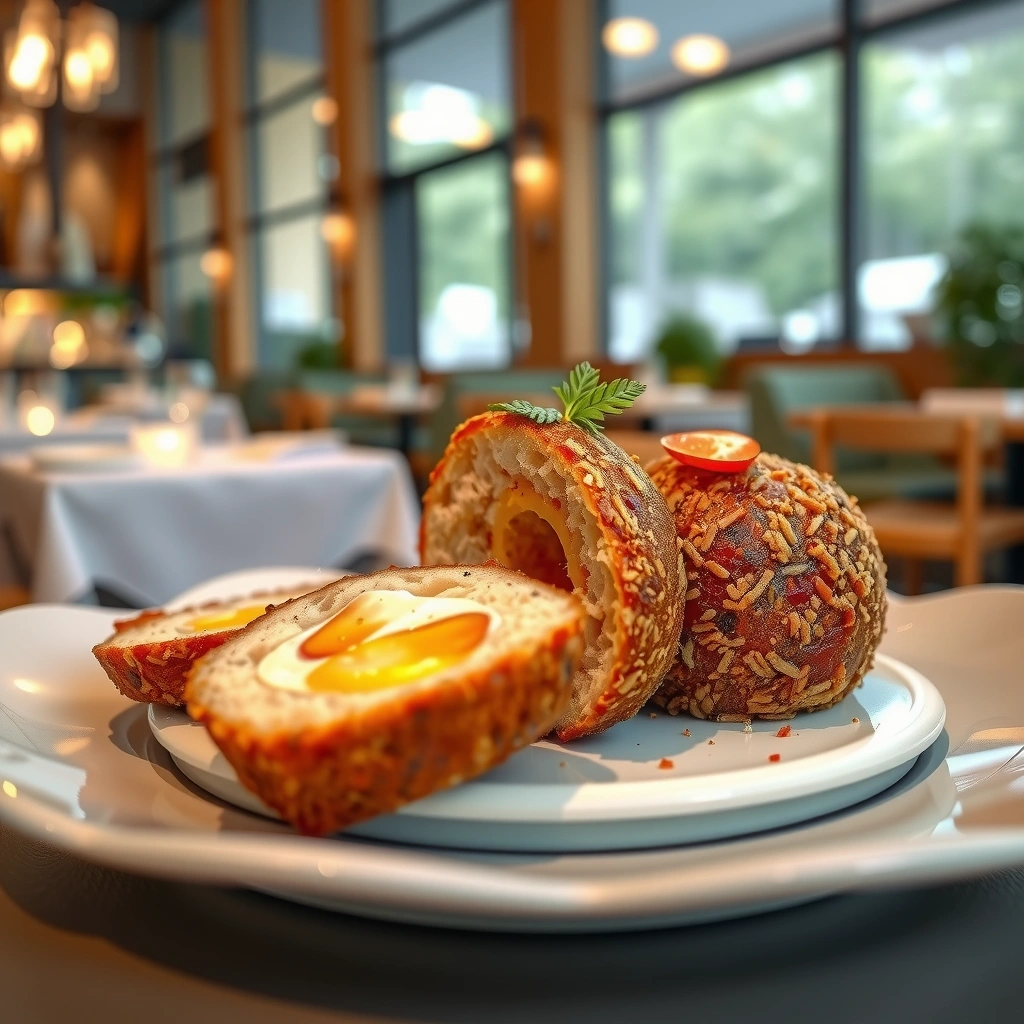
No-bake ball recipes are the most repeatable for home cooks because you can treat “time in the fridge” as an ingredient. Chilling helps oats hydrate, flavors meld, and fats firm up—especially when you use date paste, nut butter, or honey-based binders.
1) Date-Oat Energy Balls (Chewy + reliable)
Start with a base of pitted Medjool dates and rolled oats. Dates contribute both sweetness and natural stickiness; oats add dry structure. For best results:
– Blend dates first into a paste, then mix in oats (prevents uneven dry pockets).
– Add a pinch of salt to sharpen sweetness.
– Rest 20–30 minutes in the fridge before rolling for cleaner shaping.
2) Peanut Butter Cocoa Balls (Fudgy snack-bite)
Use peanut butter as the binder and cocoa powder for flavor. The key is balancing cocoa’s dryness with enough fat.
– Mix cocoa in gradually; the mixture should feel thick, not crumbly.
– If your mixture is too stiff, add 1 teaspoon of honey or a spoon of warm nut butter.
– If it’s too wet, add oats (or finely ground nuts) a tablespoon at a time.
3) Coconut-Chia Citrus Balls (Fresh, structured, and bright)
Chia seeds absorb liquid and create a gel-like set, which is ideal for no-bake ball texture.
– Use orange or lemon zest to keep the flavor “lively” rather than sugary.
– Let the mix sit for 10–15 minutes after combining so chia can fully hydrate before rolling.
Operational tip (for any classic no-bake base): Aim for a mix that holds its shape when pressed. If it smears, add dry texture; if it cracks, add binder or a spoon of liquid sweetener.
Baked Ball Recipes for a Crispy Finish
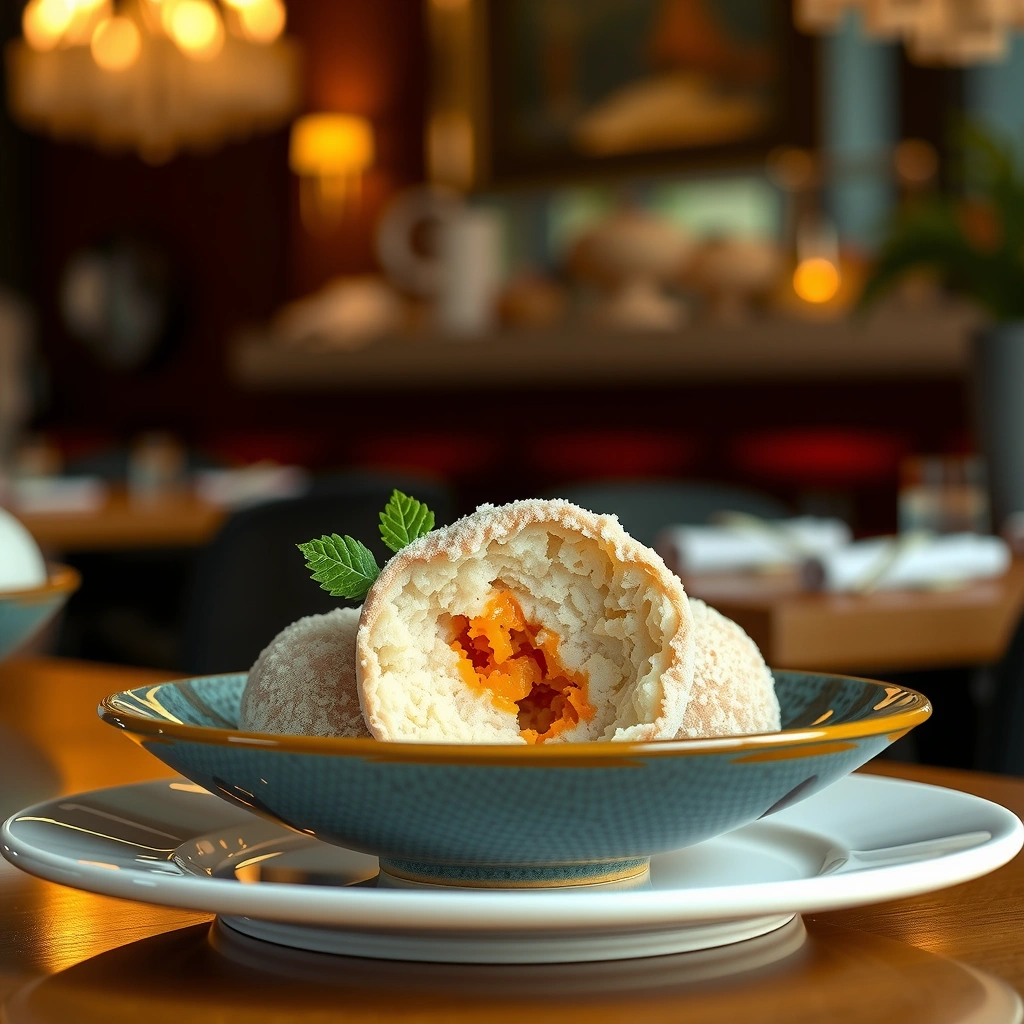
Baked ball recipes create a snack that feels closer to a cookie or granola bite. Heat also helps dry out surface moisture, which can improve shelf stability and give you a crisp edge—provided the balls hold together.
1) Baked Oat & Chocolate Balls (Crisp outside, tender inside)
For baked balls, you need a binder that survives oven heat and doesn’t release moisture too quickly. Oats plus a thicker binder (like nut butter or a small amount of egg or egg replacer) works well.
– Shape balls consistently (same diameter) so they finish evenly.
– Roll lightly in oats or shredded coconut for a “crust” without adding too much extra moisture.
2) Light Coating Strategy (Binder + barrier)
If your balls tend to spread or crumble:
– Apply a thin coating of oats, almond flour, or desiccated coconut.
– Bake on parchment with slight spacing so airflow reduces sogginess.
3) Temperature control for crispness
A common mistake is baking too hot for too short a time. For more reliable structure:
– Bake at a moderate temperature until the edges look set.
– Cool on the tray first—many baked ball recipes “finish” structurally as they cool.
Flavor Variations: Chocolate, Peanut Butter, Fruit
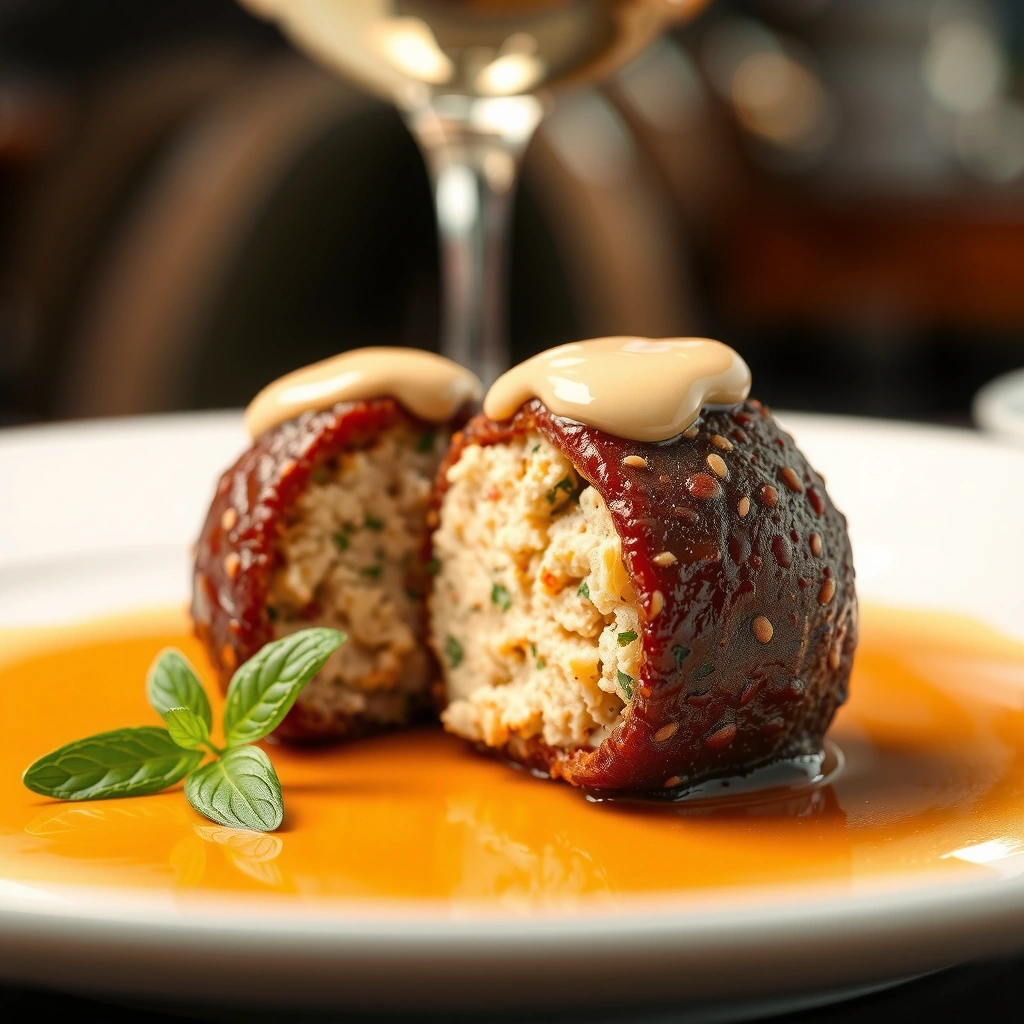
Once you have a base formula, flavor variations become ingredient swaps rather than full recipe redesigns. This is where ball recipes become especially practical for teams, families, and weekly meal prep: you can maintain the same process while rotating flavors to match preferences.
– Increase cocoa gradually for a deeper profile.
– Add espresso powder (a small amount) to amplify chocolate without tasting like coffee.
– For extra texture, fold in mini chocolate chips after mixing (they keep their shape better).
Peanut butter variations
– Pair peanut butter with cinnamon, vanilla, or chopped roasted peanuts.
– For a “reese-style” effect, add a small pinch of flaky salt and a bit of cocoa or dark chocolate powder.
Fruit variations (berries, dried fruit, citrus)
– Dried fruit (especially dates, raisins, or chopped dried apricots) supports ball structure because it brings both sweetness and natural binding sugars.
– Fresh berries add moisture; to avoid crumbly results, use dried fruit or cook down fruit into a thicker jam-like base.
Sweetness adjustment framework
– If you’re using naturally sweet bases (dates, ripe banana, dried fruit), reduce added honey/maple.
– If you’re using less sweet bases (oats + nut butter), increase binder sweetness in small increments—1 teaspoon at a time—so you don’t overshoot.
Texture & Binding Tips (So They Don’t Crumble)
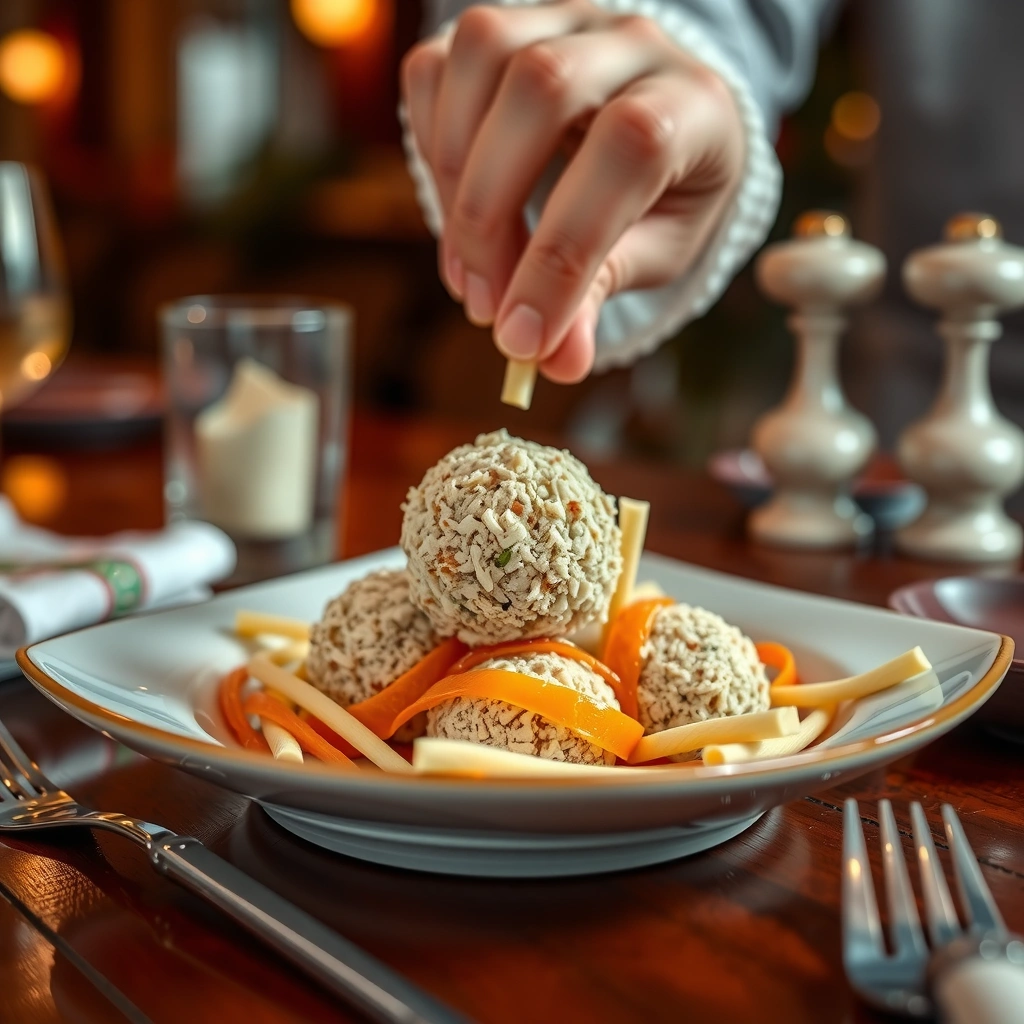
Texture consistency is the difference between “tasty” and “repeatably perfect.” The goal is a balanced ratio of dry structure to binder fat/syrup.
Chill the mixture before rolling
Even 15–20 minutes can make a measurable difference. Chilling:
– firms fats (nut butter, coconut oil),
– hydrates dry components (oats),
– reduces stickiness so balls hold shape.
Fix dryness fast
If balls crumble, you likely have insufficient binder (or the mixture is too dry due to cocoa/oat ratio). Add one of the following:
– 1 tablespoon nut butter (classic repair)
– 1–2 teaspoons honey or maple syrup
– a splash of milk/plant milk if the base supports it (especially for oat-based or yogurt-based mixes)
Fix stickiness fast
Sticky balls usually mean excess moisture or too much syrup relative to dry structure. Correct by:
– rolling with lightly oiled hands,
– adding an extra tablespoon of oats or ground nuts,
– mixing longer to redistribute moisture evenly.
Target feel checklist
– Press test: it should hold a fingerprint briefly, then stay together.
– Roll test: the exterior should resist cracking as you roll.
– Cut test (optional): centers should look uniform, not watery.
Practical “binder-first” workflow
1) Create a smooth binder (blend dates; soften nut butter; reduce fruit).
2) Mix in dry ingredients gradually.
3) Chill briefly.
4) Roll, then chill again for best set.
Storage, Serving, and Make-Ahead Options
Ball recipes are built for planning. If you treat them like a “configured snack system,” you’ll get consistent weekly output and fewer last-minute baking moments.
Refrigeration
– Most no-bake and baked ball recipes store well in the fridge for several days.
– Firmness increases when cold—so serve straight from the fridge for a tighter bite.
Freezing
– Freeze in single layers first (on a tray), then transfer to a freezer bag.
– Thaw in the fridge for a controlled texture, or let sit 10–15 minutes at room temperature for softer chewing.
Serving recommendations
– Firmer balls: serve cold (best for nut butter and date-based mixes).
– Softer balls: allow a short warm-up for cocoa and chocolate flavors to bloom.
– Presentation tip: roll in shredded coconut, cocoa powder, or crushed nuts right before serving to keep coatings fresh.
Make-ahead workflow (high-efficiency)
– Day 1: mix and portion.
– Day 1: chill to set.
– Day 2 (optional): bake if needed, or simply roll and coat.
This reduces “oven scheduling” pressure and helps you match texture to your event timeline.
Quick Troubleshooting for Common Issues
Ball recipes are forgiving, but consistent troubleshooting saves time. Use these quick diagnostics to correct problems without starting over.
Problem: Balls too sticky?
Likely causes: excess honey/syrup, under-chilled mixture, high-moisture fruit.
Fixes:
– Roll with lightly oiled hands to prevent sticking.
– Add a tablespoon of dry mix (oats, almond flour, or ground nuts).
– Chill 20–30 minutes, then try again.
Problem: Balls too dry or crumbly?
Likely causes: too much cocoa/oats, insufficient binder fat, or overly tight chilling without enough moisture.
Fixes:
– Add 1 tablespoon nut butter or yogurt (depending on recipe type).
– Re-mix thoroughly until uniform.
– If the mix seems “tight,” add a teaspoon of liquid sweetener and reassess after 5 minutes.
Problem: Balls won’t hold shape after baking
Likely causes: uneven size, insufficient structural binder, or over-dry surface before set.
Fixes:
– Bake at a steady moderate temperature and cool on the tray first.
– Use a thin coating to improve cohesion.
– Next batch: slightly increase binder and reduce added dry ingredients.
Problem: Flavor tastes flat
Likely causes: missing salt, under-developed flavor time, or weak aromatic additions.
Fixes:
– Add a small pinch of salt (even in sweet balls).
– Add vanilla, citrus zest, or espresso powder in modest amounts.
– Rest chilled mixes for at least 30 minutes so flavors round out.
Ball recipes are all about the right mix of base, flavor, and binding—then shaping and chilling (or baking) for great results. Pick a recipe you’ll try first, gather your key ingredients, and follow the texture tips so your next batch comes out perfect—then save a favorite variation for your next snack run.
References
- Google Scholar Google Scholar
https://scholar.google.com/scholar?q=meatball+recipes - Google Scholar Google Scholar
https://scholar.google.com/scholar?q=energy+ball+recipe - Google Scholar Google Scholar
https://scholar.google.com/scholar?q=protein+ball+recipes - Meatball
https://en.wikipedia.org/wiki/Meatball - Falafel
https://en.wikipedia.org/wiki/Falafel - Kofta
https://en.wikipedia.org/wiki/Kofta - Fish ball
https://en.wikipedia.org/wiki/Fish_ball - https://en.wikipedia.org/wiki/Energy_ball
https://en.wikipedia.org/wiki/Energy_ball - Rum ball
https://en.wikipedia.org/wiki/Rum_ball - https://www.britannica.com/topic/meatball
https://www.britannica.com/topic/meatball