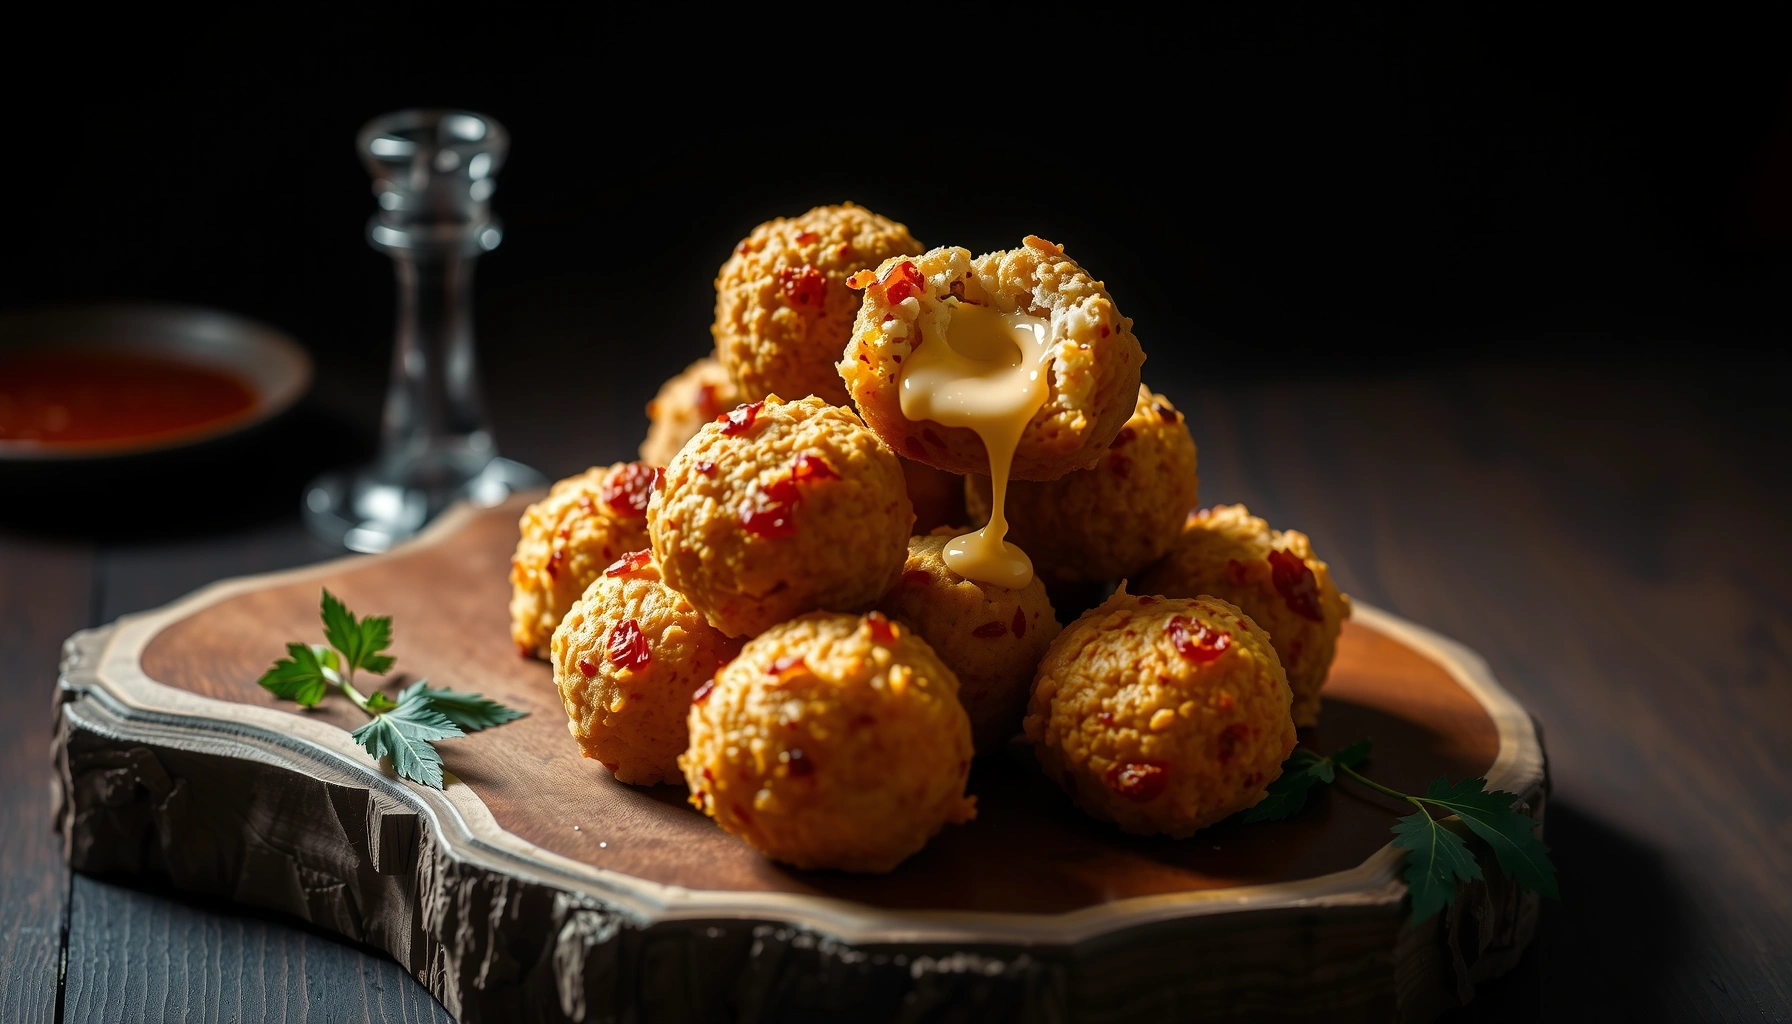
Get the crispiest, cheesiest arancini balls recipe you can make at home—full stop. This guide delivers the one best method for turning leftover risotto into golden-brown, crunchy bites with a melty center every time. If you’re searching for how to shape, bread, and fry arancini balls without falling apart, you’ll have your answer fast.
Make arancini balls by shaping cooled risotto into bite-size rounds, stuffing them with cheese, then coating and frying until golden. This guide breaks down ingredients and technique step-by-step so you get a shatteringly crisp exterior with a properly melted, not overcooked, center.
Ingredients for Arancini Balls
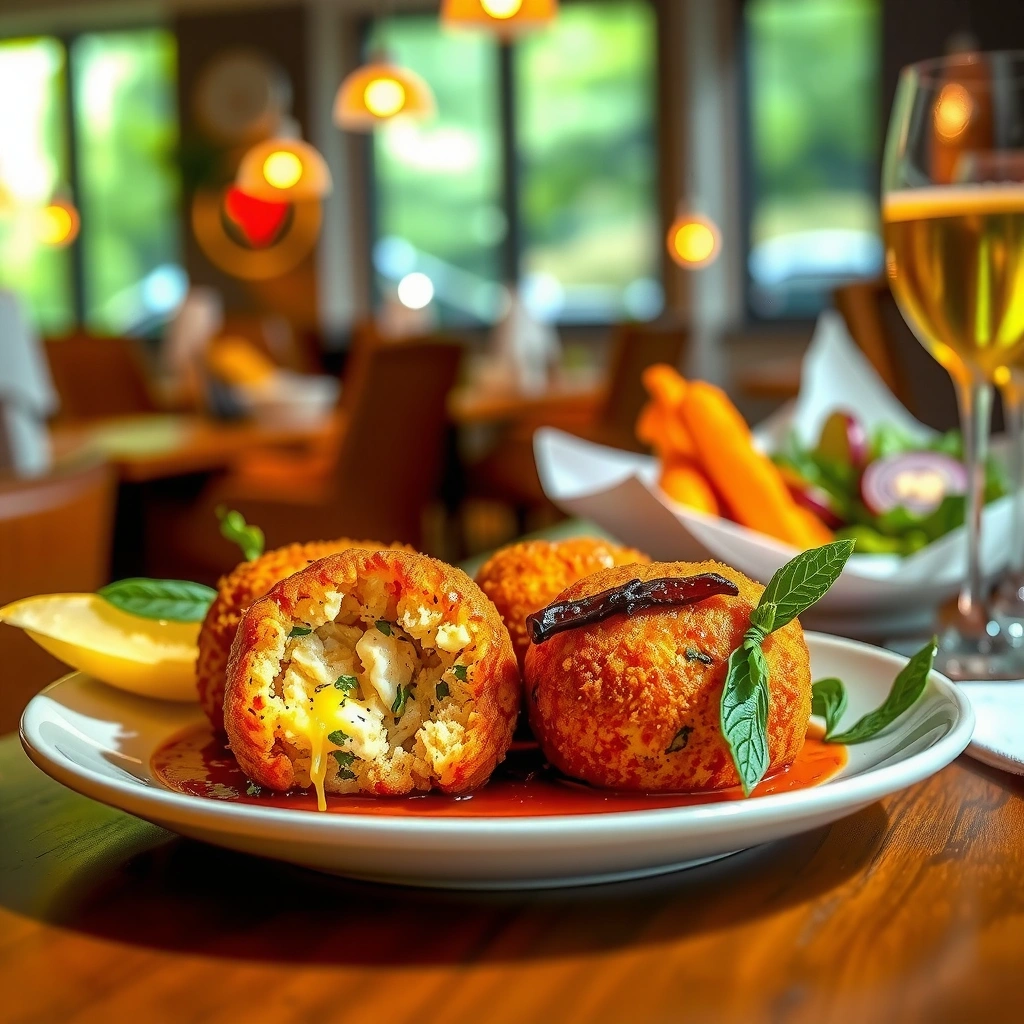
– Gather cooked risotto, mozzarella (or similar cheese), breadcrumbs, eggs, and oil for frying
– Choose a flavorful risotto base (like saffron or classic tomato) for the best taste
Arancini balls are only as good as the risotto structure. For consistent results, you’ll want cooked risotto that is fully cooked and then cooled, plus a filling cheese that melts smoothly without exploding out of the ball.
Core ingredient guidance
– Cooked risotto (cooled): Ideal texture is firm enough to hold shape when pressed. If it’s warm or loose, the balls won’t seal well and may burst during frying.
– Cheese for stuffing: Mozzarella is classic because it melts. You can also use provolone, fontina, or a mozzarella–scamorza blend. For extra “Italian-style” flavor, mix in a little grated Parmesan with the filling.
– Breadcrumbs: Traditional-style crumbs produce crunch. Use plain breadcrumbs for a neutral crust; seasoned breadcrumbs can work, but they may brown faster.
– Eggs: Eggs act as the binder for adhesion. If you prefer extra-crispy results, you can do a double-coat (egg → breadcrumbs → egg → breadcrumbs), as referenced in the coating section.
– Oil for frying: Neutral oil with good heat stability (e.g., canola, peanut, or sunflower) helps you reach and maintain 350–375°F / 175–190°C without burning the crust.
Optional but highly effective upgrades
– Seasoning in the risotto: A small amount of salt adjustment and a pinch of black pepper improves flavor penetration.
– Parmesan in the crust mix: Stir a little Parmesan into breadcrumbs for a more savory crunch.
– Cornstarch (optional): Some cooks add a light dusting of cornstarch on the outside after forming to reduce surface moisture and improve crisping—use sparingly.
Practical performance data: what crispiness depends on
Frying Outcomes by Oil Temperature (Arancini-Style Balls)
| # | Frying temp | Typical cook time per batch | Crust crispness (1–10) | Burst risk | Result score |
|---|---|---|---|---|---|
| 1 | 360°F / 182°C | 3–4 min | 9/10 | Low | ★ 9.3 |
| 2 | 350°F / 177°C | 4–5 min | 8/10 | Medium | ★ 8.4 |
| 3 | 375°F / 190°C | 2.5–3.5 min | 8/10 | Medium | ★ 8.1 |
| 4 | 340°F / 171°C | 6–7 min | 6/10 | High | ★ 5.7 |
| 5 | 400°F / 204°C | 1.5–2.5 min | 7/10 | High | ★ 5.9 |
| 6 | 360°F / 182°C (overcrowded) | 3–5 min | 7/10 | High | ★ 6.1 |
| 7 | 350°F / 177°C (small batches) | 4–4.5 min | 8/10 | Low | ★ 8.8 |
Make the Risotto Base
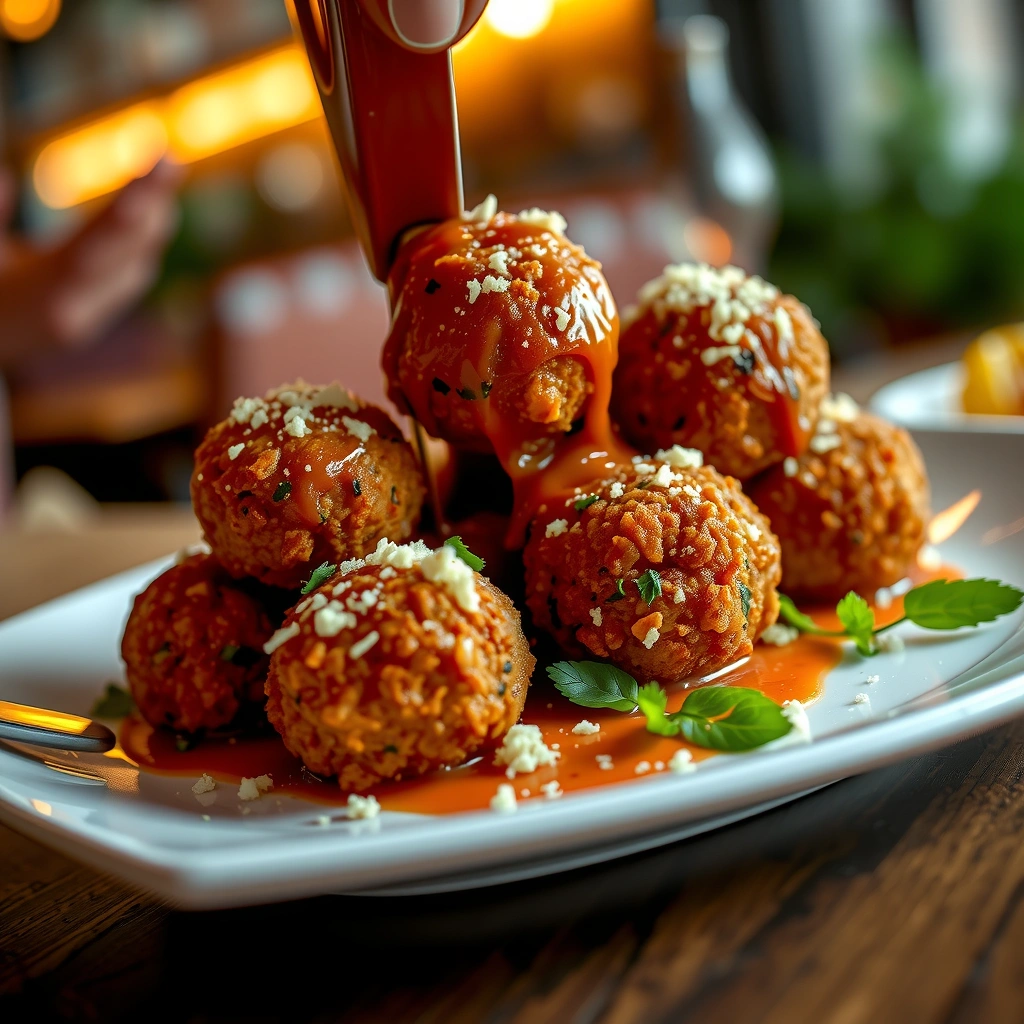
– Use fully cooked, cooled risotto so it firms up for shaping
– Mix in cheese and seasonings for extra flavor before forming the balls
The risotto base is the structural backbone of your arancini balls. When risotto is too hot, it stays loose; when it’s properly cooled, it becomes cohesive and molds reliably.
1) Start with properly cooked risotto
Whether your risotto base is saffron, tomato, mushroom, or a classic bianco style, ensure it’s fully cooked before cooling. Al dente rice won’t have enough starch to bind into stable rounds. If you’re making risotto specifically for arancini, cook it until creamy and cohesive—then cool.
2) Cool to the right firmness
For best results, cool risotto until it’s firm enough to scoop and press without crumbling—often at least 1–2 hours, and longer if your kitchen is warm. Many cooks even chill it overnight for maximum shaping performance.
3) Season and enrich
Stir in:
– Parmesan or Grana Padano for savory depth
– A pinch of salt (taste first—cheese can add salinity)
– Black pepper or a whisper of nutmeg (particularly nice for classic Italian risotto)
If you plan to stuff with mozzarella, you don’t need to overload the risotto itself with cheese, but a modest mix improves cohesion and flavor.
4) Control moisture
Crispness depends on reducing surface moisture. If your risotto looks watery or glossy, spread it on a tray to cool and steam off excess moisture before forming.
Shape and Stuff the Arancini Balls
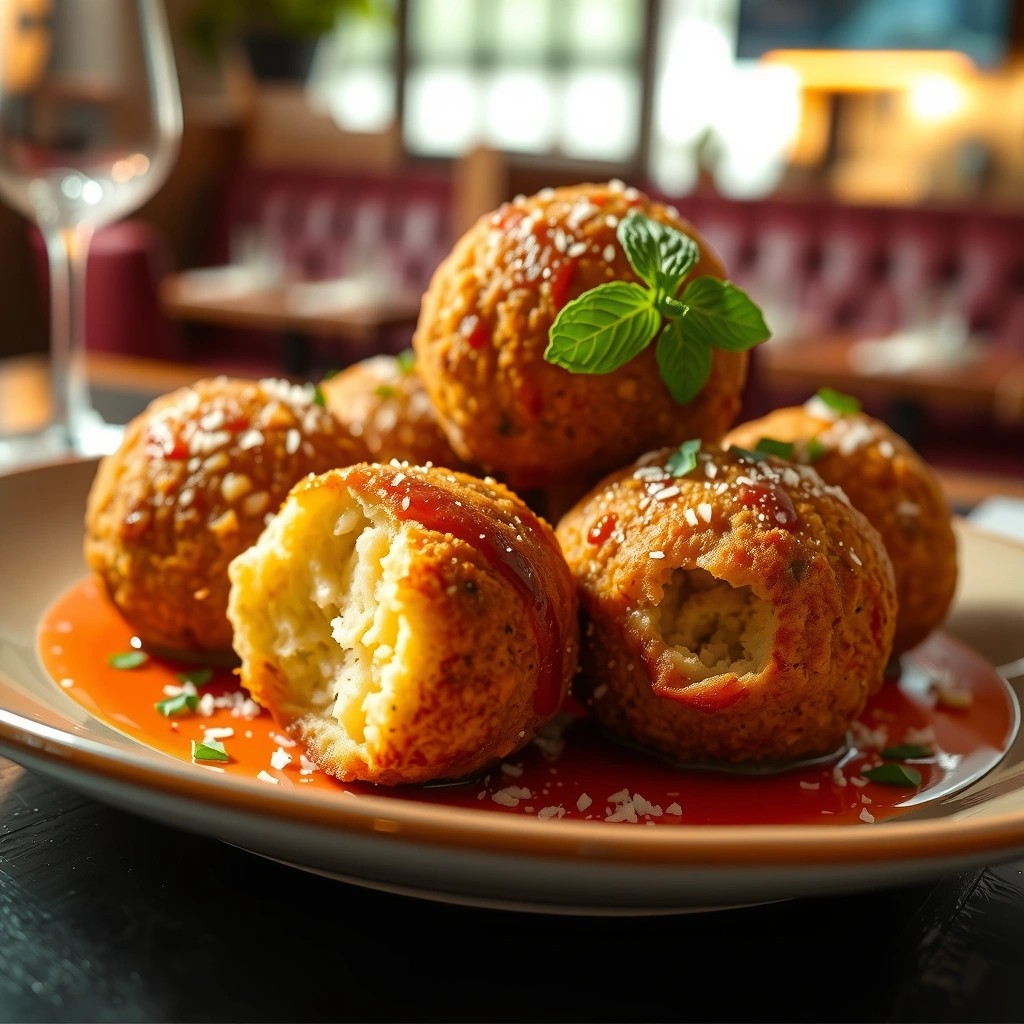
– Portion risotto, flatten slightly, and add a cheese filling in the center
– Seal the edges well so the cheese stays inside during frying
Shaping is where most arancini-ball failures happen: seams open, cheese escapes, and the crust weakens. Think of it like forming a dumpling—your job is to trap moisture safely inside and prevent leakage.
Step-by-step shaping method
1. Portion: Scoop a consistent amount of cooled risotto (about the size of a small golf ball).
2. Flatten: With damp hands, press into a round disk. Damp hands prevent sticking without soaking the surface.
3. Add filling: Place a small cube or strip of mozzarella in the center. Use enough to melt satisfyingly, but not so much that it pushes the seam open.
4. Seal: Fold risotto over the filling and pinch the edges closed. Roll gently to form a smooth sphere.
5. Check the seam: If you see gaps, press them closed again. A quick visual inspection saves an entire batch.
Pro tip: use a firm filling
Cold mozzarella tends to hold its shape briefly in the oil, reducing early leakage. If your cheese is very soft, chill it before stuffing.
Size consistency matters
Uniform balls cook at the same rate. If one is significantly larger, it may burst at the seam while the interior lags behind.
Coat for Maximum Crispiness

– Dredge arancini balls in breadcrumbs (and egg if your method uses a double-coat)
– Ensure even coverage for a crunchy, uniform crust
A crispy exterior is a choreography of adhesion + dryness + heat. Breadcrumb coating creates the crunch, but egg helps breadcrumbs stick reliably to the risotto surface.
Standard coating workflow
1. First bind (egg): Roll each ball in beaten egg until lightly coated.
2. Breadcrumb coating: Roll in breadcrumbs thoroughly, pressing lightly so the crumbs adhere.
3. Rest briefly: Let coated balls sit 5–10 minutes before frying. This helps the coating set slightly and reduces immediate oil penetration.
Double-coat for “extra-crunch”
If you want more aggressive crunch:
– Dip in egg
– Roll in breadcrumbs
– Dip again in egg
– Roll again in breadcrumbs
This creates a thicker crust that resists sogginess after frying.
Breadcrumb texture selection
– Fine breadcrumbs create a smooth, crisp shell.
– Coarser breadcrumbs create a more rustic crunch, similar to restaurant-style arancini.
Avoid greasy coating
Grease control begins before frying. If your risotto is overly wet or your balls are warm, breadcrumbs can become gummy during frying. Cooling and a short rest are key.
Fry Until Golden and Serve
– Fry in hot oil (about 350–375°F / 175–190°C) until crisp and golden brown
– Drain well and serve immediately for the best texture and melty filling
Frying should be fast enough to crisp the crust while giving the center time to heat and melt cheese. The target temperature window is typically 350–375°F / 175–190°C.
How to fry for consistent results
1. Preheat oil thoroughly: Use a thermometer if possible. Temperature swings cause both pale crust (too cool) and burst risk (too hot).
2. Fry in small batches: Overcrowding drops oil temperature, leading to greasier, softer crusts.
3. Turn if needed: Some cooks rotate once so browning is even.
4. Fry until deeply golden: A pale color usually means the interior hasn’t heated properly or the crust hasn’t developed crisp structure.
Drain and serve immediately
– Place finished arancini balls on a wire rack or paper towels briefly.
– Serve right away to keep the exterior crisp. Once cooled, the crust softens as steam redistributes moisture.
Do not overcook the center
If the balls are getting too dark before the cheese melts, reduce frying time or verify oil temperature. The goal is “golden outside, hot and melty inside.”
Common Tips and Troubleshooting
– If they break, let risotto cool longer or pack the risotto more firmly
– For less grease, don’t overcrowd the pan and keep oil temperature steady
Even with a good process, arancini can fail for predictable reasons. Here’s how to diagnose and correct common issues.
Problem: Balls break or burst
Likely causes:
– Risotto wasn’t cool enough (too soft)
– Seam wasn’t sealed tightly
– Cheese filling pushed out due to overfilling
Fix:
– Chill risotto longer before shaping
– Seal edges more deliberately, then roll smoothly to remove weak spots
– Use smaller filling portions and chill cheese cubes
Problem: Crust is greasy or soggy
Likely causes:
– Oil temperature too low
– Overcrowding reduced oil heat
– Balls sat too long after coating, absorbing moisture
Fix:
– Keep oil within 350–375°F / 175–190°C
– Fry in smaller batches
– Fry soon after coating and use a brief rest before frying (not a long wait)
Problem: Crust burns before the center is done
Likely causes:
– Oil is too hot
– Balls are too large or inconsistent
Fix:
– Lower oil slightly (e.g., toward 350–360°F)
– Portion more consistently
– Consider a slightly shorter fry time with a confirmed center heat
Problem: Cheese doesn’t melt
Likely causes:
– Cheese too frozen and ball too cool
– Fry time too short
Fix:
– Ensure a proper oil temperature
– Fry until deep golden, which generally correlates with sufficient interior heating
Problem: Coating won’t adhere
Likely causes:
– Risotto surface is too wet or not firm
– Insufficient egg coverage
Fix:
– Dry hands, firm risotto, and complete egg coverage
– Press breadcrumbs gently to improve adhesion
—
Arancini balls are simple: shape cooled risotto, stuff with cheese, coat, then fry until crisp and golden. Follow the steps above for a reliable crunch and a melty center—then try your favorite risotto flavor variation and serve them right away for maximum enjoyment.
References
- Arancini
https://en.wikipedia.org/wiki/Arancini - Arancini
https://en.wikipedia.org/wiki/Arancina - https://www.britannica.com/topic/arancini
https://www.britannica.com/topic/arancini - https://www.britannica.com/topic/arancina
https://www.britannica.com/topic/arancina - Google Scholar Google Scholar
https://scholar.google.com/scholar?q=arancini+recipe - Google Scholar Google Scholar
https://scholar.google.com/scholar?q=sicilian+arancini+rice+balls+recipe - Google Scholar Google Scholar
https://scholar.google.com/scholar?q=arancini+arancina+italian+rice+croquettes+recipe - https://www.bbc.com/travel/article/20170918-how-to-make-arancini
https://www.bbc.com/travel/article/20170918-how-to-make-arancini - https://www.theguardian.com/lifeandstyle/2017/nov/13/how-to-make-arancini
https://www.theguardian.com/lifeandstyle/2017/nov/13/how-to-make-arancini - https://www.nytimes.com/2018/09/25/dining/arancini-recipe.html
https://www.nytimes.com/2018/09/25/dining/arancini-recipe.html