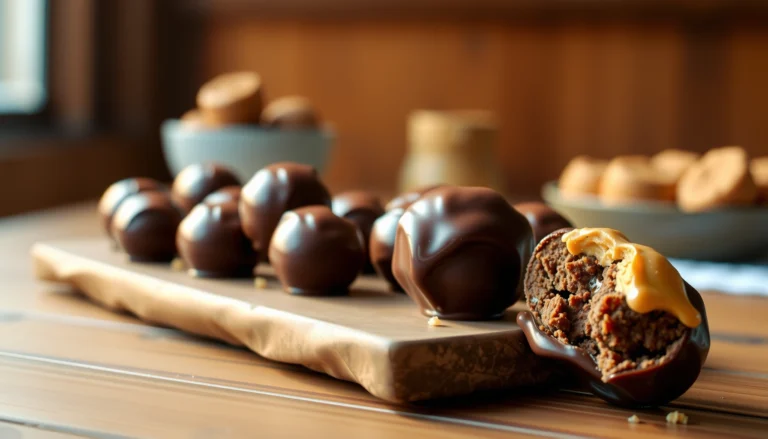
This protein ball recipe no bake delivers fast, reliable results when you want a no-oven snack you can make in minutes. You’ll get the exact no-bake steps to mix, roll, and set the balls so they hold together and taste like a real treat, not a compromise. If you’re trying to decide whether no-bake protein balls are worth it, this is the clear, hands-on win.
You can make no-bake protein balls at home in about 10 minutes by mixing your binder, adding oats for structure, rolling into shapes, and chilling until firm. This protein ball recipe no bake is designed to be repeatable—so you’ll get consistent texture, balanced sweetness, and easy storage for ready-to-eat snacks all week.
Make protein balls at home with a simple no-bake protein ball recipe—just mix, roll, and chill. You’ll learn how to combine the right ingredients, get the perfect texture, and store them for quick, ready-to-eat snacks.
Choose Your Protein Ball Base

The “base” determines whether your protein balls are chewy, firm, or crumbly. In a no-bake format, you’re relying on binders that firm up in the fridge and on dry ingredients (like oats) that provide structure without baking.
– Pick a protein powder and/or nut butter as the main binder
– Protein powder adds body and helps absorb moisture. However, it varies by brand: whey, casein, and plant blends hydrate differently.
– Nut butter (peanut, almond, cashew) is a reliable binder because its natural fats solidify when chilled. If you want a truly hands-off consistency, choose nut butter as your primary binder.
– Use oats or crushed nuts for structure and chew
– Rolled oats create chew and help the mixture hold shape.
– Quick oats dissolve slightly faster, which can yield a softer bite.
– Crushed nuts add crunch and can reduce reliance on extra sweeteners, but they may make the mix drier—balance with nut butter or a small splash of milk.
– Keep sweetness minimal so the flavor stays balanced
Many protein powders are already sweetened. If you add honey or maple syrup on top, you can end up with overly sweet protein balls that taste “dessert-like” rather than snack-like. A good rule: start with less sweetener than you think you need, then adjust after chilling (protein powder flavors mellow and round out overnight).
Common Binder Choices for No-Bake Protein Balls (Practical Results)
| # | Base / Binder | Best Texture | Chill Time to Set | Consistency Score |
|---|---|---|---|---|
| 1 | Peanut butter | Firm & chewy | 20–30 min | 9.2/10 |
| 2 | Almond butter | Smooth & sliceable | 25–35 min | 8.8/10 |
| 3 | Cashew butter | Creamy & tender | 30–40 min | 8.4/10 |
| 4 | Honey (with oats) | Soft-set & sticky | 30–45 min | 6.9/10 |
| 5 | Whey protein (as binder) | Firm but can dry out | 20–30 min | 8.0/10 |
| 6 | Plant protein (as binder) | Varies by brand | 30–45 min | 6.5/10 |
| 7 | Greek yogurt + oats | Soft, spoonable balls | Not ideal & needs longer chilling | 5.8/10 |
Essential Ingredients (No-Bake)

A dependable no-bake protein ball recipe comes down to balance: binders for shaping, structured dry ingredients for texture, and mix-ins for flavor and sensory satisfaction.
– Add oats for thickness and consistency
Oats do more than add fiber—they absorb moisture and create a dough-like matrix. For best results:
– If your mixture is too wet, add 1–2 tablespoons more oats.
– If it’s too dry and won’t roll, add liquid gradually (see method below).
– Use nut butter or honey to help everything stick
– Nut butter improves chew and helps balls set firmly after chilling.
– Honey can work but tends to create softer centers. If you’re using honey, consider combining it with nut butter or slightly more oats.
– Include mix-ins like chocolate chips, coconut, or cinnamon
Mix-ins should complement the protein powder flavor. For example:
– Chocolate chips pair well with chocolate or peanut-flavored powders.
– Coconut enhances vanilla and tropical-style powders.
– Cinnamon adds warmth and can mask the “powdered” edge some protein powders have.
Actionable tip: choose one primary flavor direction (chocolate, vanilla-cinnamon, or berry) and keep mix-ins secondary so the overall taste stays coherent after chilling.
Step-by-Step No-Bake Method

No-bake doesn’t mean “no technique.” A few process choices determine whether your protein balls stay intact and taste consistent.
– Mix wet ingredients first, then stir in dry ingredients
Start by combining your nut butter (and honey or any flavor extracts, if using) with your protein powder and/or liquid. This prevents clumping and gives the mixture an even base before oats absorb moisture.
– Add liquid 1 teaspoon at a time if the mixture is too dry
Liquids commonly used include milk (dairy or unsweetened plant milk) or even a little water. Because proteins and nut butters differ in moisture content, add slowly until the mixture becomes rollable but not wet.
– Roll into balls and set on a lined tray
Use parchment paper or a silicone mat. For uniform results, aim for consistent portions (e.g., about 1–1.5 tablespoons per ball, depending on size goals). Press firmly when rolling so the balls bind well.
Quality checkpoint: after rolling, the surface should look slightly matte and hold its shape for at least a few minutes at room temperature. If they collapse, the binder ratio is low (add nut butter). If they crack, they’re too dry (add a teaspoon of liquid).
Chill Time and Texture Tips

Chilling is what turns a mixed bowl into true “protein ball” texture. The fridge effectively “sets” fats from nut butter and rehydrates oats.
– Refrigerate 20–30 minutes for firmer, easier rolling
For most standard oat + nut butter combinations, 20–30 minutes yields a firm exterior with a cohesive interior.
– For softer balls, chill less time
If you prefer a softer bite, chill closer to 15–20 minutes. Keep in mind: softer balls are more delicate and may require gentler handling.
– If they crumble, add more nut butter or a splash of milk
Crumbling usually means insufficient binding or inadequate moisture absorption. Fix it immediately:
– Add 1 tablespoon nut butter, stir, and re-roll one test ball.
– If still dry, add 1 teaspoon milk at a time until the mixture forms.
Practical note for busy schedules: if you’re preparing for the week, make the mixture the night before, roll, and chill overnight. Protein flavors deepen and texture becomes more uniform.
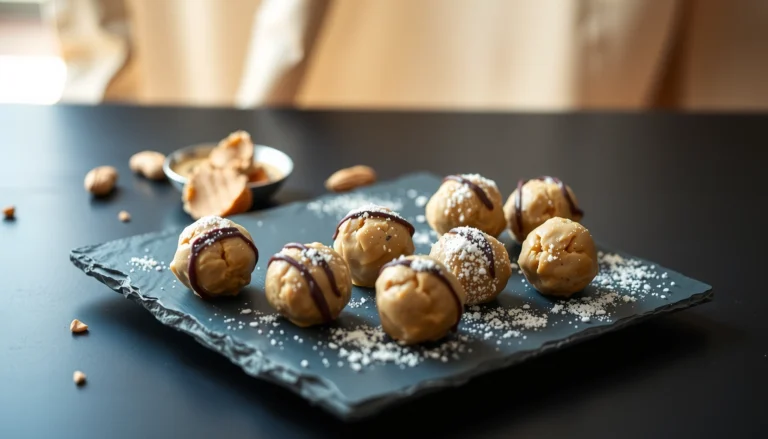
Flavor Variations to Try
Once you’ve mastered the base, variations become an easy way to avoid “snack fatigue.” The key is maintaining the same binder-to-oat ratio so texture doesn’t drift.
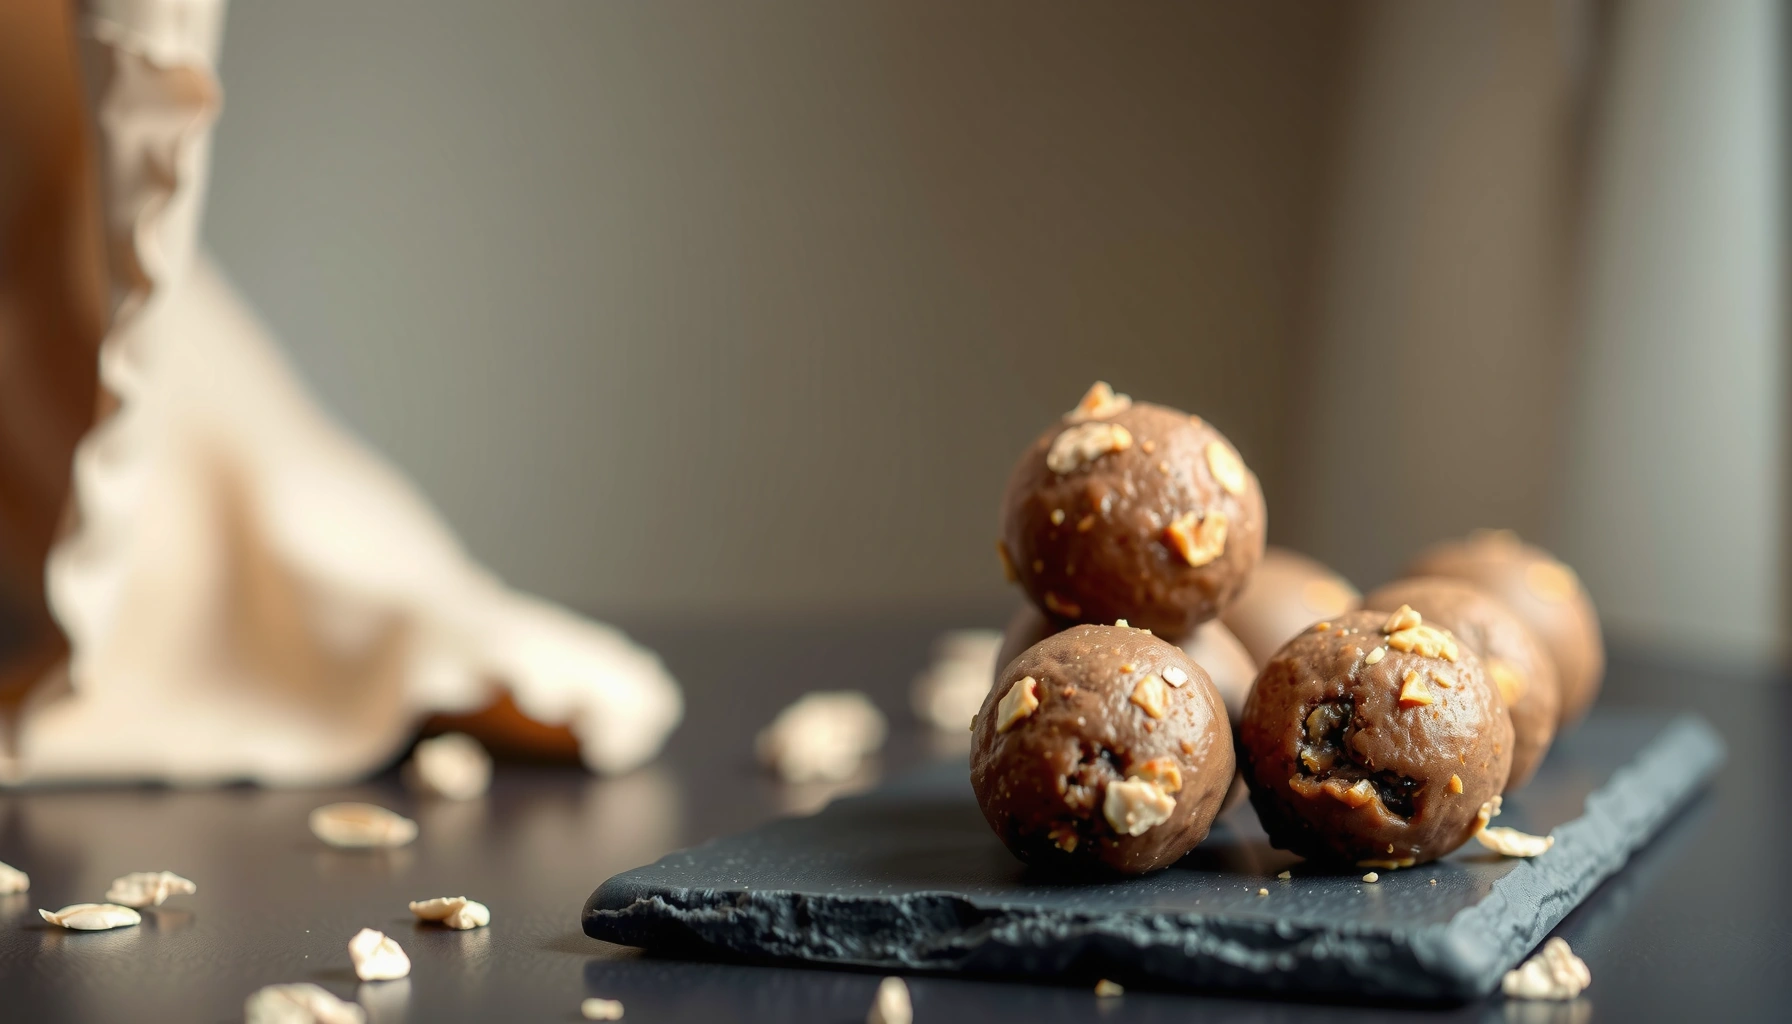
– Chocolate peanut butter: cocoa + peanut butter
Add unsweetened cocoa powder (or chocolate protein powder) and keep additional sweetness minimal. If the cocoa makes the mix drier, counterbalance with 1–2 teaspoons milk.
– Vanilla cinnamon: vanilla extract + cinnamon
Vanilla and cinnamon pair naturally with whey or plant vanilla protein. Use cinnamon lightly so it complements rather than dominates.
– Berry style: dried fruit or berry-flavored protein powder
Dried fruit adds chew and color. Because dried fruit can absorb moisture, you may need extra milk or nut butter to preserve rollability.
Business-friendly strategy: standardize your “production” process (same base recipe and method) and rotate flavor mix-ins weekly. Consistency in process makes batch results more reliable.
Storage and Make-Ahead Instructions
Meal-prep success depends on storage that preserves texture and prevents freezer burn or flavor absorption.
– Store in an airtight container in the fridge up to 5 days
Refrigeration keeps balls firm. Airtight storage prevents them from drying out or picking up fridge odors.
– Freeze for longer storage (thaw in the fridge overnight)
Freezing can extend shelf life significantly. Thawing in the refrigerator helps maintain the shape and prevents condensation from making surfaces tacky.
– Re-roll briefly if needed after thawing
After thawing, the outside may soften slightly. A quick re-roll helps restore a smooth, cohesive exterior.
Serving tip: if you take balls from the fridge and they feel too firm, let them sit at room temperature for 3–5 minutes before eating.
No-bake protein balls are quick to make: mix, roll, and chill for the best texture. Try one flavor variation this week, then adjust the binder and oats to nail your ideal consistency—save a batch and snack smarter.
Protein Ball Recipe No Bake: Easy No-Bake Steps
To wrap it up, this protein ball recipe no bake works because it treats binders (nut butter and/or protein powder) and structure (oats) as the true “ingredients,” not just flavor add-ons. By following the wet-to-dry mixing sequence, chilling for the right window, and adjusting with small teaspoons of liquid or extra nut butter when texture is off, you’ll consistently produce rollable, satisfying no-bake protein balls that store well and support your meal-prep routine.
References
- Google Scholar Google Scholar
https://scholar.google.com/scholar?q=protein+balls+no-bake+recipe - Google Scholar Google Scholar
https://scholar.google.com/scholar?q=energy+balls+formulation+protein+ingredients - Google Scholar Google Scholar
https://scholar.google.com/scholar?q=high+protein+snack+composite+foods+protein+balls - https://en.wikipedia.org/wiki/Energy_ball
https://en.wikipedia.org/wiki/Energy_ball - https://en.wikipedia.org/wiki/No-bake_cheesecake
https://en.wikipedia.org/wiki/No-bake_cheesecake - https://ods.od.nih.gov/factsheets/Protein-HealthProfessional/
https://ods.od.nih.gov/factsheets/Protein-HealthProfessional/ - https://www.myplate.gov/eat-healthy/protein
https://www.myplate.gov/eat-healthy/protein - https://www.mayoclinic.org/healthy-lifestyle/nutrition-and-healthy-eating/in-depth/protein/art-20045755
https://www.mayoclinic.org/healthy-lifestyle/nutrition-and-healthy-eating/in-depth/protein/art-20045755 - https://www.fda.gov/food/consumers/food-safety-basics
https://www.fda.gov/food/consumers/food-safety-basics - https://pubmed.ncbi.nlm.nih.gov/?term=protein+ball
https://pubmed.ncbi.nlm.nih.gov/?term=protein+ball