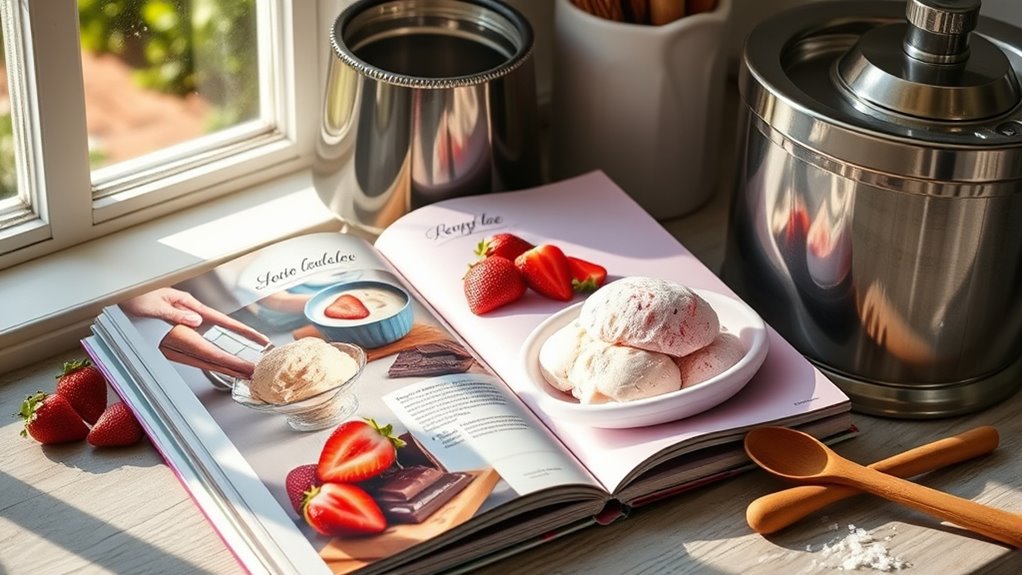
A homemade ice cream recipe book invites you into a creamy, scent-filled kitchen where you confidently craft velvety bases with dairy or plant milk, sugar, and a pinch of salt. You’ll measure precisely, whisk steadily, and watch as vanilla, caramel, or berry swirls bloom in the chill. Each page guides you through textures, flavors, and garnishes, with tips on freezing, churning, and presentation. Keep going, and you’ll unveil even richer, bolder scoops than you imagined.
Ingredients and Quantity
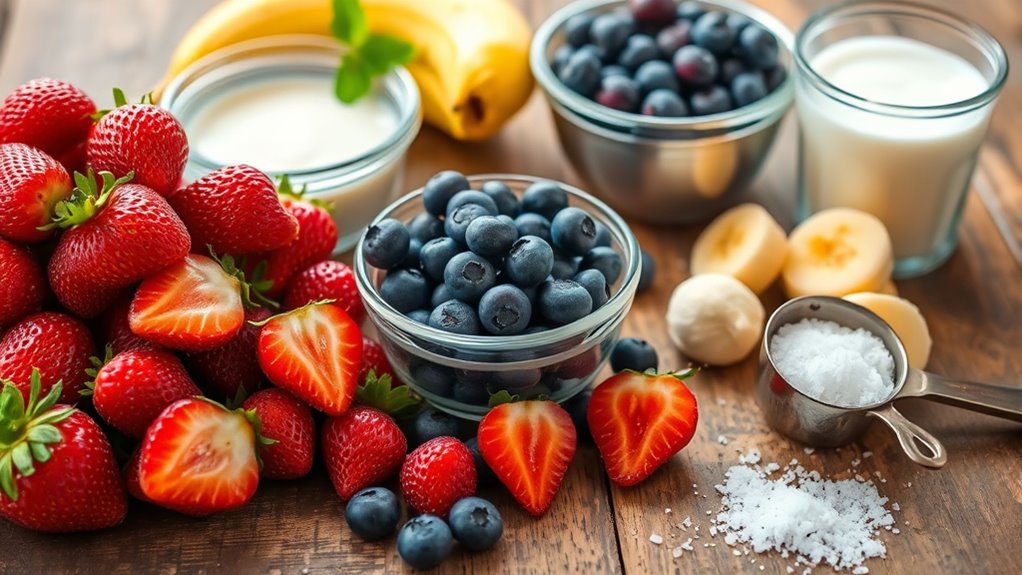
Gather the essentials you’ll need for your batch: dairy or dairy-free base, sugar, and a pinch of salt. You’ll measure with intention, tasting the balance as you go. Start with a creamy foundation, then layer in flavorings that excite you, keeping portions clear and flexible. Your ingredients should invite experimentation with flavor combinations and alternative sweeteners, so you can tailor sweetness to fit your freedom-loving palate. Keep measurements precise enough to repeat, yet forgiving enough for tweaks. Now sketch a quick plan: base, sweetener, salt, flavoring, and texture enhancer, each in harmony.
| Ingredient | Quantity |
|---|---|
| Base (milk/cream or plant milk) | 2 cups |
| Sugar or alternative sweetener | 3/4 cup |
| Salt | 1/4 tsp |
| Flavoring (vanilla, cocoa, fruit) | 1–2 tsp |
| Texture enhancer (cornstarch or eggs) | optional |
Preparations

Before you plunge in, gather your tools and warm your senses: a sturdy saucepan, a whisk, a thermometer if you’ve got one, and a clean bowl chilling in the fridge. Preparations set the stage for confident creativity. You’ll rinse your mind of clutter and tune your hands to rhythm, whisking smoothly as steam whispers from the surface. Measure and steady, because ice cream equipment helps you control texture: shirtsleeve patience, a reliable timer, and a clean chilling space for mixtures. Plan flavor combinations with intention: vanilla-caramel, blackberry-mint, or cocoa-nougat, letting temperature guide outcomes. Keep your workspace calm, organized, and free, so impulses become precision. When you’re ready, you’ll feel the craft’s momentum, a quiet, delicious authorization to begin.
How to Cook
- Prepare your tools and set the stage for cooking.
- Begin with calm, deliberate motions.
- Feel the chill of the countertop and the soft glow of the mixer.
- Listen to the hum of the motor as it powers on.
- Move your hands with confidence, selecting ingredients carefully.
- Weigh and measure ingredients with pinpoint precision.
- Use cooking techniques that honor timing: steady whisking, gradual folding, and short rests to deepen flavor.
- Let the scent of vanilla rise as you work.
- Observe the texture to know when the mixture is ready.
- Listen for the quiet churn to guide your pace.
- Treat kitchen tools—spoons, spatulas, bowls—as essential partners, each serving a specific purpose.
- Stay present, deliberate, and free during this creative, hands-on moment of transformation.
How to Serve
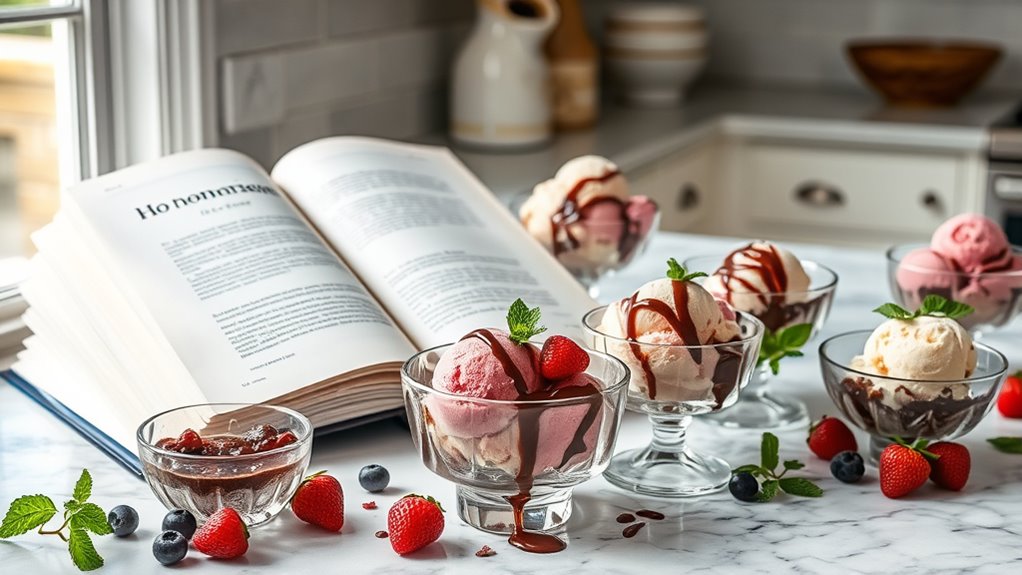
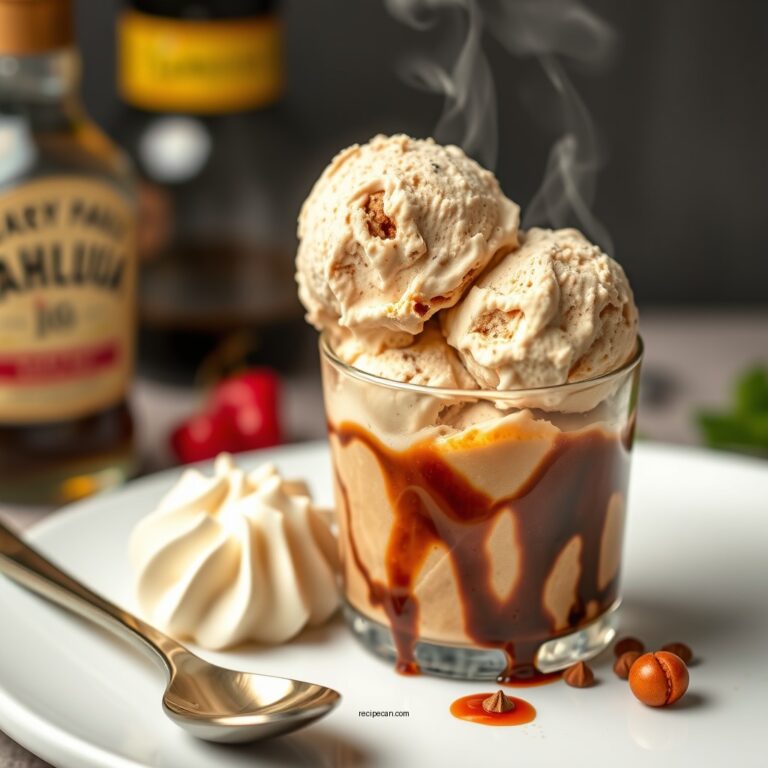
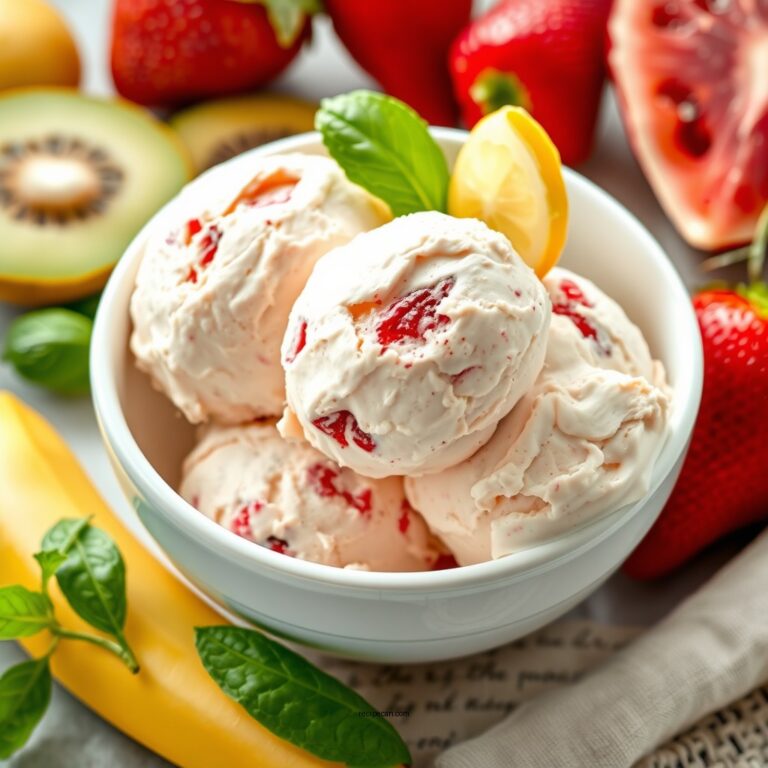
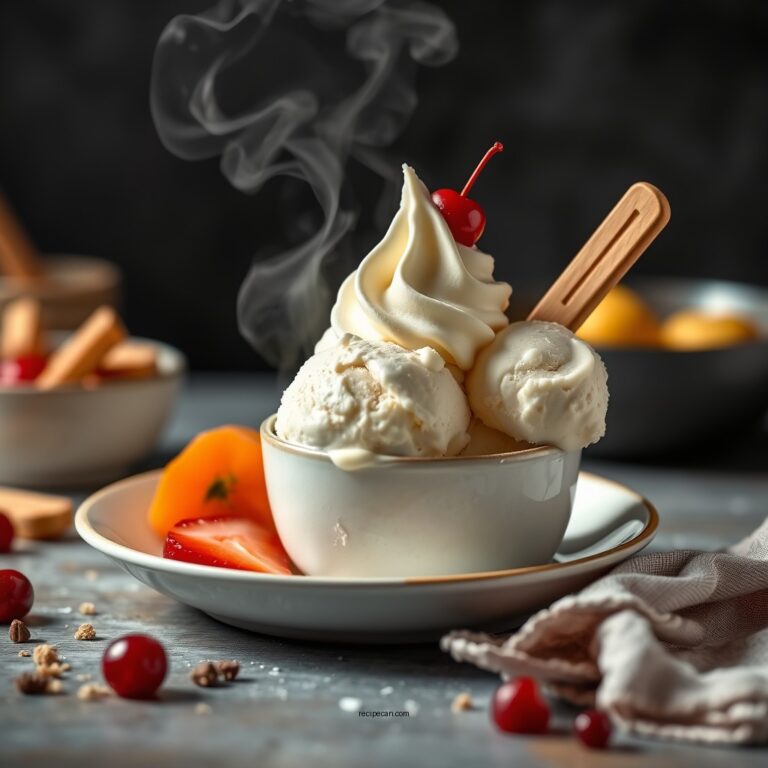
Serving homemade ice cream is as much about presentation as it is about flavor. You’ll plate with intention, choosing clear glass bowls or rustic scooped wedges that invite touch. Consider the environment—plating beside fresh berries, a drizzle of chocolate, or a pinch of flaky salt can elevate aroma and contrast. When you present, think in contrasts: warm cookies beside cold scoops, smooth gelato next to crunchy wafers, or vibrant fruit compotes for brightness. Use cooking spoons that feel balanced in your hand, and align scoops into neat mounds or playful swirls. For serving suggestions, rotate garnishes to match flavors, keeping portions generous yet elegant. Masterful presentation styles enhance the experience, letting your ice cream shine without shouting.
Tips
Tips can elevate your ice cream game from good to memorable. You’ll feel the chill, hear the churn, and taste the promise of cream turning to velvet. Keep it free and fearless, experimenting with balance, temperature, and texture variations. Let your senses guide you as you refine each batch.
- Freeze your mix lightly before churning to sharpen texture and control iciness.
- Alternate intensities in ice cream flavors—bold, bright, and subtle—so every scoop feels new.
- Adjust fat, sugar, and air for silk, creaminess, or heft, depending on your mood.
- Pause to taste, adjust, and document notes on mouthfeel and finish, not just flavor.
Your kitchen becomes a playground where ice cream flavors meet personal expression.
Food Value and Benefit
Homemade ice cream offers both enjoyable flavor and valuable nutrition, making it a nourishing treat you can customize to your dietary needs. This recipe provides a balanced combination of essential nutrients, supporting overall health while satisfying your sweet cravings.
Food Value:
- Rich in calcium and protein from milk or dairy alternatives, essential for bone health and muscle maintenance
- Contains energy-providing carbohydrates, including milk sugars for quick energy replenishment
- Includes healthy fats from cream, which support brain function and mood stability
- Antioxidants and micronutrients such as vitamin A, vitamin D, vitamin B12, potassium, and phosphorus, especially when flavored with natural ingredients like vanilla, cocoa, or fruit
Benefits of Eating This Recipe:
- Supports strong bones and teeth due to its high calcium and phosphorus content
- Provides a source of protein necessary for muscle repair and growth
- Offers quick energy from natural sugars, helping to alleviate fatigue
- Contains antioxidants that help combat oxidative stress and inflammation
- Mood-enhancing fats aid in maintaining emotional balance
- Customizable to dietary preferences or restrictions by using lighter dairy or plant-based alternatives
Enjoying homemade ice cream in mindful portions allows you to indulge in a delicious treat that also contributes positively to your nutritional intake.
Frequently Asked Questions
How Long Does Homemade Ice Cream Last in the Freezer?
Ice cream lasts about 1 to 2 months in the freezer. You’ll savor better texture with tight, consistent Storage tips and a steady Freezer temperature; seal airtight, churn gently after thawing, and label dates for mindful, freedom-filled enjoyment.
Can I Use Yogurt Instead of Dairy in This Recipe?
Yes, you can swap in yogurt alternatives for dairy in this recipe. You’ll taste tangy richness with non dairy options, feel creaminess, and notice smoother texture. Embrace freedom, experiment boldly, and savor yogurt alternatives in your scoop.
What’s the Best Starter Flavor for Beginners?
The best starter flavor for beginners is vanilla bean, creamy and versatile, with subtle sweetness. You’ll also enjoy swirling in chocolate fudge for depth; feel the smooth churn, inhale vanilla notes, and savor the freedom to improvise.
How Do I Fix Icy Texture in Scoopable Ice Cream?
You’ll fix icy texture by adjusting sugar content and mastering mixing techniques, giving you creamier scoopability; slow, steady churning builds smoothness, while warmer sensory notes tell you when softness sings, and you finally taste freedom in each bite.
Are There Egg-Free Options for Custard Base?
Yes—egg-free custard bases exist: use coconut milk, dairy-free cream, cornstarch, and a splash of vanilla. You’ll taste creaminess, feel silkiness, savor coconut, celebrate vegan ice cream, and relish freedom in your delicious, plant-based scoop.
References
- https://www.wikipedia.org/wiki/Ice_cream
- https://www.icecreamscience.com/
- https://www.cdc.gov/foodsafety/communication/ice-cream.html
- https://www.extension.purdue.edu/extmedia/FNR/FNR-370-W.pdf
- https://www.extension.umn.edu/food/food-safety/ice-cream/
- https://www.nationaldairycouncil.org/education/ice-cream-facts/
- https://www.fsis.usda.gov/wps/portal/fsis/topics/food-safety-education/get-answers/food-safety-fact-sheets/ct_ice_cream_facts