To craft a Ben & Jerry’s–style chocolate ice cream, start with a precise base of 2 cups heavy cream, 1 cup whole milk, 3/4 cup sugar, 1/2 cup unsweetened cocoa, and 4 ounces semisweet chocolate. Sift the cocoa, whisk with sugar, and heat the milk and cream to a controlled temperature. Chill fully, then churn to soft-serve texture before freezing. Add mix-ins if desired, then freeze. You’ll uncover more exact steps and tweaks as you continue.
Ingredients and Quantity
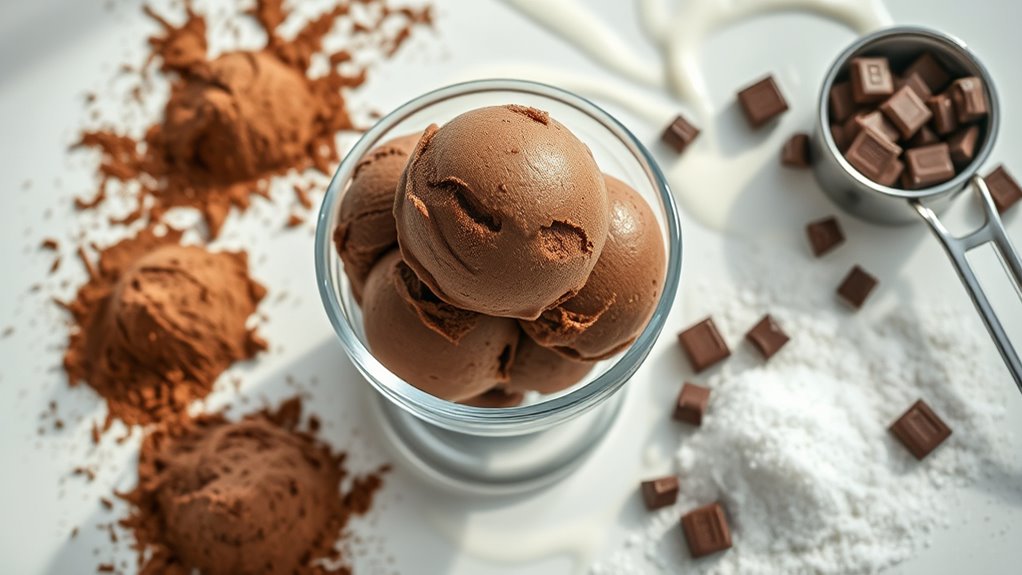
To make chocolate ice cream, assemble a precise set of ingredients and measurements: 2 cups heavy cream, 1 cup whole milk, 3/4 cup granulated sugar, 1/2 cup unsweetened cocoa powder, 4 ounces semisweet chocolate (min. 60%), 1 teaspoon vanilla extract, and a pinch of salt. You’ll want deliberate chocolate selection and thoughtful ingredient sourcing to guarantee consistency and taste. This section emphasizes measurement fidelity and reproducibility, not whimsy.
| Item | Quantity | Purpose |
|---|---|---|
| Heavy cream | 2 cups | Base fat and texture |
| Sugar | 3/4 cup | Sweetness control |
| Cocoa powder | 1/2 cup | Flavor foundation |
Key note: choose high-quality chocolate, and source ingredients with integrity to support a clean, freedom-minded process.
Preparations
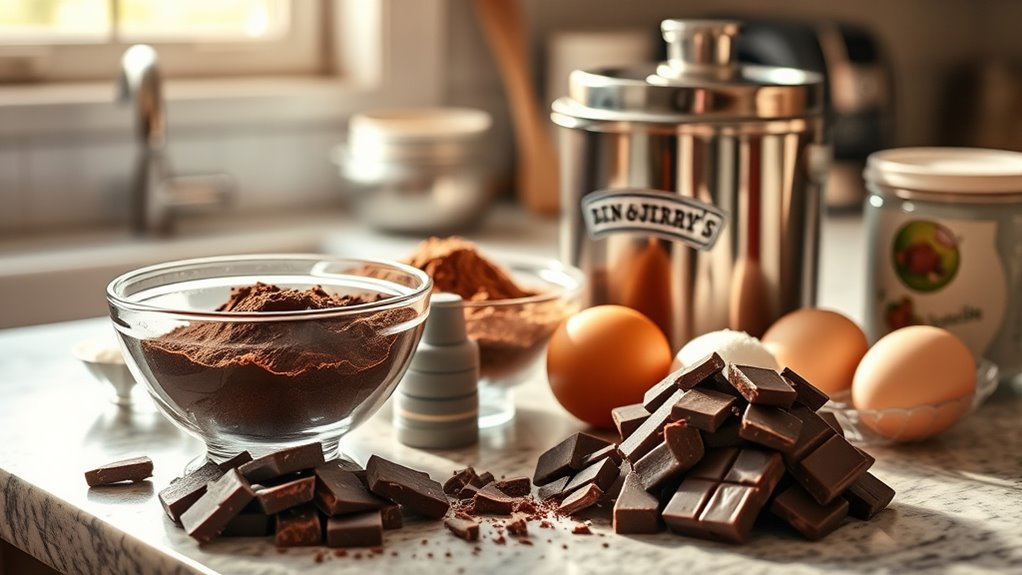
Gather and verify all ingredients and tools before you begin: measure the cream, milk, sugar, cocoa, and chocolate with a scale or measuring spoons, and have a reliable thermometer, a whisk or mixer, and an ice cream churn or container ready. You’ll prepare a clean workstation to minimize contamination and guarantee consistent results. Precision guides every step: confirm temperatures with the thermometer, and record measurements for reproducibility. Sift cocoa to remove clumps, then whisk with sugar to create a uniform dry mix. Heat milk and cream to a precise temperature, temper in the dry blend, then return to heat until the mixture thickens slightly. Chill completely before churning, so ice cream develops smooth texture and stable flavor combinations. This method supports reliable ice cream outcomes and freedom in experimentation.
How to Cook
- Establish a clean, organized workspace and gather all required ingredients and tools to ensure seamless workflow.
- Follow a precise sequence to control texture, temperature, and flavor using evidence-based techniques for consistent results.
- Focus on technique over guesswork; document temperatures, timings, and mix-ins to guide future batches.
- Apply core ice cream techniques to create a smooth, scoopable base.
- Fold in flavor combinations that complement cocoa.
Steps:
- Measure ingredients accurately and temper eggs if using.
- Heat the base to the recommended temperature, then chill thoroughly.
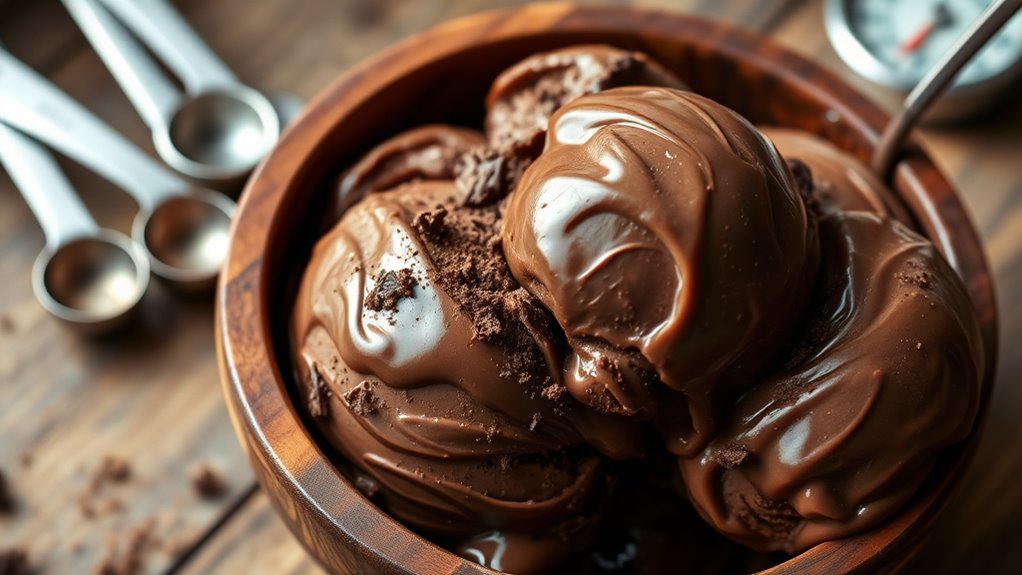
- Churn until the texture resembles soft-serve before freezing.
- Add mix-ins and stabilize for optimal eating quality.
Result:
– Achieve a disciplined craft with customizable flavor options and repeatable success.
How to Serve
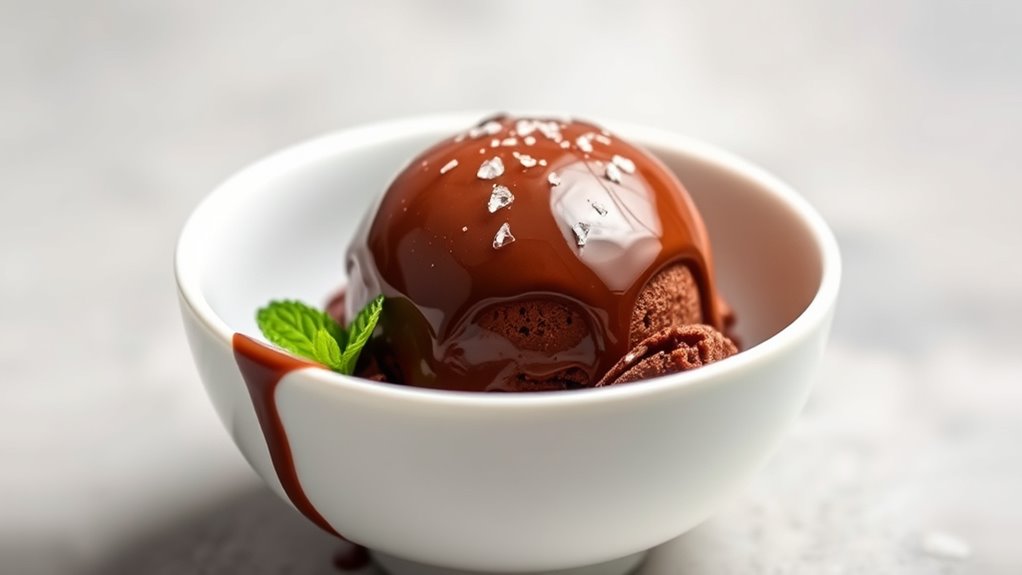
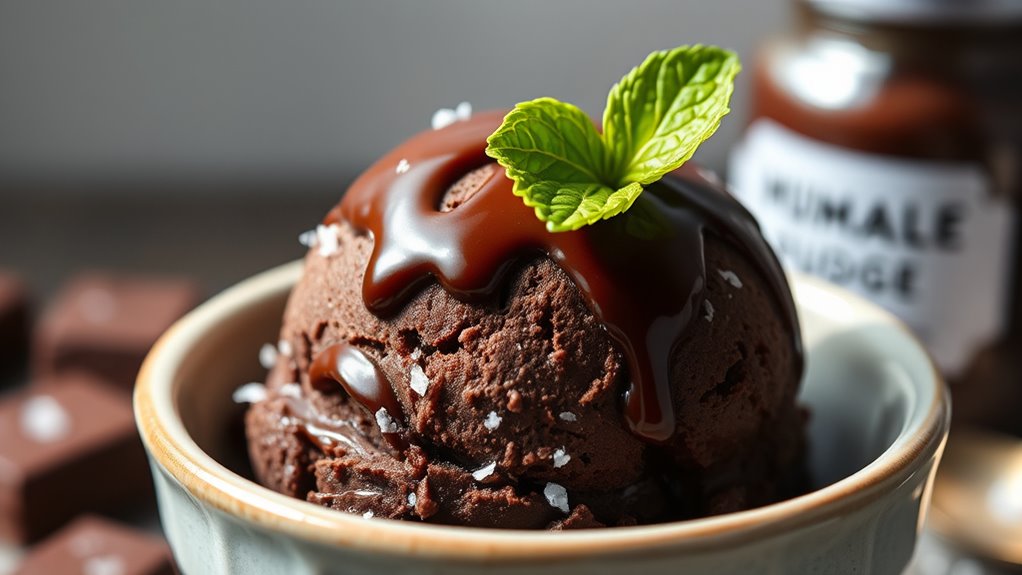
Serve chocolate ice cream with deliberate timing and presentation. You’ll plate the scoop(s) at a consistent tempo, allowing slight partial melting for texture differentiation. Begin with a chilled bowl to minimize warming, then portion servings using a warmed scoop for clean edges. Pair with precise toppings: a small, measured drizzle of fudge, a pinch of sea salt, and a single mint leaf if desired. Consider temperature contrasts across components to enhance perception of flavor depth. For Serving suggestions, present with minimal clutter to emphasize the ice cream’s color and sheen. Presentation ideas include a simple silhouette: a neat quenelle or rounded scoop atop a slim wafer, or a ramekin with a spritz of whipped cream. Maintain balance, restraint, and readability in every plate.
Tips
- You’ll optimize your batch by following a precise method for texture and flavor balance, ensuring repeatable results every time.
- Use a chocolate variety with high cocoa solid content for depth, paired with a neutral fat base to preserve scoopability and a smooth ice cream texture.
- Chill all ingredients thoroughly and temper the base before churning to reduce air incorporation and clumping.
- Control freezer temperature and storage, allowing brief softening at serving to enhance mouthfeel without melting too soon.
- Record measurements and outcomes to build your own evidence-based, repeatable process.
These steps emphasize disciplined technique, enabling you to enjoy chocolate flavor with a clean, consistent texture that feels liberating and confident.
Food Value and Benefit
Chocolate ice cream, prepared with a high-cocoa, well-emulsified base, offers a rich and flavorful dessert experience with several nutritional benefits typical of dairy-based treats.
Food Value:
- Provides a balanced macronutrient profile including fats, proteins, and carbohydrates.
- Contains essential minerals such as calcium and phosphorus, supporting bone health.
- Rich in cocoa, which contributes antioxidants and adds depth to flavor.
- Emulsification enhances texture and mouthfeel, improving overall enjoyment.
Benefits of Eating This Recipe:
- Helps satisfy sweet cravings with smaller portions due to its richness.
- Supplies calcium and phosphorus, important for maintaining strong bones and teeth.
- Provides energy and satiety through healthy fats.
- Contains antioxidants from cocoa, which may support cardiovascular health.
- Can be adapted to lower sugar or dairy-free versions to accommodate dietary needs and allergies.
- Encourages mindful portion control, fitting well within a balanced diet.
Vitamins and Minerals Present:
- Calcium: Essential for bone strength and muscle function.
- Phosphorus: Supports bone and teeth formation and energy metabolism.
- Minor amounts of vitamins such as Vitamin A and Vitamin D (depending on dairy content).
- Antioxidant compounds from cocoa, including flavonoids.
Enjoying this dessert responsibly allows you to balance taste, nutrition, and personal wellness goals.
Frequently Asked Questions
Can I Use Dairy-Free Substitutes for This Chocolate Ice Cream?
Yes, you can; dairy-free options work. You’ll substitute plant milks and emulsifiers, test texture, and adjust sweetness. Use chocolate substitutes with similar fat content, and document results to refine texture and flavor for freedom-focused experimentation.
What Equipment Is Essential for Churning at Home?
You’ll need an ice cream maker for reliable churning at home, plus a freezer-safe container; use steady, slow churning with exact timing. Ice cream makers and proper Churning techniques guarantee precision, reproducible texture, and freedom from inconsistent batches.
How Long Does It Take to Harden in the Freezer?
Hardening completes in about 4–6 hours at -18°C, depending on volume and container. You’ll notice firm texture as the freezer temperature stabilizes; monitor the hardening process, ensuring even cooling for consistent scoopability and maximal flavor release.
Can I Make This Without an Ice Cream Maker?
Yes, you can, though texture differs; use homemade techniques like whisking during freezing and occasional stirring, and expect creamier or icier results. You’ll notice texture differences, and precision-guided steps help you maintain evidence-based, freedom-loving control.
Is There a Vegan Version of This Recipe?
Yes, there is a vegan chocolate version using dairy alternatives, and you can adapt with plant milks and coconut cream. You’ll document ratios, freeze-thaw cycles, and texture checks, ensuring vegan chocolate evidence supports creamy, freedom-driven results.
References
- https://en.wikipedia.org/wiki/Ben_%26_Jerry%27s
- https://www.icecream.com/recipe/ben-jerry-chocolate-ice-cream
- https://www.nytimes.com/2020/07/14/dining/ben-jerrys-chocolate-ice-cream-recipe.html
- https://www.seriouseats.com/ben-and-jerrys-chocolate-ice-cream-recipe
- https://www.cookinglight.com/recipes/ben-and-jerrys-chocolate-ice-cream
- https://www.foodandwine.com/recipes/ben-jerrys-chocolate-ice-cream