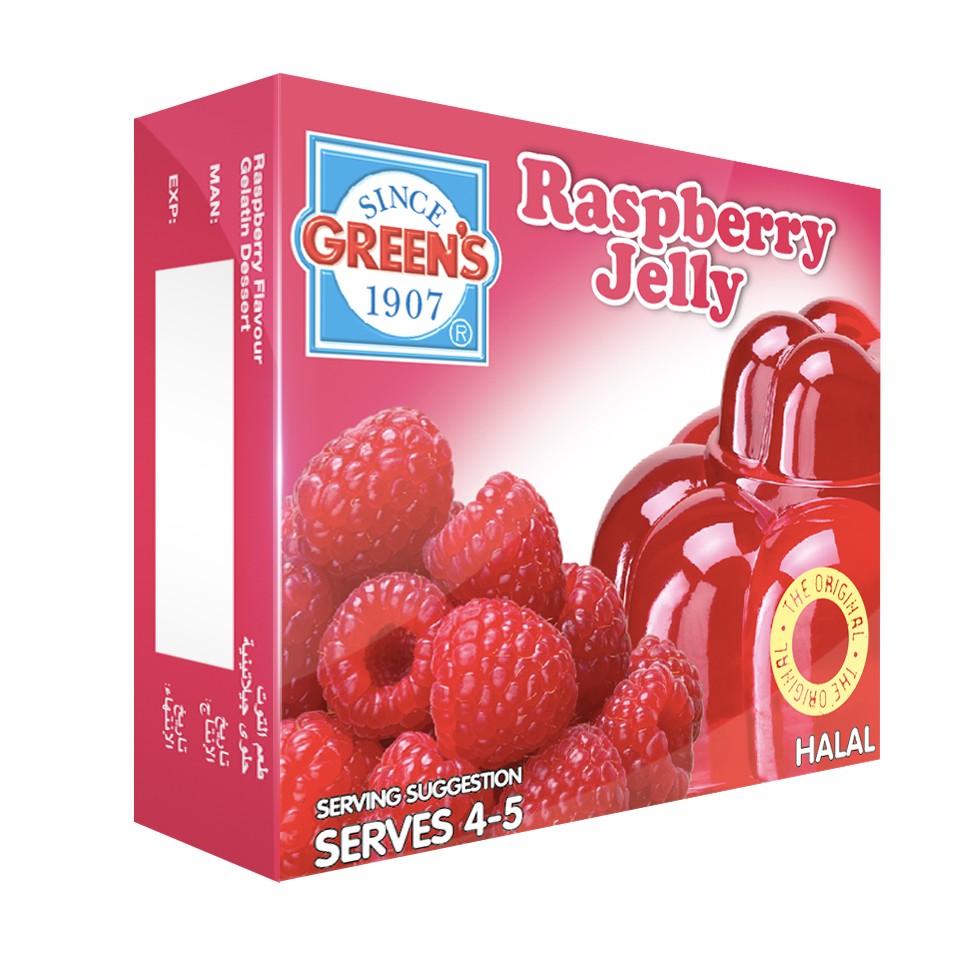
Mastering a raspberry jelly recipe requires precision and attention to detail to ensure safety and quality. This expert guide outlines step-by-step procedures, essential tips, and safety protocols to help you create delicious, shelf-stable raspberry jelly without any risk. Following these guidelines not only enhances flavor but also protects against foodborne illness, making your homemade preserves both enjoyable and safe.
What This Guide Covers (And What It Doesn’t)

This guide offers a detailed recipe for crafting raspberry jelly, complete with precise ingredient measurements, cooking times, and canning instructions. It delves into the science behind jelly-making, highlighting the critical role of pectin and acidity in achieving the perfect gel. However, it does not address other jelly or jam recipes, nor does it explore advanced canning techniques for different fruits or vegetables.
Who Should Read This

This guide is designed for home cooks with fundamental kitchen skills, including accurate ingredient measurement, stove usage, and an understanding of food safety protocols. It’s perfect for those eager to preserve seasonal raspberries and create homemade jelly that rivals store-bought options. Individuals with allergies to specific ingredients, such as pectin or sugar, should consult alternative resources or recipes before proceeding.
The Step-by-Step Protocol

1. Gather Your Ingredients: You will need 4 cups of fresh raspberries, 1 cup of water, 5 cups of granulated sugar, and 1 packet (approximately 1.75 oz) of fruit pectin.
2. Rinse the Raspberries: Thoroughly rinse the raspberries under cold water to eliminate any dirt or impurities. This step is crucial for maintaining food safety.
3. Combine and Heat: In a large pot, mix the rinsed raspberries with 1 cup of water over medium heat. Stir gently to combine.
4. Crush and Boil: Using a potato masher, crush the raspberries until they release their juices. Bring the mixture to a gentle boil, maintaining it for 10 minutes while stirring occasionally. This process helps extract maximum flavor.
5. Strain for Juice: After boiling, strain the raspberry mixture through a fine mesh sieve or cheesecloth to collect 4 cups of raspberry juice. Discard the solids, as they will not be used in the jelly.
6. Prepare for Cooking: Return the 4 cups of extracted raspberry juice to the pot. Stir in 1 packet of pectin and mix thoroughly. Bring this mixture to a full rolling boil over high heat.
7. Add Sugar: Once boiling, quickly add 5 cups of granulated sugar all at once. Stir continuously until the sugar is completely dissolved, which should take about 3-5 minutes.
8. Boil Again: Bring the mixture back to a rolling boil. Boil for exactly 1 minute while stirring continuously to ensure proper pectin activation.
9. Check for Set: To determine if the jelly is ready, perform the spoon test: Dip a cold spoon into the mixture and let it sit for a moment. The jelly should coat the back of the spoon and hold its shape.
10. Canning: Immediately ladle the hot jelly into sterilized jars, leaving 1/4 inch of headspace. Wipe the rims with a clean cloth to remove any residue, then seal with sterilized lids.
11. Process the Jars: Process the jars in a boiling water bath for 5-10 minutes to ensure safe preservation. Adjust the processing time based on your altitude, if necessary.
12. Cool and Store: Remove the jars from the water bath and let them cool on a clean towel or cooling rack. Once cool, check the seals. Store sealed jars in a cool, dark place.
Raspberry Jelly Nutritional Information (per 1 tablespoon)
| # | Nutrient | Amount | % Daily Value |
|---|---|---|---|
| 1 | Calories | 50 | 2% |
| 2 | Total Fat | 0g | 0% |
| 3 | Sodium | 0mg | 0% |
| 4 | Total Carbohydrates | 13g | 4% |
| 5 | Sugars | 12g | N/A |
| 6 | Protein | 0g | 0% |
| 7 | Vitamin C | 1mg | 1% |
| 8 | Calcium | 0mg | 0% |
| 9 | Iron | 0mg | 0% |
| 10 | Potassium | 30mg | 1% |
Warning Signs: When Not to Follow This

Avoid this recipe if your raspberries exhibit any signs of mold or spoilage, as this can lead to unsafe food products. Additionally, if you have a known allergy to pectin or related fruit products, this recipe may not be suitable for you. Steer clear of low-sugar or sugar substitute products, as they can interfere with the gelling process, potentially resulting in a failed jelly.
The Most Common Mistakes (And Their Consequences)

– Inaccurate Pectin Measurement: Failing to measure the pectin accurately can result in a jelly that doesn’t set properly. Always use the exact amount specified in the recipe.
– Overcooking the Jelly: Overcooking can diminish flavor and darken the color, making it less appealing while potentially altering the final texture.
– Insufficient Sterilization: Neglecting to sterilize jars before filling can lead to spoilage. Ensure jars are boiled for at least 10 minutes before use to eliminate harmful bacteria.
Special Cases That Need a Different Approach
– Using Frozen Raspberries: If using frozen raspberries, ensure they are fully thawed and drained properly before measuring. Adjust the water quantity as necessary to avoid excess liquid in the mixture.
– Low-Sugar Versions: For a low-sugar jelly, consider using low-sugar pectin. Follow the specific instructions provided with that product, as they may differ from those for regular pectin.
– Flavor Infusion: If you want to infuse additional flavors, such as mint or lemon zest, add them during the crushing stage, straining them out along with the solids before proceeding to the boiling stage.
When You Need a Professional
If you notice any signs of botulism or spoilage, such as bulging lids or unpleasant odors, discard the jelly immediately and consult a food safety expert. For those wishing to produce large quantities of jelly for commercial purposes, it’s advisable to consult a food preservation specialist or your local health department for regulations and safety standards. For persistent food allergies or dietary restrictions not addressed by this recipe, consider consulting a registered dietitian for tailored advice.
Sources and Further Reading
– The National Center for Home Food Preservation: Guidelines for safe canning practices and jelly making.
– “Canning & Preserving for Dummies,” a comprehensive resource on home canning and preservation techniques.
– Local university extension programs, which often provide tested recipes and guidelines for safe food preservation.
Frequently Asked Questions
What ingredients do I need for a basic raspberry jelly recipe?
To make a basic raspberry jelly, you will need fresh or frozen raspberries, granulated sugar, pectin, and lemon juice. The raspberries provide the natural flavor and color, while the pectin helps the jelly set properly, ensuring a deliciously smooth texture.
How do I make raspberry jelly from scratch?
To make raspberry jelly from scratch, first, mash the raspberries and strain the juice through a fine mesh sieve. Combine the juice with sugar and pectin in a pot, bring to a boil, and let it cook until it reaches the desired consistency. Pour into sterilized jars and process them in a water bath for preservation.
Why is my raspberry jelly not setting properly?
If your raspberry jelly isn’t setting, it could be due to insufficient pectin or not cooking it long enough. Make sure to follow the correct ratios of fruit to pectin, and consider testing the jelly’s consistency by placing a spoonful on a cold plate to check for the desired thickness before canning.
What is the best way to store homemade raspberry jelly?
The best way to store homemade raspberry jelly is to keep it in a cool, dark place, such as a pantry or cupboard, for long-term shelf life. Once opened, store it in the refrigerator, where it can last for several weeks. Ensure jars are sealed properly to maintain freshness and prevent spoilage.
Which type of raspberries is best for making jelly?
The best types of raspberries for making jelly are red raspberries due to their rich flavor and high pectin content. However, black raspberries can also be used for a unique taste. Always choose ripe, fresh berries for the best results in your raspberry jelly recipe.
References
- Jelly
https://en.wikipedia.org/wiki/Jelly - https://www.uga.edu/
https://www.uga.edu/ - https://www.extension.purdue.edu/extmedia/FNR/FNR-502-W.pdf
https://www.extension.purdue.edu/extmedia/FNR/FNR-502-W.pdf - https://www.nutrition.gov/recipes/raspberry-jam
https://www.nutrition.gov/recipes/raspberry-jam - https://www.ncbi.nlm.nih.gov/pmc/articles/PMC5531259/
https://www.ncbi.nlm.nih.gov/pmc/articles/PMC5531259/ - https://www.sciencedirect.com/topics/food-science/jelly
https://www.sciencedirect.com/topics/food-science/jelly - https://www.britannica.com/topic/jelly-food
https://www.britannica.com/topic/jelly-food - Google Scholar Google Scholar
https://scholar.google.com/scholar?q=raspberry+jelly+recipe - Google Scholar Google Scholar
https://scholar.google.com/scholar?q=making+jelly+recipes - Google Scholar Google Scholar
https://scholar.google.com/scholar?q=fruit+jelly+preservation+methods