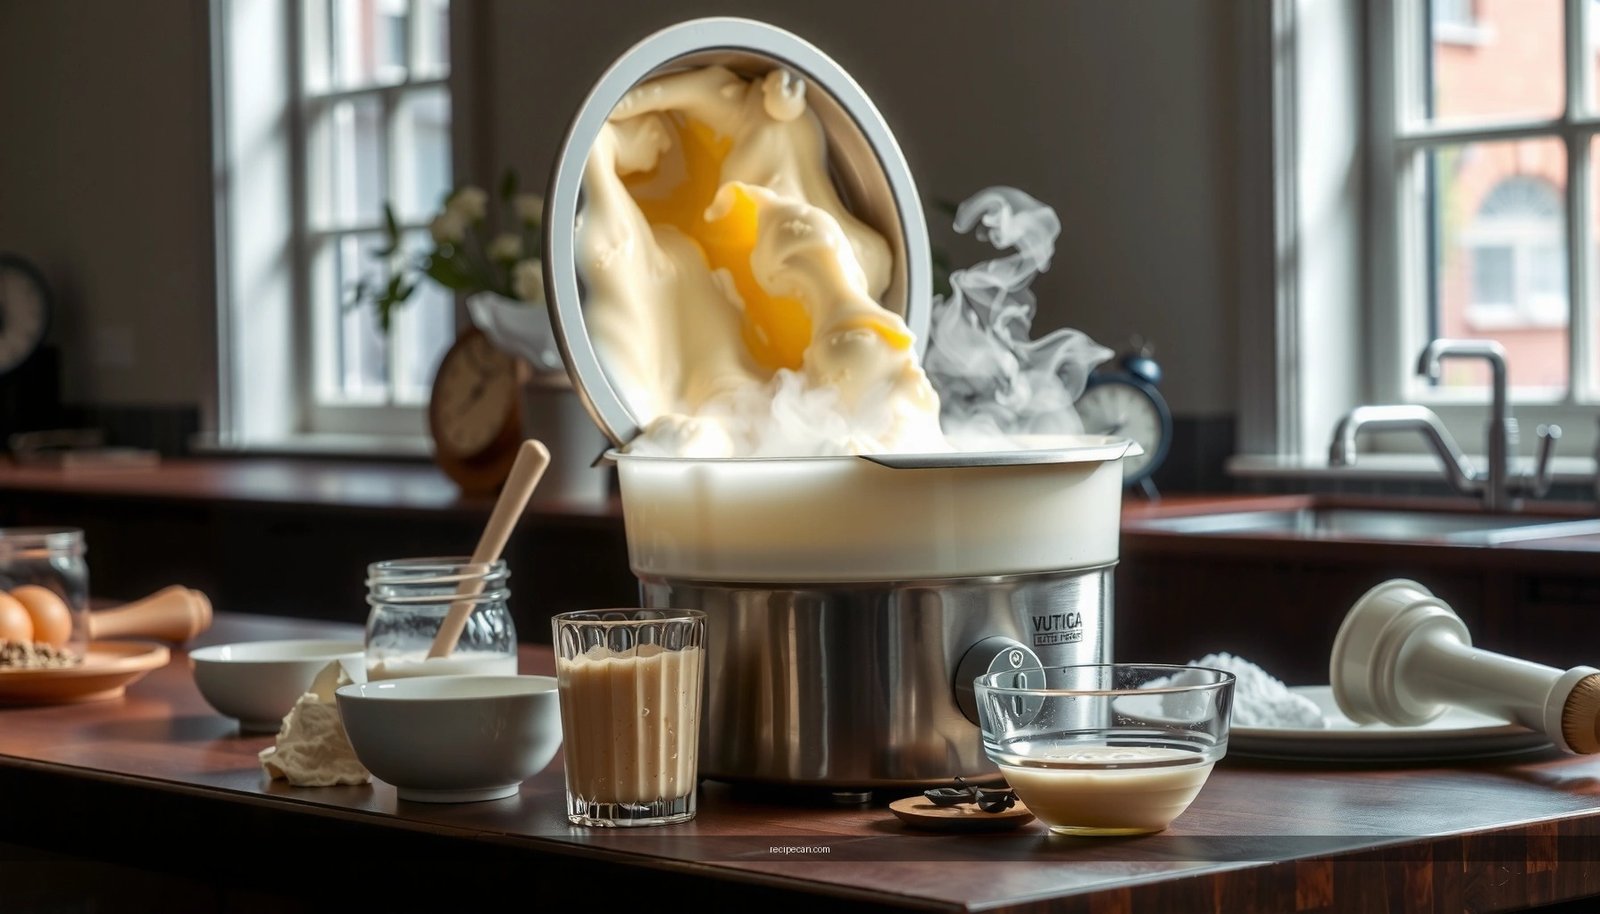
Craving creamy ice cream in your Cuisinart? Start with a tuned base: dairy or a creamy alternative, a touch of sugar, and your favorite flavorings. Chill all ingredients and your bowl, then whisk smoothly to dissolve lumps and emulsify. Warm the base just enough to coat a spoon, then cool rapidly for brightness and scoopability. Chill, spin, and scoop with even portions. Want more tips to perfect texture and flavor depth? Keep going for extra guidance.
Ingredients and Quantity
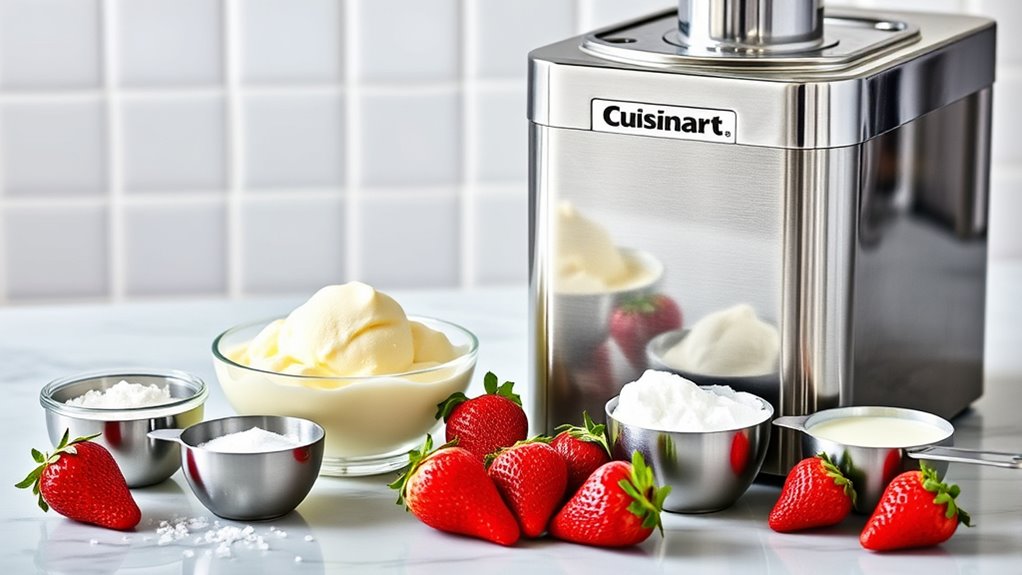
When making ice cream, start with the essentials: a precise blend of dairy, sugar, and flavorings. You’ll measure boldly, balance sweetness, and respect texture. For ingredient variations, you may mix in non-dairy paths or dairy alternatives to suit taste and creed of freedom. Use simple ratios you trust, then adjust to achieve body and creaminess. Now, picture the palette:
| Core Elements | Notes |
|---|---|
| Dairy or dairy alternatives | Choose yogurt, cream, or almond milk as your base |
| Sugar | Adjust for sweetness and ice crystal control |
| Flavorings | Vanilla, cocoa, fruit purée, or spice blend |
| Stabilizers (optional) | Small pinch keeps scoopability |
| Temperature | Chill base before churning |
Experiment, own your blend, and savor the ride.
Preparations

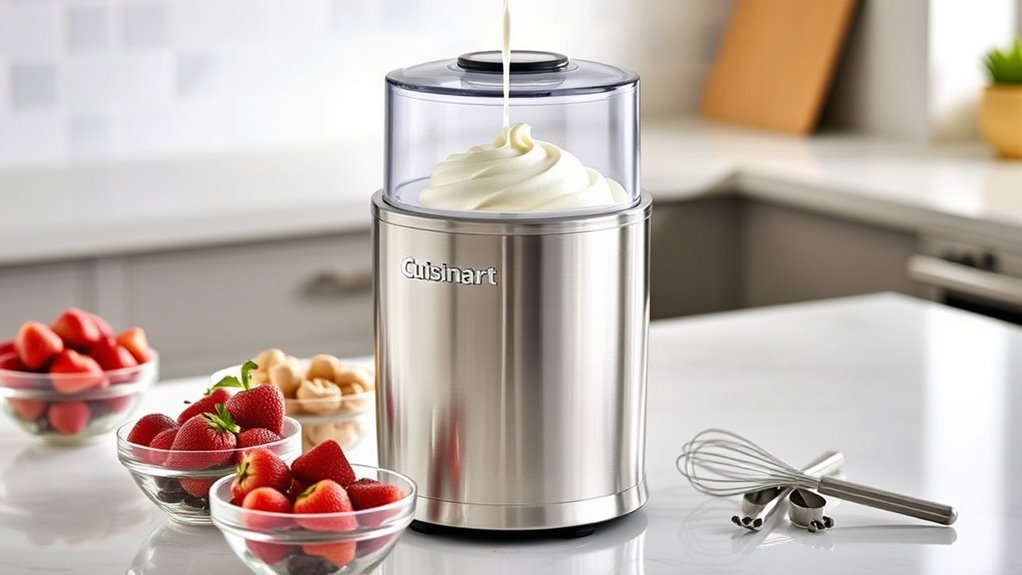
As you move from choosing the right ingredients to shaping your base, the real work begins: preparations set the stage for smooth churning and silky texture. You’ll measure, chill, and temper with intention, aligning fat, sugar, and dairy to your machine’s rhythm. Begin by ensuring all tools are clean and cold, so air doesn’t warm your mixture. Whisk thoroughly, breaking up lumps and ensuring even dispersion of flavors. Taste as you go, noting balance between sweetness and dairy richness. Experiment with preparation techniques that stabilize texture, like slight cahnges in fat ratio or adding a dash of salt for depth. When you’re ready, explore flavor combinations that excite you, keeping notes for repeatable success.
How to Cook
- Warm the ice cream base gently until it just coats the back of a spoon.
- Cool the base rapidly to preserve brightness and prevent grain.
- Treat dairy and sugar as partners, balancing richness with lift from eggs or stabilizers, depending on your recipe.
- Use steady heat and whisk continuously to dissolve ingredients and emulsify the mixture, avoiding scalding.
- Strain the base for a silky texture.
- Chill the base thoroughly to allow flavors to settle.
- When churning, monitor texture carefully to achieve a soft, scoopable finish.
- Use controlled cooking techniques such as tempering, simmering, and gentle agitation.
- Experiment with harmonious flavor combinations like vanilla-caramel, espresso-milk, or citrus-zest.
- Approach ice cream making as a creative process where precision and curiosity guide your results.
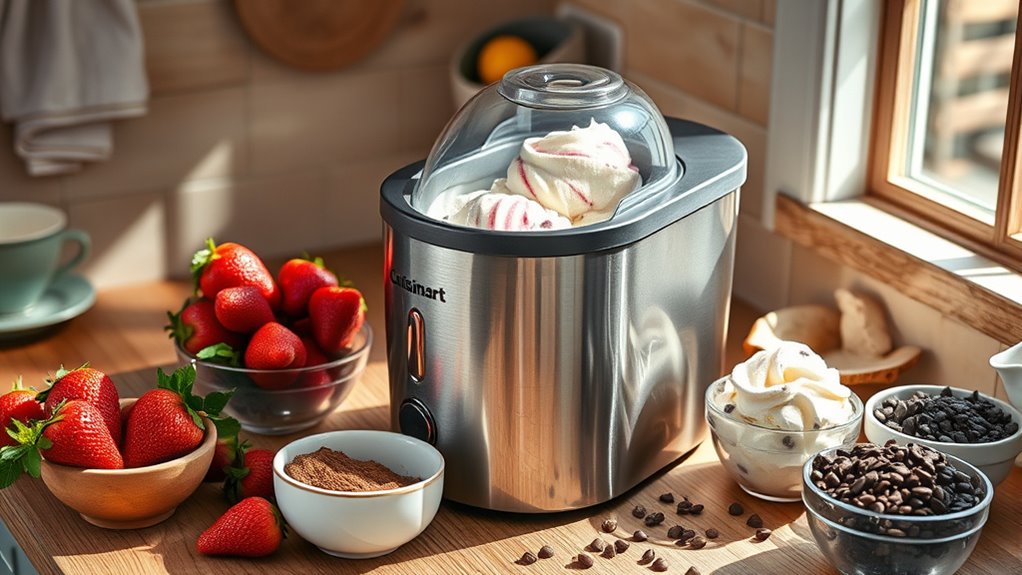
How to Serve
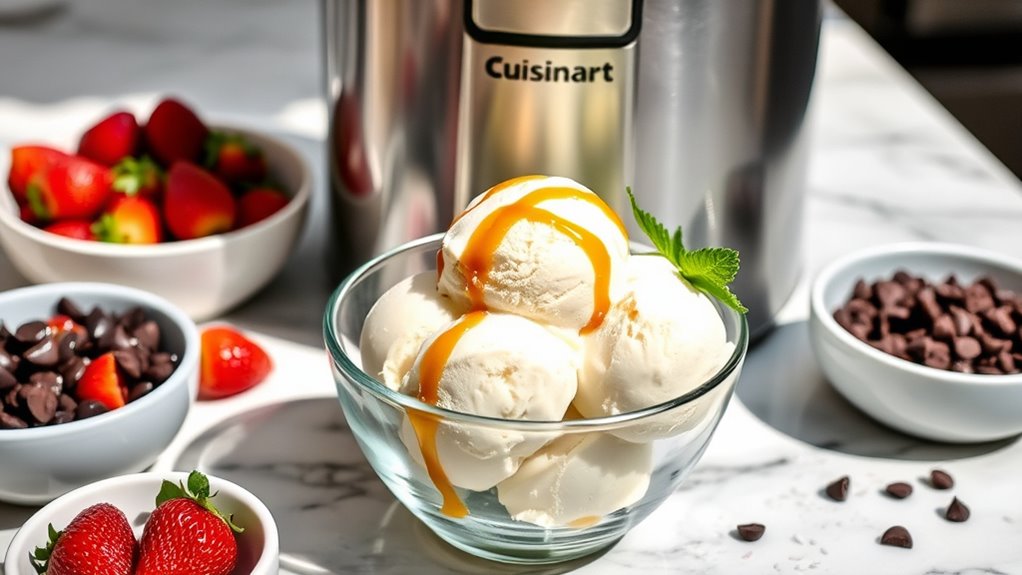
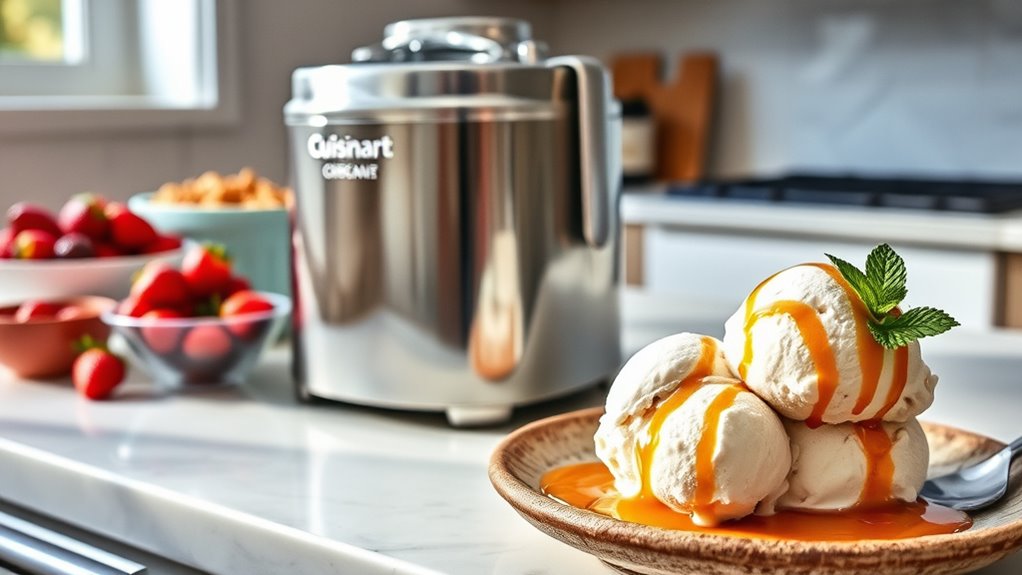
Ice cream, the star of any dessert lineup, deserves a staging that makes its texture and flavor shine. You’ll plate with intention, letting contrast and balance do the talking. Start with room-temperature scoop techniques: a quick dip in hot water, then a clean, confident lift to keep gaps and air from deflating your masterpiece. Choose serving dishes that showcase color and form—clear bowls for a minimalist vibe, or rustic ceramics for cozy charm. Portion with even scoops, or craft a trio of sizes for variety. Garnish sparingly—a sprig of mint, a drizzle of caramel, a dusting of cocoa—to heighten aroma and color without overpowering taste. Present proudly, invite bite-sized conversations, and savor the moment you created something simple, elegant, and free.
Tips
Perfecting ice cream at home starts with a few practical tips that keep texture glossy and flavors bright. You’ll want a balanced base: dairy, sugar, and stabilizers measured precisely, so your churned result stays smooth rather than icy. Chill your mix thoroughly before you spin, and don’t rush freezing—patience yields creaminess. In flavor, layer intensity with small additions, tasting as you go to avoid overpowering. For flavor combinations, think contrast: tart berries with vanilla, roasted nuts and caramel, or espresso with cocoa. Stir gently to avoid airiness that undermines body. When it’s done, wrap promptly and store in a shallow, airtight container. Storage tips: label dates, keep a consistent temp, and portion into snack-sized servings for ready-to-go indulgence.
Food Value and Benefit
A scoop of homemade ice cream isn’t just a delightful treat—it also offers nutritional value and health benefits when made with quality ingredients. By using balanced dairy or plant-based bases and real fruit, this recipe provides essential nutrients that contribute to overall wellness. Here are the key food values and benefits of enjoying this homemade ice cream:A scoop of homemade ice cream offers nourishment and comfort through quality ingredients and real fruit.
- Rich in Calcium: Supports strong bones and teeth, especially when made with creamy milk or fortified plant-based alternatives.
- Source of Vitamin A: Important for vision, immune function, and skin health.
- Contains Vitamin C: When real fruit is added, it provides antioxidants that help protect cells and boost immunity.
- Provides Potassium: Essential for heart health and muscle function.
- Dietary Fiber: Added fruit contributes fiber, aiding digestion and promoting satiety.
- Balanced Energy: Controlled sweetness offers a satisfying treat without excessive sugar.
- Mood Enhancement: The sensory pleasure of ice cream can improve mood and provide comfort.
- Supports Hydration: Due to its water content, especially in fruit-infused versions.
Frequently Asked Questions
Can I Use Dairy-Free Milk in This Ice Cream Maker?
Yes, you can use dairy-free milk, but choose thicker dairy alternatives for better ice cream consistency. Start with a 1:1 base, churn, and adjust sweetness. You’ll love the creamy freedom this option delivers, with rich, silky results.
How Long Does a Batch Actually Take From Start to Finish?
Most batches ride in about 20 to 40 minutes, depending on mix and freezing temp. On average, prep time is roughly 10 minutes, batch duration around 30. You’ll savor quick, smooth sweetness with steady, freedom-fueled motion.
Are There Safety Precautions for the Motor While Freezing?
Yes — you should avoid motor overheating by stopping if it strains, and follow safety guidelines: keep cords clear, don’t run empty, and unplug when cleaning. Monitor vibrations, and don’t cover vents while the motor’s running.
Can I Make Sorbets or Dairy-Free Frozen Desserts Here?
Yes, you can. You’ll craft sorbet flavors using frozen fruit, blending them smooth, then churn until bright and glossy. You’re free to experiment, adding zest or mint, savoring vibrant sorbet flavors that celebrate frozen fruit, without dairy constraints.
How Many Servings Does a Typical Batch Yield?
A typical batch yields about 1 to 1.5 quarts, depending on ingredients. You’ll gauge batch size, then portion with serving suggestions, enjoying creamy texture while you customize flavors, sharing freely, and savoring your own delicious, flexible scoop-by-scoop creations.
References
- https://www.foodsafety.gov/food-safety-charts/food-safety-ice-cream
- https://www.extension.purdue.edu/extmedia/FNR/FNR-535-W.pdf
- https://www.ars.usda.gov/ARSUserFiles/20360500/Recipes/icecream.pdf
- https://www.ncbi.nlm.nih.gov/pmc/articles/PMC6193562/
- https://www.cook’sillustrated.com/articles/7131-how-to-make-ice-cream-in-a-machine