Mastering the art of canning strawberry jam requires precise techniques to ensure safety and flavor. This comprehensive guide outlines expert protocols for preparing, processing, and sealing your homemade jam, empowering both novices and seasoned canners. Following these established methods is crucial for preserving quality and preventing spoilage, ensuring your strawberry jam is not only delicious but also safe to enjoy year-round.
What This Guide Covers (And What It Doesn’t)

This guide offers detailed instructions on safely preparing, canning, and storing strawberry jam using a boiling water bath canning method. You’ll find essential information on the equipment and ingredients required, along with step-by-step procedures to ensure a successful canning experience. However, it does not cover alternative preservation methods, such as freezing or refrigerator jam, nor does it delve into the use of commercial pectin products beyond the specific guidelines for homemade jam. This guide is tailored for home canners who possess a basic understanding of kitchen safety and hygiene, although prior canning experience is not necessary.
Who Should Read This

Designed for home cooks eager to preserve seasonal strawberries, this guide is perfect for those who wish to create delicious strawberry jam to enjoy throughout the year. It caters to individuals familiar with food safety practices, such as maintaining cleanliness and using sterile equipment during the canning process. Those with dietary restrictions seeking to make their own preserves without added preservatives or excessive sugar will find this guide particularly useful.
The Step-by-Step Protocol

1. Gather Ingredients and Equipment: Begin by collecting the following: 4 cups of fresh, ripe strawberries, 1 cup of granulated sugar, and 1 tablespoon of lemon juice. Ensure you have a water bath canner, mason jars (preferably pint-sized), new lids, a jar lifter, a large pot for cooking, and a mixing spoon. It’s crucial that all equipment is clean and free from defects.
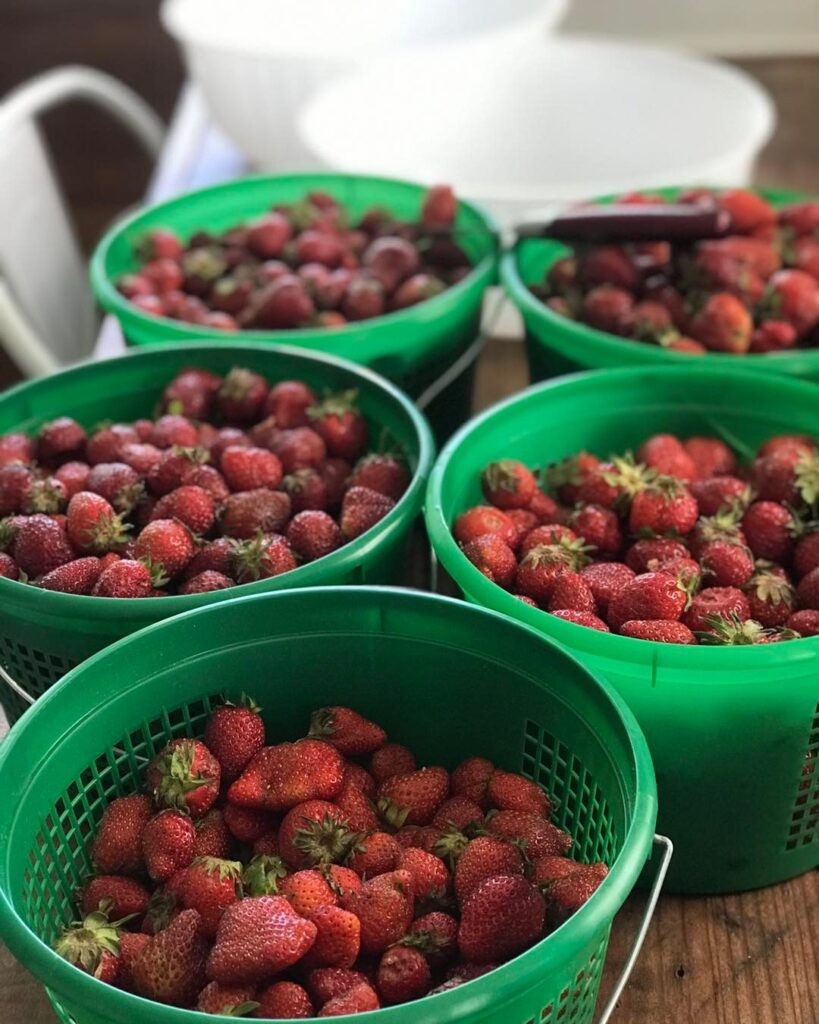
2. Prepare the Strawberries: Thoroughly wash the strawberries under running water to remove any dirt or contaminants. Remove the green stems and any bruised areas. In a large mixing bowl, mash the strawberries with a potato masher or fork until you achieve a chunky consistency, yielding approximately 3-4 cups of mashed fruit.
3. Cook the Jam: In a large pot, combine the mashed strawberries, sugar, and lemon juice. Stir the mixture over medium heat until the sugar dissolves completely. Once dissolved, bring the mixture to a full boil. Maintain high heat and cook for 10 to 15 minutes, stirring frequently. The mixture should thicken significantly, coating the back of a spoon when ready. To perform a gel test, place a small spoonful of jam on a cold plate and run your finger through it; if it holds its shape, it’s ready for the next step.
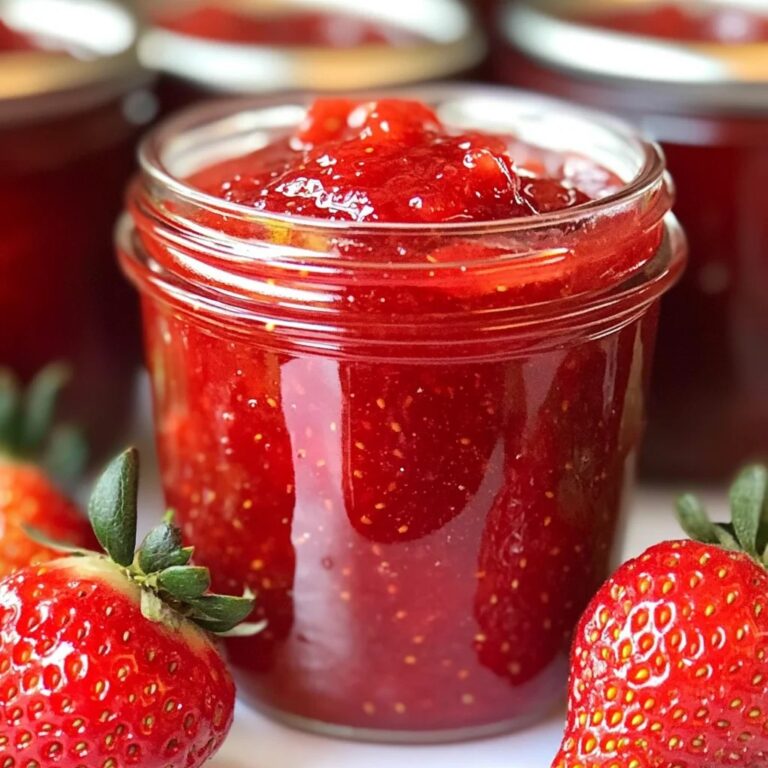
4. Can the Jam: Once thickened, ladle the hot mixture into sterilized mason jars, leaving about 1/4 inch of headspace at the top of each jar. Wipe the rims with a clean cloth to remove any residue that could prevent a proper seal. Place sterilized lids on top and screw on the metal bands until fingertip-tight. Finally, process the jars in a boiling water bath for 10 minutes, ensuring the water covers the jars by at least 1 inch.
5. Cool and Store: After processing, use a jar lifter to remove the jars from the water bath and place them on a clean towel or cooling rack. Allow the jars to cool completely for 12 to 24 hours. You should hear a popping sound as the jars seal. Once cooled, check the seals by pressing down in the center of the lid; if it doesn’t pop back, the jar is sealed. Store sealed jars in a cool, dark place; unsealed jars can be refrigerated and used within a few weeks.
Warning Signs: When Not to Follow This

– Do not use strawberries that are overripe, moldy, or bruised, as these can lead to spoilage and unsafe conditions during canning.
– Avoid this protocol if you lack a reliable boiling water bath canner or if your jars and lids show any cracks or defects.
– If you notice any signs of fermentation or bubbling in the jam after processing, discard the jars immediately. These signs indicate improper sealing or spoilage, posing a risk for foodborne illness.
The Most Common Mistakes (And Their Consequences)
– A frequent mistake is using low-sugar or sugar substitutes, which can affect the set and safety of the jam, possibly leading to spoilage and an undesirable texture.
– Skipping the lemon juice can result in an unsafe pH level; always include it to ensure adequate acidity for preservation, as lacking proper acidity encourages harmful bacteria growth.
– Failing to properly sterilize jars and lids may introduce contamination, leading to potential foodborne illnesses. Always ensure your jars are sterilized by boiling them for at least 10 minutes before use.
Special Cases That Need a Different Approach
– For individuals living at high altitudes (above 1,000 feet), increase the boiling time for processing by 1 minute for every additional 1,000 feet. For example, if you live at 3,000 feet, process the jars for a total of 12 minutes.
– If using frozen strawberries, ensure they are completely thawed and drained before mashing, as excess liquid can affect the jam’s consistency and jeopardize the setting process.
– Those with allergies to specific ingredients should consider substituting with pectin-free recipes or alternative fruits that have a similar pH level. Always verify that the alternative ingredients meet food safety standards.
When You Need a Professional
– If you have concerns about food allergies or intolerances, consult a registered dietitian or nutritionist to tailor the recipe to your needs.
– Engage a local extension service or food preservation expert if you plan to can larger quantities or scale up the recipe beyond four cups of strawberries. This ensures safety and quality, as larger batches can introduce additional variables affecting the canning process.
– Seek professional guidance if you are unsure about the canning process or have encountered problems with previous batches. Improper techniques can lead to serious health risks, including botulism.
Sources and Further Reading
– Refer to the USDA Complete Guide to Home Canning for standardized canning procedures and safety tips.
– The National Center for Home Food Preservation provides valuable resources on safe canning practices and recipes.
– Consult “Canning and Preserving for Dummies” for insights on troubleshooting common canning issues and expanding your canning repertoire.
By following this expert protocol, you can successfully create delicious strawberry jam that preserves the essence of summer while ensuring food safety for you and your loved ones. Happy canning!
Frequently Asked Questions
What ingredients do I need for a basic strawberry jam recipe for canning?
For a basic strawberry jam recipe for canning, you will need fresh strawberries, granulated sugar, and pectin. The typical ratio is about 4 cups of crushed strawberries to 5 cups of sugar and one packet of pectin. It’s essential to use ripe strawberries for the best flavor and sweetness in your jam.
How do I properly prepare strawberries for canning jam?
To prepare strawberries for canning jam, start by washing them thoroughly under running water. Remove the stems and any bruised spots, then crush the berries using a potato masher or food processor to achieve the desired consistency. It’s crucial to measure the crushed strawberries accurately to maintain the correct sugar-to-fruit ratio in your jam recipe.
Why is pectin important in a strawberry jam recipe for canning?
Pectin is important in a strawberry jam recipe for canning because it helps the jam to set and achieve the right texture. It acts as a gelling agent, allowing the sugars to bind with the fruit juice and create a thick, spreadable consistency. Without pectin, your jam may remain too runny and not preserve well.
What is the best method for canning strawberry jam at home?
The best method for canning strawberry jam at home involves using the water bath canning technique. First, fill sterilized jars with hot jam, leaving about ¼-inch headspace. Seal the jars with lids and process them in a boiling water bath for 10-15 minutes to ensure proper sealing and preservation, preventing spoilage.
Which equipment do I need for canning strawberry jam safely?
To can strawberry jam safely, you’ll need essential equipment such as canning jars with lids, a water bath canner or a large pot, a jar lifter, a funnel, and a ladle. Additionally, a food thermometer can help ensure that your jam reaches the proper temperature for safe canning. Investing in these tools will ensure a smooth canning process and help preserve your delicious strawberry jam effectively.
References
- Fruit preserves
https://en.wikipedia.org/wiki/Jam - https://www.extension.purdue.edu/extmedia/FNR/FNR-308-W.pdf
https://www.extension.purdue.edu/extmedia/FNR/FNR-308-W.pdf - https://nchfp.uga.edu/how/can_02/strawberry_jam.html
https://nchfp.uga.edu/how/can_02/strawberry_jam.html - Comparison of Standing Volume Estimates Using Optical Dendrometers | US Forest Service Research a…
https://www.fs.usda.gov/treesearch/pubs/4517 - https://www.uga.edu/extension/publications/files/pdf/B%201227_1.PDF
https://www.uga.edu/extension/publications/files/pdf/B%201227_1.PDF - Google Scholar Google Scholar
https://scholar.google.com/scholar?q=strawberry+jam+recipe+for+canning - Google Scholar Google Scholar
https://scholar.google.com/scholar?q=canning+strawberry+jam - Google Scholar Google Scholar
https://scholar.google.com/scholar?q=homemade+strawberry+jam+preservation - https://www.cdc.gov/foodsafety/communication/food-safety-tips.html
https://www.cdc.gov/foodsafety/communication/food-safety-tips.html - https://www.nature.com/articles/s41598-020-67575-1
https://www.nature.com/articles/s41598-020-67575-1