Master the art of making blackberry jam safely with this complete step-by-step protocol. This guide is designed for both novice and experienced jam makers, covering essential techniques, safety tips, and ingredient ratios to ensure a delicious and safe end product. Following the right protocol is crucial to prevent spoilage and ensure your homemade jam is not only tasty but also safe to enjoy.
What This Guide Covers (And What It Doesn’t)

This guide offers a comprehensive, step-by-step protocol for making homemade blackberry jam, with a strong focus on safety and preservation techniques. It details the specific blackberry jam recipe, including ingredient specifications, essential equipment, and methods to ensure quality and safety during the canning process. However, it does not address variations using other fruits, alternative preservation methods, or non-canning techniques like refrigeration or freezing.
Who Should Read This

This guide is designed for home cooks who possess basic kitchen skills but may be new to canning or jam-making. It is ideal for those looking to preserve seasonal blackberries and create homemade jam for personal enjoyment or gifting. Conversely, this guide is not suited for individuals with no cooking experience or those uninterested in the canning process, as it requires specific techniques and equipment.
The Step-by-Step Protocol

1. Gather Ingredients and Equipment:
– Begin with 4 cups of ripe blackberries, 1 cup of granulated sugar, and 1 tablespoon of lemon juice. The lemon juice is essential, as it adds acidity, enhancing flavor and aiding in preservation.
– Ensure you have canning jars (typically pint-sized), lids, a large pot for boiling, a jar lifter for safe handling, and a food mill or masher for processing the blackberries. A candy thermometer will also be useful for monitoring the temperature of the mixture.
2. Prepare the Blackberries:
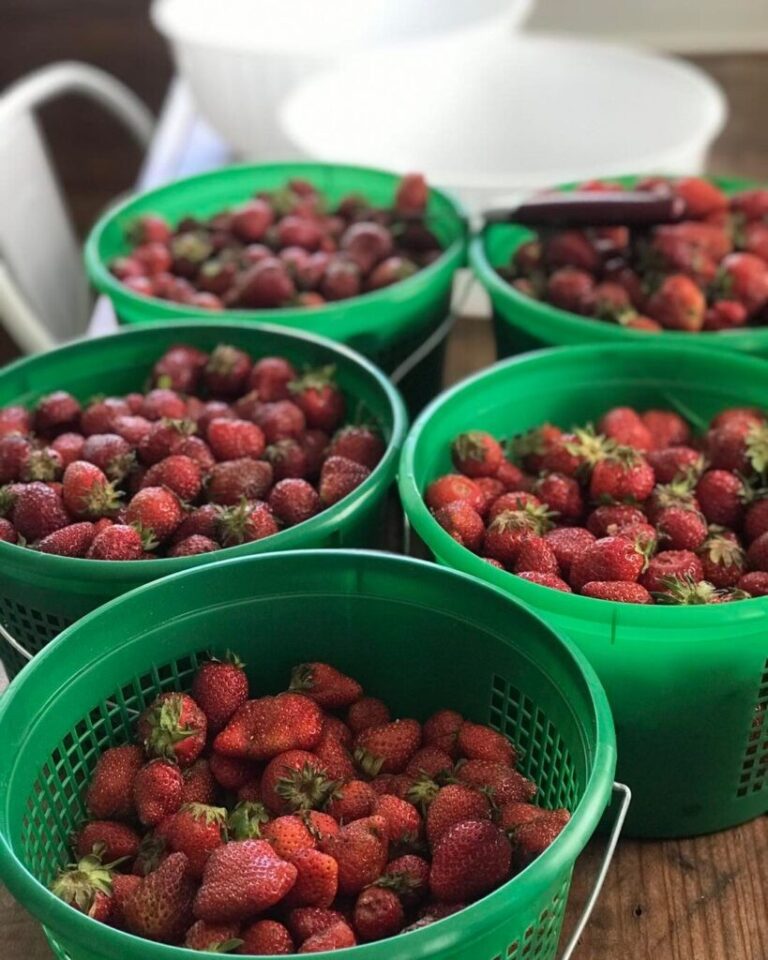
– Rinse the blackberries under cold water to eliminate dirt and debris. Inspect them closely, discarding any stems, leaves, or spoiled berries.
– Crush the blackberries using a masher or food mill until you achieve a consistent pulp, yielding approximately 3 cups of blackberry juice. This crucial step maximizes the extraction of flavor and natural pectin from the berries.
3. Cook the Jam:
– In a large pot, combine the blackberry juice, sugar, and lemon juice. Heat over medium until the mixture reaches a rolling boil, where the surface bubbles continuously.
– Stir continuously for about 10-15 minutes until the mixture thickens and reaches the gel point, which is at 220°F (105°C). Use a candy thermometer for accuracy. The jam should coat the back of a spoon and exhibit a glossy appearance.
4. Canning the Jam:
– Sterilize the canning jars and lids by boiling them in water for 10 minutes. This step is critical to prevent bacterial growth and ensure the integrity of the jam.
– Fill each jar with hot blackberry jam, leaving a ¼-inch headspace to allow for expansion during processing. Wipe the rims of the jars with a clean cloth to remove any residue before sealing them with the sterilized lids.
– Process the jars in a boiling water bath for 10 minutes. Ensure that the jars are covered by at least 1 inch of water during processing to achieve proper sealing.
Warning Signs: When Not to Follow This

– Do not proceed if the blackberries exhibit signs of spoilage, such as mold or an off smell; only use fresh, ripe blackberries. Spoiled fruit can compromise the safety of the jam.
– If you lack the necessary canning equipment or have not adhered to proper sterilization processes, refrain from attempting to can the jam.
– Avoid this recipe if you are unfamiliar with safe canning techniques, as improper methods can lead to foodborne illnesses, including botulism.
The Most Common Mistakes (And Their Consequences)
– A frequent error is not crushing the blackberries thoroughly, resulting in a jam that is too chunky and fails to set properly. This can lead to an undesirable texture and diminished flavor.
– Failing to measure ingredients accurately can create an imbalance in sweetness and acidity, yielding poorly flavored jam that may not preserve well. Always use precise measurements to maintain the intended taste and texture.
– Skipping the boiling water bath or reducing the processing time can result in unsafe jars that risk spoilage or contamination once stored. Proper processing is essential for long-term preservation and safety.
Special Cases That Need a Different Approach
– If using frozen blackberries, thaw and drain them thoroughly before measuring; adjust the sugar if the berries are sweeter than fresh ones. Frozen berries often have a higher water content, which can affect the jam’s consistency.
– For those with dietary restrictions, consider substituting granulated sugar with pectin-based low-sugar alternatives. Be sure to adjust the recipe according to package instructions, as these products may require different proportions.
– If you reside at a high altitude (above 1,000 feet), increase the boiling time by an additional 5 minutes to ensure proper sealing and preservation. High altitude can affect boiling temperatures and processing times, so consult local guidelines for canning at altitude.
When You Need a Professional
– If you suspect any issues with the safety of your ingredients or the canning process, consult a food safety expert or your local extension office for guidance. They can provide tailored advice based on your specific situation.
– In cases of severe allergic reactions to ingredients (such as blackberries or sugar alternatives), consult a healthcare professional before proceeding with the recipe. It’s crucial to ensure that all ingredients are safe for consumption.
– If you are unsure about the preservation process or have questions regarding canning safety, seek advice from a licensed canning expert or participate in a guided canning workshop. This can provide hands-on experience and clarify any uncertainties.
Sources and Further Reading
– “So Easy to Preserve” by the University of Georgia Cooperative Extension provides comprehensive guidelines on canning and jam-making, emphasizing safety and quality.
– The USDA Complete Guide to Home Canning offers insights on safe food preservation practices and techniques, making it a vital resource for home canners.
– The National Center for Home Food Preservation provides research-based instructions and tips for safe canning and preserving methods, ensuring that home cooks have access to the latest safety standards.
By following these precise steps and guidelines, you can confidently create delicious blackberry jam while ensuring safety and quality in your home canning efforts.
Frequently Asked Questions
What ingredients do I need for a homemade blackberry jam recipe?
To make a delicious homemade blackberry jam, you’ll need fresh blackberries, granulated sugar, lemon juice, and pectin. The pectin helps the jam set properly, while the lemon juice balances the sweetness and enhances the flavor. Ensure the blackberries are ripe for the best taste and texture.
How do I make blackberry jam without pectin?
To make blackberry jam without pectin, simply mash fresh blackberries and combine them with sugar and lemon juice in a pot. Cook the mixture over medium heat until it thickens, usually taking about 20-30 minutes. Stir frequently to prevent sticking, and test the consistency by placing a spoonful on a cold plate to see if it sets.
Why is my blackberry jam not setting properly?
If your blackberry jam isn’t setting, it could be due to insufficient sugar or cooking time. The right balance of sugar is crucial for the jam to gel, and cooking it long enough allows the natural pectin in the fruit to activate. You can try re-cooking the jam with additional pectin or sugar if needed.
What is the best way to store homemade blackberry jam?
The best way to store homemade blackberry jam is by using sterilized glass jars with airtight lids. After filling the jars, process them in a boiling water bath for about 10 minutes to ensure they seal properly. Store the sealed jars in a cool, dark place, and refrigerate after opening for optimal freshness.
Which types of blackberries are best for making jam?
The best types of blackberries for making jam are the sweet and juicy varieties like Marionberries and Boysenberries. These blackberries have a high sugar content and rich flavor, which enhances the taste of your jam. Always choose ripe berries for the best results, as under-ripe fruit can result in a tart and less flavorful jam.
References
- Fruit preserves
https://en.wikipedia.org/wiki/Blackberry_jam - https://www.jstor.org/stable/10.5325/jfoodprod.84.4.0471
https://www.jstor.org/stable/10.5325/jfoodprod.84.4.0471 - https://www.ncbi.nlm.nih.gov/pmc/articles/PMC5476359/
https://www.ncbi.nlm.nih.gov/pmc/articles/PMC5476359/ - https://www.sciencedirect.com/topics/agricultural-and-biological-sciences/blackberry-jam
https://www.sciencedirect.com/topics/agricultural-and-biological-sciences/blackberry-jam - https://www.bbc.co.uk/food/recipes/blackberry_jam_73132
https://www.bbc.co.uk/food/recipes/blackberry_jam_73132 - https://www.nutrition.gov/topics/food-safety/food-preservation/jams-jellies-and-preserves
https://www.nutrition.gov/topics/food-safety/food-preservation/jams-jellies-and-preserves - Google Scholar Google Scholar
https://scholar.google.com/scholar?q=blackberry+jam+recipe - Google Scholar Google Scholar
https://scholar.google.com/scholar?q=homemade+preserves+blackberry - https://www.extension.purdue.edu/extmedia/FN/FN-162-W.pdf
https://www.extension.purdue.edu/extmedia/FN/FN-162-W.pdf - https://www.ncbi.nlm.nih.gov/pmc/articles/PMC6410177/
https://www.ncbi.nlm.nih.gov/pmc/articles/PMC6410177/