Whip up a luxuriously creamy chocolate soft serve by warming a gentle mix of whole milk, cream, sugar, and cocoa until just shy of a simmer. Stir with a whisk until smooth, then chill quickly so it’s ready to churn into glossy, velvety scoops. Each bite should feel rich yet light, with a kiss of vanilla and a touch of salt. Finish with toppings and a warm contrast—and more secrets await beyond this page.
Ingredients and Quantity
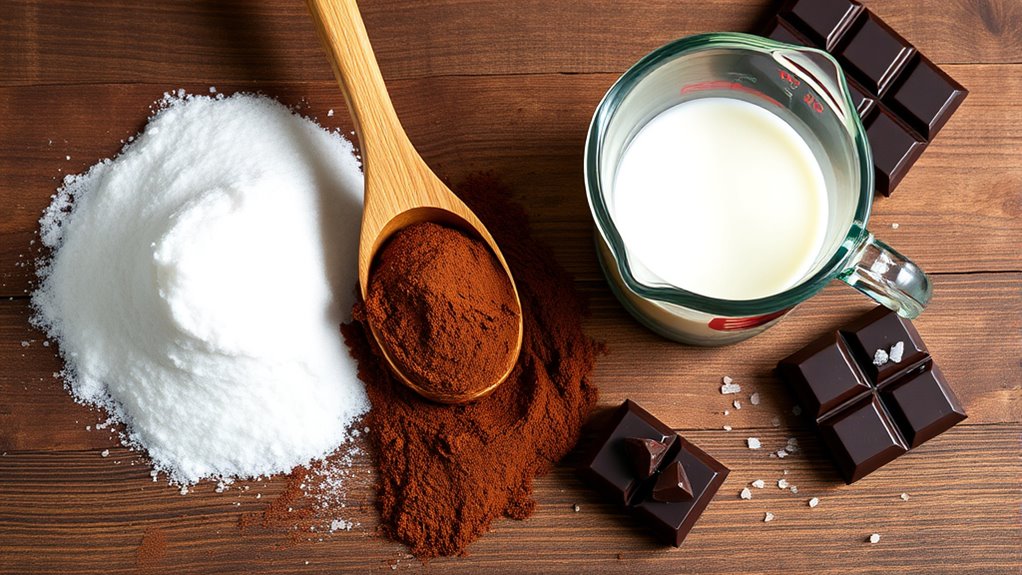
To make Chocolate Soft Serve Ice Cream, gather these ingredients: 2 cups of whole milk, 1 cup of heavy cream, 3/4 cup sugar, 1/2 cup cocoa powder, 1 teaspoon vanilla extract, a pinch of salt, and optional add-ins like chocolate chips or a drizzle of chocolate sauce.
| Item | Quantity |
|---|---|
| Milk | 2 cups |
| Cocoa & sweeteners | 3/4 cup sugar, 1/2 cup cocoa |
You’ll feel the richness blur into velvet as you blend, sensing lingering sweetness and cocoa scent rise with each stir. You explore Chocolate options and dairy alternatives, noting how non-dairy milks can still carry depth. This foundation stays precise, sensory, and spacious, inviting freedom to tailor textures and flavors without clutter. Your choice, your rhythm, your soft serve destiny.
Preparations

Now that you’ve gathered the ingredients, you’re ready to begin preparations. You’ll feel the textures and scents guiding your hands, a ritual of deliberate choice and confident motion. Embrace mindful preparation techniques as you measure, sniff, and align each component with purpose.
Now that you’ve gathered the ingredients, you begin a mindful ritual of deliberate choice and confident motion.
1) Inspect each ingredient for freshness and aroma, then confirm its role in flavor and texture.
2) Balance temperature and consistency, warming or chilling when needed to enhance creaminess.
3) Organize tools and timing, keeping a calm tempo that honors your freedom to improvise.
In this stage, ingredient selection anchors flavor depth, while preparation techniques tune texture and mouthfeel. The goal is poised, ready, and resilient craft, where sensory awareness meets practical precision.
How to Cook

- Gently heat the ingredients in a small saucepan that conducts heat evenly.
- Use kitchen tools that fit your hand, such as a sturdy whisk and a tempered spatula.
- Stir the mixture steadily and purposefully, blending until smooth and flowing.
- Notice the aroma as it tightens and sweetens, with the cocoa deepening.
- Observe the texture shift from grainy to satiny.
- Keep temperatures controlled to avoid scorching; bring the base just shy of a simmer.
- Stir with intention until the mixture is glossy and unified.
- Finish by chilling the mixture quickly.
- Churn or freeze the batter according to your preference to complete the process.
How to Serve
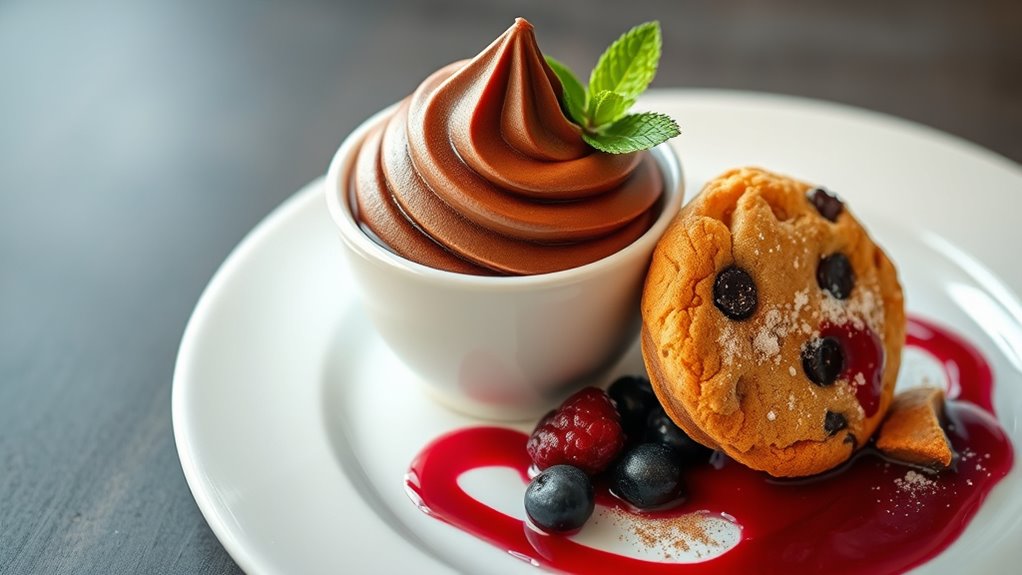
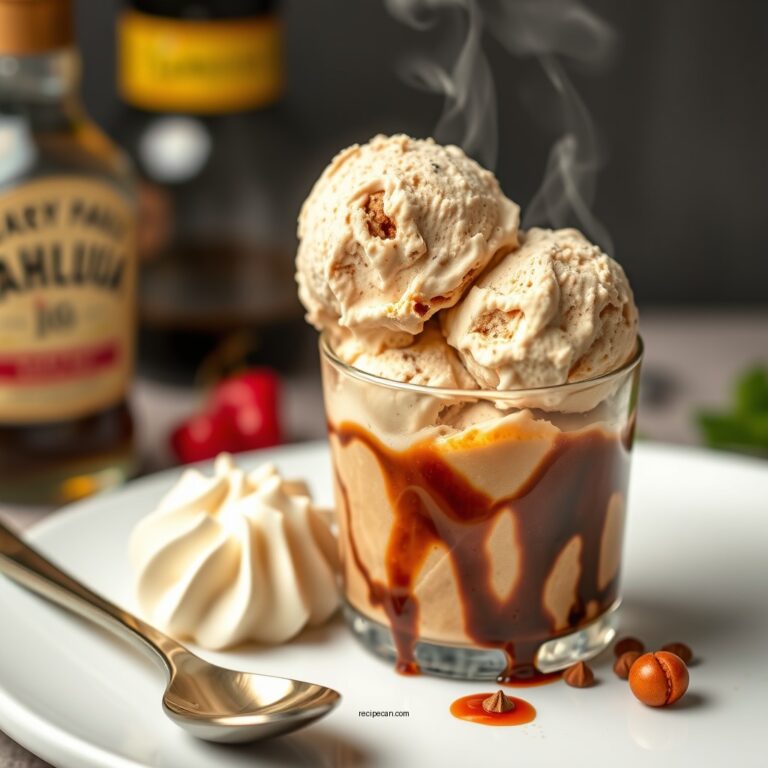
Silky chocolate, a scoopable dream, invites you to serve with flair that mirrors the recipe’s own indulgence. You choose a moment of presentation that reflects your mood, embracing freedom in every bite. Visual contrast, temperature, and texture guide your plate, transforming simplicity into ceremony. Serve with confidence, watching the silk crumble softly as you set the final course of your dessert story.
Silky chocolate invites fearless plating, where contrast, temperature, and texture crown a dessert moment.
- Serving suggestions: pair with a warm cookie or a sparkling berry compote for balance.
- Topping ideas: dust with cocoa or grated chocolate, drizzle a ribbon of chocolate sauce, add crushed nuts for crunch.
- Finish: mint leaf or a tiny scoop on a wafer to elevate the experience.
Tips

For best results, keep the base chocolate soft and scoopable by churning until it’s just firm enough to hold its shape, then chill briefly to set without becoming icy. You’ll notice a velvet gloss, a subtle bloom of aroma, and a whisper of sweetness that invites you closer. When you taste, texture should balance creaminess with a gentle resistance, like a shoreline that yields but won’t collapse. To keep it lively, avoid over-chilling; serve soon after freezing to maintain scoopability. Topping options range from fresh berries to toasted nuts, plus a drizzle of espresso or caramel for depth. Serving suggestions emphasize contrasts: warm sauces, cool whipped cream, and a pinch of sea salt to heighten the chocolate. Enjoy freedom in every flavorful bite.
Food Value and Benefit
Chocolate soft serve isn’t just a delightful treat—it also offers valuable nourishment with mindful indulgence. Enjoying this dessert provides energy and essential nutrients that support your overall well-being.
Benefits of eating this chocolate soft serve include:
- Provides a source of energy through natural sugars and wholesome fats.
- Contains minerals such as magnesium and iron, which support muscle function and oxygen transport.
- Includes antioxidants from real cocoa, which may help improve mood and cognitive function.
- Offers small amounts of vitamins like B vitamins that aid in energy metabolism.
- Helps satisfy sweet cravings with controlled sugar content, promoting mindful eating and portion control.
This recipe combines simple, quality ingredients to deliver both enjoyment and nutritional value in a balanced way.
Frequently Asked Questions
Can I Use Dairy-Free Milk for This Recipe?
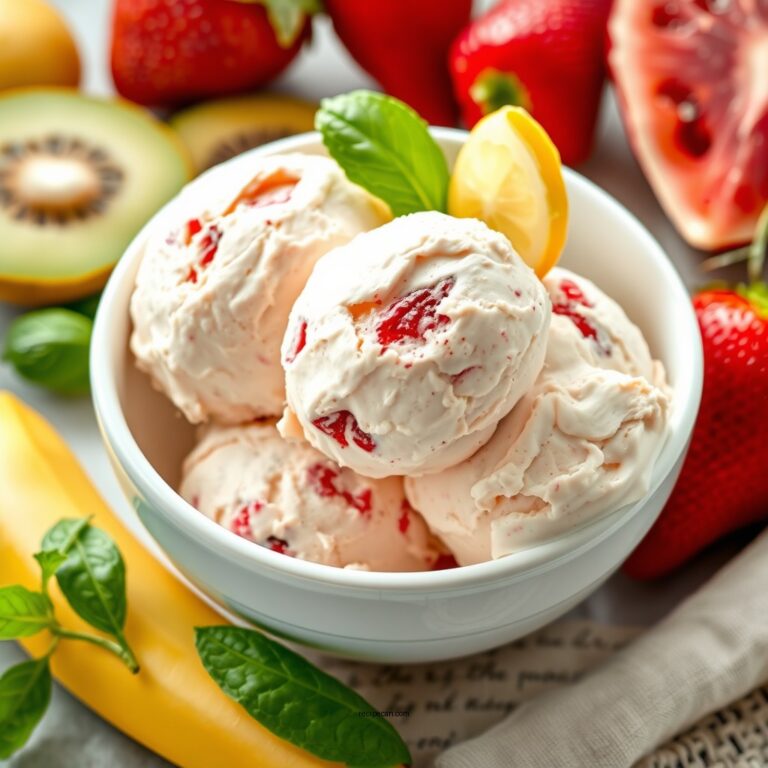
Yes, you can. Dairy-free milk works, and you’ll taste creamy notes with Dairy alternatives and Milk substitutes; texture may vary. You’ll feel freedom in experimentation, swirling chocolatey goodness, smooth and rich, satisfying your adventurous, sensory craving beyond traditional dairy.
What’s the Best Chocolate for a Rich Flavor?
Dark chocolate sings richness, so you’ll want a bar with 70%+ cacao for depth, plus a touch of cocoa powder to amplify the bite. You’ll savor bold, velvety notes that linger like midnight velvet on your palate.
How Long Can Leftovers Be Stored in the Freezer?
Leftovers last about 2 to 3 months in the freezer. You’ll notice texture changes, but enjoy the promise of cold, creamy comfort; seal tightly, label date, and trust your senses to gauge freezer duration and flavor.
Can I Make This Without an Ice Cream Maker?
Yes, you can make it without an ice cream maker. Imagine a velvet night, then whisk and freeze; stir every 30 minutes. Tips for no churn methods help you craft creamy, freeing scoops with simple, sensory steps.
Is There a Vegan Substitute for the Eggs?
Yes, you can use a vegan egg substitute. Try a plant based option like aquafaba or flaxseed gel, giving creamy texture and subtle tang. You’ll notice smoother body, richer mouthfeel, and freedom to experiment with vegan egg choices.
References
- https://en.wikipedia.org/wiki/Ice_cream
- https://www.fsis.usda.gov/wps/portal/fsis/topics/food-safety-education/get-answers/food-safety-fact-sheets
- https://www.foodsafety.gov/food-safety-charts/food-safety-education-resources
- https://www.ncbi.nlm.nih.gov/pmc/articles/PMC6780638/
- https://www.extension.purdue.edu/extmedia/FS/FS-54-W.pdf
- https://www.cdc.gov/foodsafety/communication/icecream.html