Master the art of safely making guava jam at home with this expert guide designed for both novice and experienced jam-makers. This comprehensive resource details the precise steps, essential ingredients, and safety protocols necessary to ensure your guava jam is not only delicious but also safe for consumption. Following these guidelines helps preserve the flavor and integrity of your homemade jam while preventing common canning mishaps.
What This Guide Covers (And What It Doesn’t)

This guide offers a comprehensive, step-by-step process for crafting guava jam at home, featuring precise measurements, cooking times, and essential canning techniques to ensure both safety and quality. It specifically emphasizes the use of ripe guavas—preferably the pink variety—alongside sugar, lemon juice, and pectin, while deliberately omitting alternative fruit preserves or recipes that stray from traditional guava jam. Aimed at home cooks who possess a foundational understanding of basic canning processes, this guide serves as a valuable resource for those seeking specific guidance on preparing guava jam, without delving into unrelated preserves or advanced canning methods.
Who Should Read This

This guide is tailored for home cooks eager to explore the distinctive flavor of guavas in their culinary creations. Readers should already have a basic grasp of kitchen safety, fundamental cooking techniques, and the general principles of canning to successfully navigate the outlined procedures. It is not intended for those who lack experience with kitchen equipment or are unfamiliar with the preservation process, as the content assumes a certain level of comfort and competence in the kitchen.
The Step-by-Step Protocol

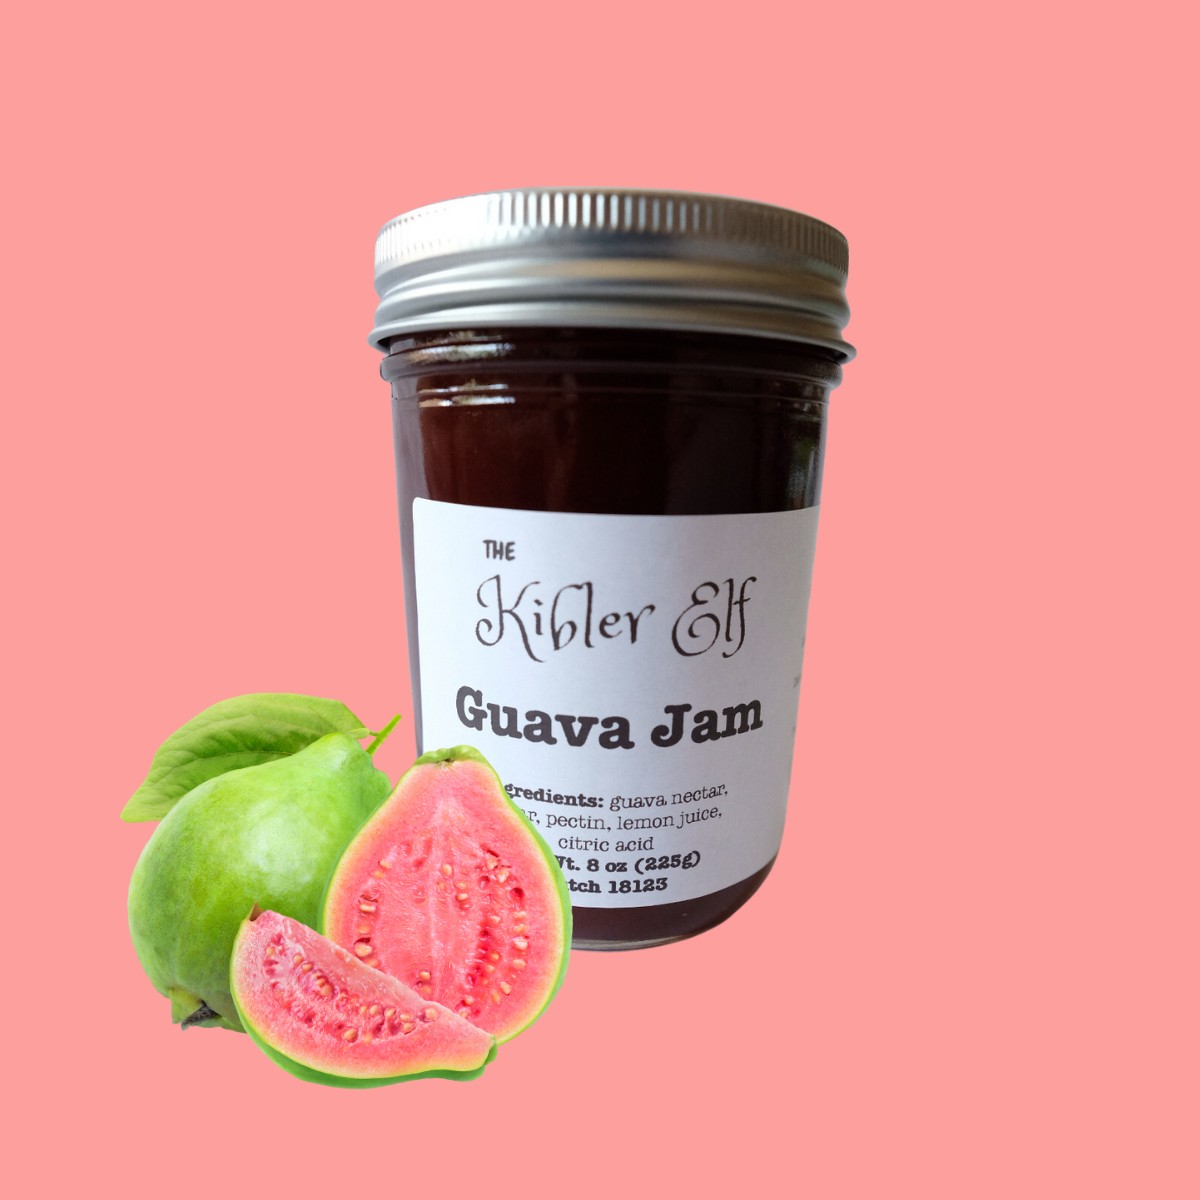
1. Gather Ingredients: Start by collecting 2 pounds of ripe guavas, 4 cups of granulated sugar, 1/4 cup of freshly squeezed lemon juice, and 1 package (1.75 oz) of powdered pectin. Fresh ingredients are crucial for achieving the best flavor and texture in your jam.
2. Prepare the Guavas: Thoroughly wash the guavas under running water to eliminate any dirt or residues. Halve the fruit and scoop out the flesh, discarding the seeds. Measure out 4 cups of guava pulp using a standard measuring cup to ensure the ideal balance of fruit to sugar.
3. Cook the Jam: In a large, heavy-bottomed pot, combine the guava pulp, lemon juice, and powdered pectin. Bring the mixture to a boil over medium heat, stirring constantly to prevent sticking. Once boiling, add the 4 cups of sugar all at once, stirring until fully dissolved. Return the mixture to a rolling boil and maintain it for 1-2 minutes. This rapid boil is essential for activating the pectin and achieving the proper gel consistency.
4. Test for Consistency: To determine if the jam has set, place a spoonful on a chilled plate and allow it to sit for 1 minute. Run your finger through the jam; if it holds its shape and does not run together, it is ready for canning. If it appears too runny, continue boiling for another minute or two, then retest.
5. Canning Process: Sterilize your canning jars and lids by boiling them in water for 10 minutes. This critical step prevents microbial growth. Fill the sterilized jars with hot guava jam, leaving about 1/4-inch headspace at the top. Wipe the rims of the jars with a clean cloth to remove any residue, seal with lids, and process in a boiling water bath for 10 minutes to ensure proper sealing and preservation of the jam.
Warning Signs: When Not to Follow This

– Avoid making guava jam if your guavas are overripe or moldy, as this can introduce harmful bacteria and spoil the jam.
– If you lack the necessary canning equipment (such as a pressure canner or boiling water bath setup), refrain from following this guide; improper canning can lead to foodborne illnesses.
– Do not attempt this recipe if you are allergic to guavas or any of the ingredients used, such as pectin or sugar, to prevent adverse health reactions.
The Most Common Mistakes (And Their Consequences)
– One frequent error is inaccurately measuring the guava pulp; using too much or too little can compromise the jam’s consistency, resulting in a runny or overly stiff product. Always use a measuring cup for precision.
– Skipping the lemon juice can lead to a jam that lacks the necessary acidity, potentially causing spoilage and unsafe preservation. The acid is crucial for balancing the sugar and ensuring the jam sets properly.
– Neglecting proper sterilization techniques for jars and lids can introduce bacteria, leading to spoilage or foodborne illness. Ensure that all equipment is sanitized and handled with clean hands.
Special Cases That Need a Different Approach
– If using frozen guavas, ensure they are completely thawed and drained of excess liquid to maintain the correct ratio of pulp to sugar when making the jam. Excess moisture can alter the jam’s texture.
– For those seeking a lower-sugar option, consider using alternative sweeteners like honey or agave syrup, adjusting the amounts based on the sweetener’s concentration and flavor profile. Be aware that these alternatives may affect the set of the jam due to differing pectin requirements.
– If you wish to incorporate spices, such as cinnamon or vanilla, add them during the boiling stage but start with small amounts to avoid overpowering the guava flavor. A half teaspoon of ground cinnamon can enhance the flavor without overwhelming it.
When You Need a Professional
– If you notice any signs of spoilage in your final product, such as an off smell or bubbling in the jar, do not taste the jam. Discard it and consult a food safety expert for advice on proper preservation practices, as spoiled jam can pose serious health risks.
– If you are uncertain about the acidity levels of your guava jam, especially when using non-standard ingredients, seek guidance from a food scientist or a licensed canning expert for recommendations on adjusting acidity. The pH should remain below 4.6 to ensure safe canning.
– Consult a professional if you have specific dietary restrictions or health conditions that may affect your ability to safely consume home-canned goods. A registered dietitian or food safety expert can offer tailored advice.
Sources and Further Reading
– National Center for Home Food Preservation: Guidelines on safe canning practices and recipes for fruit preserves.
– USDA Complete Guide to Home Canning: A comprehensive resource on food safety standards and preservation methodologies.
– “The Ball Complete Book of Home Preserving”: A trusted reference book on canning and preserving that includes specific recipes and techniques for various fruit jams, including guava.
By diligently following this expert guide, you can safely and effectively create delicious guava jam at home, enriching your pantry with a unique flavor that can be enjoyed year-round. Always prioritize safety and accuracy to ensure the best results in your canning endeavors.
Frequently Asked Questions
What ingredients do I need to make guava jam?
To make guava jam, you’ll need fresh guavas, sugar, lemon juice, and pectin. The ripe guavas should be washed and chopped, while the sugar helps with preservation and sweetness, and lemon juice adds acidity for flavor balance. Pectin is essential for achieving the right consistency in your jam.
How do I prepare guavas before making jam?
Before making guava jam, start by washing the guavas thoroughly to remove any dirt. Next, cut the guavas in half and scoop out the pulp, discarding the seeds, as they can be hard and unpalatable. You can also mash the pulp slightly for a smoother texture in your final jam.
Why is my guava jam not thickening properly?
If your guava jam isn’t thickening, it may be due to insufficient pectin or cooking time. Ensure you are using the right amount of pectin according to the recipe and allow the mixture to simmer long enough for the natural sugars to caramelize and thicken. If necessary, you can add more pectin and reheat the jam to achieve the desired consistency.
What is the best method for canning guava jam?
The best method for canning guava jam involves sterilizing your jars and lids in boiling water, then filling them with hot jam while leaving appropriate headspace. After sealing the jars, process them in a boiling water bath for about 5-10 minutes to ensure they are sealed properly. This method helps preserve the jam for long-term storage while retaining its fresh flavor.
Which types of guavas are best for making jam?
The best types of guavas for making jam are the pink and white-fleshed varieties, as they tend to have a sweeter flavor and higher pectin content. Look for ripe guavas that are slightly soft to the touch and have a fragrant aroma, as these will yield the most flavorful and aromatic jam.
References
- Guava
https://en.wikipedia.org/wiki/Guava - https://www.ncbi.nlm.nih.gov/pmc/articles/PMC6463302/
https://www.ncbi.nlm.nih.gov/pmc/articles/PMC6463302/ - https://www.sciencedirect.com/science/article/pii/S2211614516300660
https://www.sciencedirect.com/science/article/pii/S2211614516300660 - https://www.britannica.com/plant/guava
https://www.britannica.com/plant/guava - https://www.ncbi.nlm.nih.gov/pmc/articles/PMC6815860/
https://www.ncbi.nlm.nih.gov/pmc/articles/PMC6815860/ - https://www.ncbi.nlm.nih.gov/pmc/articles/PMC6775472/
https://www.ncbi.nlm.nih.gov/pmc/articles/PMC6775472/ - Google Scholar Google Scholar
https://scholar.google.com/scholar?q=guava+jam+recipe - Google Scholar Google Scholar
https://scholar.google.com/scholar?q=guava+preservation+techniques - Google Scholar Google Scholar
https://scholar.google.com/scholar?q=guava+nutritional+benefits - https://www.foodnetwork.com/recipes/articles/how-to-make-jam-jelly-and-preserves
https://www.foodnetwork.com/recipes/articles/how-to-make-jam-jelly-and-preserves