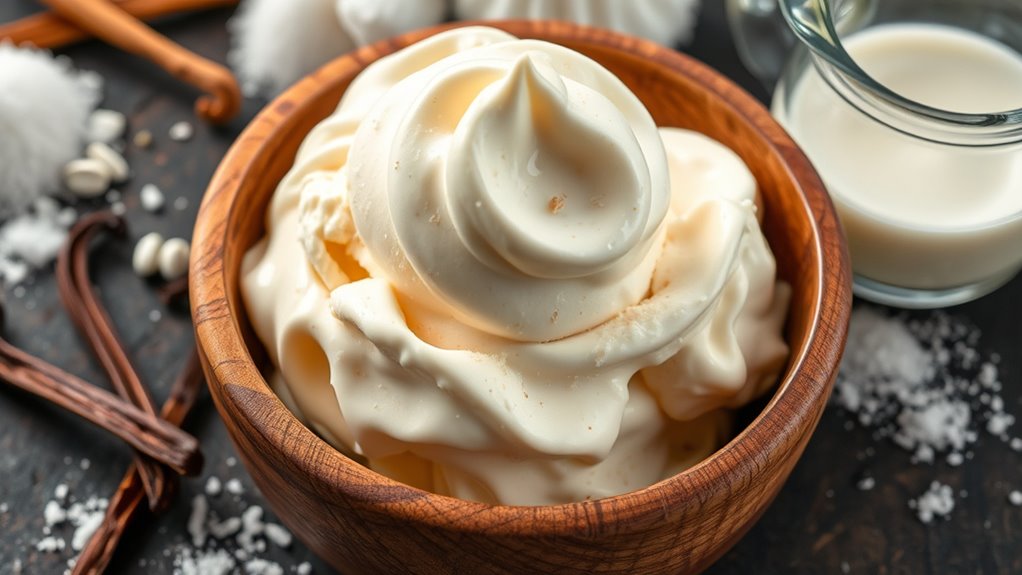
Ben & Jerry’s vanilla ice cream base relies on a smooth dairy blend and precise temperature control, using 2 cups heavy cream and 2 cups whole milk with 2/3 cup sugar, a pinch of salt, and 4 lightly beaten yolks. Heat until the sugar dissolves, then cool below 40°C before churning at steady RPM to optimize body and air. You’ll log temperatures, control fat-to-sugar balance, and tailor mix-ins for signature texture—continue to uncover the exact steps and tips.
Ingredients and Quantity
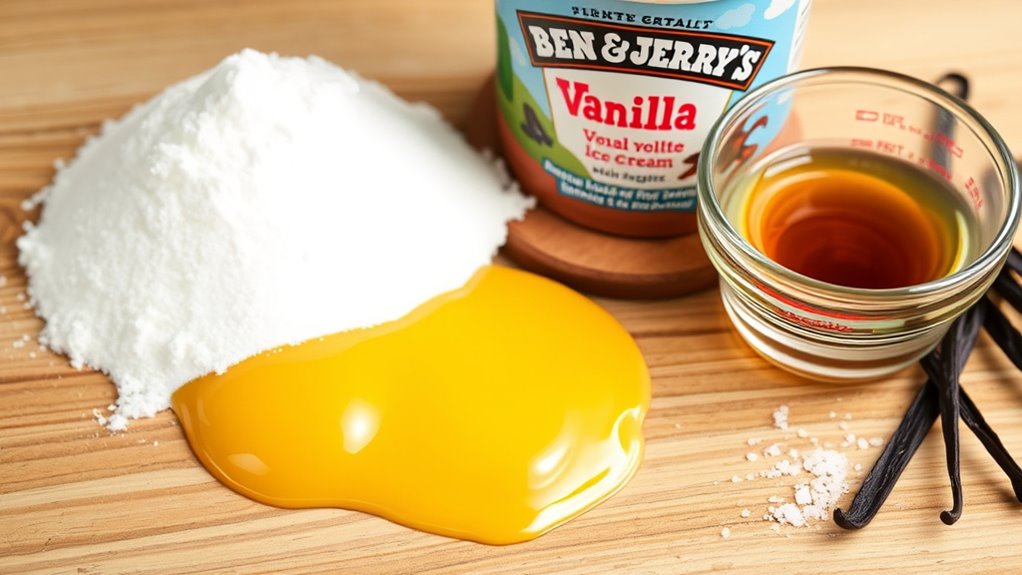
The ingredients for Ben & Jerry’s vanilla ice cream are listed with exact quantities to guarantee reproducible results: two cups of heavy cream, two cups of whole milk, two-thirds cup granulated sugar, and a pinch of fine salt, along with one tablespoon vanilla extract and four lightly beaten egg yolks. You’ll measure precisely, log each batch, and verify consistency across trials. Below is a concise framework table to illustrate data-driven clarity and optional substitutions without veering into preparations.
| Component | Target Specification |
|---|---|
| Dairy base | heavy cream 2 cups; whole milk 2 cups |
| Sweetener | granulated sugar 2/3 cup |
| Flavor | vanilla extract 1 tablespoon; vanilla flavoring as alternative |
| Stabilizer | salt pinch; eggs 4 yolks |
| Alternatives | dairy alternatives considered |
Preparations
To begin preparations, combine the dairy base (heavy cream and whole milk) with the sugar and salt in a medium saucepan, heating gently until the sugar dissolves and the mixture approaches a light simmer.
To begin, warm the dairy base with sugar and salt until the sugar dissolves and the mixture approaches a light simmer.
- chilling process: cool the base to below 40°C (105°F) rapidly to preserve dairy integrity and minimize microbial risk.
- mixing technique: whisk steadily to guarantee homogeneous dissolution and prevent scorching, then cover to reduce evaporation.
- temperature control: monitor with a calibrated thermometer, logging every 2 minutes during cooling and post-simmer stabilization.
- sanitation protocol: sanitize the workspace and utensils, rotate air exposure, and label batches for traceability, guaranteeing reproducibility and safety.
How to Cook
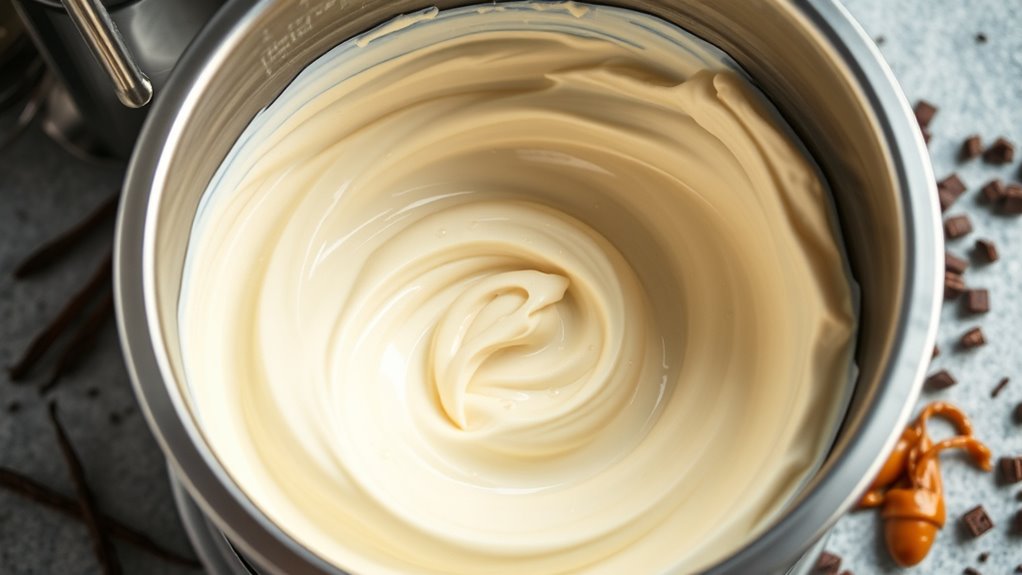
- Assemble a precise, temperature-controlled workflow for churning.
- Monitor melt curve, viscosity, and air incorporation to guarantee consistent texture.
- Pre-cool base to target temperature range.
- Initiate churn at steady RPM, logging real-time torque and temperature to quickly halt deviations.
- Maintain partial vacuum when feasible to reduce ice crystal formation.
- Synchronize freezing capacity with batch size for reproducibility.
- Apply ice cream techniques to tune body and mouthfeel:
- Adjust fat-to-sugar ratio.
- Optimize lactose crystallization.
- Regulate emulsifier engagement to stabilize bubbles.
- Upon phase change completion, evaluate overrun and scoopability.
- Document flavor invariance across cycles.
- For flavor variations, integrate vanilla notes with complementary extracts or mix-ins in controlled steps.
- Achieve reproducible creaminess that balances freedom of experimentation with consistent vanilla performance.
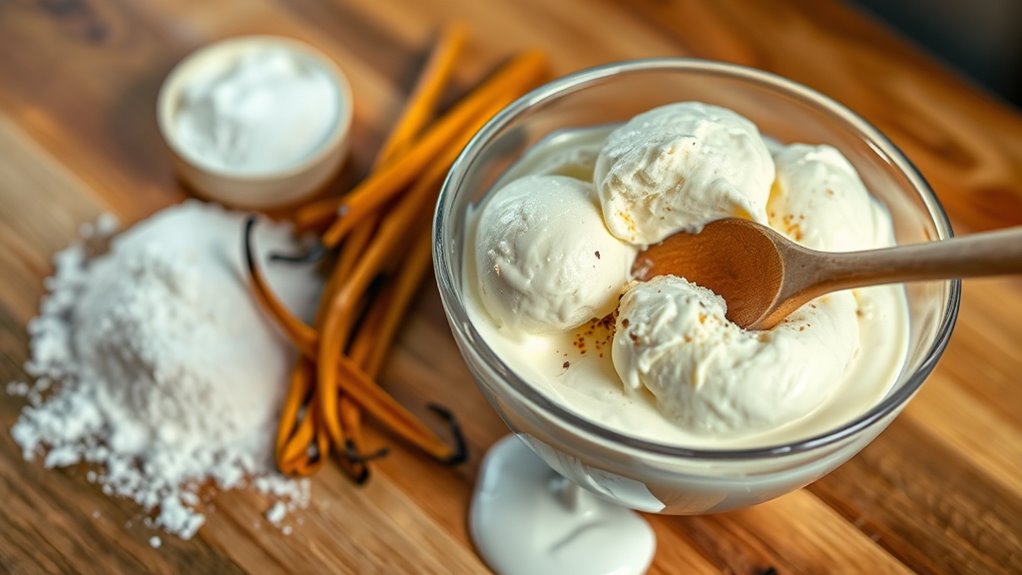
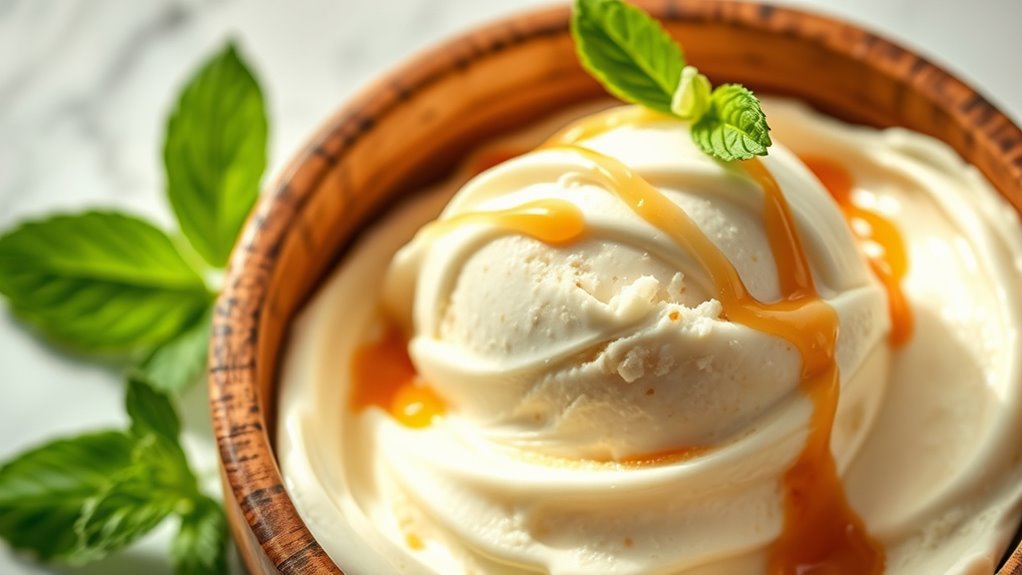
How to Serve
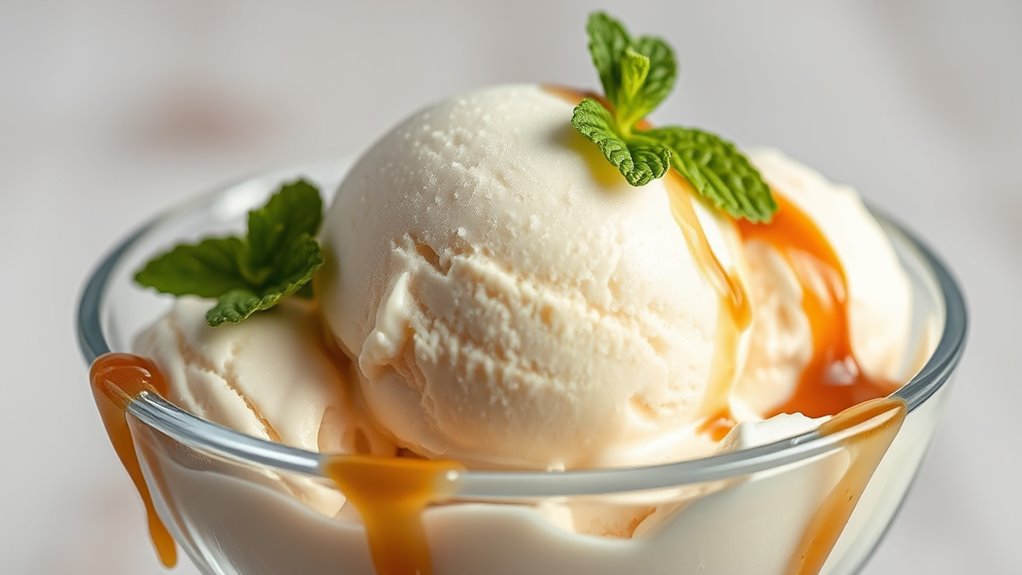
After mastering the vanilla ice cream base, serving becomes the final step where texture, temperature, and portion control meet guest experience. You optimize yield while preserving mouthfeel, using measured scoops and precise timing to maintain consistency across servings. Consider plate temperature, garnish cohesion, and sauce integration to influence perceived sweetness and aroma. Serving suggestions and presentation ideas cluster around uniformity, clarity, and speed for high-volume contexts, yet retain individuality for boutique settings. Your goal is repeatable results that scale with demand without sacrificing quality.
Serving vanilla ice cream with precise portions, controlled temperature, and cohesive garnishes ensures consistent, high-quality plates.
1) Portioning precision: use standardized scoop size and weigh targets to minimize variation.
2) Temperature discipline: serve at a controlled cold range to preserve structure.
3) Garnish logic: align toppings with flavor notes for visual harmony.
4) Plate flow: arrange components for balanced perception and ease of service.
Tips
Even with a solid base, small, data-driven adjustments can yield meaningful gains in consistency and yield. You’ll want precise control over temperature, mixing speed, and fat content to stabilize texture across batches. Track viscosity changes during churning and correlate them with overrun to predict creaminess. For ice cream, minor tweaks in sugar type and total solids influence scoopability at serving temperature. Implement flavor variations by using concentrated extracts or paste, documenting each run’s sensory score and melt-time. Maintain a disciplined calibration schedule for thermometers and scales, then apply statistically significant tweaks rather than guesswork. Embrace reproducible methods so crews can reproduce results. Your freedom comes from rigor: reliable results enable experimentation with confidence, without sacrificing batch-to-batch consistency or customer expectations.
Food Value and Benefit
The prepared vanilla ice cream offers a delightful combination of flavor and nutritional value, making it a satisfying treat that also supports various aspects of health. Eating this recipe provides several benefits grounded in its nutrient content and portion control.
Benefits of Eating Vanilla Ice Cream:
- Provides a balanced caloric intake with appropriate macronutrient distribution per serving.
- Supports bone health through its protein and calcium content.
- Supplies essential vitamins and minerals, including Vitamin A, Vitamin B12, and key minerals that aid metabolic functions.
- Suitable for individuals with digestive sensitivity due to considerations of lactose content and overall digestive tolerance.
Key Vitamins and Minerals Contained:
- Vitamin A: important for vision and immune function.
- Vitamin B12: essential for nerve health and red blood cell formation.
- Calcium: crucial for strong bones and teeth.
- Additional minerals that contribute to metabolism and overall wellness.
Frequently Asked Questions
What Ingredient Substitutions Work Best for Dairy-Free Vanilla Ice Cream?
You’ll want coconut milk, almond milk, cashew cream, or oat milk as dairy-free bases, with emulsifiers and stabilizers. Your best substitutions: coconut milk for richness, cashew cream for creaminess, oat or almond for smooth texture, balancing sweetness.
Can I Freeze the Mixture Before Churning for Texture?
Yes—you can freeze the mixture before churning. Juxtapose patience with speed: quick freezes save air, while slow freezing improves texture. Use freezing techniques to control ice crystal size; this directly enhances texture, without sacrificing you freedom to experiment.
How Long Can Vanilla Ice Cream Be Stored in the Freezer?
In your freezer, vanilla ice cream typically lasts about 1 to 2 months for best texture. For freezer storage, aim for airtight containment. Ice cream longevity declines with temperature fluctuations; keep at a constant -18°C (0°F) to optimize quality.
Is There a Way to Reduce Sugar Without Sacrificing Flavor?
Yes, you can cut sugar without sacrificing taste. Try sugar alternatives like erythritol or stevia, plus flavor enhancers such as vanilla extract and citrus zest; monitor texture with added fat or emulsifier for stable, satisfying flavor.
What Is the Ideal Churn Time for Ultra-Smooth Vanilla?
Blazing-fast flash: optimum churn time depends on your machine, but aim for 20–25 minutes at medium churn speed; monitor texture for a smooth, scoopable finish. Your ice cream machine should produce a velvety, airy, precisely rendered vanilla.
References
- https://en.wikipedia.org/wiki/Ben_%26_Jerry%27s
- https://www.npr.org/sections/thesalt/2015/07/14/422025929/ben-jerrys-ice-cream-has-a-political-scoop
- https://www.benjerry.com/whats-new/2016/vanilla-ice-cream-recipe
- https://www.foodnetwork.com/recipes/articles/ben-and-jerrys-ice-cream-flavors
- https://www.sciencedirect.com/science/article/pii/S2351978917301316