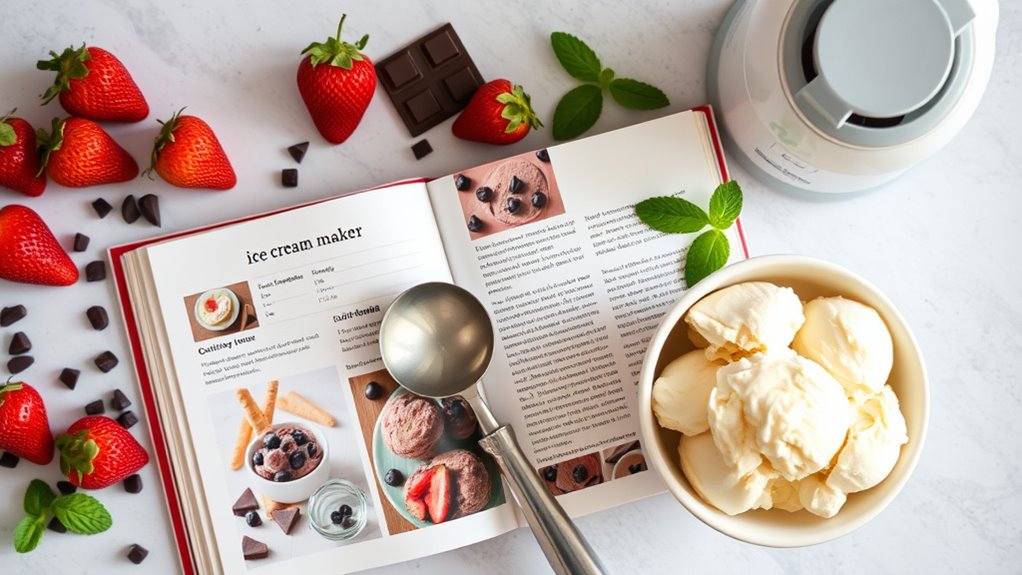
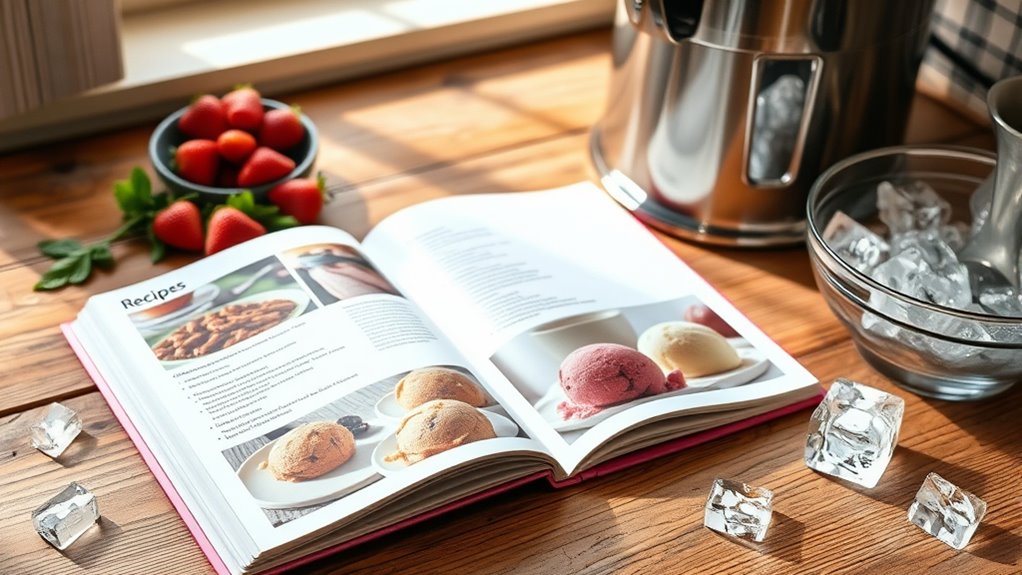
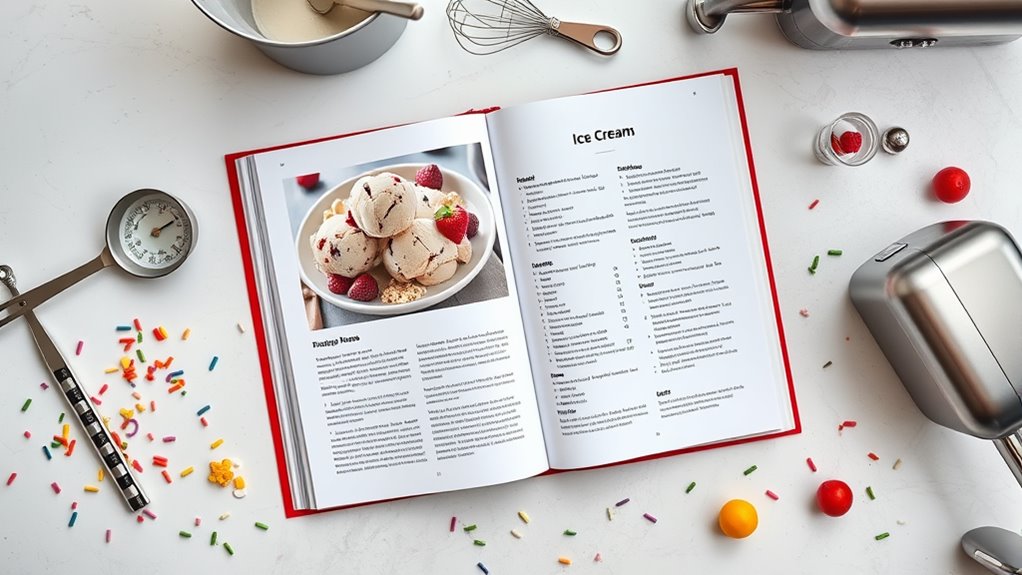
You’ll discover a recipe book for your ice cream maker that feels chef‑guided and practical, turning simple ingredients into swoon‑worthy creams. Each section guides you through precise quantities, prep steps, and gentle heat that builds velvety texture without curdling. You’ll learn to temper dairy, balance fat and sugar, and fold in add-ins for glossy finishes. Expect color, aroma, and contrast in every scoop, plus tips for chill, rest, and sliceable perfection—plus more secrets tucked just ahead.
Ingredients and Quantity
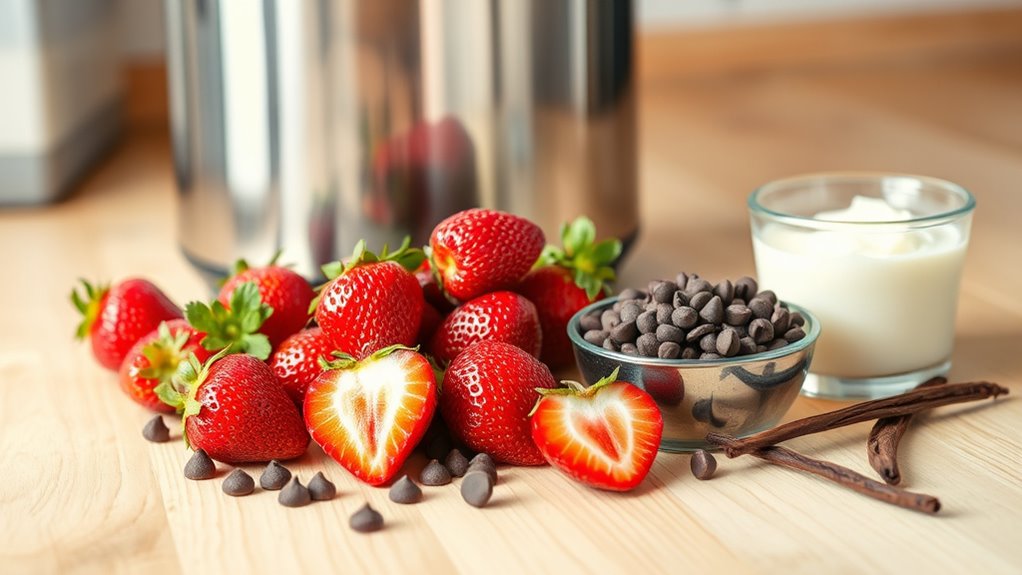
Gather the essentials for a handful of delicious bowls: high-quality ingredients and precise quantities. You’ll balance cream, milk, sugar, and yolk with confident measurements, then adapt to taste with optional flavors. Start with a base that honors flavor combinations, then tailor texture through ratios.
| Ingredient | Standard Quantity | Optional Substitution | |
|---|---|---|---|
| Cream | 2 cups | Coconut cream (for dairy-free) | |
| Milk | 1 cup | Almond milk (thin texture) | |
| Sugar | 3/4 cup | Honey or maple (to taste) | |
| Ingredient | Standard Quantity | Optional Substitution | |
| Egg yolks | 4 | 0 (use cornstarch if needed) | |
| Vanilla | 1 tsp | Vanilla bean paste | |
| Salt | pinch | — | flavors reveal, never overpower. |
Preparations
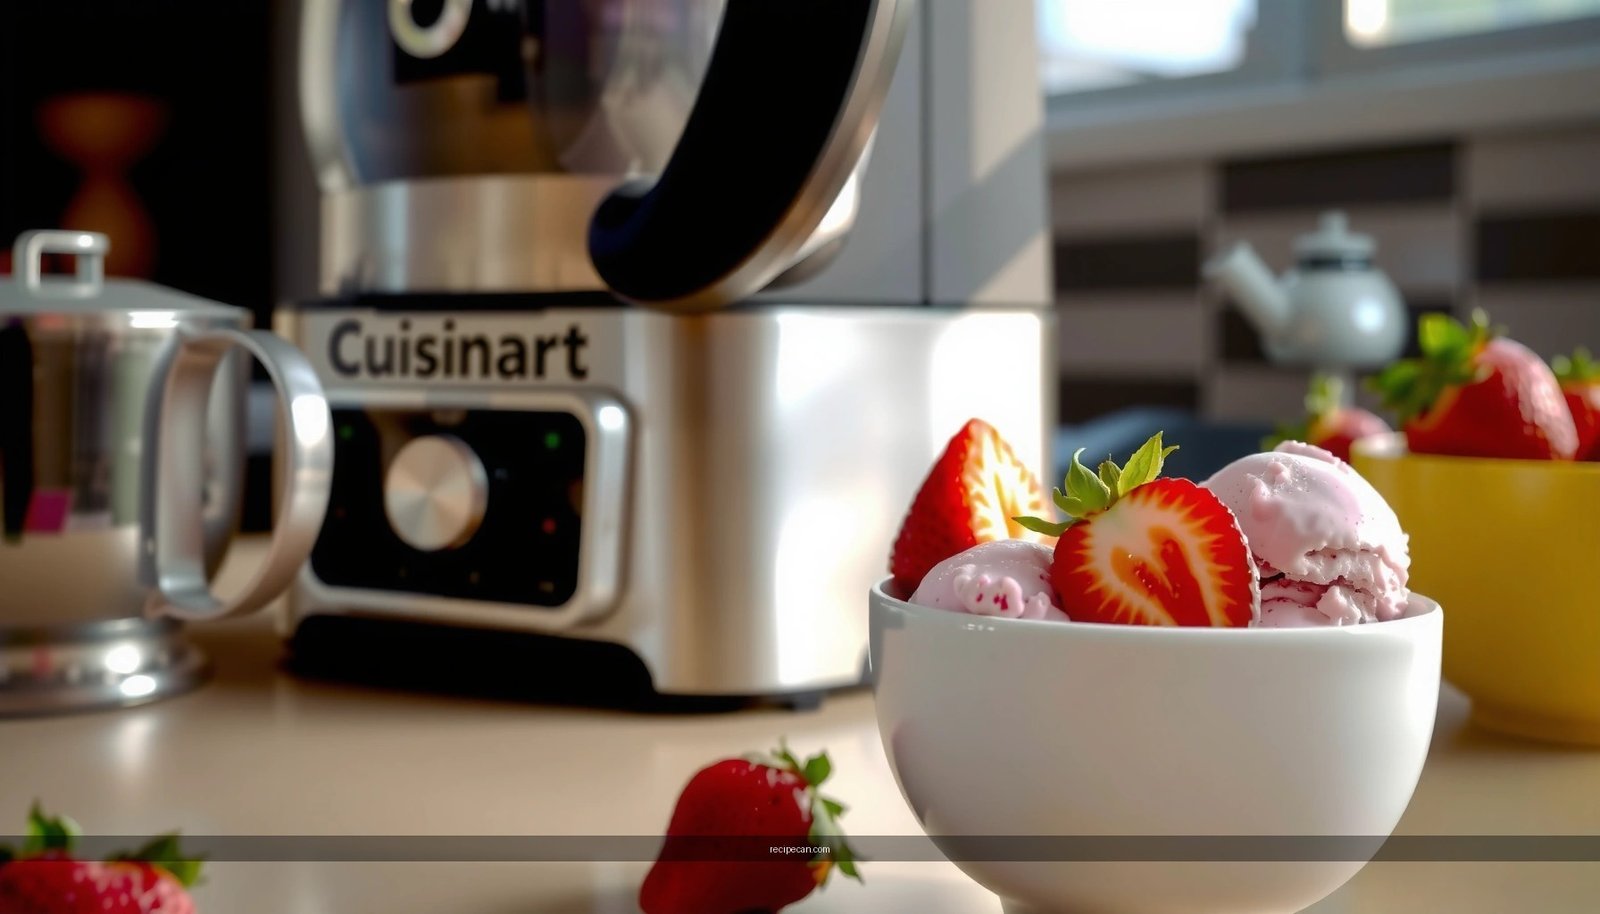
With your base prepared, you’ll move into the Preparations stage by organizing and warming your ingredients to the right states for mixing. You’ll set rhythm, precision, and calm as you prep with intention, ensuring texture and temperature align for peak creaminess. This is where preparation techniques come alive, guiding each component to its ideal stance before joining the bowl. Gather, temper, and measure with confidence, letting your kitchen become a workshop of control and flavor. The right environment supports smooth folding and gentle aeration, keeping fat and sugar in balance for a glossy, inviting finish. Your essential tools are within reach, ready to assist with clean lines and steady hands.
With calm precision, prepare each component, temper precisely, and align tools for a glossy, balanced finish.
- Pre-measure and temper ingredients
- Warm dairy to just-hold temperature
- Align bowls, spatulas, and thermometer for flow
How to Cook
- Combine dairy, sugar, and stabilizers with intention, ensuring a smooth blend.
- Gently heat the mixture to develop viscosity without curdling.
- Whisk in flavorings carefully to add depth and lasting taste.
- Monitor temperature closely using a reliable thermometer to maintain control.
- Stir steadily to prevent scorching and encourage even thickening.
- Cool the mixture swiftly to trap air and inhibit ice crystal formation.
- Allow mindful resting periods between steps for optimal texture development.
- Use precise kitchen tools such as a saucepan, thermometer, and mixer to maintain consistency.
- Track viscosity points and adjust cooking pace to achieve desired creaminess.
- Repeat attentive temperature checks and stirring as needed for smooth, glossy richness.
- Shape each batch into a lush, scoopable ice cream with deliberate technique and smart equipment choices.
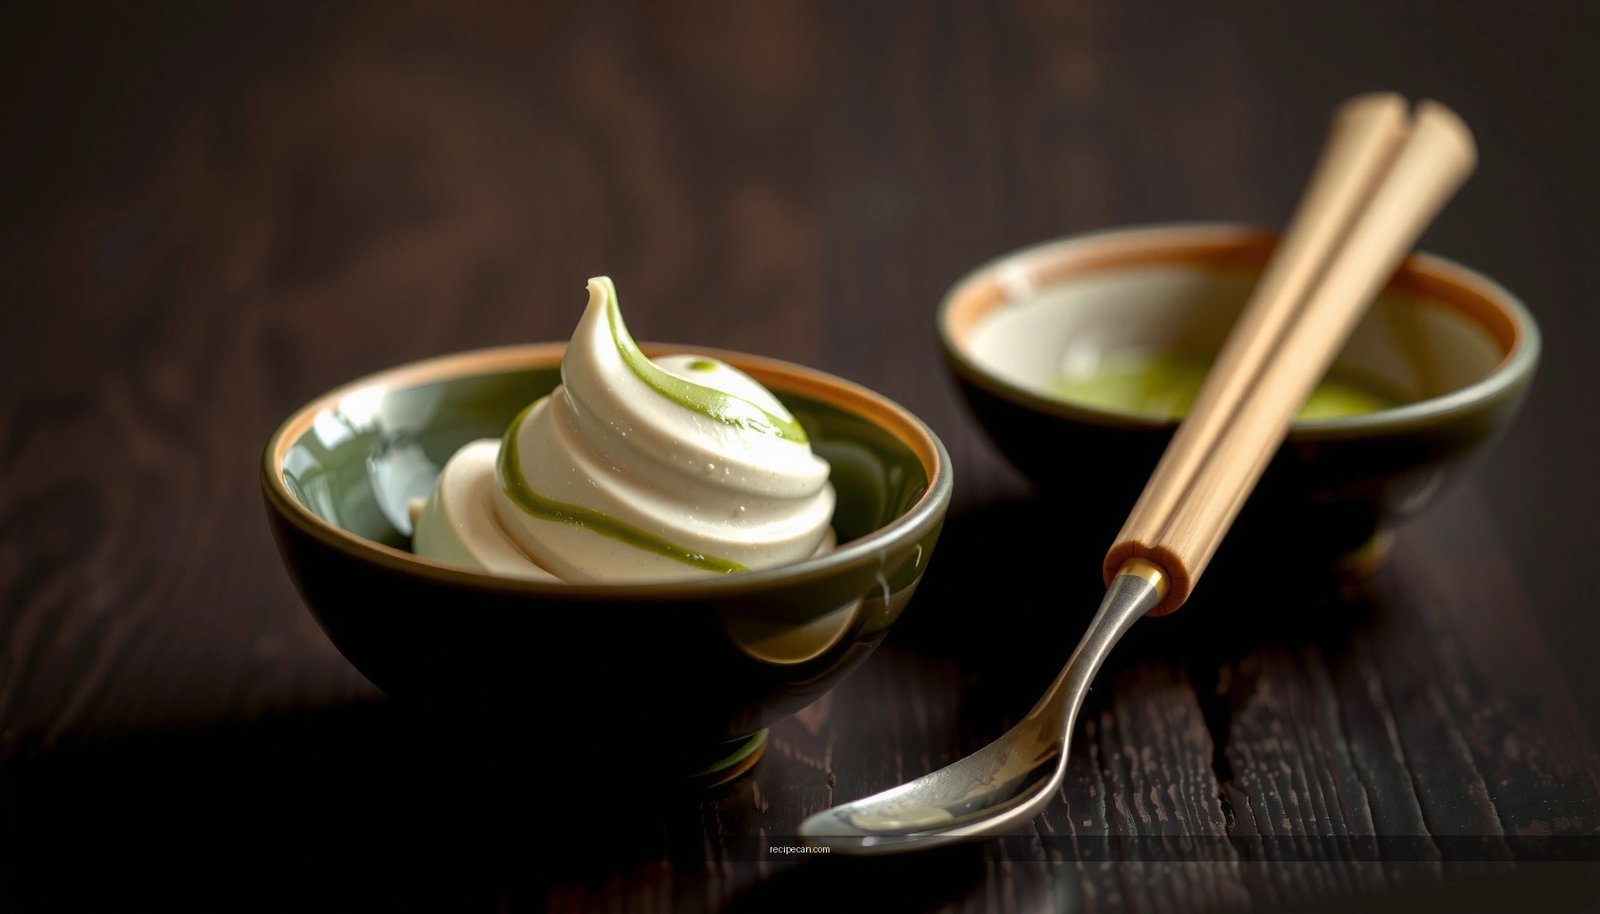
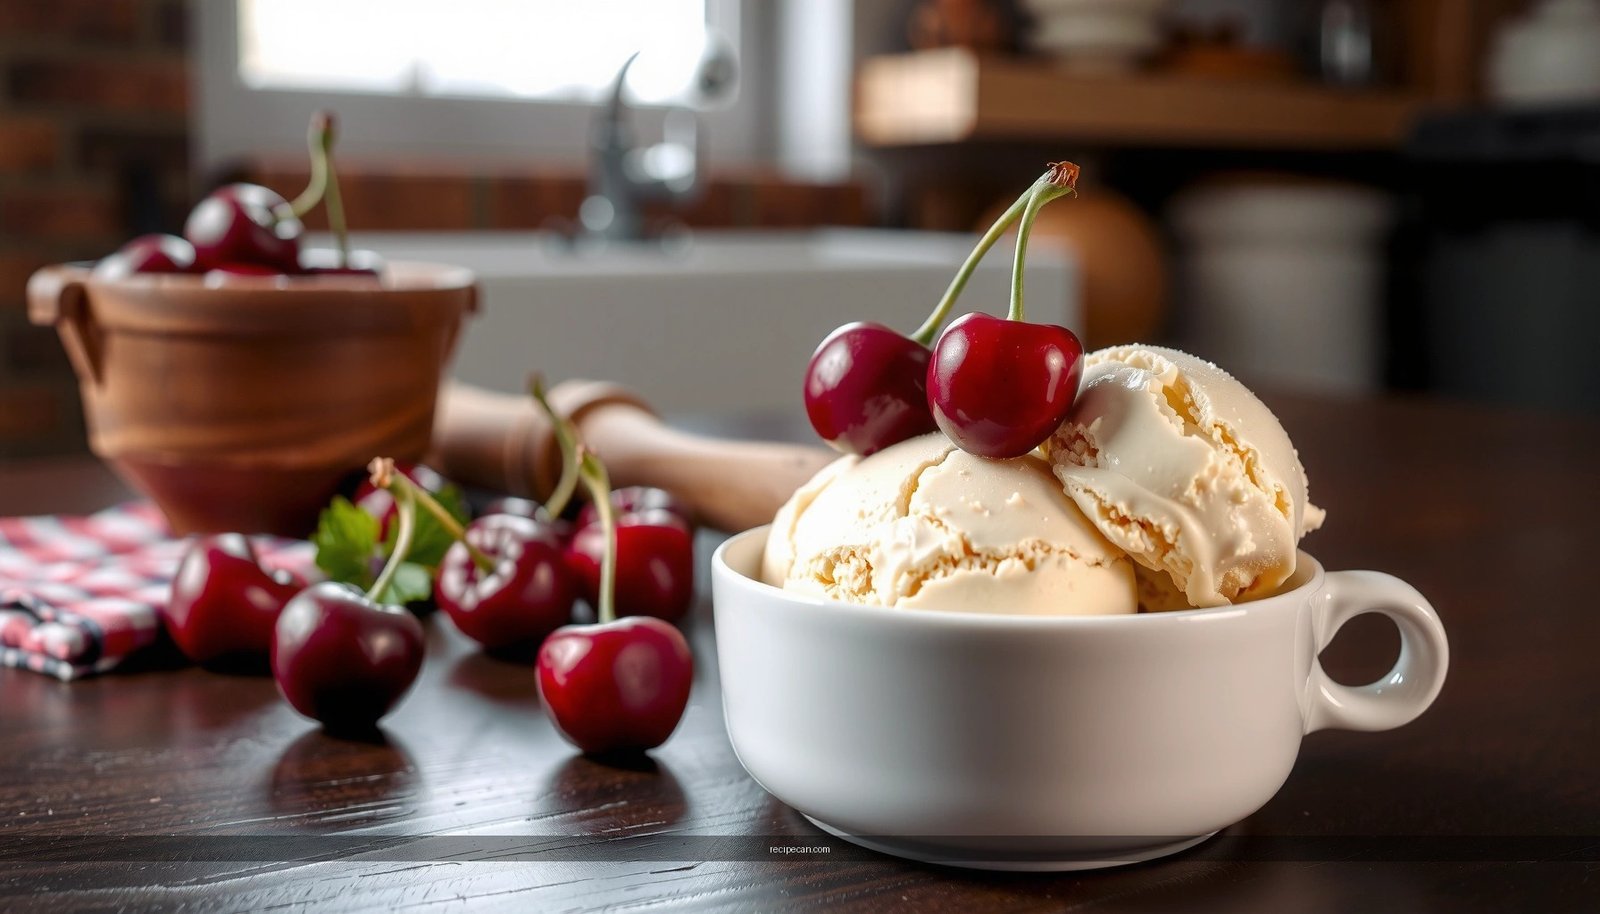
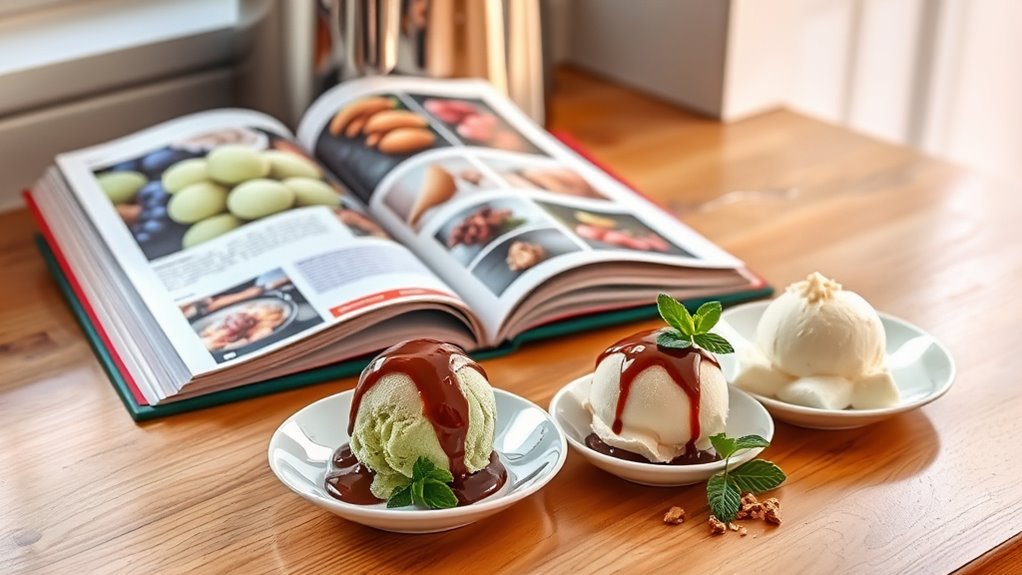
How to Serve

Serving ice cream is where all that creamy discipline shines. You’ll plate with purpose, letting color, texture, and aroma guide the experience. In ice cream presentation, your scoops become invitations—neat edges, generous height, and a glossy finish. Pair flavors with complementary toppings that echo their character, not overwhelm it. Serving suggestions lean toward balance: a crisp element, a bright acid note, and a creamy counterpoint to keep every bite lively.
1) Build contrast: texture, temperature, and flavor interplay.
2) Use a warm sauce or sauce-free style to highlight the scoop’s shape.
3) Finish with a subtle garnish that enhances aroma and color without crowding the plate.
Tips
Ever wonder how to keep ice cream flawless from scoop to plate? You’ll want to respect your machine’s cadence, chill base thoroughly, and churn at the right speed for a silky finish. Freeze components separately if you’re mixing add-ins, then fold them in just before serving to preserve texture. For flavor longevity, balance sweetness with acidity and rely on bright, contrasting notes—think citrus zest, espresso, or tart berries. When testing flavor combinations, note their evolving profiles as they mellow in the cold. Texture tips: avoid overmixing, and let the gelato-style mix rest post-churn to relax air. Serve with a quick re-chill for sliceable scoops, and celebrate personal freedom in every bite.
Food Value and Benefit
Ice cream isn’t just a delightful treat; when prepared with quality ingredients, it offers a source of balanced nourishment and mood-enhancing pleasure. Using whole dairy, real vanilla, and stable sweetness creates a rich, satisfying experience that fits well into mindful eating habits. This recipe supports energy and satisfaction while minimizing unnecessary additives, making it a thoughtful choice for those attentive to their dietary needs.
Ice cream, crafted with quality ingredients, nourishes both body and mood with mindful indulgence.
Benefits of eating this ice cream recipe include:
- Provides essential nutrients such as calcium and vitamin D from whole dairy, supporting bone health.
- Contains vitamin A, which promotes healthy vision and immune function.
- Offers a source of energy through natural sugars and fats, aiding in sustained vitality.
- Made with simplified ingredients to reduce additives, supporting digestive health.
- Encourages portion control and mindful indulgence, aligning with balanced eating goals.
Enjoying this ice cream means savoring a flavorful treat that nourishes both body and mind while fitting into a responsible dietary plan.
Frequently Asked Questions
How Long Does Homemade Ice Cream Last in the Freezer?
Freezer-friendly facts: you’ll preserve ice cream for about 1 to 2 months in the freezer. For best freezer storage, wrap tightly, label dates, and avoid frequent thawing; your ice cream shelf life stays sweeter, creamier, longer.
Can I Use Dairy-Free Milk for All Recipes?
Yes, you can use dairy-free milk for many recipes, but flavor and texture vary. Try crafting with dairy free options and milk alternatives like almond, oat, or coconut blends to keep ice cream creamy and delicious, freedomfully suited.
Do I Need an Ice Cream Maker for Soft-Serve?
No, you don’t need an ice cream maker for soft serve—you can freeze and churn manually. But a maker speeds soft serve techniques, delivering perfect ice cream consistency, while you chase freedom, crafting irresistible, dreamy textures and bold flavors.
What’s the Best Substitute for Eggs in Custard Bases?
Yes—egg alternatives like aquafaba or cornstarch blend you in for a silky vegan custard, delivering texture without eggs. You’ll taste creamy richness, pleasantly light, embracing freedom with egg alternatives that satisfy your craving for vegan custard bliss.
How to Fix Over-Churned or Icy Texture Quickly?
Over-churned or icy texture? Quick fixes: soften churn by letting it rest briefly, whisk vigorously, then churn again with a splash of cream; apply over churned solutions like gentle re-churn and rapid temp adjustments for smoother, scoopable results.
References
- https://en.wikipedia.org/wiki/Ice_cream
- https://www.fs.usda.gov/wildflowers/ethnobotany/ice_cream/index.html
- https://www.jstor.org/stable/10.5325/jfoodbiochem.20.4.0371
- https://www.icecreaminformation.com/ice-cream-recipes/
- https://www.nationaldairycouncil.org/education/ice-cream-facts
- https://www.extension.purdue.edu/extmedia/FNR/FNR-526-W.pdf
- https://www.ars.usda.gov/ARSUserFiles/oc/np/icecream.pdf