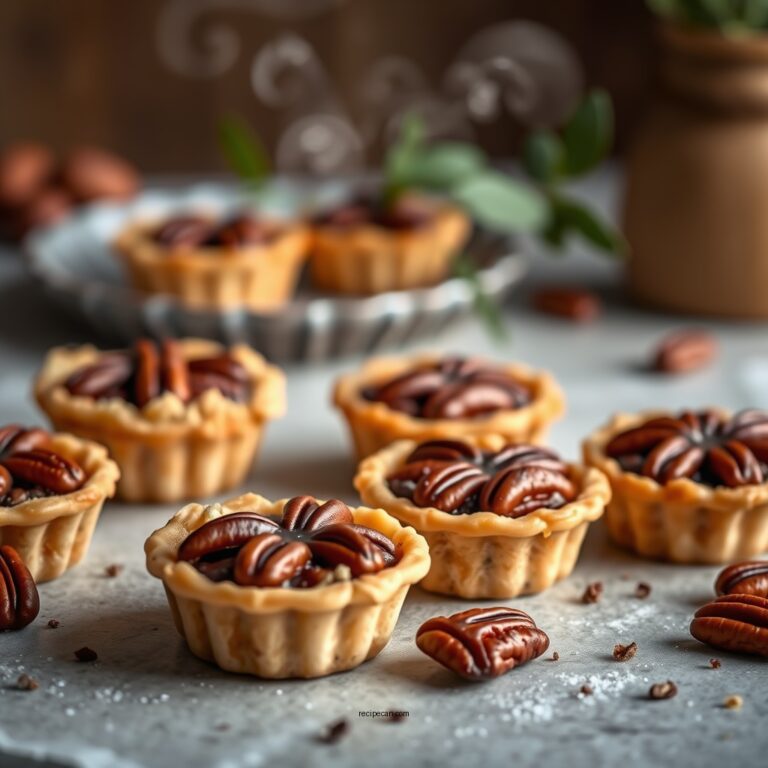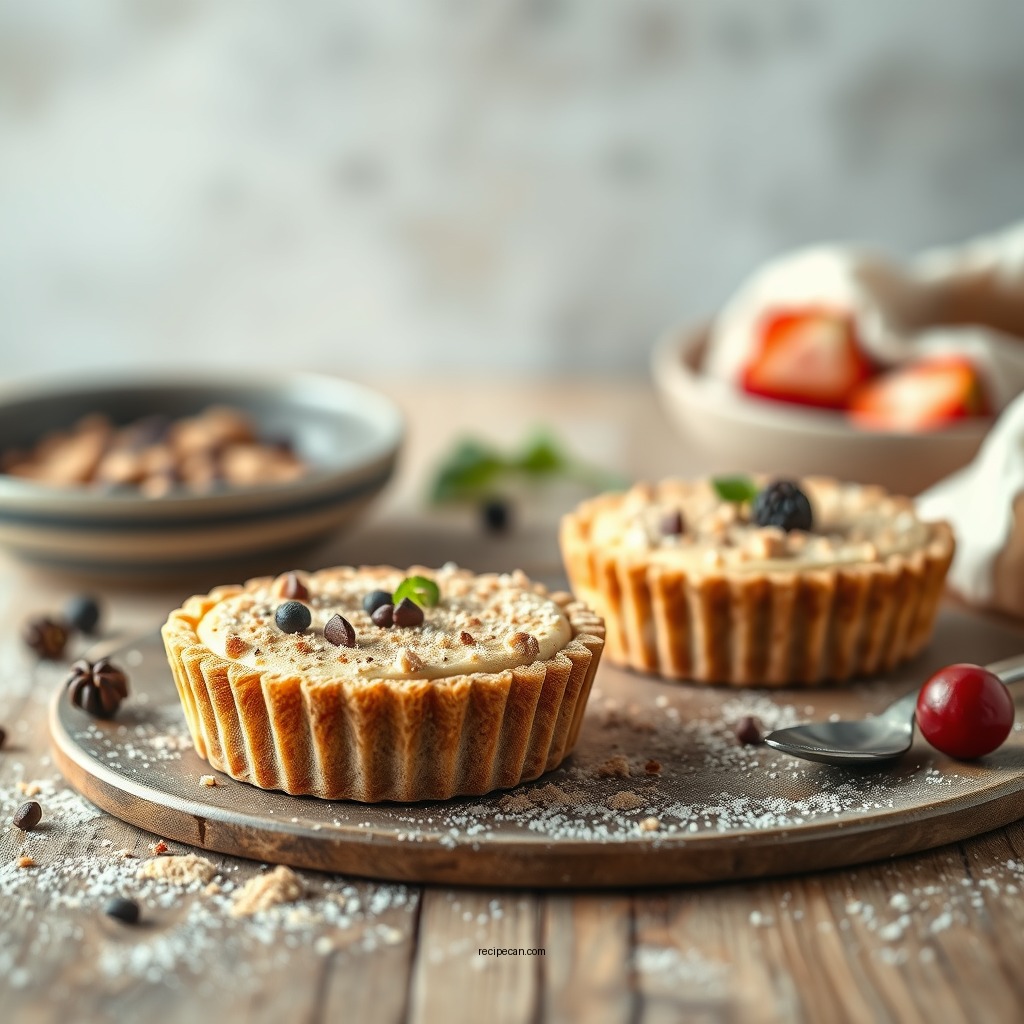
If you’re looking for a delightful and simple cookie recipe, sand tarts are a perfect choice. These traditional buttery cookies are easy to make and provide a delicious treat that can be enjoyed year-round or during the holiday season. In this post, you’ll learn about the origins of sand tarts, the essential ingredients needed, a step-by-step preparation guide, baking tips, decoration ideas, and storage methods to keep your cookies fresh.
What Are Sand Tarts?
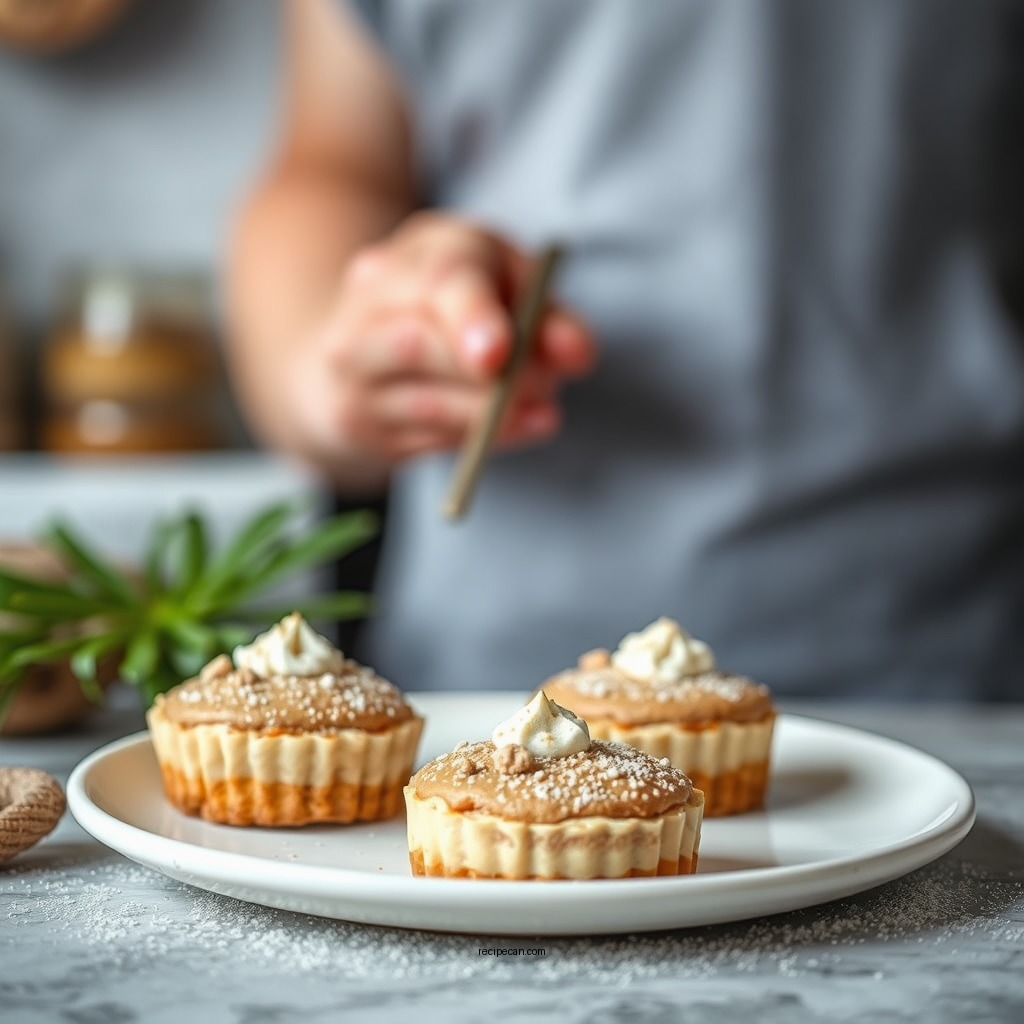
Sand tarts are traditional, buttery cookies often flavored with vanilla or almond. They are known for their crumbly texture, which melts in your mouth, making them a delightful treat for any occasion. The cookies can be enjoyed plain or dressed up with various toppings, such as powdered sugar or nuts. Sand tarts have a rich history, often associated with holiday celebrations, where they are shared among family and friends. Their light, crisp nature makes them a versatile option for both casual gatherings and festive events.
Essential Ingredients for Sand Tarts
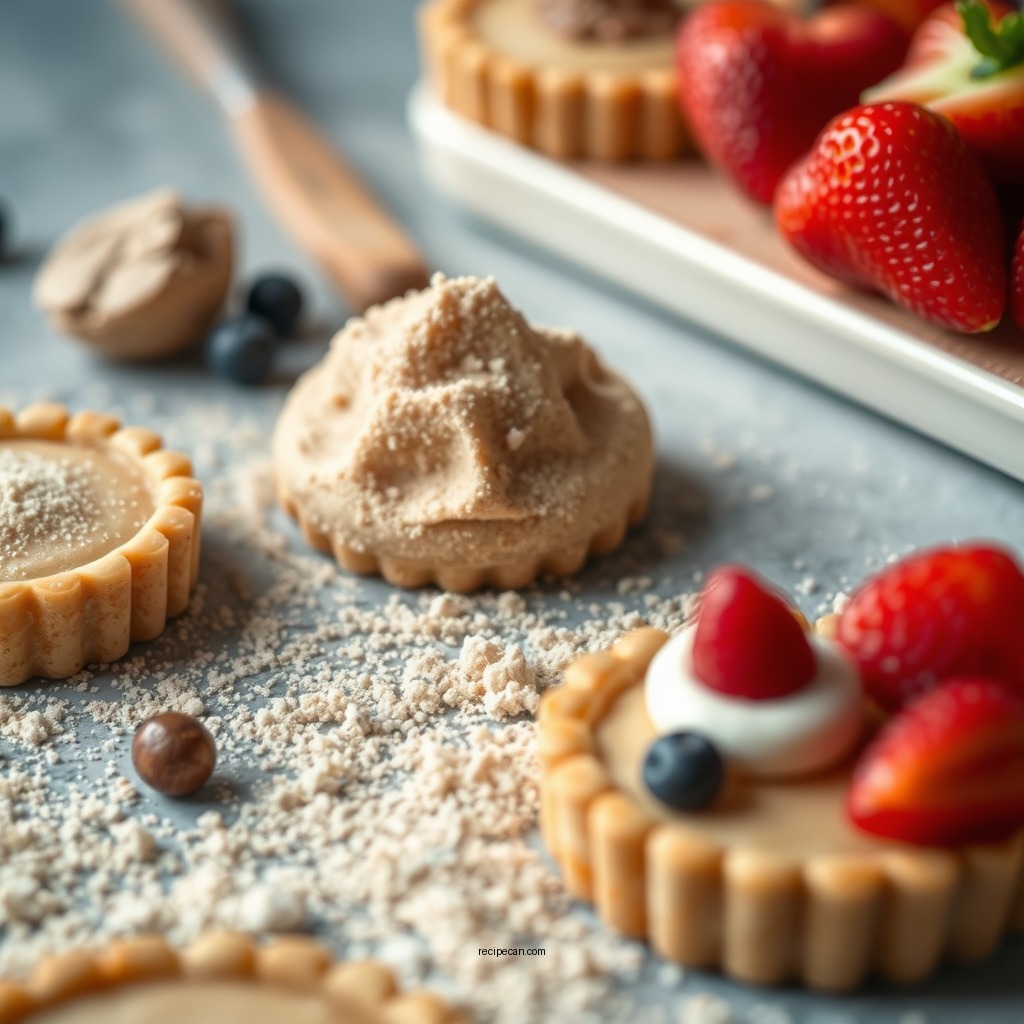
To create the perfect sand tarts, you will need a few essential ingredients that come together to form a rich, flavorful cookie dough. The primary components include:
– Flour: All-purpose flour is the base of the dough, providing structure and texture.
– Butter: Unsalted butter, at room temperature, is crucial for achieving that rich, buttery flavor and crumbly texture.
– Sugar: Granulated sugar adds sweetness, while powdered sugar can be used for dusting after baking.
– Flavorings: Common flavorings include vanilla extract and ground almonds, which add depth and richness to the cookies.
These simple ingredients combine to create a delightful cookie that is both easy to prepare and incredibly satisfying to eat.
Step-by-Step Sand Tart Preparation
Making sand tarts is a straightforward process that can be broken down into a few simple steps:
1. Creaming the Butter and Sugar: Start by creaming together the butter and granulated sugar in a mixing bowl. Use an electric mixer until the mixture is light and fluffy, which usually takes about 3-5 minutes. This step is critical as it incorporates air into the dough, enhancing the texture of the cookies.
2. Adding the Dry Ingredients: Gradually add the flour to the creamed mixture, mixing just until combined. Be careful not to overmix, as this can lead to tougher cookies. If you’re using flavorings like vanilla or almond extract, add them during this stage.
3. Chilling the Dough: Once the ingredients are combined, form the dough into a disc, wrap it in plastic wrap, and refrigerate for at least one hour. Chilling the dough makes it easier to handle and helps the cookies maintain their shape while baking.
4. Rolling Out the Dough: After chilling, remove the dough from the refrigerator and roll it out on a lightly floured surface to about 1/8 inch thickness.
5. Cutting the Cookies: Use cookie cutters to cut out shapes from the rolled dough, placing them on a parchment-lined baking sheet.
Key Ingredients for Making Sand Tarts
| # | Ingredient | Amount | Purpose |
|---|---|---|---|
| 1 | All-purpose Flour | 2 cups | Base structure |
| 2 | Unsalted Butter | 1 cup | Flavor and texture |
| 3 | Granulated Sugar | 3/4 cup | Sweetness |
| 4 | Powdered Sugar | For dusting | Decoration |
| 5 | Vanilla Extract | 1 tsp | Flavor |
| 6 | Ground Almonds | 1/2 cup | Richness |
| 7 | Salt | 1/4 tsp | Balance flavor |
Baking Your Sand Tarts
Once the cookies are cut out, it’s time to bake them to perfection. Follow these steps for a successful bake:
1. Preheat the Oven: Preheat your oven to 350°F (175°C). This ensures that the cookies are baked evenly and thoroughly.
2. Baking the Cookies: Place the baking sheet with the cut-out cookies in the preheated oven. Bake for 10 to 12 minutes, or until the edges are lightly golden. Be careful not to overbake, as this can lead to dry cookies.
3. Cooling: Once baked, remove the cookies from the oven and allow them to cool on the baking sheet for a few minutes before transferring them to a wire rack. This helps them firm up before being handled.
Decorating Sand Tarts
Decorating your sand tarts can be one of the most enjoyable parts of the process. Here are some ideas to make your cookies stand out:
– Powdered Sugar: As soon as the cookies are out of the oven and still warm, sprinkle them with powdered sugar for a classic look.
– Chopped Nuts: Dip the edges of the cookies in finely chopped nuts, such as pecans or walnuts, for added flavor and texture.
– Festive Touches: For special occasions, consider using colored sugar or edible glitter. These decorations can add a festive flair to your sand tarts, making them perfect for holiday gatherings.
Tips for Perfect Sand Tarts
Achieving the perfect sand tarts requires attention to detail. Here are some tips to ensure your cookies turn out great every time:
– Room Temperature Butter: Make sure your butter is at room temperature for better blending with the sugar, resulting in a smoother dough.
– Experiment with Flavors: Don’t hesitate to experiment with different extracts or spices. Almond extract, lemon zest, or even a hint of cinnamon can create unique flavor variations.
– Chill the Dough: Chilling the dough before rolling it out not only makes it easier to handle but also helps the cookies keep their shape during baking.
Storing Sand Tarts
To keep your sand tarts fresh and delicious, proper storage is key:
– Airtight Container: Store the cookies in an airtight container at room temperature. This will help maintain their crisp texture.
– Shelf Life: Sand tarts can be stored for up to a week at room temperature. If you want to keep them longer, consider freezing them.
– Freezing: To freeze, place the cooled cookies in a single layer in a freezer-safe container, separating layers with parchment paper. They can be frozen for up to three months.
By following these guidelines, you can enjoy your homemade sand tarts and share them with family and friends.
In conclusion, making sand tarts is a straightforward and enjoyable process that yields delicious cookies perfect for any occasion. With just a few essential ingredients, a simple preparation method, and some creative decoration ideas, you can create a batch of delightful cookies that will impress everyone. Enjoy making these delightful sand tarts by following this easy recipe. Don’t forget to share your creations with friends or family, and consider trying different variations to make this classic cookie your own!
Frequently Asked Questions
What are the essential ingredients for a classic sand tarts recipe?
A classic sand tarts recipe typically includes all-purpose flour, powdered sugar, butter, vanilla extract, and finely chopped nuts such as pecans or walnuts. These ingredients combine to create a tender, crumbly texture that melts in your mouth, making sand tarts a beloved holiday cookie.
How do you make sand tarts crunchy instead of soft?
To achieve a crunchy texture in your sand tarts, ensure you bake them until they are lightly golden on the edges. Additionally, using a lower moisture butter and allowing the cookies to cool completely on a wire rack will help maintain their crispness, ensuring they don’t become soft.
Why are sand tarts a popular choice for holiday baking?
Sand tarts are a popular choice for holiday baking due to their simple preparation, delightful taste, and versatile presentation. Their buttery flavor and crumbly texture pair well with festive themes, and they can be easily adapted with various toppings, such as powdered sugar or colored sprinkles, making them perfect for holiday gatherings.
What is the best way to store sand tarts for freshness?
To keep your sand tarts fresh, store them in an airtight container at room temperature for up to a week. For longer storage, you can freeze them in a single layer, then transfer to a freezer-safe bag, where they can last for up to three months without losing their delicious flavor and texture.
Which variations can I try with a basic sand tarts recipe?
You can try numerous variations with a basic sand tarts recipe by incorporating different flavorings and mix-ins. Consider adding almond extract, lemon zest, or even chocolate chips, and for a festive touch, roll the cookies in colored sugar or drizzle with chocolate after baking for an extra special treat.
References
- https://en.wikipedia.org/wiki/Sand_tarts
https://en.wikipedia.org/wiki/Sand_tarts - https://www.britannica.com/topic/sand-tarts
https://www.britannica.com/topic/sand-tarts - Google Scholar Google Scholar
https://scholar.google.com/scholar?q=sand+tarts+recipe - Google Scholar Google Scholar
https://scholar.google.com/scholar?q=sand+tarts+history - https://www.ncbi.nlm.nih.gov/pmc/articles/PMC7206913/
https://www.ncbi.nlm.nih.gov/pmc/articles/PMC7206913/ - https://www.sciencedirect.com/topics/food-science/sand-tarts
https://www.sciencedirect.com/topics/food-science/sand-tarts - https://www.cdc.gov/foodsafety/communication/food-safety-tips.html
https://www.cdc.gov/foodsafety/communication/food-safety-tips.html - NYT Cooking – Recipes and Cooking Guides From The New York Times
https://www.nytimes.com/recipes/1020073-sand-tarts.html - https://www.theguardian.com/food/2021/dec/01/how-to-make-sand-tarts
https://www.theguardian.com/food/2021/dec/01/how-to-make-sand-tarts - https://www.pubmed.ncbi.nlm.nih.gov/?term=sand+tarts+recipe
https://www.pubmed.ncbi.nlm.nih.gov/?term=sand+tarts+recipe