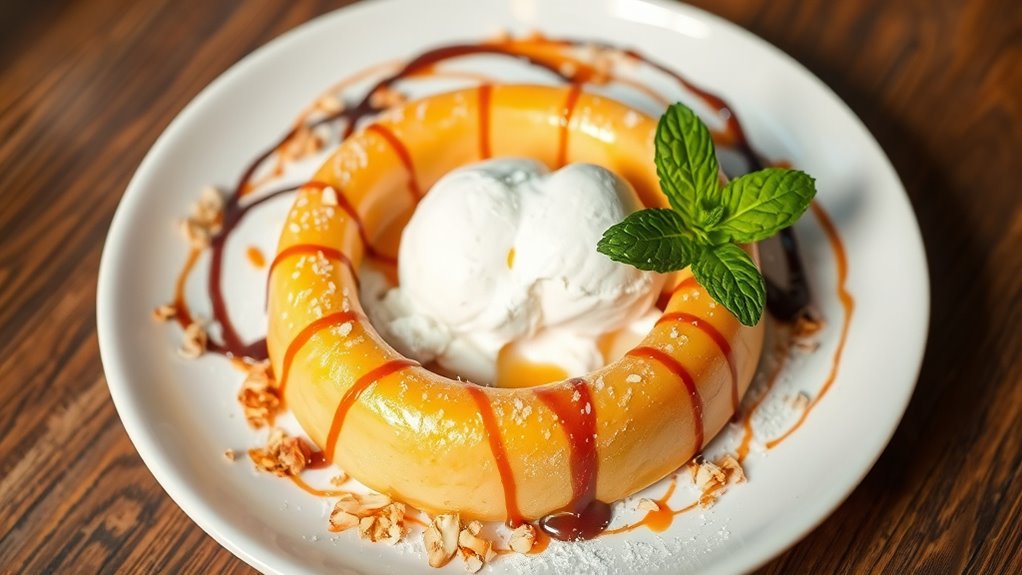
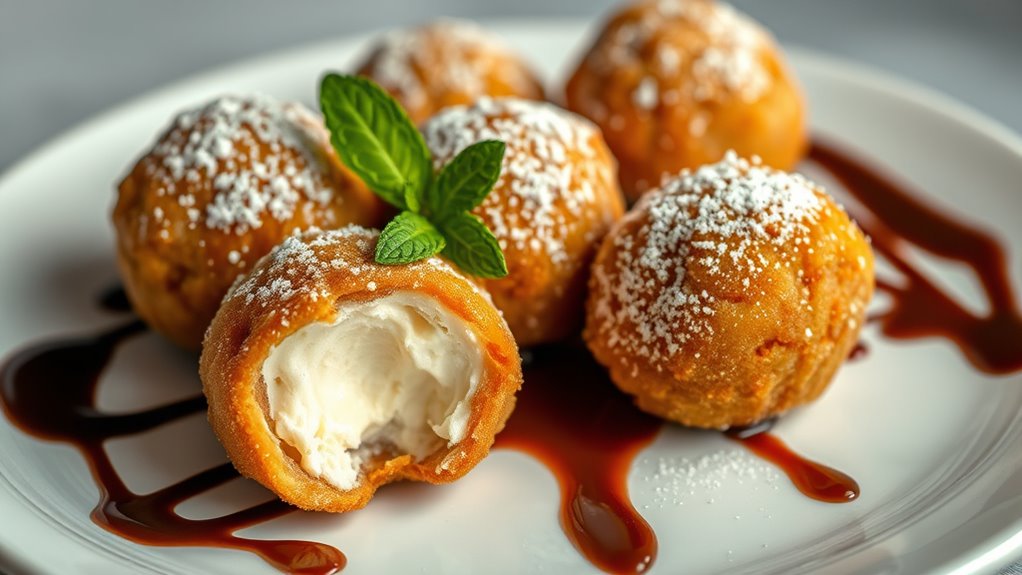
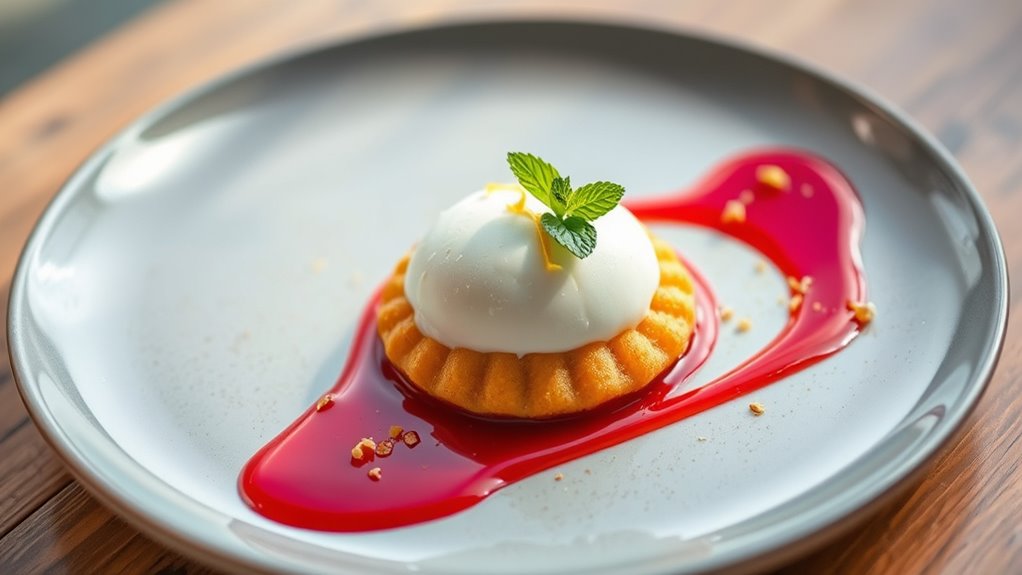
If you’re craving fried ice cream without the fry, start by shaping firm ice cream scoops and chilling them until solid. Coat with a crisp shell—crushed cornflakes or cookies plus nuts—then bake or air-fry until the exterior turns golden and the center stays icy. Let them rest, plate on a cool surface, and drizzle a glossy sauce with citrus zest and a mint sprig for lift. Curious tips and tweaks await as you continue exploring.
Ingredients and Quantity
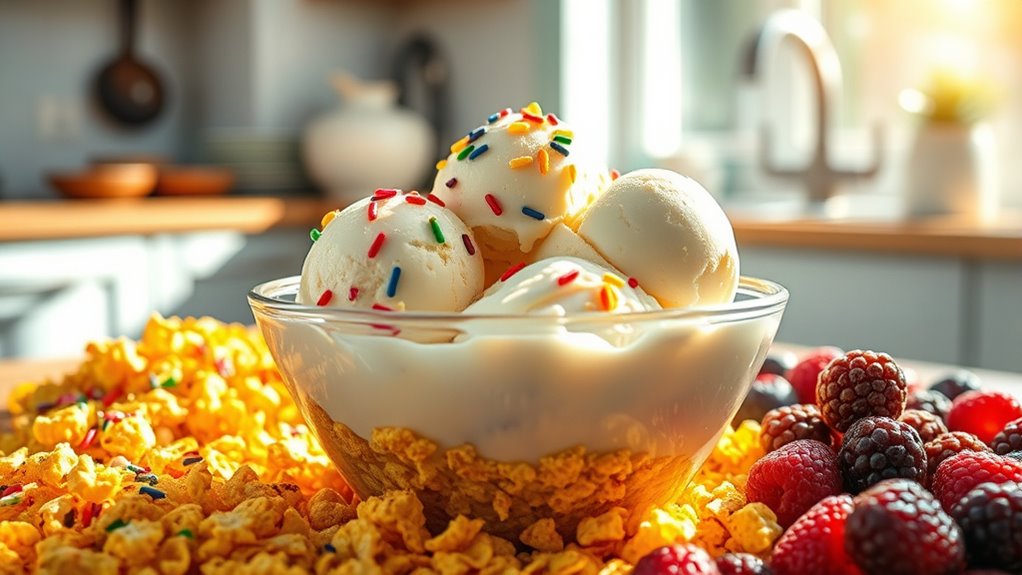
To make fried ice cream, gather these essentials: vanilla ice cream scoops, a sturdy coating like crushed cornflakes or a mix of crushed cookies and nuts, a touch of sugar, and a dash of cinnamon for warmth. You’ll sense flavor possibilities unfold as you plan, inviting Flavor combinations and Texture variations that suit your mood. This list keeps you focused, free to innovate with balance and bite. Below, a quick grid adds depth without slowing you down.
| Element | Purpose |
|---|---|
| Vanilla ice cream | Creamy center |
| Coating | Crunchy shell |
| Sugar | Light sweetness |
| Cinnamon | Warmth, aroma |
| Optional add-ins | Personal flair |
Preparations
With the stage set by your ingredients, preparations get practical: scoop the ice cream into firm, evenly sized balls and smooth any rough edges so each bite stays intact when fried. You want a clean silhouette that doesn’t melt into chaos during handling, so freeze the scoops briefly to solidify their shape. Chill your coating mixture and drying surface to keep rapid moisture transfer at bay, preserving creaminess for the moment of crunch. Think about flavor combinations and texture variations as you proceed, choosing contrasts that excite the palate without overpowering the base. The goal is controlled, confident prep that rewards your curiosity and sense of freedom.
Scoop, freeze, and chill for a crisp, creamy bite.
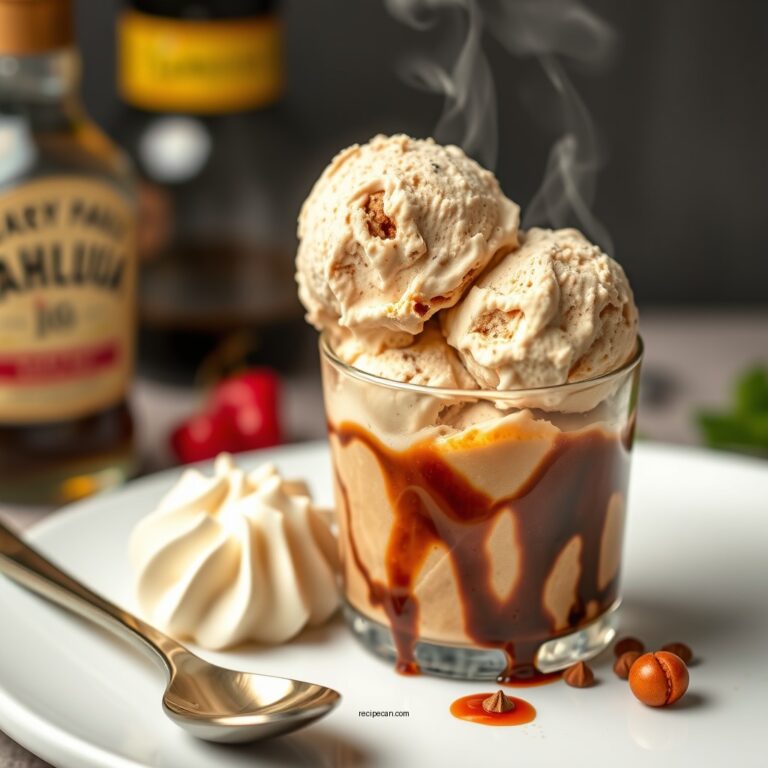
- Align flavors you’ll showcase, from citrusy zing to caramel warmth.
- Test texture contrasts: smooth center, crisp exterior, with even coating.
- Maintain steady, methodical timing to prevent drift.
How to Cook
- Grab your chilled ice cream scoops and your coating mix.
- Heat your oil to a steady 375°F to ensure the exterior seals quickly while the center remains soft.
- Apply a quick, deliberate dredge, pressing the coating gently so it adheres without gaps.
- Lower the coated scoops into the hot oil, listening for a subtle sizzle that signals readiness.
- Maintain a steady temperature, adjusting carefully to avoid browning too fast.
- Flip the scoops halfway through cooking to guarantee an even, crisp crust.
- Let them rest briefly on a rack after frying.
- Serve with a drizzle of sauce or dusting of spice, depending on your preference.
- These techniques provide a crisp texture, balanced heat, and bold flavor.
How to Serve
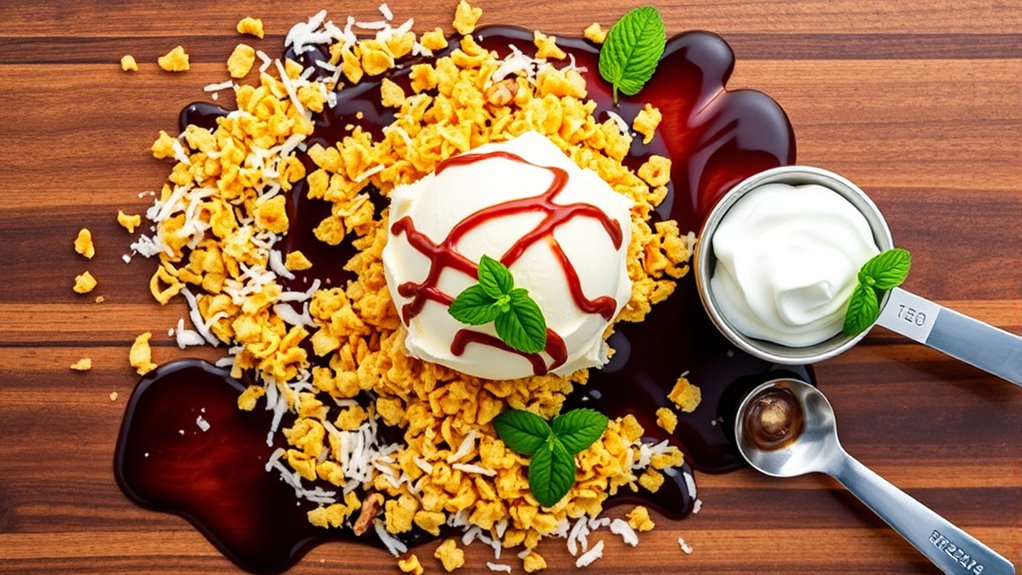
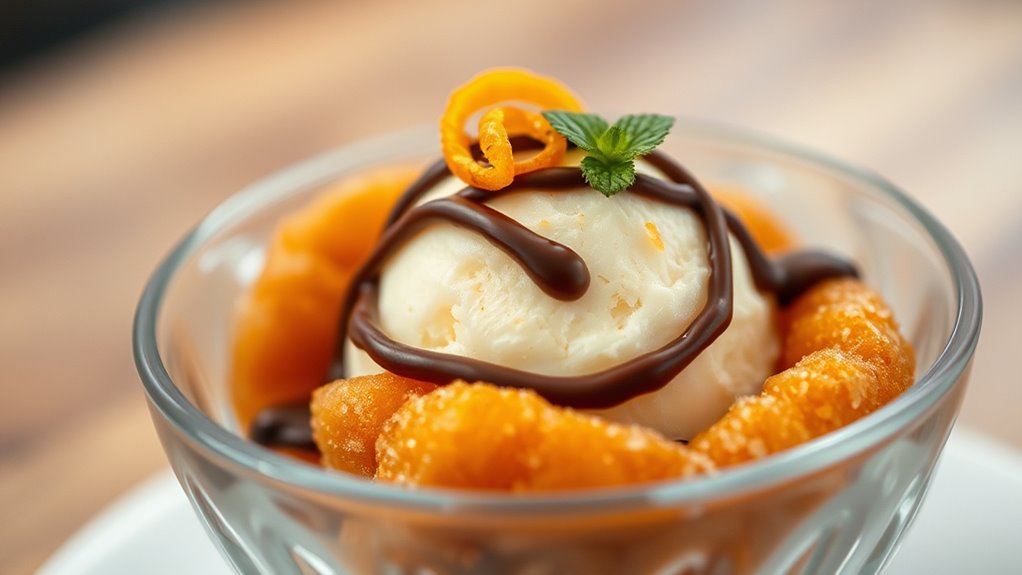
Once the fried ice cream comes out hot and crisp, plate it immediately with a contrasting pairing that brightens the richness—sweet sauce, citrus zest, or a dusting of cinnamon powder can do wonders. You want a deliberate pairing that’s as bold as the scoop, inviting curiosity and restraint in equal measure.
- Serving suggestions: present on a chilled plate to emphasize contrast, then drizzle a ribbon of sauce in a thin, deliberate line.
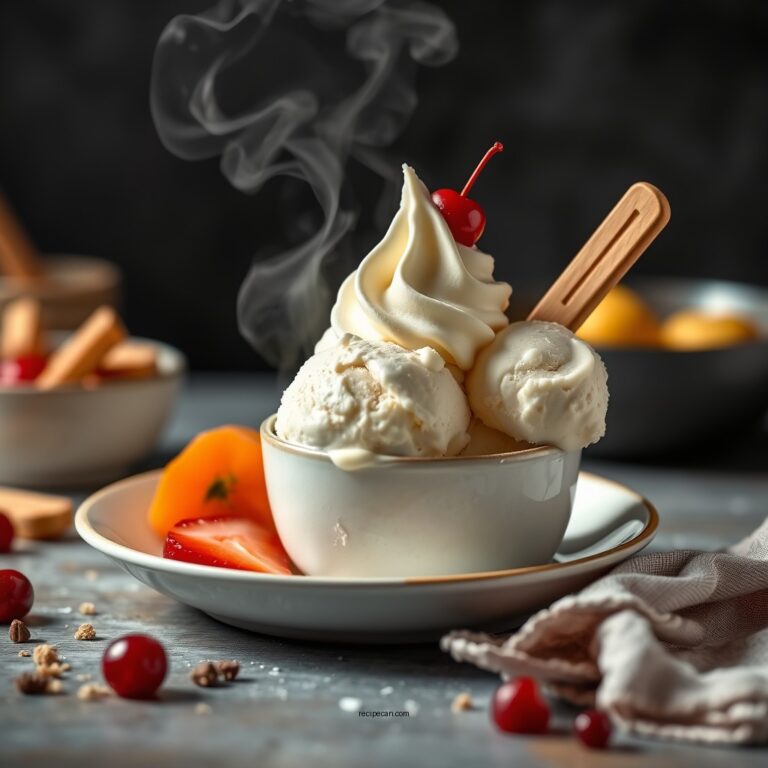
- Presentation ideas: dust with citrus zest and a tiny mint sprig for color pop, balancing aroma with freshness.
- Finishing touch: stack neatly with a quenelle of whipped cream or a crumble of toasted nuts for textural contrast.
Tips
Mastering fried ice cream hinges on timing and texture: keep your coating crisp by chilling scoops briefly before dredging, and fry in oil that’s hot enough to seal quickly without turning the center molten. In the tips, you’ll tune balance between crunch and chill, learning precise dusting, gentle pressing, and rapid rest periods between steps. Maintain a steady workflow: prep coatings, freeze briefly, then coat, fry, rest, and plate with intention. For creative toppings, think bold contrasts—crisp shards, citrus zest, or spice flecks that won’t sog. Serving suggestions lean toward contrast in temperature and texture, with a bright sauce or cold foam to elevate the bite. You’ll savor clarity, control, and the freedom to riff while keeping every scoop pristine and inviting.
Food Value and Benefit
Fried ice cream offers a delightful combination of textures and flavors while providing several nutritional benefits when enjoyed mindfully. The dish features a crispy, dairy-rich shell that encases a cold, creamy interior, delivering protein and essential nutrients.
Benefits of eating fried ice cream include:
- Protein and Calcium: The dairy base supplies protein for muscle repair and calcium for strong bones and teeth.
- Vitamin A: Found in the dairy, supporting vision health and immune function.
- Phosphorus: Important for healthy bones and teeth, also present in the dairy component.
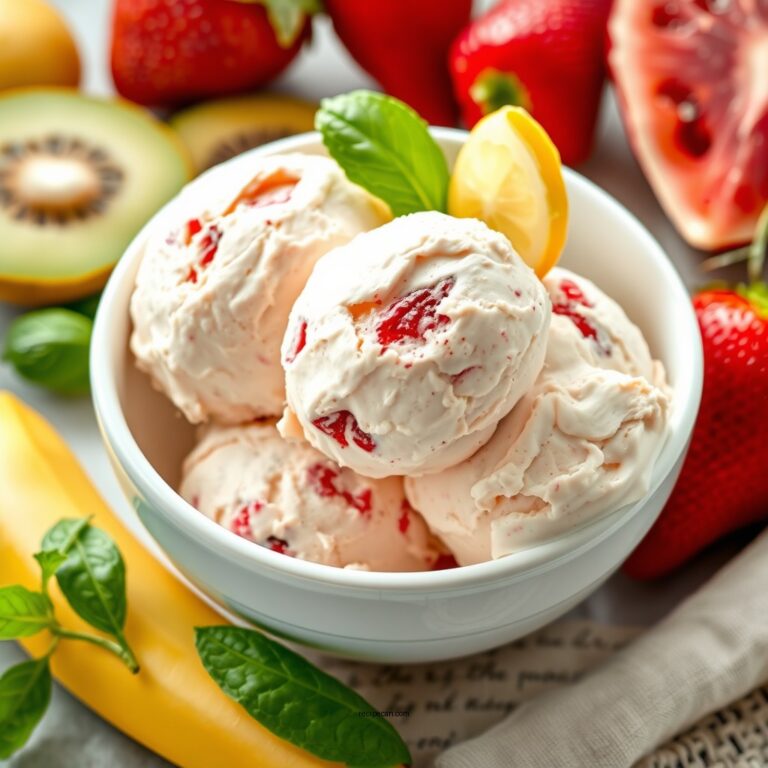
- Antioxidants: When topped with fresh berries or citrus zest, the dessert gains antioxidants like vitamin C, which supports immune health and skin vitality.
- Mindful indulgence: Small portions help balance enjoyment with nourishment, promoting sustainable eating habits.
Frequently Asked Questions
Can I Freeze Fried Ice Cream Before Serving?
Yes, you can freeze it briefly, then serve promptly. Freeze tips: wrap tightly, chill 30–60 minutes, avoid ice crystals. Serving suggestions: let soften 5–10 minutes, pair with sauce, savor texture, embrace culinary freedom.
What Substitutes Can Replace Milk in the Recipe?
You can replace milk with coconut milk or almond milk. They add creamy texture and subtle flavor, so you’ll still get a rich, smooth scoop while honoring your freedom to customize. Curious, precise, vivid, and wonderfully independent.
How Long Does It Stay Before Melting After Serving?
Realizing your moment arrives as the ice cream melts, you notice it won’t stay pristine—it begins melting within minutes if you serve too warm. Melting point and serving temperature guide you toward crisp, quick, liberating bites.
Is Air-Fryer the Best Method for All Ovens?
No, an air fryer isn’t best for every oven; you’ll want to weigh air fryer efficiency against oven versatility. You’ll discover quick, crisp results, but some dishes still need a traditional oven’s broader, freedom-friendly capabilities.
Can I Make This Dairy-Free or Vegan?
Yes, you can. You’ll swap dairy for dairy alternatives and top with vegan toppings, maintaining creaminess and crunch. You’ll explore dairy alternatives chosen for texture, and you’ll savor a freedom-filled, curious, precise dairy-free dessert experience.
Frequently Asked Questions
What is fried ice cream without frying?
Fried ice cream without frying is a dessert that mimics the traditional fried ice cream but uses an alternative method to achieve a similar texture and flavor. Instead of deep-frying, the ice cream is coated with a crispy layer made from crushed cookies, cornflakes, or other crunchy ingredients, then frozen again to firm up before serving. This way, you get the delightful combination of creamy ice cream with a crunchy exterior without the need for frying.
How can I make a crunchy coating for the ice cream?
To create a crunchy coating for your fried ice cream, you can use crushed cornflakes, graham crackers, or even crushed nuts. Simply crush your chosen ingredient into small pieces, then combine it with a little sugar and cinnamon for added flavor. Roll the scoops of ice cream in the mixture until they are fully coated. For an extra crunch, you can freeze the coated ice cream again before serving.
Can I use any flavor of ice cream for this recipe?
Yes, you can use any flavor of ice cream for your fried ice cream recipe! Popular choices include vanilla, chocolate, strawberry, or even more adventurous flavors like green tea or cookie dough. Just be sure to choose a high-quality ice cream that is easy to scoop and holds its shape well when rolled in the coating.
How long does it take to prepare fried ice cream without frying?
Preparing fried ice cream without frying typically takes about 30 minutes of active time, plus additional freezing time. After rolling the ice cream in the crunchy coating, it’s best to freeze it for at least 1 to 2 hours to ensure it firms up properly. The total time from start to finish can vary depending on how long you choose to freeze the coated ice cream before serving.
Can I make this dessert in advance?
Absolutely! Fried ice cream without frying can be made in advance. After coating the ice cream, you can store it in an airtight container in the freezer for up to a week. Just make sure to keep it well-covered to prevent freezer burn. When you’re ready to serve, you can take it out and enjoy it straight from the freezer, or let it sit for a minute or two for easier scooping.
References
- https://en.wikipedia.org/wiki/Fried_ice_cream
- https://www.foodnetwork.com/recipes/articles/what-is-fried-ice-cream
- https://www.thekitchn.com/how-to-make-fried-ice-cream-227875
- https://www.bbcgoodfood.com/recipes/fried-ice-cream
- https://www.seriouseats.com/fried-ice-cream-5119461
- https://www.cookinglight.com/recipes/fried-ice-cream
- https://www.southernliving.com/recipes/fried-ice-cream
- https://www.thespruceeats.com/fried-ice-cream-recipe-5119740