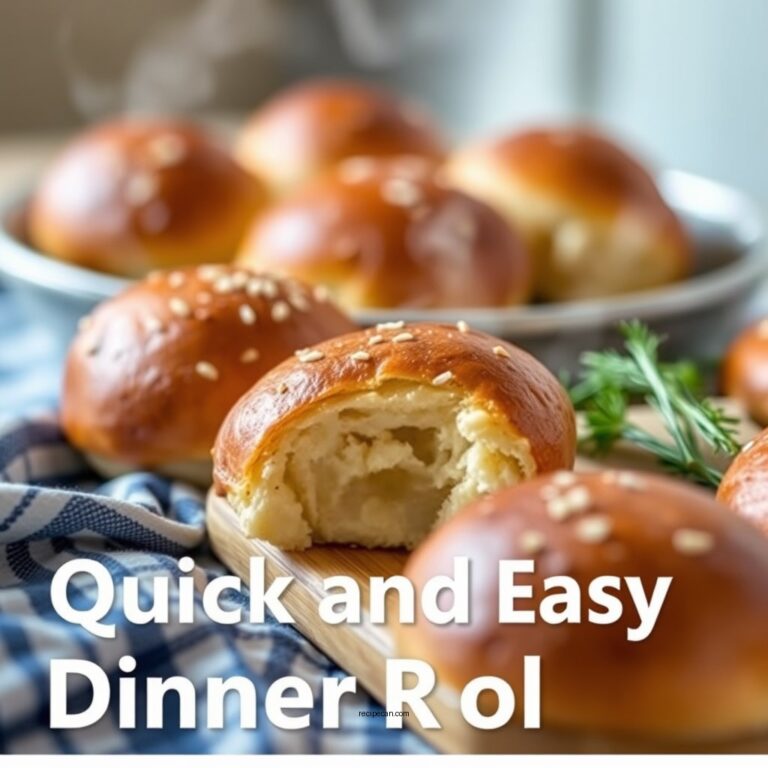
Making old fashioned yeast rolls is simpler than you might think, and with this recipe, you’ll achieve soft, fluffy rolls that are perfect for any meal. In just a few steps, you’ll learn how to create these delightful rolls from scratch, ensuring they become a favorite at your dinner table. These rolls not only complement a variety of dishes but also evoke a sense of nostalgia, reminding us of family gatherings and hearty meals.
The Ingredients You’ll Need

To make delicious old fashioned yeast rolls, you’ll need a few basic ingredients that are likely already in your kitchen. Here’s a list of what you will require:
– All-purpose flour: This is the foundation of your rolls, providing structure and texture. It’s important to use high-quality all-purpose flour to achieve the desired fluffiness.
– Active dry yeast: Essential for leavening, this ingredient will give your rolls their airy texture. Be sure to check the expiration date to ensure it’s still viable.
– Sugar: Adds a hint of sweetness and helps activate the yeast, promoting a better rise. A small amount goes a long way in enhancing the flavor of the rolls.
– Salt: Enhances flavor and strengthens the dough.
– Warm water: Activates the yeast; the temperature should be around 100°F to 110°F.
– Butter: Adds richness and flavor to the rolls.
Gathering these ingredients will set you on the right path to creating delectable rolls that everyone will love.
Preparing the Dough

The key to making perfect yeast rolls lies in the proper preparation of the dough. Follow these steps to ensure a successful outcome:
– Combine dry ingredients: In a large mixing bowl, whisk together 4 cups of all-purpose flour, 1/4 cup of sugar, and 1 tablespoon of salt. This step is crucial as it evenly distributes the salt and sugar throughout the flour.
– Activate the yeast: In a separate bowl, dissolve 2 packets (4 ½ teaspoons) of active dry yeast in 1 1/2 cups of warm water. Let it sit for about 5-10 minutes until it becomes frothy. This indicates that the yeast is active and ready to use.
– Knead the dough: Add the yeast mixture to the dry ingredients. Mix until a shaggy dough forms, then turn it out onto a floured surface. Knead the dough for about 8-10 minutes until it becomes smooth and elastic. This process develops the gluten, which is essential for the texture of the rolls.
📋 Ingredients Comparison Table
Ingredient Comparison for Old Fashioned Yeast Rolls
| # | Ingredient | Amount | Purpose |
|---|---|---|---|
| 1 | All-purpose flour | 4 cups | Base ingredient |
| 2 | Active dry yeast | 2 packets (4 ½ tsp) | Leavening agent |
| 3 | Sugar | 1/4 cup | Flavor and yeast activation |
| 4 | Salt | 1 tbsp | Enhances flavor |
| 5 | Warm water | 1 1/2 cups | Activates yeast |
| 6 | Butter | 1/4 cup | Adds richness |
The First Rise

Once your dough is prepared, the next crucial step is allowing it to rise properly. This process is essential for developing the texture of your rolls.
– Let it rest: Transfer the dough to a greased bowl, cover it with a clean kitchen towel or plastic wrap, and let it sit in a warm environment. The dough should rise until it has doubled in size, which typically takes about 1-2 hours.
– Warm environment: To create an ideal rising environment, you can place the bowl in a warm, draft-free area, such as an oven preheated to its lowest setting and then turned off. The warmth promotes yeast activity, leading to a good rise.
Shaping the Rolls
Once your dough has risen, it’s time to shape the rolls. This step is where you’ll create the individual pieces that will become your rolls.
– Divide the dough: After the first rise, gently punch down the dough to release excess air. Divide the dough into equal portions, typically around 12 to 16 pieces, depending on the size of rolls you prefer.
– Shape into rolls: Take each piece and roll it into a ball using your hands. Place the shaped rolls in a greased baking dish, ensuring they are close but not touching. This arrangement allows them to rise together while providing a soft, pillowy texture.
The Second Rise
The second rise is just as important as the first, as it allows the rolls to develop further flavor and texture.
– Cover and rise: After shaping the rolls, cover them once more and let them rise until they are puffy and have doubled in size, which usually takes around 30-45 minutes.
– Preheat your oven: While the rolls are rising, preheat your oven to 375°F (190°C). This ensures that the rolls will go into a hot oven, which is essential for achieving that perfect rise during baking.
📈 Yeast Roll Rise Comparison Chart
Yeast Roll Rise Times
Baking the Rolls
Now that your rolls have risen beautifully, it’s time to bake them to perfection.
– Bake to perfection: Carefully place the rolls in the preheated oven and bake for approximately 15-20 minutes, or until they are golden brown and sound hollow when tapped on the bottom. Keep an eye on them towards the end of baking to avoid over-browning.
– Brush with butter: Once baked, remove the rolls from the oven and brush them with melted butter while they are still warm. This adds an extra layer of flavor and gives them a beautiful, shiny finish.
Serving Suggestions
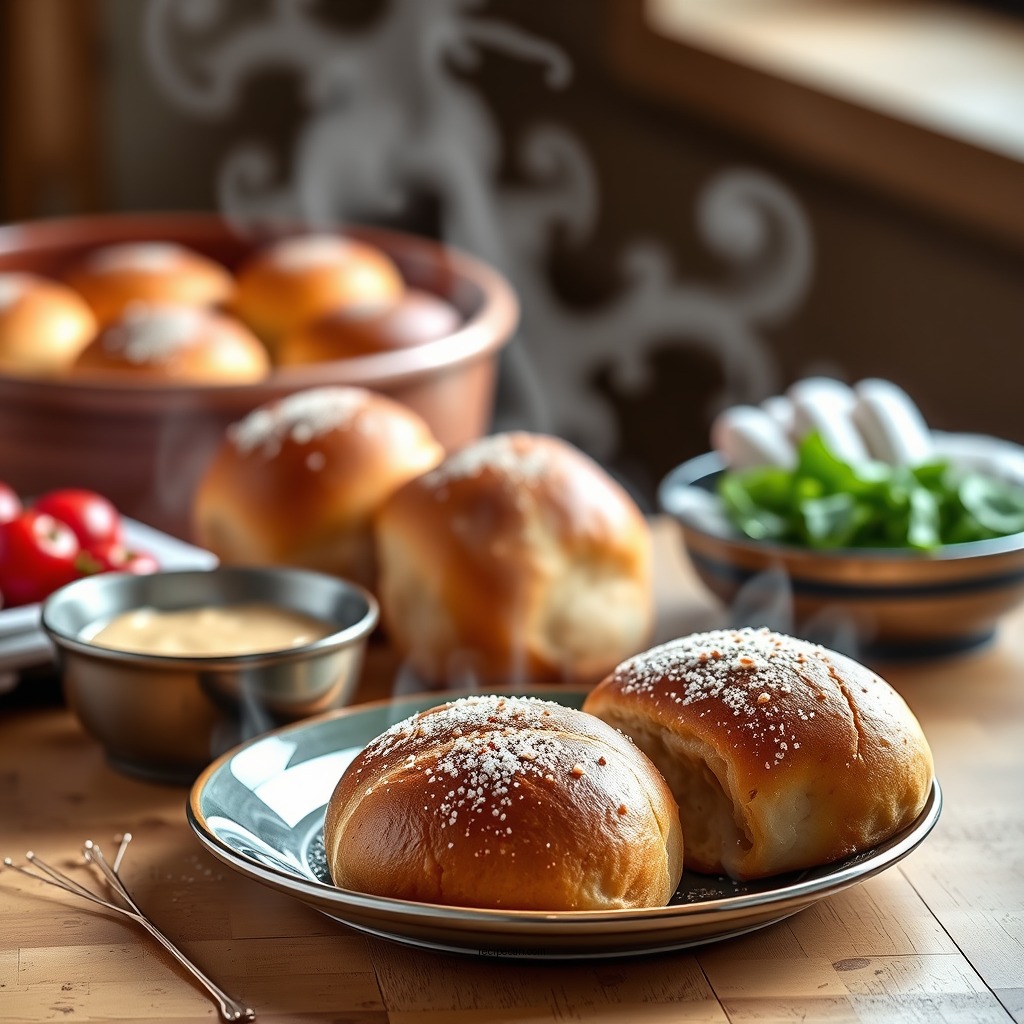
Old fashioned yeast rolls are incredibly versatile and can complement a wide range of dishes.
– Pair with meals: These rolls are perfect alongside soups, stews, or as a base for hearty sandwiches. Their fluffy texture makes them ideal for sopping up sauces or gravies.
– Storing leftovers: If you have any rolls left over, store them in an airtight container at room temperature to maintain their freshness. They can also be frozen for longer storage; just wrap them tightly in plastic wrap before placing them in a freezer bag.
Delight in the warm, comforting taste of homemade old fashioned yeast rolls. With this recipe, you not only get a delicious result but also the joy of baking from scratch. So gather your ingredients, follow these steps, and enjoy the satisfaction of serving fresh, fluffy rolls to your family and friends! These rolls are sure to bring warmth and joy to any meal, creating memories that will last a lifetime.
Frequently Asked Questions
What ingredients do I need for an old fashioned yeast rolls recipe?
To make classic old fashioned yeast rolls, you will need all-purpose flour, active dry yeast, sugar, milk, butter, eggs, and salt. These simple ingredients come together to create soft, fluffy rolls that are perfect for any meal. Ensure your yeast is fresh for the best rise and texture in your rolls.
How do I ensure my old fashioned yeast rolls rise properly?
To achieve a good rise in your old fashioned yeast rolls, make sure to activate your yeast correctly by mixing it with warm water and sugar before adding it to your dough. Additionally, allow your dough to rise in a warm, draft-free environment, covering it with a kitchen towel to retain moisture. Patience is key; give it enough time to double in size.
Why are my old fashioned yeast rolls dense instead of fluffy?
Dense old fashioned yeast rolls can result from using too much flour, not allowing the dough to rise sufficiently, or using old yeast. To prevent this, measure your flour accurately using the spoon-and-level method, ensure your yeast is fresh, and allow adequate rising time for the dough to develop its structure and airiness.
What is the best way to store leftover old fashioned yeast rolls?
The best way to store leftover old fashioned yeast rolls is to let them cool completely, then wrap them in plastic wrap or aluminum foil to keep them fresh. You can also place them in an airtight container. For longer storage, consider freezing the rolls; just thaw them at room temperature when you’re ready to enjoy them again.
Which variations can I try with my old fashioned yeast rolls recipe?
You can experiment with your old fashioned yeast rolls recipe by adding ingredients like herbs, cheese, or garlic for a savory twist, or incorporating cinnamon and sugar for a sweet version. Additionally, try substituting some of the all-purpose flour with whole wheat flour for a healthier option. Each variation can give your rolls a unique flavor profile while maintaining the classic fluffy texture.
References
- https://en.wikipedia.org/wiki/Roll_(bread
https://en.wikipedia.org/wiki/Roll_(bread - https://www.sciencedirect.com/topics/food-science/yeast
https://www.sciencedirect.com/topics/food-science/yeast - https://www.britannica.com/topic/yeast
https://www.britannica.com/topic/yeast - https://pubmed.ncbi.nlm.nih.gov/19011370/
https://pubmed.ncbi.nlm.nih.gov/19011370/ - https://www.ncbi.nlm.nih.gov/pmc/articles/PMC3290346/
https://www.ncbi.nlm.nih.gov/pmc/articles/PMC3290346/ - Google Scholar Google Scholar
https://scholar.google.com/scholar?q=old+fashioned+yeast+rolls+recipe - Google Scholar Google Scholar
https://scholar.google.com/scholar?q=yeast+rolls+recipe - Google Scholar Google Scholar
https://scholar.google.com/scholar?q=traditional+yeast+bread+recipe - https://www.ncbi.nlm.nih.gov/pmc/articles/PMC6376534/
https://www.ncbi.nlm.nih.gov/pmc/articles/PMC6376534/ - https://www.nature.com/articles/s41598-018-36688-2
https://www.nature.com/articles/s41598-018-36688-2