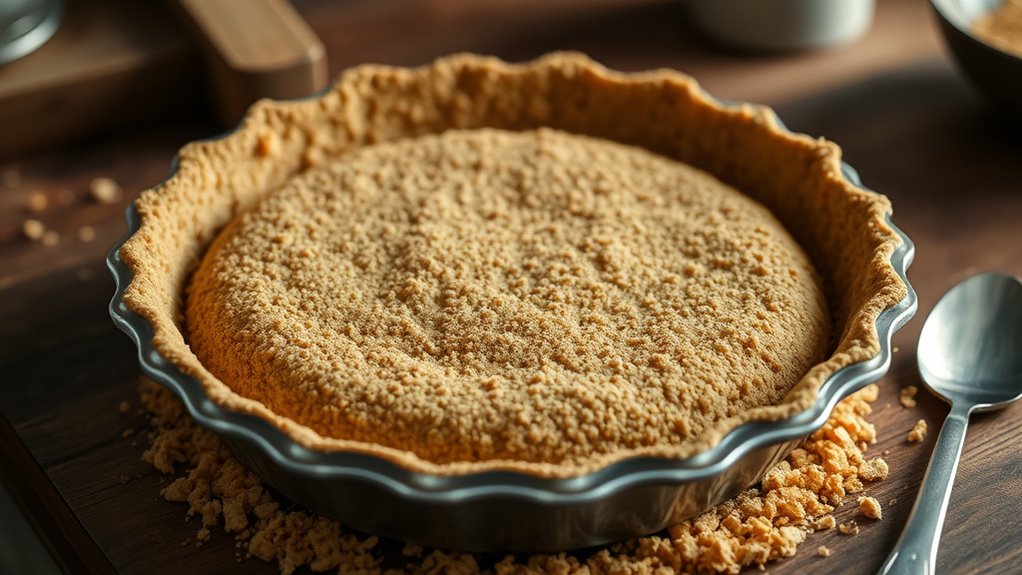
To make a delicious graham cracker pie crust, preheat your oven to 350°F (175°C). Combine 1 ½ cups crushed graham crackers, ¼ cup sugar, and ½ cup melted unsalted butter in a bowl until it resembles wet sand. Press this mixture firmly into your pie dish to form an even layer. Bake for 8 to 10 minutes until golden and fragrant. This easy crust is perfect for various fillings, so keep going to discover more tips and variations!
Ingredients and Quantity
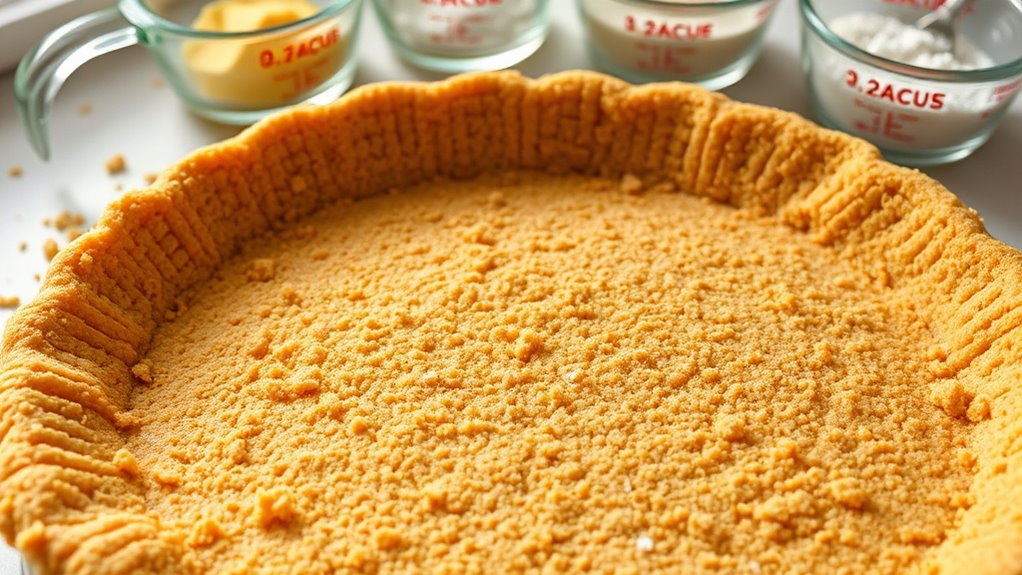
When you’re ready to whip up a delicious Graham cracker pie crust, you’ll need just a few simple ingredients to get started. The beauty of this crust lies in its versatility, thanks to the various Graham cracker types available. You can choose traditional, honey, or even chocolate-flavored crackers to create unique crust variations that suit your taste.
Here’s a quick reference for your ingredients:
| Ingredient | Quantity |
|---|---|
| Graham crackers | 1 ½ cups crushed |
| Sugar | ¼ cup |
| Unsalted butter | ½ cup, melted |
With these essentials, you’re on your way to a scrumptious pie crust that’ll elevate any dessert to new heights. Enjoy the freedom to experiment with flavors!
Preparations
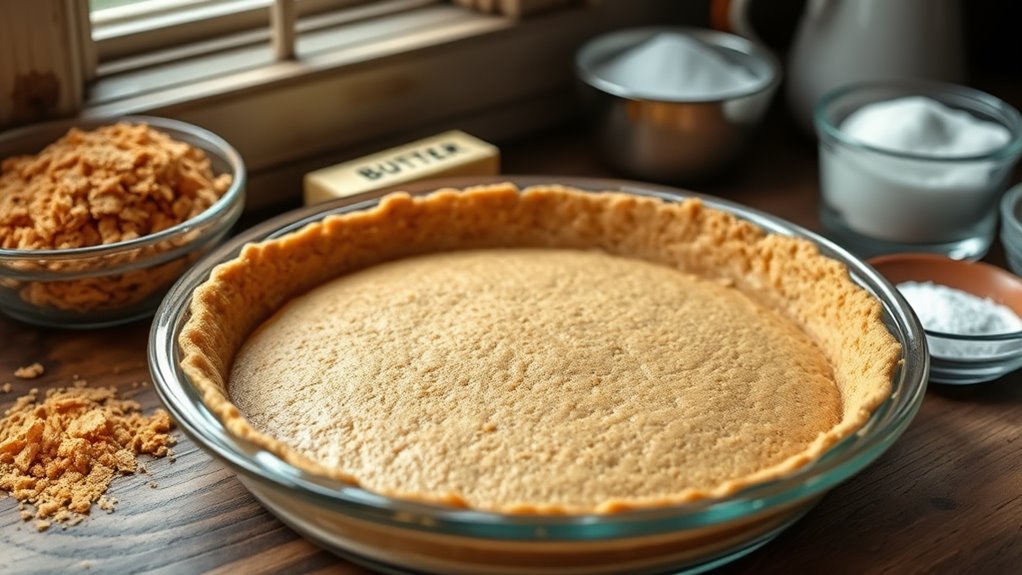
To prepare your Graham cracker pie crust, start by preheating your oven to 350°F (175°C). Next, combine crushed Graham crackers, melted butter, and sugar in a bowl, mixing until the texture resembles wet sand. This is where your baking techniques come into play—press the mixture firmly into the bottom and up the sides of your pie dish. You can explore crust variations by adding spices like cinnamon or even a touch of cocoa for a chocolate twist. Once you’ve shaped your crust, bake it for about 8 to 10 minutes until it’s golden and fragrant. Let it cool completely before adding your filling. Enjoy the freedom to customize your crust, making it uniquely yours!
Tools / Kitchenware Required
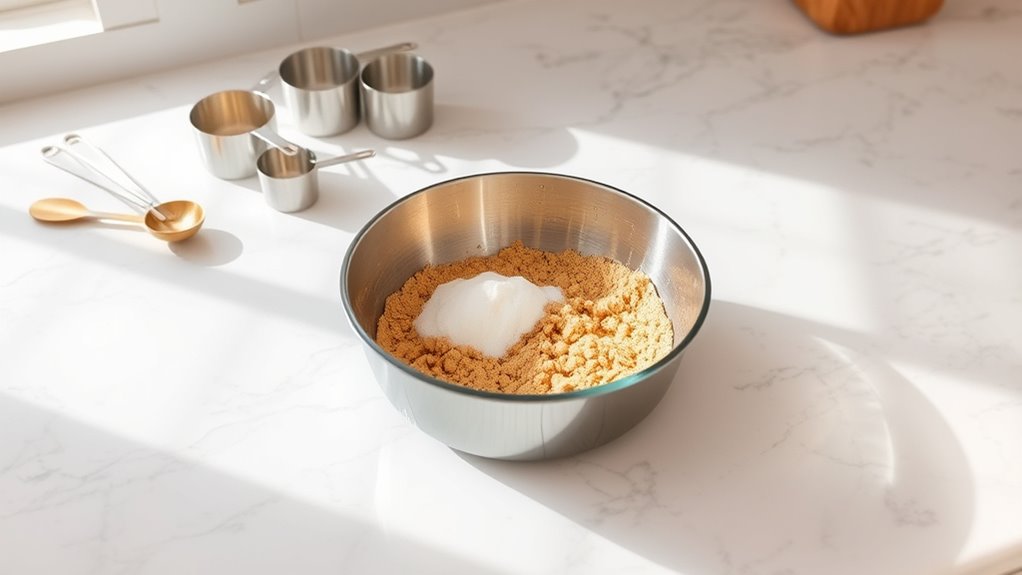
Having your Graham cracker pie crust ready opens the door to a variety of delicious fillings, but it’s important to have the right tools at your disposal for a seamless baking experience. You’ll need a few essential items to make the process smooth and enjoyable.
| Tool | Purpose |
|---|---|
| Mixer Types | To blend your graham cracker mixture evenly |
| Baking Pans | To shape and bake your pie crust perfectly |
| Measuring Cups/Spoons | For accurate ingredient quantities |
With a reliable mixer—whether it’s a stand mixer or a hand mixer—you’ll achieve that ideal crumb texture. And don’t forget a quality baking pan to guarantee your crust bakes evenly. Get ready to create something delicious!
How to Cook
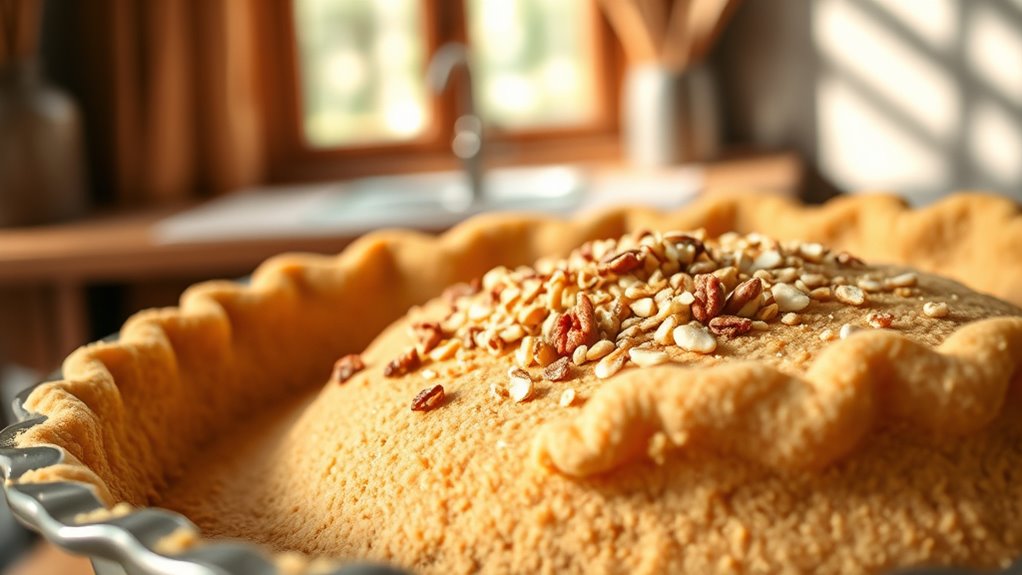
- Preheat your oven to 350°F (175°C) to ensure it’s ready for baking your pie crust.
- Take your prepared graham cracker mixture and press it firmly into your pie pan.
- Use your fingers or the bottom of a measuring cup to create an even, compact layer.
- Consider adding crushed nuts or spices to the crust mixture for a unique twist, if desired.
- Bake the crust for about 8-10 minutes until it’s lightly golden and fragrant.
- Allow the crust to cool completely before adding your filling.
- Enjoy your perfectly crunchy and delicious pie crust as the base for any pie!
How to Serve
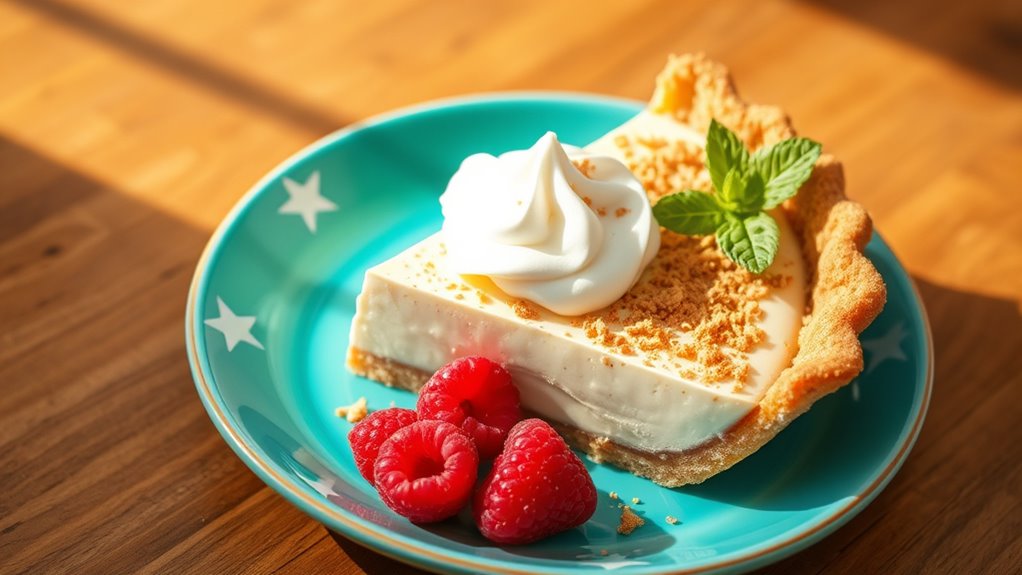
Once your delicious pie is ready and has set in the graham cracker crust, serving it can be just as delightful as the baking process. Start by slicing your pie into even wedges, revealing its tempting filling. For serving suggestions, consider adding a dollop of whipped cream or a scoop of ice cream on the side—both complement the flavors beautifully. You might also sprinkle some crushed graham crackers on top for added texture. For presentation ideas, place each slice on a colorful plate, garnished with fresh berries or a mint sprig. This not only enhances the visual appeal but also elevates the tasting experience. Enjoy sharing your creation with friends and family, celebrating the freedom of delicious homemade desserts!
Tips
To make the most of your graham cracker pie crust, consider a few helpful tips that can enhance both flavor and texture. Experiment with crust variations by mixing in crushed nuts or coconut for a crunchy twist, or even using chocolate graham crackers for a richer taste. Don’t forget about flavor enhancements; a dash of cinnamon or a splash of vanilla can elevate your crust to new heights. For a firmer structure, press the crumbs down firmly and bake them briefly before filling. This not only helps set the crust but also intensifies the flavors. Finally, let your crust cool completely before adding your filling to prevent sogginess. Enjoy the freedom to create a pie that’s uniquely yours!
Food Value and Benefit
The graham cracker pie crust is not only a tasty foundation for your desserts but also offers valuable nutritional benefits. Made primarily from whole-grain graham crackers, this crust provides essential nutrients that contribute to overall health.
Food Value:
- Rich in dietary fiber, which aids digestion and promotes a feeling of fullness.
- Contains carbohydrates that act as a good source of energy.
- Provides small amounts of vitamins and minerals, including B vitamins (such as niacin and folate) and minerals like iron and calcium.
Benefits of Eating Graham Cracker Pie Crust:
- Supports digestive health due to its fiber content.
- Helps maintain steady energy levels throughout the day.
- May reduce the need for added sugars in desserts because of its natural sweetness.
- Contributes to bone health with its calcium content.
- Offers B vitamins that support metabolism and overall cellular functions.
Choosing a homemade graham cracker pie crust allows you to enjoy delicious desserts while incorporating these nutritious benefits into your diet.
Frequently Asked Questions
Can I Use Gluten-Free Graham Crackers for This Recipe?
Absolutely, you can use gluten-free graham crackers for your recipe! They make a delicious alternative, and you won’t sacrifice flavor. When choosing your gluten-free options, check for brands that offer a similar texture to traditional ones. For baking tips, crush them finely and mix with melted butter for that perfect crust. You’ll enjoy a delightful dessert that caters to everyone’s needs, allowing all to indulge without worry. Happy baking!
How Long Does the Pie Crust Last in the Refrigerator?
Your pie crust can last about a week in the refrigerator if stored properly. To guarantee its longevity, wrap it tightly in plastic wrap or place it in an airtight container. This’ll keep it fresh and prevent it from absorbing unwanted odors. If you’re looking for more freedom in your baking adventures, consider freezing it for up to three months. Just remember to thaw it in the fridge before using!
Can I Freeze the Graham Cracker Pie Crust?
Yes, you can freeze the pie crust! Imagine sealing away its crumbly goodness for later use. For effective freezing techniques, wrap the crust tightly in plastic wrap and place it in an airtight container or freezer bag. This’ll prevent freezer burn and keep it fresh. When you’re ready to use it, just thaw it in the refrigerator overnight. With these storage tips, you’ll always have a delicious crust on hand for your next dessert adventure!
What Are Some Variations for Flavored Graham Cracker Crusts?
You can easily spice up your graham cracker crust by trying chocolate graham crackers for a rich, decadent base or adding a hint of cinnamon for a warm, cozy flavor. Mixing in melted butter with cocoa powder creates a delightful chocolate crust, while adding ground cinnamon to your crumb mixture gives it an aromatic twist. Experimenting with these variations lets you customize your crust to match your filling, giving you endless delicious possibilities!
How Can I Prevent My Crust From Getting Soggy?
To prevent your crust from getting soggy, try par-baking it before adding your filling. This baking technique firms up the crust, creating a barrier against moisture. Additionally, consider your filling choices—opt for thicker fillings, like custards or cream cheese mixtures, which hold up better. You might also brush the crust with melted chocolate or egg white before baking, sealing it against moisture. With these tips, you’ll enjoy a perfectly crisp crust every time!
References
- https://www.foodtimeline.org/foodpies.html
- https://www.thespruceeats.com/graham-cracker-crust-recipe-511685
- https://www.bhg.com/recipe/graham-cracker-crust/
- https://www.joyofbaking.com/GrahamCrackerCrust.html
- https://www.epicurious.com/recipes/food/views/graham-cracker-crust-51113640
- https://www.seriouseats.com/graham-cracker-crust-recipe-5118983
