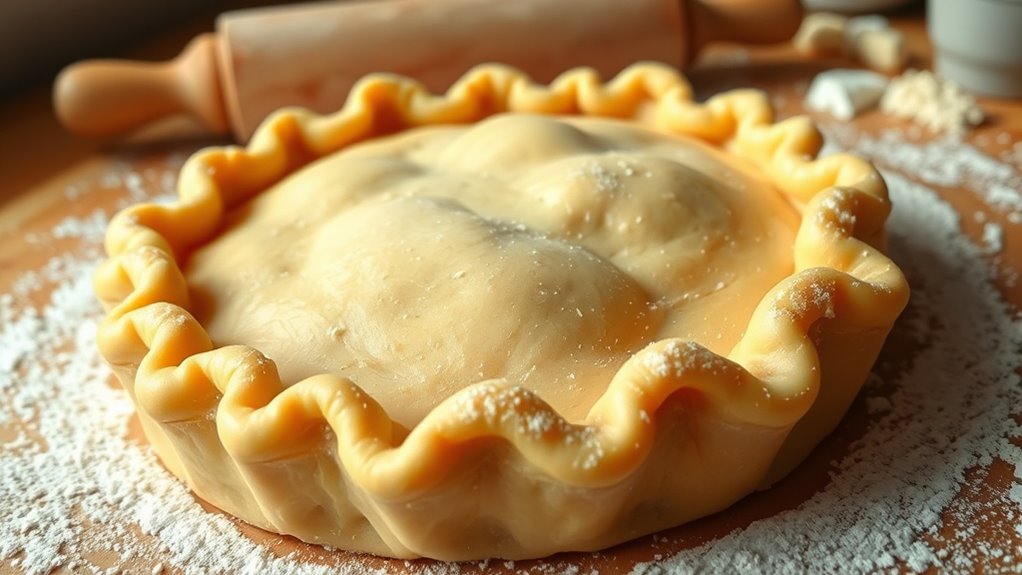
To make the best pie crust, combine 2 ½ cups of all-purpose flour, 1 cup of cold cubed unsalted butter, and 1 tsp of salt. Cut in the butter until it resembles coarse crumbs, then gently mix in 6-8 tbsp of ice water until the dough comes together. Don’t overwork it! Chill for 30 minutes before rolling out. For a flaky texture, use cold ingredients and consider blind baking for custard pies. There’s so much more to explore in perfecting your crust!
Ingredients and Quantity
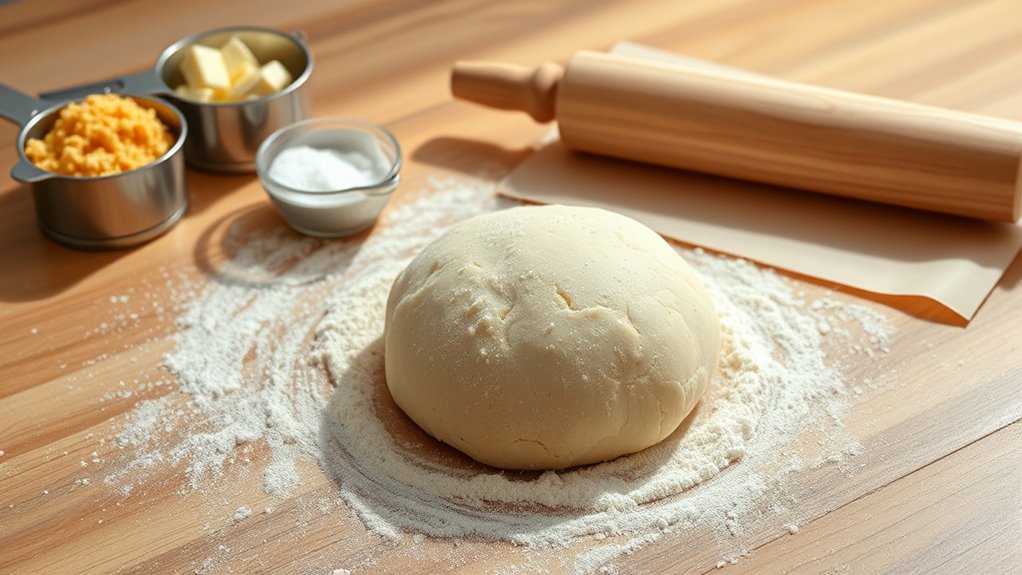
To make the perfect pie crust, you’ll need just a handful of essential ingredients, each playing a crucial role in achieving that flaky, buttery texture. The choice of flour types matters—use all-purpose for a reliable foundation or go for pastry flour for an even flakier result. And don’t forget the butter alternatives; coconut oil can add a unique flavor while keeping it dairy-free.
| Ingredient | Quantity | Notes |
|---|---|---|
| All-purpose flour | 2 ½ cups | For classic texture |
| Unsalted butter | 1 cup | Cold, cut into cubes |
| Salt | 1 tsp | Enhances flavor |
| Ice water | 6-8 tbsp | Helps bind the mixture |
With these ingredients, you’re on the path to pie perfection!
Preparations
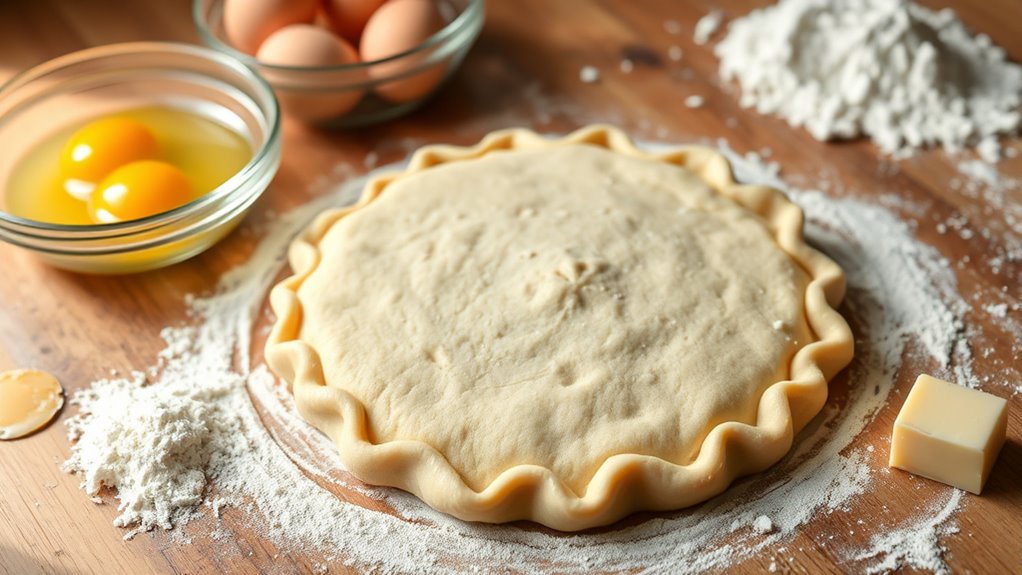
Once you have your ingredients ready, it’s time to roll up your sleeves and prepare your pie crust. Start by combining your dry ingredients in a bowl, ensuring they’re well mixed. Next, cut in the cold butter until the mixture resembles coarse crumbs—this is a key preparation technique for a flaky crust. Add ice water gradually, mixing gently just until the dough comes together. Don’t overwork it; you want to keep that light, airy texture. Once it’s formed, wrap your dough in plastic wrap and let it chill in the fridge for at least 30 minutes—this step helps the gluten relax and enhances the flavor. Now you’re ready to roll out your pie crust and release your baking creativity!
Tools / Kitchenware Required
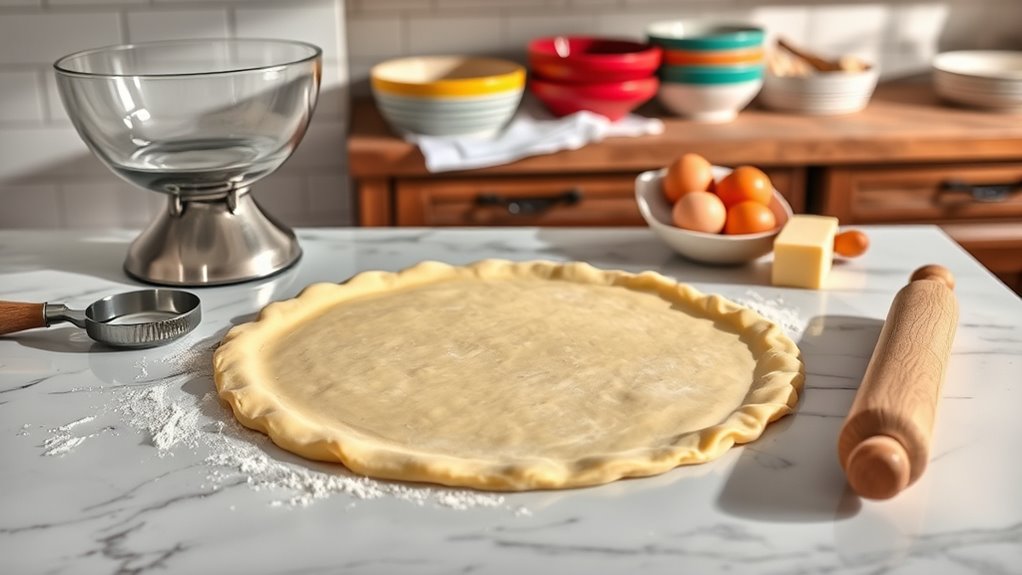
Creating the perfect pie crust requires not just skill but also the right tools to achieve that flaky, tender texture. With the right kitchenware, you’ll feel empowered to whip up a delicious crust that impresses everyone.
| Tool | Purpose |
|---|---|
| Rolling Pin | To evenly roll out the dough |
| Mixing Bowl | For combining ingredients |
| Pastry Cutter | To trim edges and create flutes |
| Pie Dish | To bake and present your pie |
Having a quality rolling pin guarantees your dough’s even thickness, while a sturdy mixing bowl allows for easy mixing without spills. These essential items will bring you one step closer to pie perfection. Embrace your inner baker and enjoy the freedom of creating delectable pies!
How to Cook

- Preheat your oven to the desired temperature.
- If blind baking, line the pie crust with parchment paper and fill it with weights to prevent bubbling.
- Bake the crust until golden brown, usually around 15-20 minutes.
- If filling the crust right away, roll out the dough and fit it into your pie dish.
- Fill the crust with your favorite ingredients.
- Crimp the edges of the crust for a perfect finish.
- Chill the dough before rolling to ensure a flaky texture.
- Embrace creativity and enjoy crafting your delicious pie crust!
How to Serve
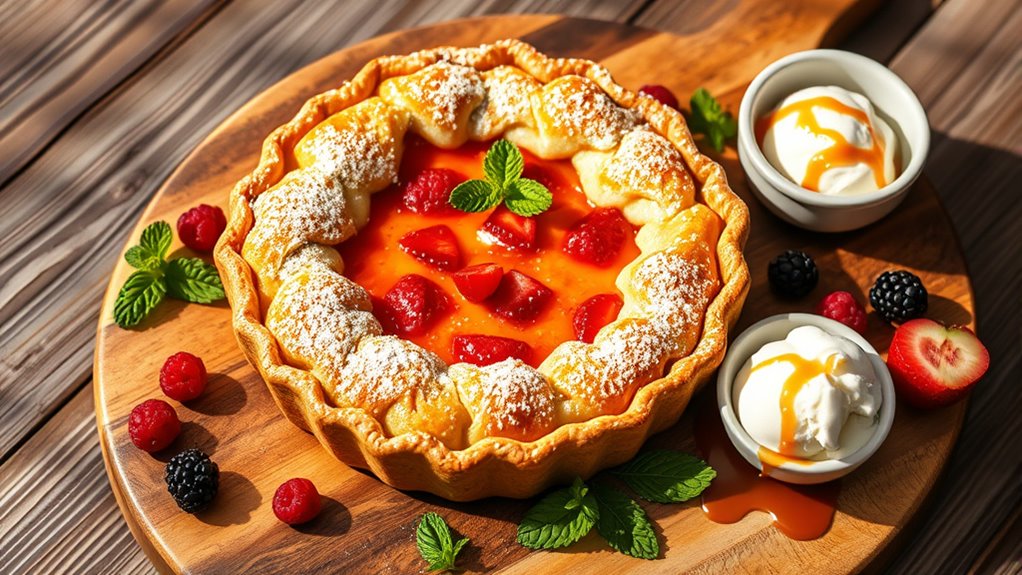
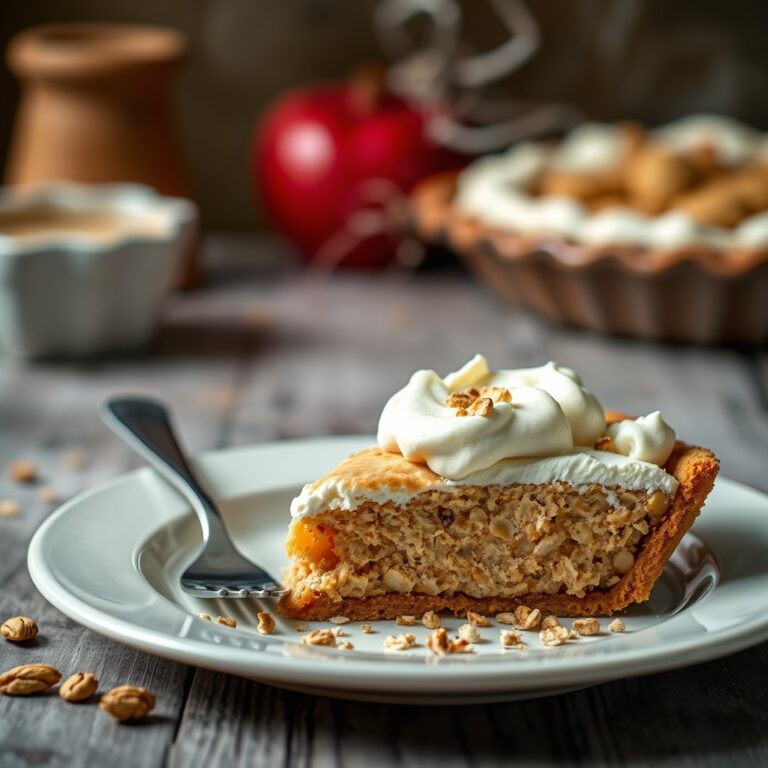
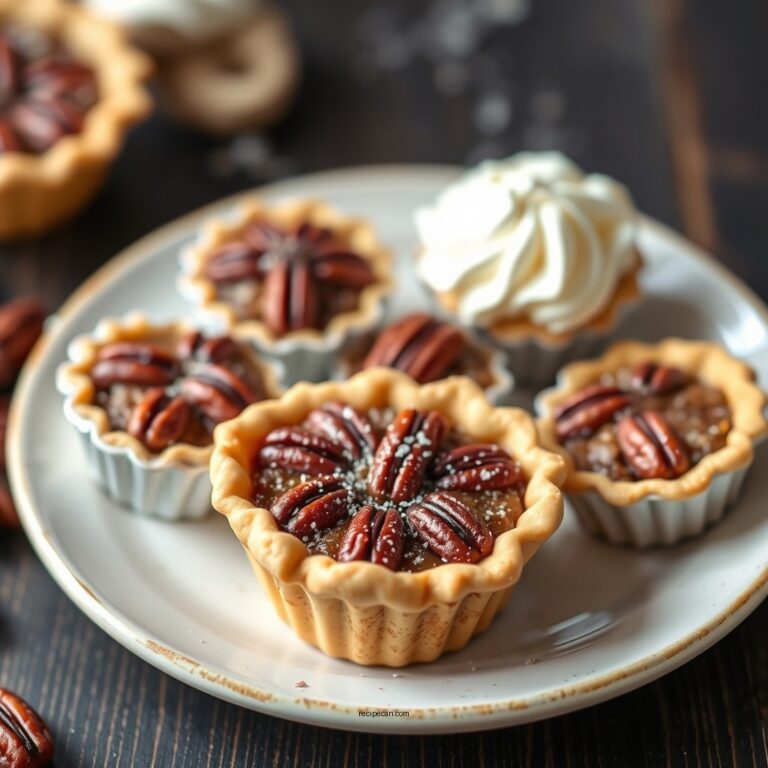
When it comes to serving your freshly baked pie, presentation can elevate the experience to another level. Start by slicing your pie into even portions, showcasing that golden crust. Consider serving it on a beautiful wooden board or a vibrant platter to make it pop. For a touch of elegance, dust the top with powdered sugar or garnish with fresh fruit or mint leaves.
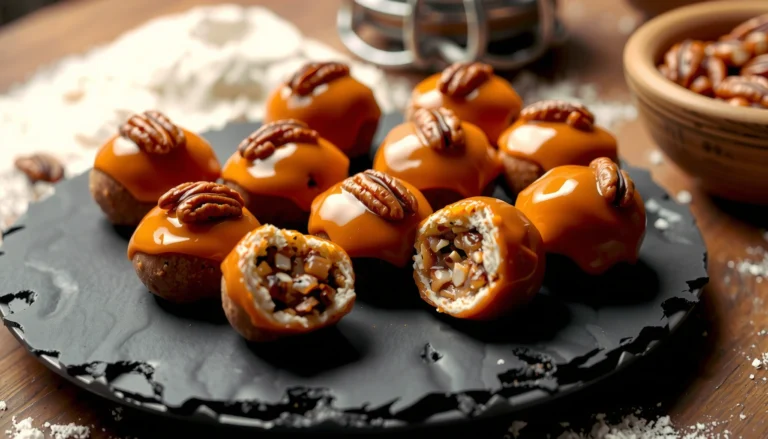
As for serving suggestions, pairing your pie with a scoop of vanilla ice cream or a dollop of whipped cream can create a delightful contrast in temperature and texture. Don’t forget to offer a side of warm caramel or chocolate sauce for drizzling. With these presentation ideas, your pie will not only taste amazing but look irresistible too!
Tips
To achieve the perfect pie crust, keep a few essential tips in mind that can make all the difference. First, use cold ingredients—chilled butter and ice water help create that desirable flaky texture. When mixing, don’t overwork the dough; a gentle touch guarantees those beautiful layers form. If you’re making a custard or cream pie, consider blind baking your crust to avoid a soggy bottom. This means pre-baking the crust before adding your filling, which seals in that crispness. Finally, let your crust rest in the fridge before rolling it out; this relaxes the gluten and makes it easier to work with. Follow these tips, and you’ll be well on your way to pie crust perfection!
Food Value and Benefit
A well-made pie crust not only enhances the texture and flavor of your pie but also adds valuable nutrients to your dish. Using fresh, quality ingredients in your crust can provide important vitamins and minerals that contribute to a balanced diet.
Food Value of the Prepared Pie Crust:
- Made with whole grain flour, which is rich in dietary fiber aiding digestion and promoting heart health.
- Contains unsalted butter, a source of vitamin A and essential fatty acids.
- Fresh ingredients ensure minimal preservatives and additives, preserving natural nutrient content.
Benefits of Eating This Recipe:
- Supports digestive health due to high fiber content from whole grains.
- Provides vitamin A, which is essential for vision, immune function, and skin health.
- Supplies minerals such as iron and magnesium, important for energy production and muscle function.
- Allows control over sugar and fat content, helping manage calorie intake and maintain healthy cholesterol levels.
- Encourages homemade preparation, fostering mindful eating and appreciation for wholesome food.
Frequently Asked Questions
Can I Use Gluten-Free Flour for This Pie Crust?
Using gluten-free flour for your pie crust is like painting with a new palette; it opens up a world of possibilities. Yes, you can absolutely substitute it! Many gluten-free options exist, like almond or coconut flour, but remember, they behave differently. Mixing these flour substitutes may yield the best texture. Experimenting can lead to delightful discoveries, allowing you to create a crust that’s just as flaky and delicious as the traditional version. Enjoy the freedom!
How Long Can I Store the Pie Crust in the Freezer?
You can store your pie crust in the freezer for up to three months. For ideal pie crust storage, wrap it tightly in plastic wrap or aluminum foil, then place it in an airtight container. This keeps it fresh and prevents freezer burn. When you’re ready to use it, just thaw it overnight in the fridge. With these freezer tips, you’ll always have a delicious crust on hand for your baking adventures!
Is It Necessary to Chill the Dough Before Rolling?
Yes, it’s essential to chill the dough before rolling. Statistics show that chilled dough can reduce shrinkage by up to 30%, ensuring a perfectly shaped crust. Chilling benefits the dough texture by allowing the fats to solidify, which leads to a flakier result when baked. If you want that freedom to create a stunning pie, don’t skip this step; it’ll make all the difference in your baking experience.
What Are Common Mistakes to Avoid When Making Pie Crust?
When making pie crust, avoid overworking the dough; it can lead to a tough texture. Also, using warm ingredients is a common pitfall. Stick to cold butter and chilled water for that flaky goodness. Don’t forget to measure your flour accurately, as too much can dry out your crust. Finally, let your dough rest before rolling it out; this helps relax the gluten, making it easier to work with. Enjoy the freedom of baking!
Can I Use a Food Processor to Make the Pie Crust?
Absolutely, you can use a food processor to whip up that pie crust! It’s like having a trusty sidekick in your kitchen, transforming flour and butter into a silky dough with impressive efficiency. The food processor’s benefits shine as it cuts down your prep time, giving you more freedom to experiment with fillings. Just remember to pulse gently—too much mixing can lead to a tough crust, and we want it to be light and flakey!
References
- https://en.wikipedia.org/wiki/Pastry
- https://www.americastestkitchen.com/guides/10-things-you-need-to-know-about-pie-crust
- https://www.foodsafety.gov/food-safety-charts/pie-crust-safety
- https://www.extension.umn.edu/food/food-safety/food-safety-in-the-home/pies-and-pastries/
- https://www.nytimes.com/2021/11/17/dining/pie-crust-recipe.html
- https://www.kingarthurbaking.com/recipes/pie-crust-recipe
- https://www.jstor.org/stable/10.5325/jculinaryartscienc.2.1.0001
- https://www.cookinglight.com/cooking-101/techniques/pastry-dough-pie-crust-recipe